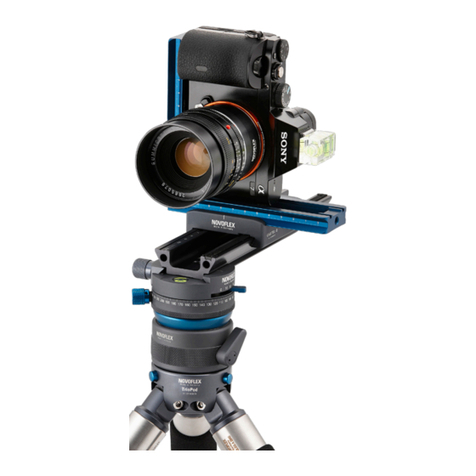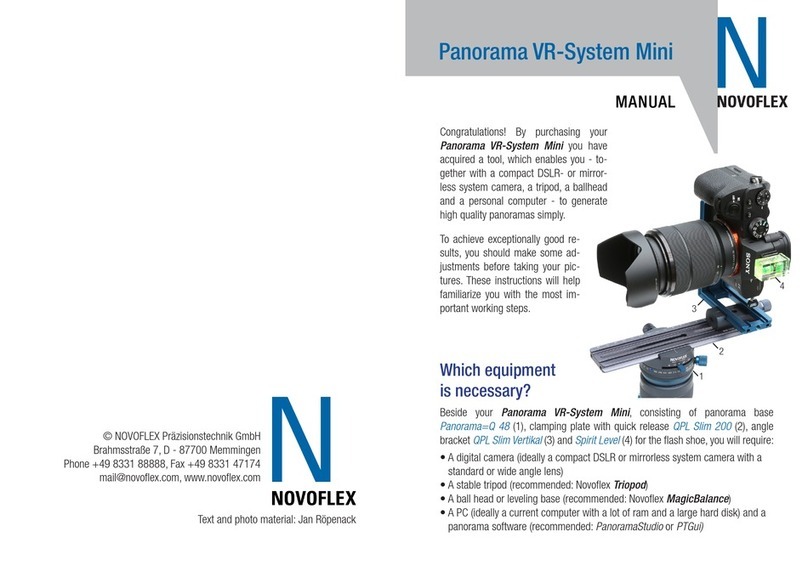
Parts identification and package contents:
Quick release locking screw
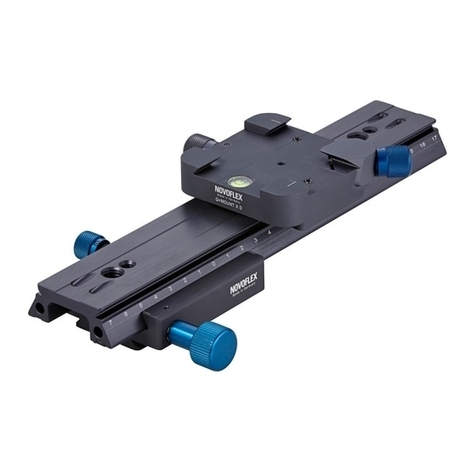
Quick release Q=MOUNT Mini 90, can be mounted crosswise or length-
wise on the upper horizontal arm, see page 5 to 8)
Upper horizontal arm locking screw with lever
Camera-plate QPL Slim 50 with engraved scaling
Upper horizontal arm (part of the L-bracket) with engraved scaling
Upper rotator with engraved markings (0°, 30°, 50° and 90°) and rotator
stop screw
Long leg of the L-bracket
L-bracket screw (for easy disassembling and assembling in order to en-
able space-saving transport)
Angle locking screw (normally open)
Increment selector lever (the number left of the lever is showing the se-
lected increment n = number of exposures per 360° turn)
Lower locking screw with spirit level
Mark, showing the scale value on the lower leg of the L-bracket
Alignment pin tting into the slot on the lower leg of the L-bracket
Arrow showing the recommended rotational direction (clockwise)
1/4“ thread hole for the lower locking screw with spirit level (11). On the
other side of the PANORAMA 48 there is a 3/8“ thread hole with adapter
to 1/4“ for mounting a leveling device, a 3-way head, ball head or tripod.
1
2
3
4
5
6
7
8
9
10
11
12
13
14
15
Recommended accessories:
A digital compact-, mirrorless- or SLR-camera, focal lengths between 8
mm and 160 mm (full-frame camera equivalent) and sheye lenses.
A stable tripod (recommendation: Novoex TrioPod or QuadroPod)
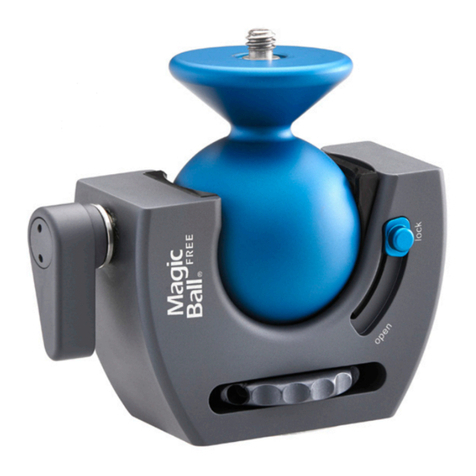
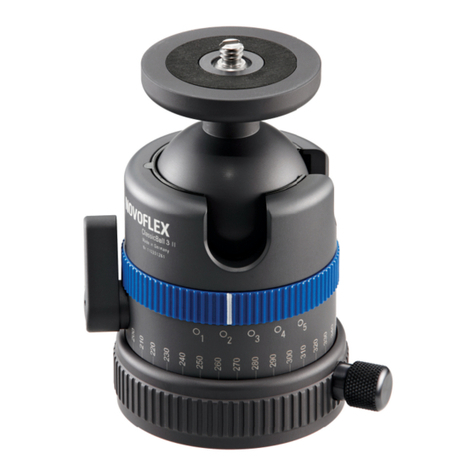
A leveling device (recommendation: Novoex MagicBalance) or a ball
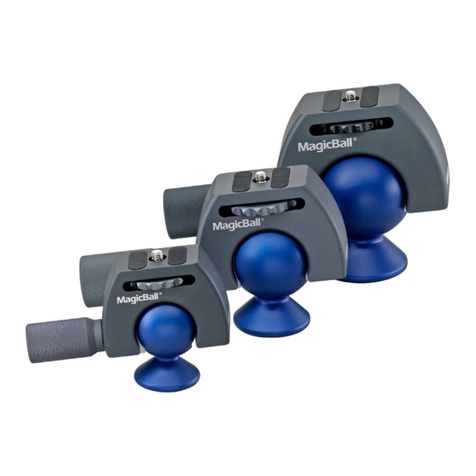
head (recommendation: Novoex ClassicBall or MagicBall).
A current computer with a lot of ram and a large hard disk.
A stitching software, that can process multirow panoramas and can deal
with sheye lenses if necessary such as PTgui or PanoramaStudio PRO.
•
•
•
•
•
Page 2
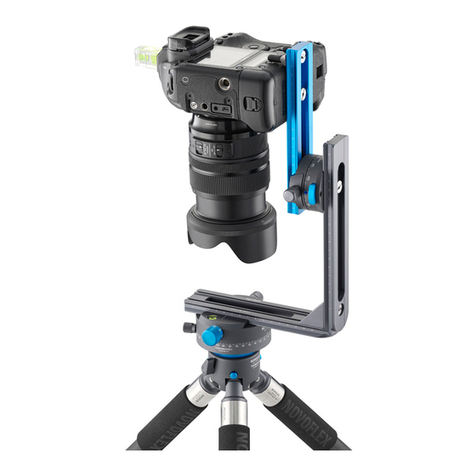
The VR SYSTEM SLIM consists of the L-bracket with upper rotator (6), the upper
horizontal arm (5) with quick release Q=MOUNT Mini 90 (2), the camera-plate
QPL Slim 50 (4) and the lower rotator PANORAMA 48 with 4 adjustable incre-
ments (click-stops) and the stepless operation. The complete panorama bracket
including the quick release Q=MOUNT Mini 90 is called QPL-VR Slim.
To estimate the distance between the rows, look through
the viewnder while tilting your system through the
scene. The overlap of two rows should also be at least
20%. Always use a constant tilting angle between all
rows. Characteristic values are 30° when using a 35
mm lens or 50° when using a 17 mm wide angle lens
on a full-frame camera.
Tip:
Don’t take large charts with you, when you go out for
taking panoramas, but narrow them down to the infor-
mation you really need on location: The values on the up-
per and lower scale on the L-bracket and the increments
of your favorite lenses. It is very useful to write down this
information on a little label and x it to the angle bracket
or tripod.
Page 17
Step 7:
Camera settings:
For best quality, standardize the exposure in each single frame, meaning choose
manual exposure mode. When it is not possible, because the intensity of light
varies between the single exposures strongly, consider the HDR technique using
autobracketing with your camera.
The optimal f-stop is located between f8 and f16. In this range you have enough
depth of eld and fewer problems with vignetting of the lens (dark corners).
Place the focus on the main subject of the scene. Then turn off the auto focus
system.
Use a xed white balance such as sunny, cloudy etc. (don’t use automatic white
balance, otherwise you will have frames with different colors). When taking the
pictures in RAW format you can match the white-balance afterwards also.
In the case of longer exposure time, we recommend using a remote cable and -
if possible - the mirror lockup or live-view function of your SLR camera. Please
refer to your cameras manual.
•
•
•
•
•
