Page 2
Nomenclature
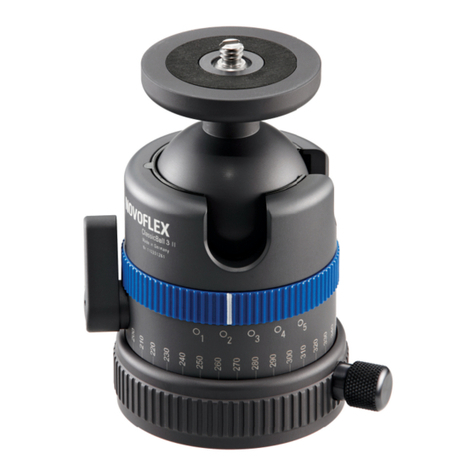
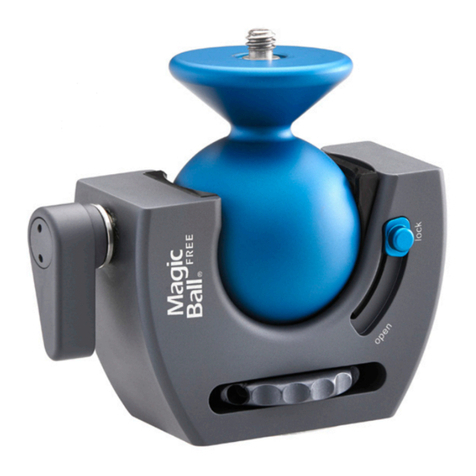
1Locking grip
2Friction control knob 1
3Knurled ring
4Ball
5Tripod socket
6Rubber sleeve 2
When mounting large telephoto lenses or heavy equipment, first use the•knurled ring
(3) until it can not be turned further by hand. Then turn the device mounted on top
of the ball head in the opposite direction until it stops moving (about a quarter turn).
With this method, the device is particularly strongly connected to the head.
The knurled ring (3), suitable for most cameras, has a 1/4 “threaded screw. For occa-•
sional use of cameras or lenses with a 3/8“ tripod thread, an over thread is required, as
it is factory set in the tripod socket (5) of the MagicBall®. A fixed conversion to 3/8“
thread is only possible from the NOVOFLEX factory customer service.
The adjustment of the friction depends on the weight of the camera. The heavier the•
equipment used, the more the friction control knob (2) must be tightened.
The ball (4) of the MagicBall® works lubricant-free, so please never treat the ball (4)•
with oil or grease!
The head works self-cleaning, but contamination of the ball (4) by sand and dust•
should be avoided (rub with a dry cloth).
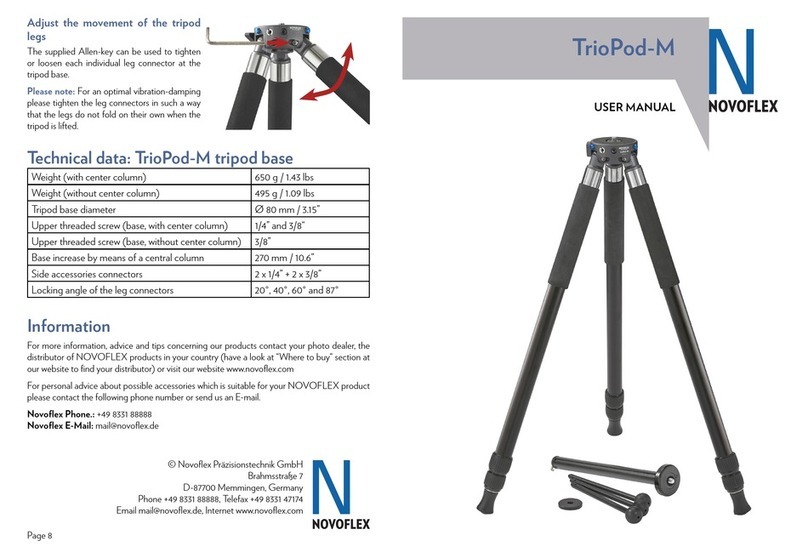
The locking grip (1) of the big MagicBall® (MB) can be covered with the supplied rub-•
ber sleeve (6) for a more comfortable grip. For easier assembly, the rubber sleeve can
be warmed up a bit.
To change from landscape to portrait•
mode loosen the knurled ring (3) slightly,
turn the camera by 90° and tighten the
knurled ring again. Now the camera can
be tilted into portrait mode (and beyond)
with the help of the head.
Optional accessories
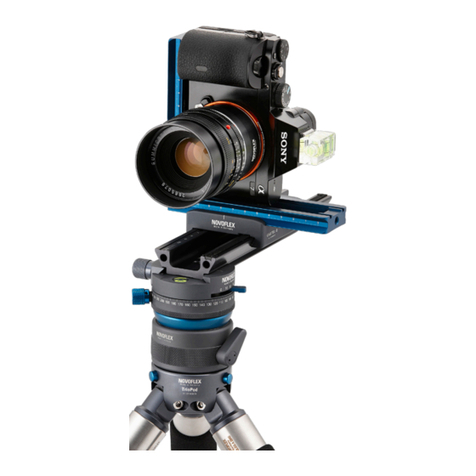
Alternatively, to change from landscape•
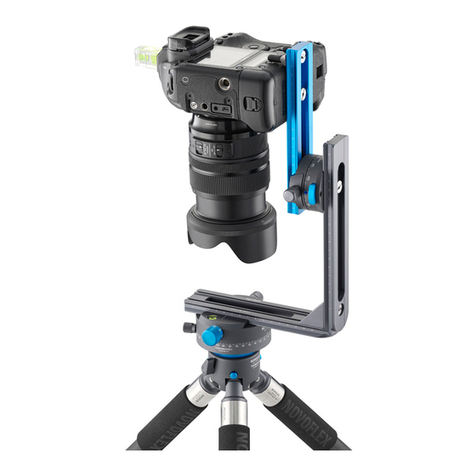
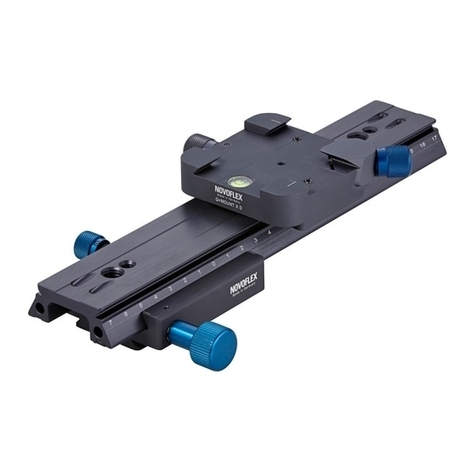
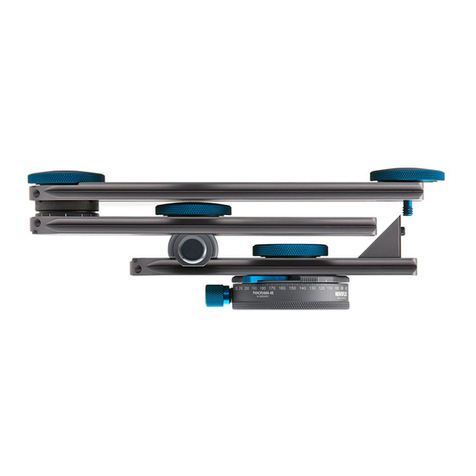
to portrait, use a panorama base such as
the NOVOFLEX PANORAMA II on
top of the MagicBall®. The integrated
spirit level of the base makes it easier to level out the equipment, and with the help of
the side scale, desired angles can be targeted.
To facilitate handling with long telephoto lenses or heavy•
equipment, we recommend replacing the standard locking
grip (1) with the much longer panning grip MB-GRIFF
(available as an accessory.) Smooth panning action
can be done more accurately with this longer grip.
The MB-GRIFF can be used with the MB and
MB50, not with the MB Mini.
1The small MagicBall® (MB
MINI) has no friction control
knob
2 Rubber sleeve only avail-
able with the large MagicBall®
(MB)
1
2
3
4
5
6
Mounting on a tripod
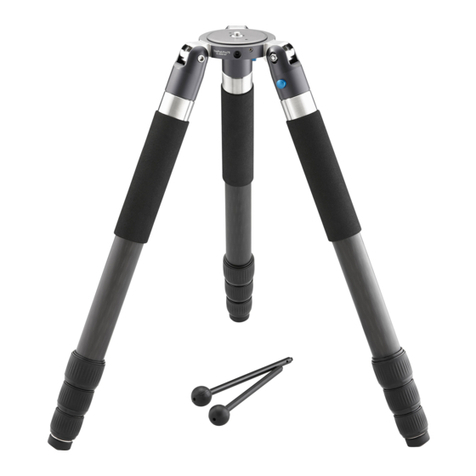
The tripod socket (5) of the MagicBall® can be mounted on any tripod with 1/4“ thread•
or 3/8” thread, after removal of the stepping insert.
Mounting and dismounting the camera on the ball head
To mount the camera on the ball head, use the upper 1/4“ screw and tighten it counter-•
clockwise using the knurled ring (3). To loosen the assembled device turn the knurled
ring (3) clockwise.
Operation
The locking grip (1) securely locks every position of your camera with a short clockwise•
rotation. To release the head, a short turn counterclockwise is sucient.
Recommendation: Hold the camera as usual in your right hand while operating the•
locking grip (1) with your left hand.
With the help of the knurled friction control knob (2), the free movement of the head•
can be braked in order to achieve a safe camera operation.
Practical tips and maintenance
To prevent sudden overturning, the locking•
grip (1) may only be released if the mounted
equipment is held at the same time.
The MagicBall® can carry its maximum load•
firmly in any position.
Load capacity
MagicBall® MINI 5 kg / 11 lbs
MagicBall® 50 7 kg / 15.4 lbs
MagicBall® 10 kg / 22 lbs
PANORAMA II
MB-GRIFF Page 3
