Novus Silver 100T User manual

Please read carefully before using this product.
Silver 100T
User Manual v 3.0.18

2
Contents
1. Package Contents Page 4
2. Quick Start Guide
- Installing the Camera Page 5
- Installing the Infrared Module Page 6
- Setting Up GPS Connection Page 7
- Installing the View-I PC Player Page 8
- PC Player Password Page 9
- Set Time and Date on the PC Player Page 10
3. Formatting SD Cards Page 12
4. View Recordings From SD Cards Page 13
5. View Recordings Received by Email Page 15
6. Send a Copy of an Incident by Email Page 16
7. Camera Features Page 18
8. Camera Functions Page 19
9. Camera Button & Lights Page 20
10. Software Features Page 21
11. PC Requirements Page 22
12. Password Settings Page 23
13. PC Player - Playback Screen Page 24
14. PC Player - Buttons Functions Page 25
Continued...

3
Contents
15. PC Player and Camera Settings Page 26
16. Search List Screen Page 29
17. PC Player Search Engine Page 30
18. Google Maps Page 31
18. Speed and G-Sensor Reports Page 32
20. Screen Capture Page 33
21. ECO Driver Report Page 34
22. Event Report Page 35
23. GPS Data Report Page 36
23. Road Track Page 37
24. Buzzer/LED Alert Warning Page 38
26. SD Card Recording Times Page 39
27. Liability Page 40
28. Camera Precautions Page 41
29. SD Card Precautions Page 43
30. Trouble Shooting Page 44
31. Specification Page 47
32. Accreditations Page 48
33. Warranty Page 49
WWW.NOVUSAUTO.COM

4
1. Package Contents
Please confirm below package list in the box *
Silver 100T Camera
SD Card
(Contains PC Player, User Manual,
64Gb formatting App )
Cradle &
Double Side Tape
Power Cable
* Product specification and package may change for product enhancement without any notification in advance.
Wire Clip x 4
User Manual
Key x 1 Optional Second Camera

5
2. Quick Start Guide
Step 1 –Installing the Camera
2.1 Unlock the camera with the provided key, slide the SD Cover upwards and
Insert the 4GB SD card into slot on side of the camera, Slide the cover back into
place and lock the camera with the provided key..
2.2 Remove one of the plastic covers from the sticky pad and firmly place it
on the flat side of the mounting bracket.
2.3 Slide the camera into the bracket until it securely clicks into place.
2.4 Clean the window surface area behind the rear view mirror, left hand side
on the passengers side.
Do not position where the camera obstructs the drivers view of the road or
within the wiper area or any other location that may infringe MOT regulations.
Continued...
WARNING! When installing the camera and PC Player for the first time, the
following steps MUST be performed with the 4GB SD card supplied with your
Novus product. If installing with a larger card, SD card must be formatted before
use (see page 12) Ensure the camera has completely turned off during all
movements of the SD Card.
1 2 3

6
2. Quick Start Guide - Setting Up the Camera
Continued...
2.5 Remove the second plastic cover from the sticky pad.
2.6 Carefully position and firmly place the camera on the window.
2.7 Insert power adaptor into Power port and insert cigarette adaptor into
the cigarette socket.
2.8 Angle the lens to allow clear view of the road ahead
2.9 Remove grommet from the hinge area and tighten the screw to lock camera
angle in place
2.10 Ensure the plastic covers are removed from the lens.
2.11 Organise the cables using the cable clips provided.
4 5 6
2.12 If Fitting the Optional rear camera (SECCAM) locate the
camera mount on the rear screen then rotate the camera
body until the lens is correctly angled for rear view
2.13 Plug the 2.5mm jack into the second camera and run the
cabling along the roofline to the windscreen
2.14 Plug the 3.5mm Jack into the Camera input port on the
upper side of the Silver 100T
2.15 Organise the cables using the cable clips provided.

7
Step 2 –Setting Up GPS Connection
Important: For the initial GPS lock on, the camera must be powered for approx
20 minutes. The vehicle must be in an open clear area. Not inside a garage or
an area where GPS connection will be affected. A flashing blue light indicates
camera is recording without GPS data. Constant blue light indicates the camera
the is recording with GPS data. (See page 37 for Buzzer/LED Alert Warnings)
Note: GPS is sometimes unable to connect to a satellite in vehicles fitted with fully
heated windscreens or metal trims around the front window.
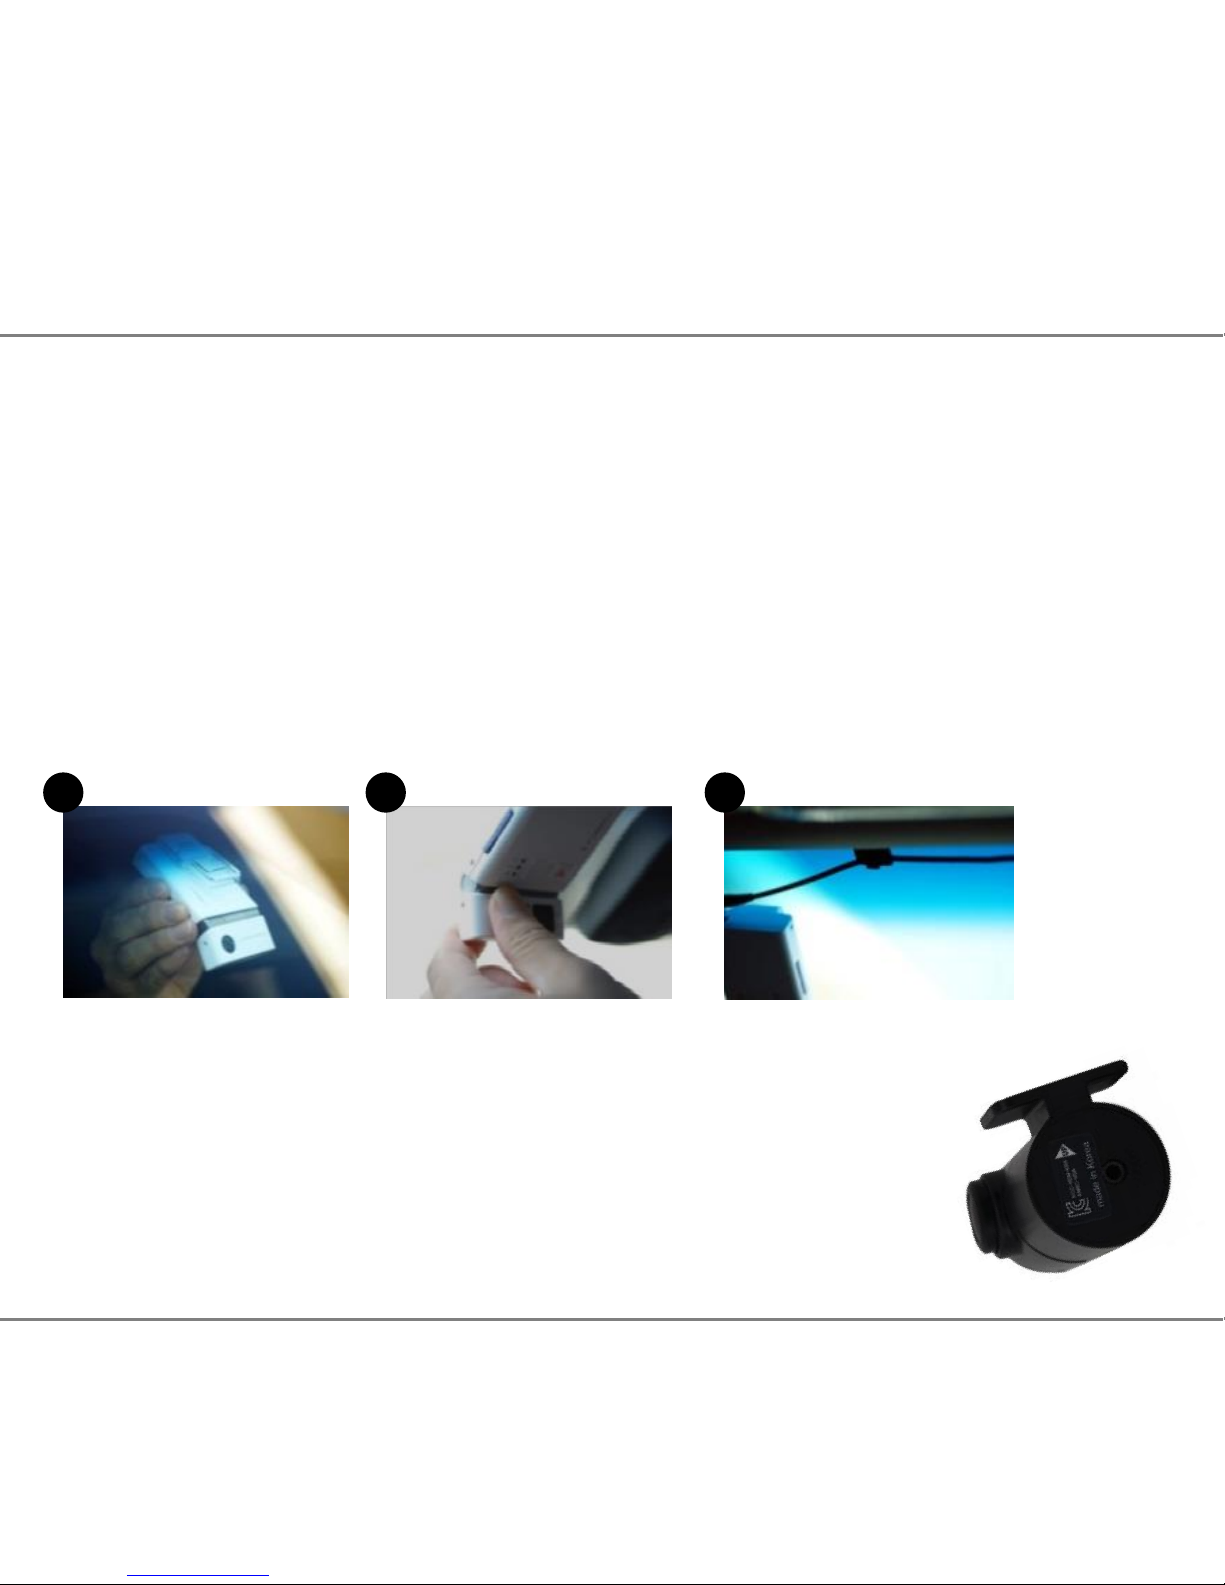
2.16 Insert power adaptor into the camera power port and insert cigar adaptor
into the car cigar socket.
2.17 Turn the vehicle engine on.
2.18 Leave the camera powered on until blue light is on constantly to indicate
GPS has locked on..
2.19 Once the camera has locked onto GPS, turn the vehicle engine off and
safely remove the SD card once the camera has completely shut down.
Important; After setting up the camera and GPS for the first time, install the PC
Player onto a PC and set Date and Time through the Settings button on the
software. Follow the next steps to complete installation.
2. Quick Start Guide - Setting Up GPS

8
Step 3 –Installing the Novus PC Player
2.20 Safely remove the 4GB SD card from the
camera and insert the card into the SD card slot
in a PC or laptop.
2.21 If AutoPlay box opens, double click on Open
Folder To View Files.
If not, left click Start - Computer then double click
on the SD card drive.
2.22 Double click on player setup (or right click
and select “Run as administrator” to ensure
constant permissions and full access):
NOVUS_HD_SCE_setup1.8
2.23 Left click Run.
2.24 Ensure the Language is set to –
English(Mile/Hour) by left clicking on the
small arrow on the right.
Continued...
2. Quick Start Guide - Installing the PC Player

9
Continued...
2.25 Left click Next on the Wizard Setup.
2.26 Left click Next again.
2.27 Left click on box next to the
Create a Desktop Icon if not
already ticked, then left click Next.
2.28 Left click Install then Finish.
The PC Player will automatically pop up. If not, close the Wizard Setup window
by left click on the X button in top right hand corner and any other windows
still open.
Password
2.29 During standard installation and viewing use, the password box should
be left blank. If you wish to change any settings on the software or camera,
or if you wish to produce reports, then the software must be opened in
administrator mode (right click on shortcut and select “Run as administrator”
the password default in administrator mode is 0000.
2. Quick Start Guide - Installing the PC Player

10
Step 4 –Set Time and Date on the PC Player
2.30 Left click on the Settings button, bottom
right hand corner of player.
2.31 The Open box will appear. Double click
on the SD card drive.
2.32 Double click on System folder.
2.33 Double click on user_setup.cfg and the,
setting box will appear.
2.34 In the Device Time section, click Yes
to edit the time and date.
2.35 Set Time Zone to: (GMT) Western Europe Time, London, Lisbon..
Continued..
2. Quick Start Guide - Set Time and Date

11
Continued..
2.36 To save the changes, left click Apply and repeat step.2.31 - 2.33 then
click Save
2.37 Left click the red cross in top right hand corner of player to close
the Player.
2.38 Safely remove the SD card from the SD card slot in the PC and insert the
card into the camera.
2.39 Power the camera for at least 3 minutes to allow changes to be copied
to the camera.
2.40 Insert the main SD card into the camera. Ensure it has been formatted
to FAT32 before use (see page 12 for more information).
2.41 Check and position the lens correctly.
Quick Plug and Play Installation complete.
Important: Any changes made on the Settings in the software must be saved
in the camera by following steps 2.38 and 2.40 to ensure recorded data is
more accurate.
Important: If using a larger card for recording, ensure the card has been
Formatted correctly before use. Using an unformatted card could prevent
the camera to record data or malfunction. See page 12 for How to Format
SD cards.
2. Quick Start Guide - Set Time and Date

3. How To Format SD Cards
12
Important: Ensure the PC player has been installed from the 4GB SD card to
Desktop. Formatting SD cards will delete all data on the card. Data must be backed
up onto another device if the data is to be used for future reference.
Recommended - Format SD card at least once every 4 weeks for optimal
performance.
3.1 Insert the card into a SD card slot in a PC/laptop.
3.2 If the Auto play box automatically appears, left click
Open Folder to View Files. If the automated box
doesn’t appear, left click Start Computer.
3.3 Right click on the SD card slot.
3.4 Left click on Format...
3.5 Ensure the following settings are made:
File System is set to FAT32. If FAT32 has not been
Selected when formatted. The camera may be
Damaged or prevented from recording data.
Allocation Unit Size is set to 32Kb.
Quick Format box is ticked.
3.6 Left click Start.
3.7 Left click Yes to next prompt.
3.8 Left click OK.
3.9 Safely remove the card from slot.
Once formatting is complete you can insert the card
back into the camera and continue as normal.

4. View Recordings Saved on SD Cards
13
How to Watch Footage Saved on the SD Card
Important: The Novus PC Player software must be installed to Desktop to
watch any recorded data. If the PC Player has not been installed, see page 8,
Installing the PC Player.
Standard
4.1 Insert the SD card into the SD card slot. Rights
4.2 Double click on the Novus Icon on Desktop and enter
the password required. Administrator
4.3 Left click on Folder Open button. Rights
This is found about the white frame list box in the
lower left quarter of your software window
Continued... 3
1
2

14
Continued...
4.4 A list of recordings will appear. To play the recordings the list must be
highlighted. Always tick the box in the top left hand side of the list, next to “No”,
to highlight the recordings.
4.5 Left click Chain Play or double click on a desired clip to play. Emergency
clips(EMG) will be listed at the top followed by Event clips(EVT) then Normal
clips(INI).
4.6 To get back to the list of recordings, left click on Search button above the
list of recordings.
4. View Recordings Saved on SD Cards
5
4

15
5. View Recordings Received by Email
How to Watch Footage Saved on an Email or Single Files.
5.1 Left click on the attachment on the email and save the clip into a folder on
the Desktop.
5.2 Open the PC player and click on the
Open File button.
5.3 Locate the folder saved on Desktop.
5.4 Double click on the folder to open it and show the list of files.
5.5 Double click on the required clip and it will auto play in the Novus software
window
To apply for a copy of the PC Player, please log onto www.novuauto.com and
create an account.

6. Send Recordings by Email
16
How to Send an Incident by Email.
Important: Novus camera encrypts each recorded clip which fully protects the
data. Encrypted data can only be replayed through the dedicated PC Player.
Clips will not be able to be replayed through other players, such as, Windows
Media Player, Real Player..
Contact Novus to request your incident to be transferred to allow instant reply
via Windows Media Player. This will help pass all evidence as shown on the
player to the authority and allow immediate access to the evidence.
Contact Novus on 03333 23 03 08 or email: service@novusauto.com
To send clips of an incident, follow the below steps.
6.1 Make note of the File Names of the clips required.
6.2 Close the PC Player.
6.3 Open a new email.
6.4 Add an attachment to
the email.
6.5 Double click on the SD Card Drive.
Continued...

Continued...
6.6 Locate the required clips in the folders by the File Names.
- Clips starting with EVT or EMG are saved in the Event folder.
- Clips starting with INI are saved in the Normal folder.
- First set of numbers represent the date the clips was recorded (American
format) –150513 = 2015/May/13th
- Second set of numbers represent the time the clips was recorded (24 hour
Format) –203901 = 8pm:39mins:01sec
E.g. The above clip can be located in the Normal folder, 150513_20 folder.
6.7 Double click on the individual clips to attach to the email.
6.8 Click Send to send clips via email.
Note: Due to the size of memory of each clip, a limited amount of clips can be
attached to each email. Too many clips sent on an email may not be
retrieved or could cause the email program to malfunction.
17
6. Send Recordings by Email

18
7. Camera Features
Function Description
Constant
Recording
Records everything when camera is powered on.
[NOTE] When the SD card is full of data, the camera deletes the oldest
INI file to make room for new recordings. Therefore, if the user needs to
keep the old recordings, the user must backup the recordings before they
are automatically overwritten.
Event
Recording
When the camera detects exceeded force , the camera will automatically
save 10 seconds before and 15 seconds after the triggered event
(adjustable via PC software).
[NOTE] When the card reaches 80% capacity used on EVENT recordings,
the camera will make a (beep-beep-beep) sounds to warn the user of
limited space remaining.
When the card reaches 100% capacity with EVENT recordings, the camera
will make a constant (tee-lee-lee) sound and can no longer record to the
card. The card should be removed and a back up made of any required
data before being reformatted (see page 12)
Audio
Recording Supports audio recording with on/off settings via PC Player
GPS
Sensor
Internal GPS records time/speed/route information via Google Map
GPS information can only be checked through the Novus PC Player.
[NOTE] Camera needs to be connected to satellites for GPS data to be
recorded.
G-Sensor Internal G-sensor records quick start/stop/curve information.
This information can be checked with Novus PC Player .

19
8. Camera Functions
# Name Description
1 Power Feed DC 12/24v
2 SD Lock Key lock
3 SD Cart Slot SD card slot
4 GPS Internal GPS Antenna
5 Front Camera 2 mega pixel CMOS lens
6 Rear Camera Input for optional second camera
7 Manual
Recording User activated Event Recording
8 Power Button Power On/Off
9 Mic Button Mic On/Off
10 LED’s
Status LED for Power status(red),
GPS reception(blue),
Mic status(amber) and Recording
status
8 11
1
3 4
6
5
2
9
10

20
9. Camera Button & Lights
# Name Recording Mode
1
Manual
Recording
Button
Manually start Event recording if button is pressed, camera
will make “tic-tic” sound and blue and orange LED will flash
quickly. These clips will be saved as an Emergency file.
2 Power Button Hold for 3 Seconds to power unit off. Press once to
Power unit on.
3 Mic Button Press once to turn microphone off, Press once to
Turn microphone on
4 Power LED Red LED, Displays Power On/Off Status
5 GPS LED Blue LED, Displays steady blue when GPS data is recording.
Flashing blue when GPS data is not recording.
6 Mic LED Amber LED, Displays Mic On/Off Status
1 5
6
4
2
3
This manual suits for next models
1
Table of contents
Other Novus Dashcam manuals