NTN DAT-HV0002 User manual

Instruction Manual
NTN PORTABLE VIBROSCOPE
Model No.: DAT-HV0002
NTN Corporation

2

3

4
Revision history
Revision Date Content of revision
First edition December 13, 2019
Apple, and the logos of Apple, iPad and iTunes, are the trademarks of the Apple Inc. registered in
the United States and other countries.
App Store is a service mark of the Apple Inc.
iOS is a trademark or a registered trademark of Cisco in the United States and other countries.
"Wi-Fi" is a registered trademark of Wi-Fi Alliance.
Other trademarks, trade names, company names, and each product name belong to each owner.

5
Contents
1
Introduction..................................................................................................................7
1.1 Outline and features of this device.............................................................................................7
1.2 Necessary equipment ................................................................................................................7
1.3 Sales and restrictions in use ......................................................................................................7
1.4 SSID...........................................................................................................................................7
1.5 Install and update of software ....................................................................................................7
1.6 Disclaimers ................................................................................................................................8
2
Before using this device .............................................................................................9
2.1 Safety precautions .....................................................................................................................9
2.1.1 Notes ..................................................................................................................................9
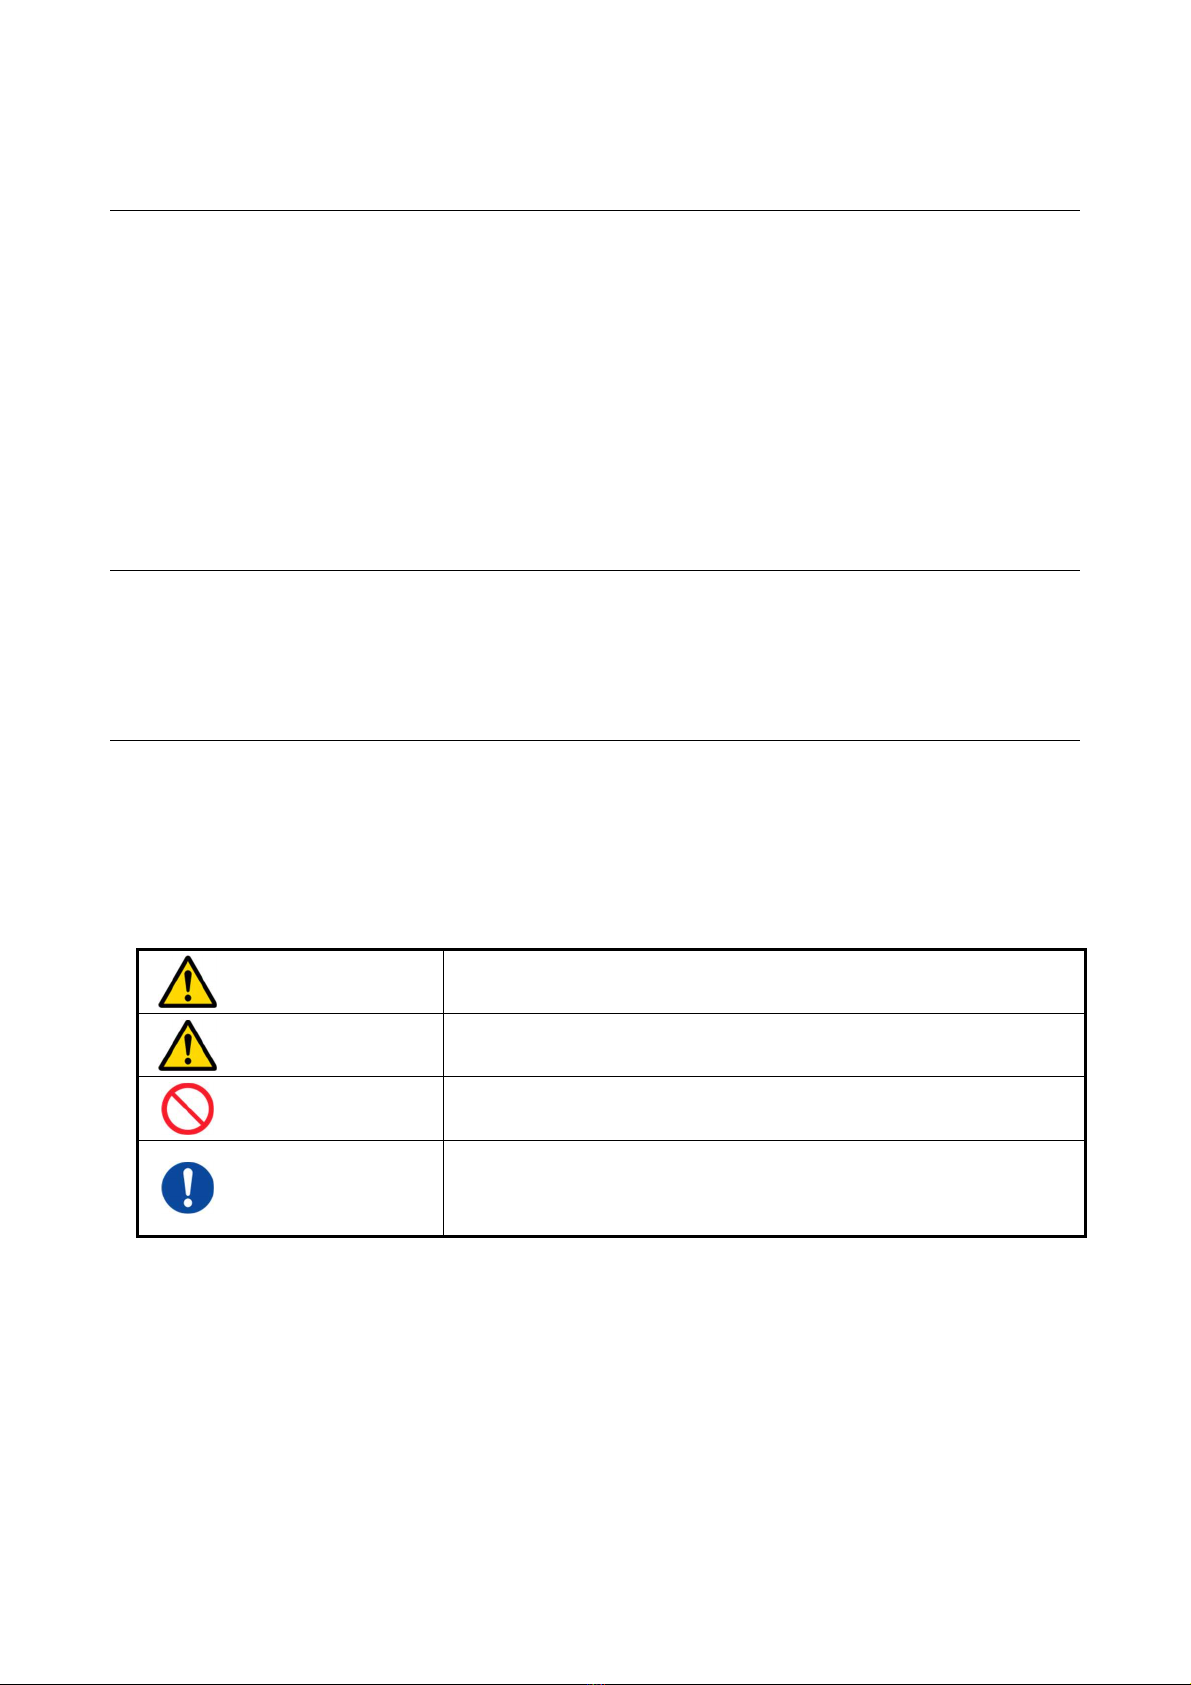
2.1.2 About the alarm display ......................................................................................................9
2.1.3 To use this product safely .................................................................................................10
2.2 Operating environment.............................................................................................................11
2.3 Components.............................................................................................................................12
3
Handling of this device .............................................................................................13
3.1 Name of each parts of this device............................................................................................13
3.2 How to put in and detach chargeable battery...........................................................................14
3.3 Input of device sensitivity and selection of unit of acceleration ................................................14
3.4 Rotational speed and direction of rotation................................................................................15
3.5 Measuring method ...................................................................................................................15
3.5.1 Measurement condition.....................................................................................................15
3.5.2 Measurement at the same position ...................................................................................15
3.5.3 Contact resonance............................................................................................................15
3.5.4 About measuring position .................................................................................................16
3.5.5 About mounting face .........................................................................................................16
4
Operation for measurment........................................................................................17
4.1 Preparation of application ........................................................................................................17
4.2 Wi-Fi connection setting...........................................................................................................18
4.3 Setting......................................................................................................................................20
4.3.1 Edit measurement point ....................................................................................................20
4.3.2 Edit bearing specification ..................................................................................................24
4.4 Measure without measurement point .......................................................................................27
4.5 Measure with measurement point ............................................................................................29
4.6 History......................................................................................................................................33
4.7 CSV output of measurement data............................................................................................34
4.8 Changing method of vertical axis maximum value of graph .....................................................35
4.9 Notes input function on measured data screen........................................................................36
4.10 Delete of mesurement data on specific date and time .............................................................37
4.11 Import data into PC ..................................................................................................................38

6
5
Specification ..............................................................................................................40
5.1 Outside dimensions..................................................................................................................40
5.2 Main specifications...................................................................................................................41
5.3 Bearing parameters and bearing vibration frequency...............................................................42
5.3.1 Bearing parameters ..........................................................................................................42
5.3.2 Calculating formulas of bearing vibration frequency .........................................................42
5.3.3 NTN bearing registered in application...............................................................................43
6
Regulatory compliance information ........................................................................44
6.1 USA – Federal Communications Commision (FCC) ................................................................44
6.2 Canada – Innovation, Science and Economic Development Canada (ISED) ..........................44
6.3 Caution for exposure to Radio Frequency (RF) radiation.........................................................44
7
After-sales service.....................................................................................................45
7.1 NTN PORTABLE VIBROSCOPE product warranty .................................................................45
7.2 Inquiries ...................................................................................................................................47

7
1Introduction
Thank you indeed for purchasing the NTN PORTABLE VIBROSCOPE (referred to “this device”
afterward) this time. Please read this Instruction Manual well to use this device correctly before you use
it. Moreover, please keep this Instruction Manual carefully in order to refer to it at any time if necessary.
1.1 Outline and features of this device
This device is a simple type vibroscope*1 excellent in portability and operability.
By selecting*2 a bearing parts number from list and creating the measurement point,
FFT analysis *3 and the judgement of the measured vibration data can be performed.
The FFT analysis result can be displayed on the tablet equipped with iOS which you have.
The measured and analyzed results are saved in the tablet*4 and can be converted into CSV format.
The CSV data can be imported to a PC which you have by way of iTunes.
*1 : The calibration function is not provided in this device.
*2 : The customer can add the bearing parts number which has not been registered yet in the list.
*3 : The inspected result is a reference and does not guarantee the state of the bearing.
*4 : The volume of data that can be saved changes depending on the capacity of your tablet.
1.2 Necessary equipment
The tablet equipped with iOS is necessary to use this device. The tablet is not attached to this device,
and you have to prepare it. Because the internet line is used when dedicated application (referred to
“application” afterward) is installed into the tablet, communication contract with the telecommunication
enterpriser is necessary. The customer must bear the communication charge. Please confirm "2.2
Operating environment" for the details of the operating environment of each equipment.
1.3 Sales and restrictions in use
This device conforms to the legal regulation of Japan and other countries, and the applicable countries
are described on the nameplate of this device and the packing box. When this device is used in countries
other than the described countries, our company cannot assume any responsibility at all.
1.4 SSID
This device has individual SSID allotted to each device. SSID described on the nameplate on the back
of this device needs to be selected from the Wi-Fi setting of the application to perform the connection
process. In addition, please check SSID seal attached when you purchased this product or seal labeled
on the side of packing box to confirm SSID.
1.5 Install and update of software
It is necessary to install the dedicated application into the tablet before you use this device. Please
install the application in accordance with "4.1 Preparation of application" Moreover, please get the
application of latest version in accordance with the similar procedure.

8
1.6 Disclaimers
For operation of the related systems such as software and hardware of this device, the scrupulous
care is taken. However, our company doesn't guarantee at all that there is neither a misprint nor a
bug in the program, that there is no error in the bearing data, or that there is no inconvenience which
does not conform to the usage purpose of users. Moreover, there is a possibility that an error is
caused in the measurement result due to the difference in measuring method.
The results of measurements such as the OA value, the FFT analysis result, and the judgment result
obtained by using this device do not guarantee the state of the measured bearing or things and do
not guarantee the provision of a specialized advice on the individual case. The customer should
make the final judgment concerning the state of the bearing, with the reference to the measurement
results with this device.
The criterion value for FFT measurement judgement with which the bearing damage judgment is
performed should be set by the customer based on the experiences of the customer etc. The validity
of the value is not guaranteed by our company at all. Moreover, our company doesn't assume the
responsibility of any damage and the disadvantage etc., that occur because of the improper setting
of the FFT measurement judgment criterion value.
The application used with this device is operated on the operating environment described in the
Instruction Manual, but operation is not guaranteed for all the tablets etc. Our company doesn't
guarantee that the application can be operated on any tablet etc. customer uses.
The measurement data etc. saved in the tablet customer uses has a possibility of disappearing
without previous notice due to convenience in the system operation or an inevitable trouble etc. Our
company does not guarantee at all against any damage or disadvantage etc. caused by it. Moreover,
our company doesn't owe the obligation for restoration of the data that has disappeared.
Our company doesn't guarantee the measurement result when the measurement is performed by
the usage which does not follow the procedure described in the Instruction Manual. Moreover, our
company doesn't guarantee against the breakdown etc. that occurs when the device is not used or
kept as described in the Instruction Manual.
This device complies with IP65 protective class for dustproof and waterproof property, but our
company doesn't guarantee against the breakdown etc. that occurs when this device is used or kept
in a very bad environment such as a place where a lot of dust always exists or where the device is
exposed to the moisture.
Regarding the contents of the system such as software and hardware for this device and the
Instruction Manual, the appearance and specification etc. of this device might be changed without
previous notice in order to respond to the technical advancement and the improvement. Our
company doesn't assume at all the responsibility of damage and the disadvantage etc. caused by
the change.
By our convenience, it is likely to stop or discontinue completely the service of the upgrade etc. for
the application. Our company doesn't assume at all the responsibility of the damage and the
disadvantage etc. caused by the stop, discontinuance or the end etc.

9
2Before using this device
2.1 Safety precautions
Please always follow the content of this Instruction Manual. This device is manufactured based on the
design that considers customer's safety, but please use it after understanding the following notes very
well.
Please always follow using conditions such as temperature, humidity etc. described in the Instruction
Manual when you use this device. By using this device under the condition of high temperature, high
humidity, in the hot sun, there is a possibility of causing breakdown, damage etc. of this device.
This device is precision equipment. Please don’t throw and drop it.
Please use specified battery. Please follow notes when you change or use the battery, and use with
attention to safety.
2.1.1 Notes
The condition of workers who handle this device is as follows.
・The content of this Instruction Manual can be understood before use and can be executed.
・Safety precautions is understood well.
2.1.2 About the alarm display
In this Instruction Manual, what should be observed during usage of this device is divided in "Danger"
and "Attention" according to the level of risk severity and displayed. However, there are some which do
not have the applicable level. Notes for the possibility influencing the function/performance or causing a
breakdown are also described. Please confirm them.
Table 2.1 About alarm display
Warning Describes the "content of imminent danger to death or
serious injury
assumed to happen” when the device is mishandled.
Caution Describes the "content of danger to injury or damage to the property
assumed to happen” when the device is mishandled.
Prohibited The sign having a left slash inside the circle reflects
the content of
"Prohibition" which should not be done.
Follow
Instructions
The sign shown by the blue circle reflects the content
of “Instruction
of compulsion” which should be done without fail.

10
2.1.3 To use this product safely
Table 2.2 Instruction on safety (Warning)
Warning
A person who has a pacemaker shall not use or approach to this device. The pacemaker
might malfunction because this device and tablet generate electric wave.
This device complies with IP65 protective class, but it s
hall not be used in places exposed
to strong jet liquid, near the combustibles and in the corrosive or flammable atmosphere.
There is a possibility of causing an electric shock, fire or breakdown.
Do not touch this device with a wet hand. There is a possibility of causing a breakdown
or
serious accident.
When charging with the USB cable, do
not put a heavy thing on the cable. There is a
possibility of causing an electric shock, fire or breakdown.
When this device is used with the strap attached, take care for it not to roll in the rotati
ng
portion. There is a possibility of causing a breakdown or serious accident.
The thing to be measured is hot in some case. Confirm the temperature of the
thing to be
measured with a thermometer etc. before measurement.
Table 2.3 Instruction on safety (Caution)
Caution
Do not disassemble or remodel this device. There is a possibility of causing
the
breakdown.
If this device is disassembled or remodeled, it becomes not to be covered by
the warrantly.
Do not use or keep this device in the environment where the temperature or humidity is
high or low (Outside of atmospheric temperature range of +5℃to +50℃
and humidity
range of 30% to 90%). There is a possibility that this device doesn't work normally.
Use two chargeable batteries of size AAA (Ni-MH battery) for this device. Moreover,
do
not use mixed batteries of old/new ones or different types. There is a possibility
of causing
the breakdown.
Do not give a high impact to this device or the magnet, or do not drop them
. There is a
possibility of causing the breakdown.
When this device gets dirty, wipe off it with dry cloth etc.
Do not use water and organic
solvent to wipe off dirt. There is a possibility of causing the breakdown.
Do not give unreasonable force to the connecting portion of the USB connector.
The
connecting portion may be damaged, which causes a fire or the malfunction.
U
sable battery for this device is chargeable battery of size AAA. Do not use primary
battery. Moreover, usable chargeable battery is Ni-MH battery.
Do not use lithium ion
battery. When you change the batteries, check direction of batteries and insert it wit
h
correct +/- poles
. If these are inserted in the wrong direction, there is a possibility of
causing the breakdown, transformation by heat or explosion.
Close the USB waterproof cap surely so that there is no clearance. There is a possibility
of the breakdown due to the invasion of water, oil or dust.

11
Detach the battery from
the measuring instrument when you do not use this device for a
long time. The measuring instrument might be damaged by the battery liquid leakage etc.
Moreover, the battery is kept in
the device for a long time, there is a possibility not to
charge by using circuit on the device. When the battery can not be charged by keeping it
in the device, use battery charger for Ni-MH battery.
2.2 Operating environment
Please confirm the following tables for the operating environments of this device and tablet.
Table 2.4 NTN PORTABLE VIBROSCOPE
Item Operating specification
Power supply 2 chargeable batteries of size AAA (Ni-MH battery)
Operating
temperature +5℃ to +50℃
Operating
humidity 30% to 90% (no dewfall)
Operating
environment
condition
Indoor use :
W
hen you use this device outside, it must be kept out of
the wind and rain, the sun.
There is a possibility of
causing the breakdown and damage.
Operating height : 2,000m or less
Pollution level : Pollution level 3 (General factory)
Overvoltage category :
OVCⅠ
Table 2.5 Tablet
Item Operating specification
OS iOS12.0 or later
Display 12.9/11/10.5/9.7/7.9 inch
※It is not to guarantee the operation for all tablets equipped with iOS.

12
2.3 Components
The packing box contains this device, the magnet, the USB cable 1 piece for each, Quick Instruction
Manual, Inspection Report, Warranty 1 sheet for each, and 2 chargeable batteries of size AAA.
Figure 2.1 Packing box
Figure 2.2 Components
Please inquire to our company if anything is missing.
Quick
Instruction
Manual
SSID seal
(for warranty)
Inspection
Report

13
3Handling of this device
3.1 Name of each parts of this device
Figure 3.1 Name of each parts
Table 3.1 Color and state of LED display lighting
Red Lighting
Error generated
Blinking
Wi-Fi waiting
Green Lighting
Wi-Fi connection established (Data is not sent yet)
Blinking
Wi-Fi connection established (Data is being sent)
Red Alternate
blinking
During charging
Orange
Power supply button
LED display
USB connector lid
Vibration sensor
Mounting screw (bottom)
Screw hole: M6 x P1.0, Depth: 4mm
Strap hole (back)
Nameplate (back)
Serial number
SSID

14
3.2 How to put in and detach chargeable battery
Use 2 chargeable batteries of size AAA (Ni-MH battery) for this device. Moreover,
do not
use mixed batteries of old/new ones or different types. There is a possibility of causing
the breakdown.
Insert the battery into this device with correct +- poles.
D
etach the battery of the measuring instrument when you do not use this device for a long
time. The measuring instrument might be damaged by the battery liquid leakage etc.
The battery box upper lid is detached by removing screws at 4 positions while power supply is turned
off. Then remove the screws at 2 positions and detach the battery box middle lid. Insert the 2 chargeable
batteries of size AAA with taking care of the direction of +- poles. After inserting the batteries, insert the
packing to secure each lid firmly.
When detaching the battery, remove the screws at 4 positions and detach the battery box upper lid
while turning off the power supply. Moreover, remove the screws at 2 positions and detach the battery
box middle lid to detach 2 chargeable batteries of size AAA. When this device is not used for a long time,
keep it with detaching the battery.
Figure 3.2 How to put in and detach chargeable battery
3.3 Input of device sensitivity and selection of unit of acceleration
This device needs to be used after inputting sensitivity described on inspection report from “Wi-Fi”
button on menu screen of application to correct measurement error. Unit of acceleration also needs to
be selected on the same screen before measurement.
Figure 3.3 Screen of input of sensitivity and select of unit of acceleration
Battery box upper lid
Battery box middle lid
Screw
Screw
Screw
Screw
Screw
Screw
Chargeable
battery
Packing

15
3.4 Rotational speed and direction of rotation
This device may not be able to perform FFT analysis when rotational speed of the bearing is
extremely low or extremely high from the characteristic reason. Moreover, this device is applicable only
for the bearing with inner ring rotation for the detection of abnormality and the abnormality judgment
cannot be performed for the bearing with outer ring rotation.
3.5 Measuring method
Please note the following points when you set up this device. Improper set-up is the cause of correct
measurement being impossible.
3.5.1 Measurement condition
The vibration value and the bearing vibration frequency change depending on the use condition of the
bearing. For observing the change with time, please measure it under the same condition (bearing load,
rotational speed etc.) each time.
3.5.2 Measurement at the same position
The vibration has the direction of generation and it might be attenuated or amplified depending on the
measurement position. Therefore, when observing the change with time, please measure it by fixing the
device at the same position each time.
Figure 3.4 Measurement position
3.5.3 Contact resonance
Please use the attached magnet for fixing this device. While the contact pin can be used to measure
easily, the measured vibration is amplified or attenuated from the actual value, depending on the
frequency, and therefore high measurement accuracy cannot be obtained. Moreover, when the
equipment to be measured has a screw hole of M6xP1, the set bolt (length: about 10 mm) is used to fix
the device such that the end face of acceleration pick-up and the surface of the equipment to be measured
come to close contact with each other, then the higher accuracy of the measurement is possible.
Contact pin Magnet Double-faced tape Screwing
Figure 3.5 Fix method of this device

16
3.5.4 About measuring position
Please fix this device to the place where any part does not exist that possibly attenuate or amplify the
vibration such as preload spring or ball bush between this device and bearing to be measured, or where
the number of parts is as small as possible.
Figure 3.6 Fix position of this device (example)
3.5.5 About mounting face
Please mount this device on the plane unless it is unavoidable. If it is mounted on the curved face, the
measurement accuracy decreases. In case where the mounting face is uneven, the measurement value
is not stable. Therefore, please mount this device on the face which is as even as possible.
Figure 3.7 Mounting method of this device Figure 3.8 Mounting method of this device
(on plane) (on curved face)
Shape of equipment to be measured
This device
Front side
Rear side
When front side bearing is to
be measured, fix the device
at this position.
When rear side bearing is to
be measured, fix the device
at this position.
This device
Shape of equipment to be measured

17
4Operation for measurment
The measurement can be performed by operating application display screen on the tablet.
4.1 Preparation of application
Here, the method setting up the application is explained on the assumption that the customer has
Apple ID. The flow installing the application is as follows.
(1) Connect iPad to the Internet.
(2) Activate App Store on iPad.
(3) After the activation, tap the icon for search and input “NTN” in the search window. After the
search, some candidate application are displayed and tap "Get" button of "NTN PORTABLE
VIBROSCOPE" (upper figure of Figure 4.1) to download/install it.
(4) After the installation ends, the icon of "NTN PORTABLE VIBROSCOPE" is displayed on the iPad
screen.
(5) If the icon is tapped and the screen of lower figure in Figure 4.1 is displayed, the installation is
completed.
Figure 4.1 Getting of application from App Store
Filter
NTN
Business

18
4.2 Wi-Fi connection setting
Because it is necessary that the Wi-Fi connection between iPad and this device has been established
before measurement is performed, turn on the power of this device and tap the “Wi-Fi” button at the lower
left on application home screen. Moreover, Wi-Fi connection can also be established by tapping “Wi-Fi”
button at the upper left on the screens of " Measure without Meas. Point " and "Measure with Meas. Point".
Figure 4.2 Selection of Wi-Fi button
Move to the Wi-Fi setting screen and tap “System”. As the confirmation window appears, select the
“OK.”
Figure 4.3 Wi-Fi setting screen

19
Select "Wi-Fi" from the system setting screen.
Figure 4.4 System setting screen
Select the network of this device that is activated from the displayed network. SSID that begins with
"NTN" is the network ID of this device. After selection, return to the Wi-Fi setting screen and confirm
that the connection status changes to “Connected”, and tap the “Done” button.
Figure 4.5 Selection of SSID
Figure 4.6 Wi-Fi connection completed
NTN-XXXXXX

20
4.3 Setting
When the measured data is judged or saved, it is necessary to register the
measurement
point information. Moreover, when judging the bearing not registered in the data base,
a
special bearing or other company’s bearing
etc., it is necessary to register the bearing
parameter beforehand.
From “setting” botton, measurement point information and bearing information can be registered and
edited newly. When the following "4.5 Measure with measurement point" is performed, the input of
measurement point information and bearing information is indispensable. The bearing parts number to
be measured, rotational speed, judgment criterion value, FFT measurement result, OA measurement
result, judgment result, and history management etc. are all managed by the measurement point name
set in the measurement point information.
Figure 4.7 Setting
4.3.1 Edit measurement point
When tap “setting” button on the home screen, the menus of “Edit Meas. Point” and “Edit bearing
spec.” are displayed, then select “Edit Meas. Point”
Figure 4.8 Edit measurement point
Table of contents
Other NTN Industrial Equipment manuals
Popular Industrial Equipment manuals by other brands

ABB
ABB HT596336 original operation manual

Index
Index G220 Operating instructions and Maintenance instructions

Netzer
Netzer VLP-140 Product guide

SPX
SPX APV DELTA SDMU4 operating manual

ermengineering
ermengineering PAF-301 ORIGINAL USE AND MAINTENANCE MANUAL

Eaton
Eaton ARCON ARC-EM/2.0 Instruction leaflet