2WWW.NUCRAFT.COM • TOLL FREE: 1877NUCRAFT
Dialogue Install Guide
Level 2 - Audio Conferencing
(Allows remote voices to be clear,
compelling parts of the conversation)
Dialogue is ready to connect remote audiences when you are, whether they’re
across town or overseas. All the tools are at your fingertips; no need to drag a
conference phone to the table, no need to memorize contact numbers or be
concerned with patchy connections.
Go-Button™
Simplex
Receptacles
Convenience
Outlet
Network
Connector
VGA Connector
Audio In
Integrated Speaker
Power
Mute
Stats Layout
Home 4-Way
Navigation
Select
Volume Up Volume Down
Answer
Hang-Up
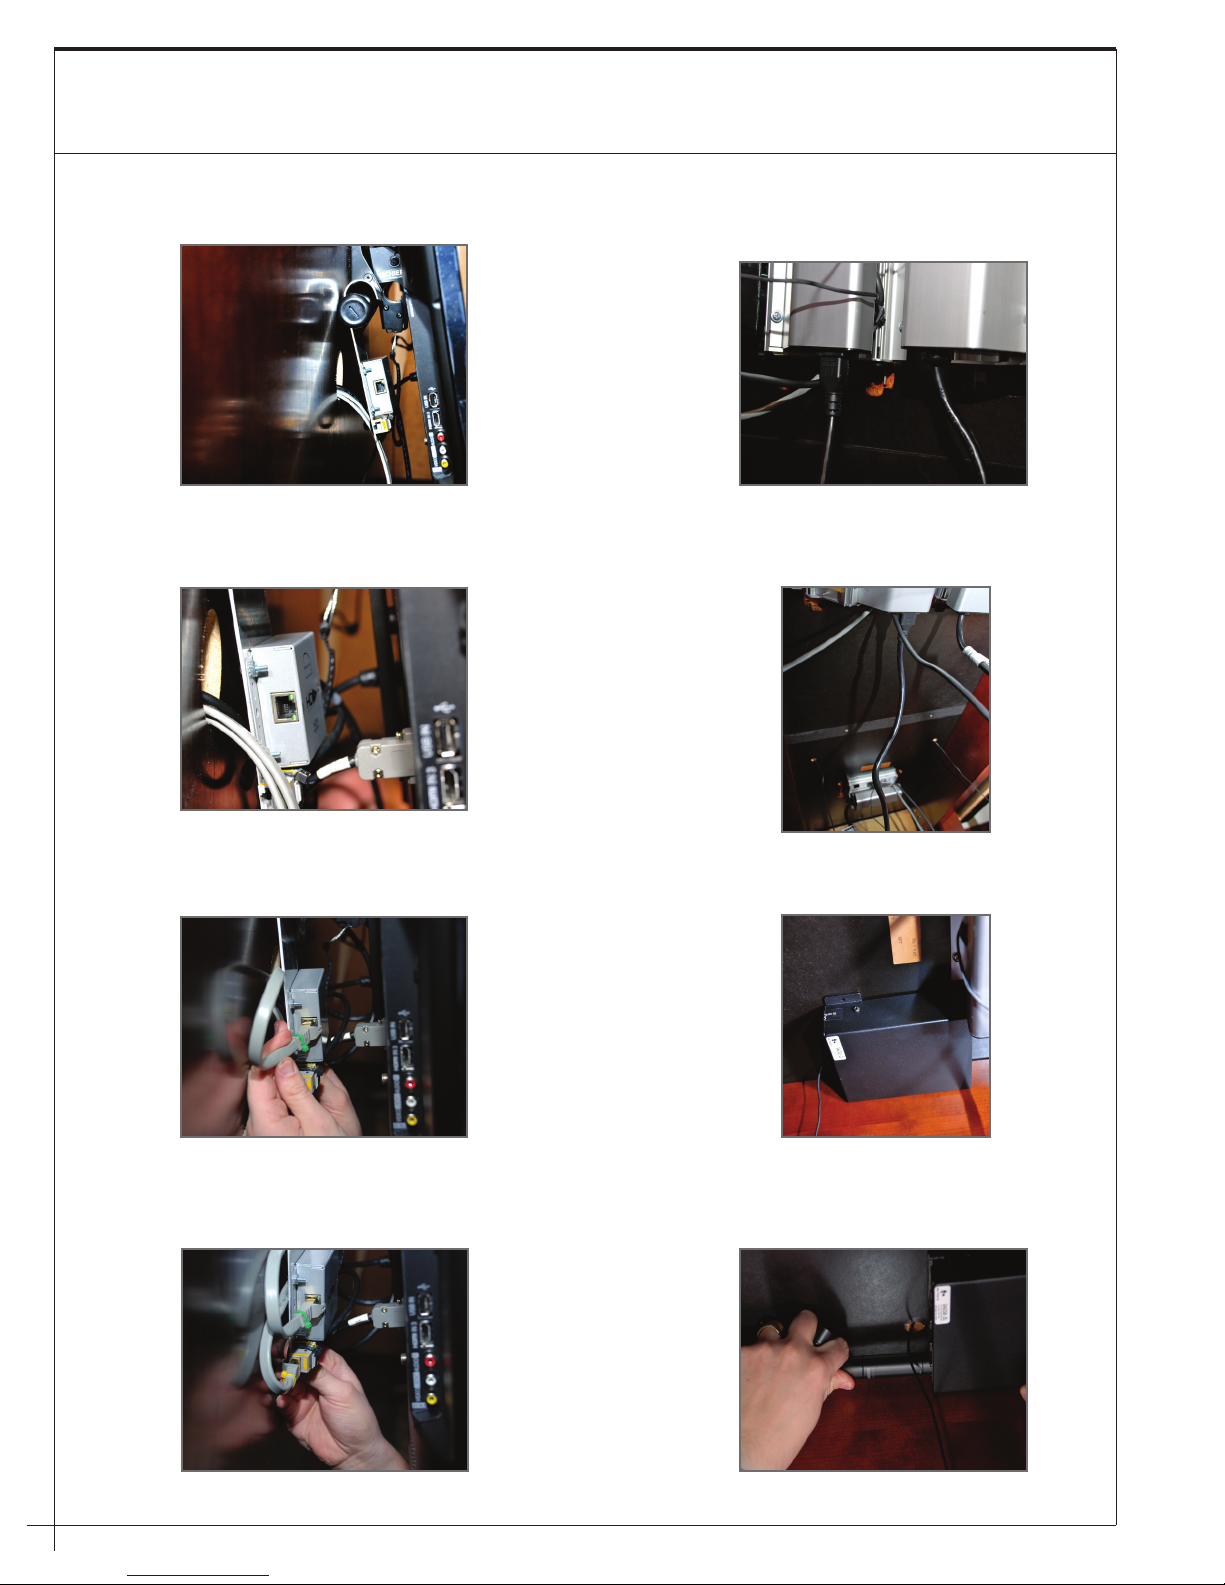
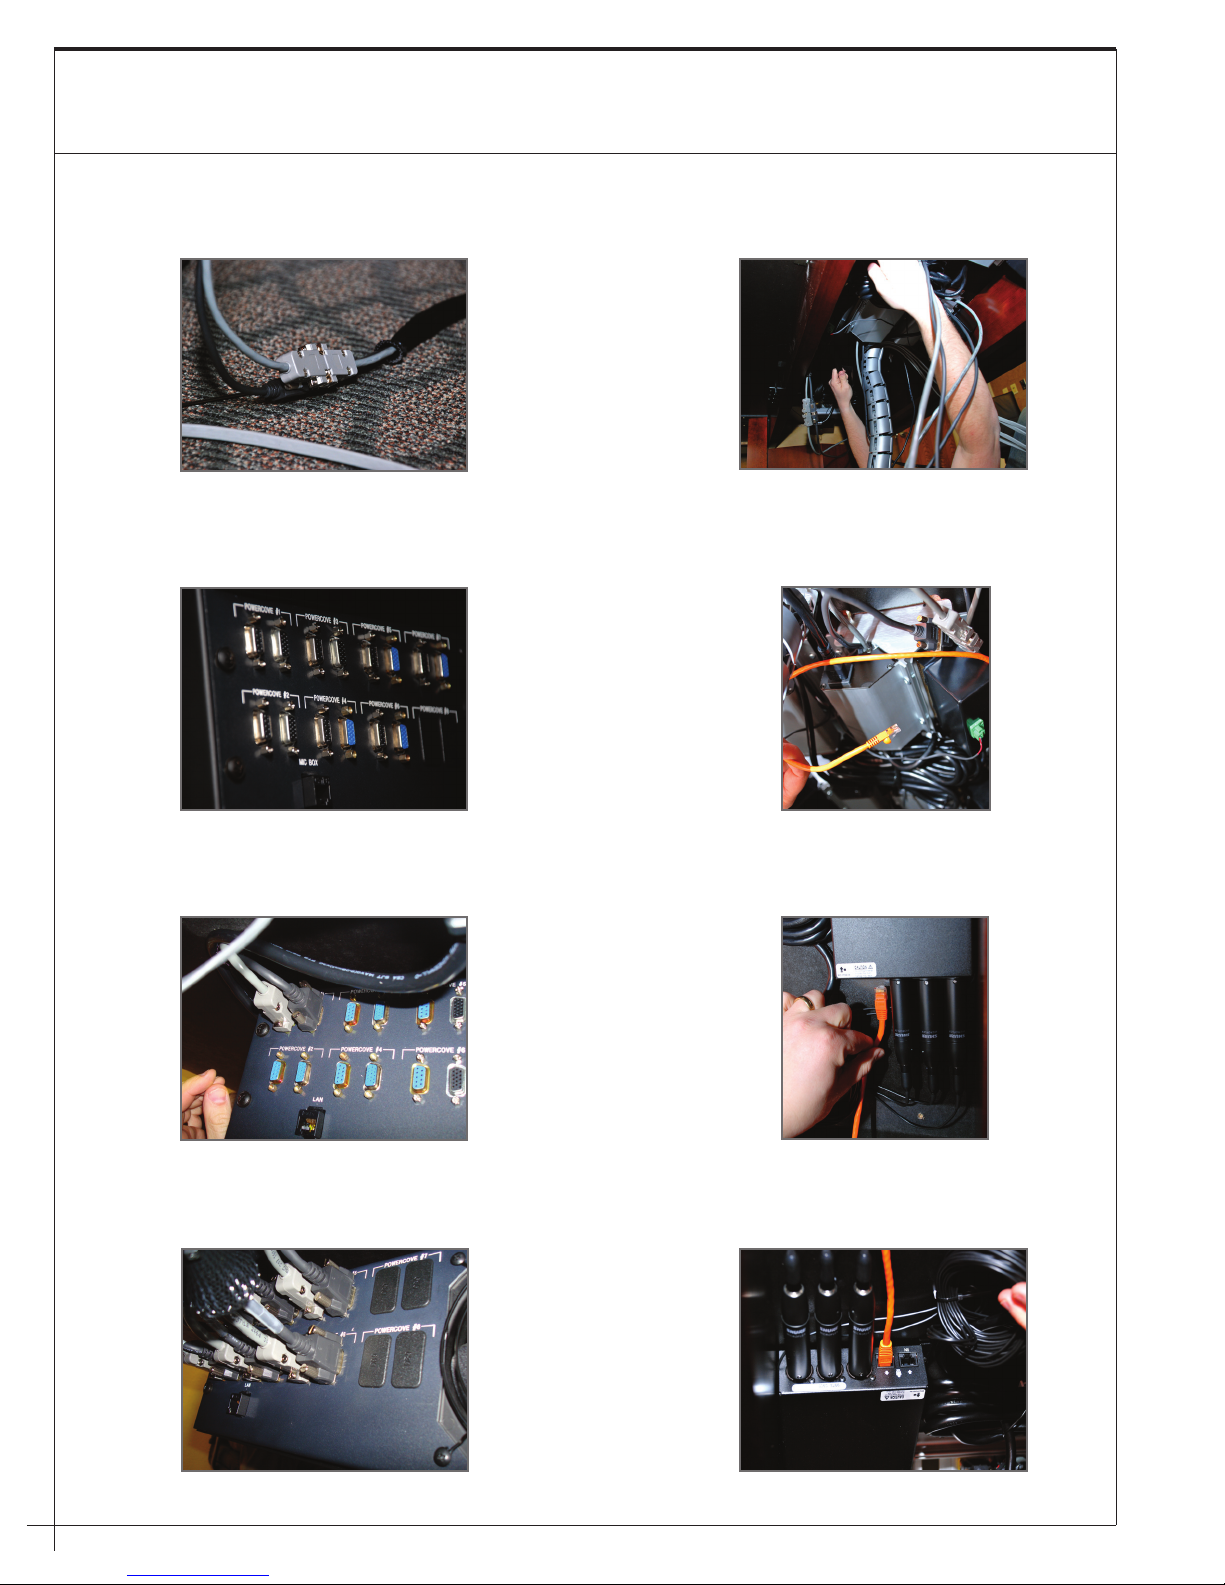
Dialogue Control Box
Located underneath the table top,
the Dialogue Control Box houses all
of the critical components to enable
spontaneous communication and
interaction.
A
Power Cove with Dialogue Go-Button™
and Integrated High-Definition Speaker
The Dialogue-Ready Power Cove is the key
element in driving Intellectual Momentum™
and more productive meetings. The Power
Cove houses the “Go-Button,” integrated
high-definition speaker (Level 2 and 3 only),
and audio/video connections.
B
Microphone
Strategically placed for maximum
auditory pick-up from all meeting
participants, the microphones allow
individuals to maintain comfort in
their work positions while clearly
amplifying their voices in audio
and video conferences.
C
Neos Presentation Wall
The Neos Presentation Wall is used for
mounting the monitor and carrying
forward the aesthetic of the table.
D
Display
Dialogue includes a high definition 50”
or 60” plasma monitor (47” monitor
for Arena) for data sharing and video
conferencing.
E
A
B
C
D
E