ODA EX Series User manual

Programmable DC Power Supply
User Manual
www.odacore.com
EX Series
Manual Part NO. 019EX-03

Legal Notices
© ODA Technologies Co., Ltd 2004
No part of this document may be photocopied, reproduced, or translated to another language without
the prior another language without the prior agreement and written consent of ODA agreement and
written consent of ODA Technologies Co., Ltd. as governed by Korea and international copyright laws.
Warranty Certification
The material contained in this document is provided “as is,” and is subject to being changed, without notice,
in future editions. Further, to the maximum extent permitted by applicable law, ODA disclaims all warranties,
either express or implied, with regard to this manual and any information contained herein, including
but not limited to the implied warranties of merchantability and fitness for a particular purpose.
ODA shall not be liable for errors or for incidental or be liable for errors or for incidental or consequential
damages in connection with the furnishing, use, or performance of this document or of any information
contained herein. Should ODA and the user have a separate written agreement with warranty terms covering
the material in this document that conflict with these terms, the warranty terms in the separate agreement
shall control.
Assistance
This product comes with the standard product warranty. Warranty options, extended support contacts,
product maintenance agreements and customer assistance agreements are also available.
Contact your nearest ODA Technologies, Sales and Service office for further information on ODA Technologies.
full line of Support Programs, Refer to below information.
Homepage: www.odacore.com
Email: oda@odacore.com
Tel: +82-70-5032-2926/2928 ( +82-1800-8644)
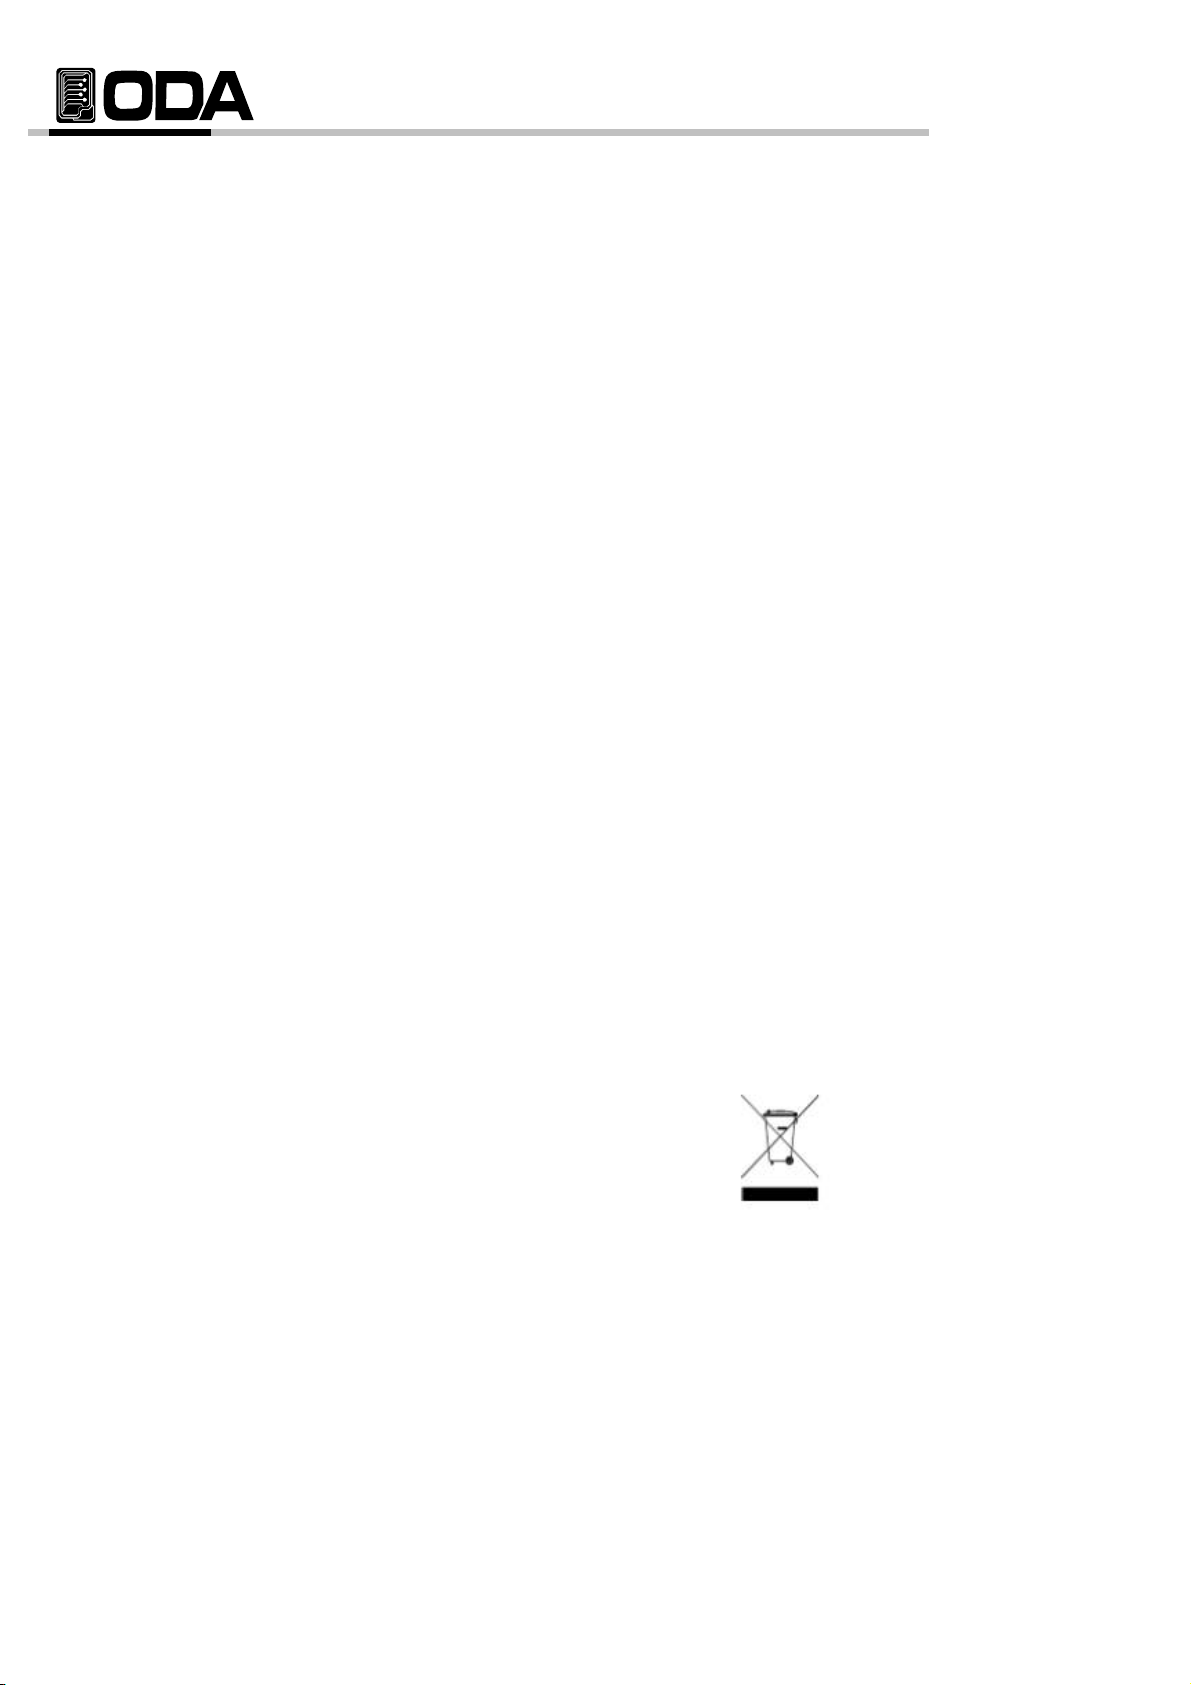
Waste Electrical and Electronic Equipment
The affixed product label (see right) indicates that you must not discard
this electrical/electronic product in domestic household waste. Do not dispose
in domestic household waste. To return unwanted products, contact our
local ODA distributors, or call us for more information.
Manual Editions
Manual Part Number: 019EX-03 Edition 3, October, 2019 Printed in ROK
Reprints of this manual containing minor corrections and updates may have the same printing date.
Revised editions are identified by a new printing date.

Safety Notices
The following general safety precautions must be observed during all phases of operation of this
instrument. Failure to comply with these precautions or with specific warnings or instructions elsewhere
in this manual violates safety standards of design, manufacture, and intended use of the instrument.
ODA Technologies assumes no liability for the customer's failure to comply with these requirements.
Do not block the ventilation openings.
Do not place the power cord, appliance inlet, or
main switch on instrument in difficult way to operate.
General
Do Not Modify the Instrument
Do not use this product in any manner no
(provided with a protective earth terminal)
box, product warranty might not be guaranteed.
Do not install substitute parts or perform any
specified by the manufacturer. The prote
unauthorized modification to the product. Return
features of this product may be impaired if
the product to an ODA Sales and Service Office
used in a manner not specified in the ope
for service and repair to ensure that safety
To minimize shock hazard, the instrumen
instructions.
features are maintained.
Please be sure to return product with the original
Ground the Instrument
packing box when returning. if the product is
This product is a Safety Class 1 instrume
damaged during delivery by using other packing
chassis and cover must be connected to an
electrical ground. The instrument must be
In Case of Damage
Instruments that appear damaged or defective
wire firmly connected to an electrical
unintended operation until they can be repaired by
(safety ground) at the power outlet. Any
qualified service personnel.
removing the instrument cover.
connected to the ac power mains through
the power cable and any external circuits b
Seperator Arrangement
Do Not Remove the Instrument Cover
Only qualified, service-trained personnel w
are aware of the hazards involved should
remove instrument covers. Always discon
Do not use the instrument in fire, flames,
attention to an operating procedure, practice,
or explosive areas, and use it indoors.
or the like that, if not correctly performed or
adhered to, could result in personal injury or
death. Do not proceed beyond a WARNING
notice until the indicated conditions are fully
understood and met.
in case you replace it on your own will
WARNING
Do Not use in explosive area or outdoors
A WARNING notice denotes a hazard. It calls
Fuses
of important data. Do not proceed beyond a
The instrument contains an internal fuse, w
CAUTION notice until the indicated conditions
is not customer accessible. You cannot get
are fully understood and met.
Verify that all safety precautions are taken
CAUTION
interruption of the protective
conductor or disconnection of the
earth terminal will cause a potential
Before Applying Power
hazard that could result in personal
Ventilation requirements
applying power. Note the instrument's
attention to an operating procedure, practice, or
A CAUTION notice denotes a hazard. It calls
external markings described under
the like that, if not correctly performed or adhered
"Safety Symbols"
to, could result in damage to the product or loss
a grounded power cable, with the ground
should be made inoperative and secured against
Make all connections to the unit before

Safety Symbol

CONTENTS
10
1-1. Feature 10
General Feature
Remote Interface Characteristics
Calibration
Factory Function Self Test Characteristics
Self Test Characteristics
1-2. Accessories and Options 11
Accessories
Options
12
Mechanical Check
Electrical Check
1-4. Operating Conditions 12
13
Output Terminal Check
Power Cord Check
Input AC Power Line Check
1-6. Check After Power On 15
Display Procedure on the LCD
Default Setting Values
16
Cooling
Bench Operation
Rack Mounting
18
2-1. Front-Panel Setting 21
22
2-3. Output Check ----------------------------------------------- 24
Voltage Output Check
Current Output Check
3. Front-Panel Operating
25
Over view 25
26
27
----------------------------------------------
----------------------------------------------
2. Front Panel, Rear Panel Composition & Function
-----------------
------------------------------------
- 6 -
-----------------------------------------------------------
3-1. Constant Voltage (CV) Operating
1-7. Installation
---------------------------------------------------
1. General Information
------------------------------------------------
----------------------------------------------
-------------------------------------------------------------
1-3. Inspecting the Unit
------------------------------------------
2-2. Rear Panel Composition
------------------------------------------
1-5. Check Before Power On
------------------------------------
------------------------------------
3-2. Constant Current (CC) Operation
------------------------------------
--------------------------------------

3-3. Remote Voltage Sensing 28
CV Regulation
Output Rating
Output Noise
Stability
Remote Voltage Sensing Connection
3-4. Programming Over Voltage Protection(OVP)
30
3-5. Programming Over Current Protection(OCP)
33
3-6. Programming Under Voltage Limit(UVL)
35
3-7. Programming Over Voltage Limit(OVL) 36
3-8. Programming Under Current Limit(UCL) 37
3-9. Programming Over Current Limit(OCL) 38
39
40
RS232C Setting
RS232C Configuration
RS485 Setting
RS485 Connection Drawing
RS485 Configuration
TCP/IP Setting(Option)
Delimiter
Response
3-12. Limit Display 49
3-13. Store 50
3-14. Recall
51
3-15. Output ON/OFF 52
3-16. Error Message Display 53
4. CALIBRATION 54
54
54
55
55
Instruments Connection Drawing
Electronic Load
Current-Monitoring Resistor(shunt)
DVM(Digital Volt Meter)
Programming
Measuring Point
---------------------------------------------------------
3-10. Key Lock
4-3. Equipments required for Calibration
-----------------------
- 7 -
3-11. IO/Local
--------------------------------------------------------
--------------------------------------------------------
4-2. Preparation for Calibration
---------------------------
---------------------------
---------------------------------------------------------
-----------------------------------------------------
4-4. Technic of Calibration
---------------------------
---------------------------------------------------
4-1. Characteristics
----------------------
-----------------------------------------------------------
---------------------------------------------------------
-----------------------------------------------------
----------------------
----------------------
----------------------
----------------------

57
Calibration Key Structure
Voltage Calibration
Current Calibration
4-6. Calibration by Remote Interface 61
Instruments Connection
Command Procedure of Remote Calibration
Voltage Calibration
Current Calibration
5. FACTORY 63
5-1. Characteristic 63
5-2. Factory Key Structure 63
5-3. USER-MEM CLEAR 64
User-Memory Clear Operating
5-4. LAST STATE 65
LAST STATE Operating
5-5. AUTO CURSOR MV 66
AUTO CURSOR MV Operating
5-6. AUTO KEY LOCK 67
AUTO KEY LOCK Operating
5-7. OVP USE 68
OVP USE Operating
5-8. OCP USE 69
OCP USE Operating
5-9. ADC SAMPLING 70
ADC SAMPLING Operating
5-10. CAL-RESTORE 71
CAL-RESTORE Operating
5-11. CAL-BACKUP 71
CAL-BACKUP Operating
5-12. CAL-DEFAULT 72
CAL-DEFAULT Operating
5-13. LOAD DEFAULT
72
LOAD DEFAULT Operating
6. SCPI Command
73
6-1. Commands Syntax 73
---------------------------------------------------
----------------------
-------------------------------------------------
---------------------------------------------------
---------------------------------------------------
- 8 -
---------------------------------------------------------
---------------------------------------------
---------------------------------------------------
--------------------------------------------------------------
---------------------------------------------------
---------------------------------------------------
-------------------------------------------------
--------------------------------------------------------
--------------------------------------------------------
---------------------------------------------------
4-5. Calibration Using Front Panel
----------------------
-----------------------------------------------------
--------------------------------------------------

6-2. Commands 73
Output Setting Commands
Measurement Commands
Calibration Commands
Factory Commands
System Commands
6-3. Apply Command 74
6-4. Output V/I Setting & Oprating Comm
74
6-5. Measure Commands 80
6-6. Calibration Commands 81
81
84
7. Error Messages 87
7-1. Operating Error 87
7-2. Hardware Error 87
87
89
7-5. Non-volatile Memory Check Error 89
7-6. Interface Commands Error 90
8. Specifications
91
9. Cautions 94
- 9 -
-------------------------------------------------------
7-3. Remote Calibration Error
---------------------------
-----------------
-----------------------------------
6-8. System Commands
--------------------------------------------------------
--------------------------------------------------------
--------------------------------------------------------
---------------------------
7-4. Calibration Error
--------------------------------------
--------------------------------------------------------
--------------------------------------------------------
--------------------------------------------
6-7. Factory Commands
--------------------------------------------
--------------------------------------------
--------------------------------------------

1. General Information
1-1. Feature
EX Series Single Output products are high-performance and high-efficiency programmable DC power
supply with RS-232C, RS-485, TCP/IP(option) interface based on SCPI (Standard Commands for
Programmable Instruments) protocol and the combination of bench-top and system features in these
power supplies provides versatile solutions for your design and test requirements in the industiral fields,
R&D institute center and education fields.
General Feature
▌Easy-to-use knob control settings.
▌2-Line * big size16Character LCD Display.
▌Output ON/OFF key.
▌Front panel key lock function.
▌Alarm beep when events occure.
▌Excellent precise and high resolution
▌Built-in Remote Sensing for Load Voltage(V-Sensing)
▌O.V.P(Over Voltage Protection) / O.C.P(Over Current Protection) mode supplied.
▌U.V.L(Under Voltage Lock) O.V.L( Over Voltage Lock) value setting functions.
▌U.C.L(Under Current Lock), O.C.L(Over Current Lock) value setting functions.
▌Excellent load and line regulation
▌Save Memory(operating state of voltage, current, OVP,OCP) and recall up to 10
▌Save and confirm up to 10 error messages
▌19inch Rack Compact Size (600~2.5KW-1U, 2.5~5KW-2U, 5~10KW-4U)
▌High-efficient output of 80%~90%.
Characteristics of Remote Interface
▌Supply various interface - RS-232C, RS-485, TCP/IP(option)
▌compatible with SCPI(Standard Commands for Programmable Instruments)
▌High speed setting & measurement
▌Programmed in abundant commands in the instrument.
▌Easy interface setting with "I/O config" on front panel key
▌Technical realization of products insulation & Floating Logic
▌Buint-in the error checking function for SCPI programming grammer.
Calibration
▌Software Calibration by manual with PC (No need of opening cover of instrument for calibration)
▌Easy calibration by using independence or PC interface
Factory Function
▌Initialization function of 10 user memory
▌Save and Recall last state of the instrument before turned off
▌The function of "Auto Key Lock & Auto Cursor Move" to prevent operator's mistake
▌OVP & OCP disable or disable setting function.
▌LCD display speed control function of V/I value by using "ADC(Analog to Digital Conversion)
Sampling" function.
▌Calibration Recall Function
▌Calibration Back-Up function
- 10 -

Characteristics of Self Test
▌Front panel Test
▌Remote interface Test
▌Memory date verification test
▌ADC H/W error Test
▌UnRegulated state Test
▌ADC/DAC Calibration verification Test
1-2. Accessories and Options
Accessories
▌AC input cord 1pc.(1.5meter)
▌Spare Fuse 1pcs
▌User's Manual (QR Code)
Option
▌TCP/IP communication module
▌RS232C Cable 1M, 2M, 4M
▌RS485 Cable 2/4/8-Channel 1M, 2M, 4M, 10M
▌AC Input Cable (Special order type)
▌Output Cable (Special order type)
▌100V ± 10% , 50~60Hz Input AC power.
▌380V ± 10% , 50~60Hz Input AC power.
▌440V ± 10% , 50~60Hz Input AC power.
▌Single or three phase Input AC power
- 11 -

1-3. Inspecting the Unit
When you receive your power supply, inspect it for any obvious damage that may have occurred during
shipment. If any damage is found, notify the carrier and the nearest ODA Sales Office immediately.
Warranty information is shown in the front of this manual. Keep the original packing materials in case
the power supply has to be returned to ODA Technologies in the future. If you return the power supply
for service, attach a tag dentifying the owner and model number. Also include a brief description
of the problem.
Mechanical Check
▌Check whether key, encoder switch, power switch are broken or not.
▌Check the panel surfaces are free of dents and scratches
▌Check whether rear output terminals are broken or not
▌Check whether the cabinet is free of scratches
▌Check whether the LDC display is not scratched or cracked.
Electrical Check
▌When turning on the power, check the alarm sound
If the alarm sounds, the instrument has the error during self-testing.
for Error checking, press the error key and conform error code
More information about error code, refer to “7.Error Messages”.
About Self-test, refer to 『1-6. Check after Power On』.
▌Check the model Number is matched with displayed model number
▌After it shows "**OUTPUT OFF**" message, verifies to a high level of confidence
Service Center : +82-70-5032-2926/2928 (+82-1800-8644)
Home page : www.odacore.com
1-4. Operating Conditions
This instrument is designed to use under following environmental conditions.
▌Environmental Temperature : 0 ∼ 40℃
▌Relative Humidity : ≦80﹪RH
▌Operating altitude : <2000m.pollution degree Ⅱ
▌No vibration
▌Avoid the electricmagnetic field
- 12 -
Note

1-5. Check Before Power On
Check Output terminals
▌Check the rear panel outputs for voltage sensing and rear main outputs as below.
<Figure 1-1>
WARNING
Floating the power supply output more than ±60 Vdc from the chassis presents an electric shock hazard
to the operator. Do not float the outputs more than ±60 Vdc when metal shorting material or wire
without insulation are used to connect the (+) output to the (+) sense and the (-) output to the
(-) sense terminals.
WARNING
Outputs can be floated to maximum of ±240 Vdc provided that the metal shorting wire without insulation
are either replaced with insulated conductors or they are removed from the terminals so there is no
operator access to the output conductors without insulation. All field wiring insulation must be adequate
for the voltage present.
- 13 -
<Figure 1-2>

Check Power cord
▌Your power supply is equipped with a 3-wire grounding type power cord; the third conductor being
the ground. The power supply is grounded only when the power line cord is plugged into an
appropriate receptacle. Do not operate your power supply without adequate cabinet ground connection.
Check Input AC Power Line
▌You can operate your power supply from a nominal 198~242 V single phase AC power source
at 47 to 63 Hz. AC100V, 110V, 115V, 230V input power is optional.
Refer to chapter "1-2. Accessories & Options"
▌In order to prevent the instrument severe damage from overload, fuse is built-in (1U, 2U products)
or braker(3U products) is installed rear side. If fuse also is broken or braker is turned down repeatedly
when power turns on, check the input power line or broken braker and then call to nearest
ODA Technologies A/S Center.
If products maximum output capacity is over 5KW, fuse will be replaced to Breaker.
- 14 -
<Figure 1-3>

1-6. Check After Power On
The power-on test includes an automatic self-test that checks the internal microprocessors and allows
the user visually to check the display. You will observe the following sequence on the display after pressing
the front panel power switch to on. And also keep the ex-remote and voltage value is zero and current value
is max value. OVP & OCP level are set to maximum output value of instrument capacity and it is under
the vigilance.
Display the prpcedure the LCD
▌Display "ODA Technologies".
▌Display "EX-Series Ver1.3"
▌Annunciators of ERR,LMT,RMT,LOCK on front side are lit and go off clockwise from the left.
CV & CC annunciators are not applied.
▌During displaying above procedure, the instrument is initialized by stored in non-volatile memory
▌Also the instrument runs automatic self-test below mentioned. Connection test between front panel
Connection test between front panel and connector.
Remote interface Test
Check remote interface for PC communication.
Memory data confirm Test
Check product information and related setting.
ADC H/W error Test
Check error on ADC control condition.
UnRegulated state Test
Check output voltage floating state
ADC/DAC Calibration Test
check ADC & DAC Calibration data state
If the error occurs, alarm beeps and the error code is saved to volatile memory automatically.
You can read the error code by pressing error key. About error code explanation, refer to
“7. Error Messages”.
Default Setting Values (Last state Mode is under the Disable state )
▌OVP : OVP value is max, state is ON
▌Remote Interface : RS-232C
▌OCP : OCP value is max, state is ON
▌State after self-test : "**OUTPUT OFF**"
▌UVL : 0V ▌Cursor location : Default voltage select
▌OVL : Limit setting maximum value Voltage : 1V
▌UCL : 0A Current : 100mA if current is under 5A.
▌OCL : Limit setting maximum value
In case of under 50A : 1A
▌Output Voltage : 0V In case of under 100A : 10A
▌Output Current : Limit setting maximum v
▌KEY LOCK : OFF
Remote Interface default is RS232C and the rate is set to 9600 baud when the power supply is shipped
from the factory. TCP/IP Module is optional and bulit in type.When ordering, please request.
In case of "Last State", it is disable when the power supply is shipped from the factory.
If you want to use this function, it is able to use in "Factory Mode". Refer to "5-4. Last State"
Note1
Note2
- 15-
Front panel Te

1-7. Installation
Cooling
▌The power supply can operate without loss of performance within the temperature range of
0 °C to 40 °C, and with derated output current from 40 °C to 55 °C. A fan cools the power supply
by drawing air through the rear panel and exhausting it out the sides.
Using an ODA rack mount will not impede the flow of air.
<Figure. 1-4 Bottom view>
Bench Operation
▌Your power supply must be installed in a location that allows sufficient space
at the sides and rear of the power supply for adequate air circulation
Rack Mounting
▌Our products dimension is based on 1U * 19inch full rack size and we provide front rack
bracket basically when you purchase our goods.
- 16 -
<Figure. 1-5>

▌Fasten between rack bracket and rack case by using fastener.
it is very east to install.
- 17 -
<Figure. 1-8>
▌To install instruments in a sliding support shelf, order support shelf and slide kit and
<Figure. 1-6>

2. Front Panel, Rear Panel Composition & Function
113 Curr Cursor or Menu Change Key
214 Output ON/OFF Key
3 16 Character,One Line LCD Display 15 IO/Local setting and Error Display Key
416 Protection setting and Front-panel Lock Key
517 Voltage/Current setting value Display Key
618 Save value or Calibration Key
719 Recall or Factory Key
8
9
10
11
12 Volt Cursor or Menu Change Key
Power Switch
CC Mode Lamp
- 18 -
Voltage Encoder Knob
CV Modev Lamp
Limit Display Lamp
Key Lock Lamp
Remote Interface Lamp
Ventilation Slit
Current Encoder Knob
Error Lamp

1. POWER switch
The power supply is turned on or off by this switch. It is adopted by following power supply's capacity.
2. Ventilation slit.
Air flow flows from front ventilation slit to rear ventilation slit compulsorily.
3. 16Character, one line LCD Display.
Voltage/current and , all kinds menu/message displayed.
4. Error Lamp
Error occurs, LED is lit. After checked all errors, LED is turned off.
5. Limit Display Lamp
When the instrument is under the setting of Volt/Curr, LED is lit. If the device is output on state
LED is turned off.
6. Key Lock Lamp
If Key lock lamp is turned on, front panel keys are not working.
7. Remote Interface Lamp
When received the remote control signal from PC, PLC and etc, it lights and automatically,
front panel keys are under "Key Lock" state.
8. CV Mode Lamp
The power supply is in constant voltage mode
9. CC Mode Lamp
The power supply is in constant current mode
10. Voltage Encoder Knob
Adjusts the output voltage, the over-voltage protection level, the under-voltage limit
and numeric value changing of other menu.
11. Current Encoder Knob
Adjusts the output current, the over-current protection level, the under-current limit
and numeric value changing of other menu.
- 19 -

12. Volt Cursor or Menu Change Key.
Move the under bar digit to the left about voltage. It also is used to move to next menu
when selected menu mode.
13. Curr Cursor or Menu Change Key.
Move the under bar digit to the right about current. It also is used to move to next menu
when selected menu mod
14. Output ON/OFF Key.
Enables or disables the power supply output. This key toggles between on and off
15. IO/Local Setting and Error Display Key
Configures the power supply for remote interfaces(Choose RS232C, RS485 or TCP/IP)
This key can be used to change to Local Mode from Remote Interface state.
Displays error codes generated during operation and self-test. Automatically convert to IO/Local key.
16. Protection setting and Front-panel Lock Key
Enables or disables the OVP/OCP/UVL/OVL/UCL/OCL protection function, sets trip voltage level,
and clears the over-voltage condition. Also press this key for 1sec, you can lock front panel operating
with lighting LOCK lamp. Press agaoin this key for 1 sec, clear the lock key.
17. Volt/Curr Setting Limit Display Key
Shows setting value of voltage and current and allows knob adjustment for setting limit values
with lighting LMT lamp. press again this key for 1 sec, return to previous state.
You only see the setting value not just real output value.
18. Store or Calibration Key.
Stores an operating state(voltage, current, OVP, OCP and other state) in location ‘‘1’’, ‘‘2’’,
‘‘3’’ or another number / enables calibration mode with pressing this key and put the AC power on.
19. Recall or Factory Key
Recalls an operating state(voltage, current, OVP, OCP and other state) in location ‘‘1’’, ‘‘2’’, ‘‘3’’ or
another number/ enables factory mode(Memory Initializing, ,Auto Cursor Move, Auto Key Lock,
OVP Disable, OCP Disable, ADC Sampling, Calibration Restore, Calibration Backup,
Calibration Factory Default Recover and etc) with pressing this key and put the AC power on
- 20 -

2-1. Front-Panel setting of Voltage and Current
You can set the voltage and current limit values from the front panel using the following method.
1. Confirm the display of "OUTPUT OFF" on the LCD after turning on the power supply.
2. Press the "Limit Display" key to show the limit values (setting mode) on the display.
3. Left cursor key is for voltage setting from fine to course, also right cursor key is for current
setting from course to fine.
4. About both of encoder knob, left encoder is for voltage value increasing or decreasing.
Right encoder is for current value increasing or decreasing.
5. In order to increase the volt/curr limit value, turn the encoder clockwise.
In order to decrease the volt/curr limit value, turn the encoder counter clockwise.
6. Confirm the change of setting value at LCD display
7. In order to output the setting voltage & current, press "OUTP ON/OFF" key.
If the power-on self-test fails, the ERROR annunciator turns on and then press the "Error Key"
in order to confirm the error code. For further information of Error code, Please refer “7. Error Messages”.
About error code, refer to “7. Error Messages
When the instrument is operating under the remote interface, The keys and Encorders of Front panel
is not working. In order to control by front panel key, press the "IO/Local Key" for local control
after stopped the remote Interface operating.
- 21 -
Note3
Note1
Other manuals for EX Series
2
This manual suits for next models
79
Table of contents
Other ODA Power Supply manuals