16
15
Warranty Rules
1. Warranty Range
We provide free replacement parts for buyers/users. Warranty only
covers the parts of the chair. Please note that free tools (allen wrench)
are not covered in the warranty.
2. Warranty Conditions
Parts will be covered if used normally in reference to the instructions
in the manual. Warranty will not include damages caused by
not following the manual.
3. No warranty covered
1) No proof of damaged parts ( need clear original picture or video to
show the defective parts of chair ).
2) Failure parts caused by improper operation after purchase. For
example, sitting on the armrest may break it.
3) The parts fail due to modification, disassembly or repair of the
product by a third party or customer not following the instructions.
4) Other reasons found that cannot prove damaged parts. We shall
not be responsible for any intended damages or accidental damages by
detrimental weather, etc.
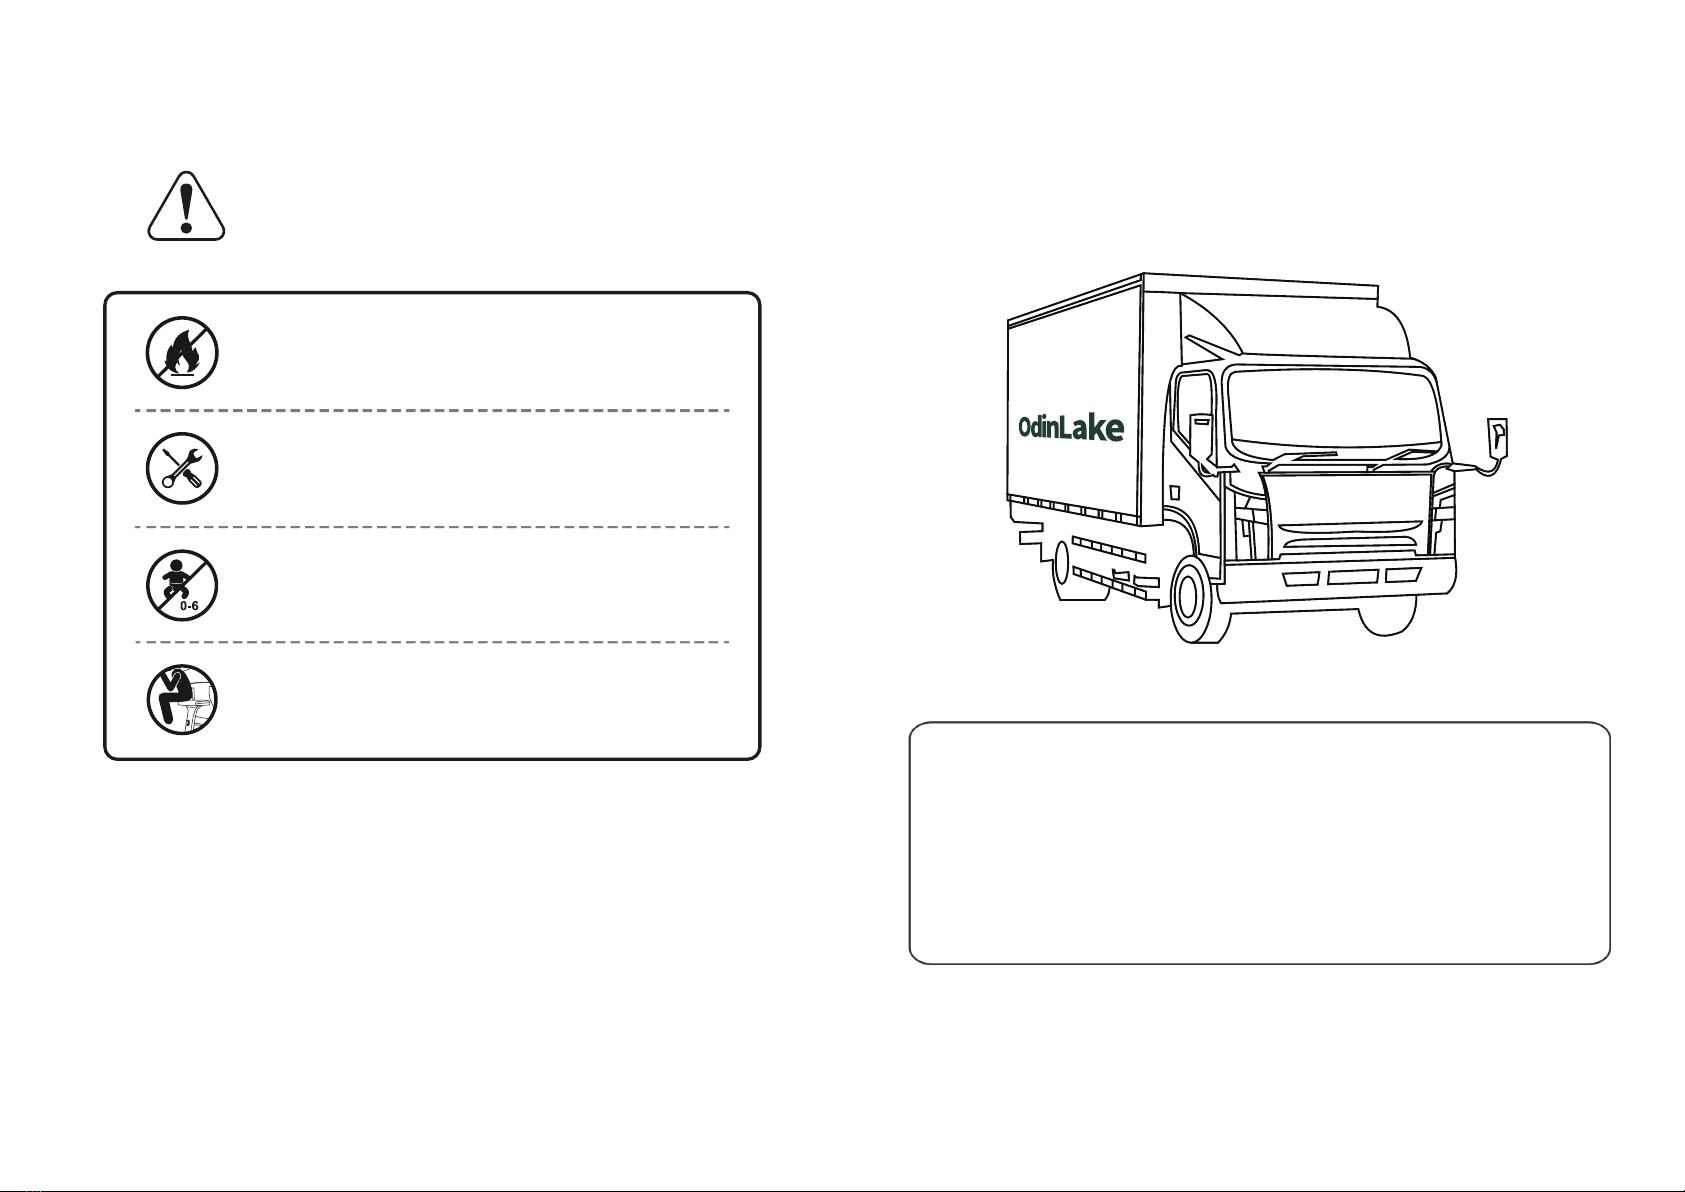
4. Attention
Please keep the original package box for 30 days in case you need to
return the chair to the OdinLake.
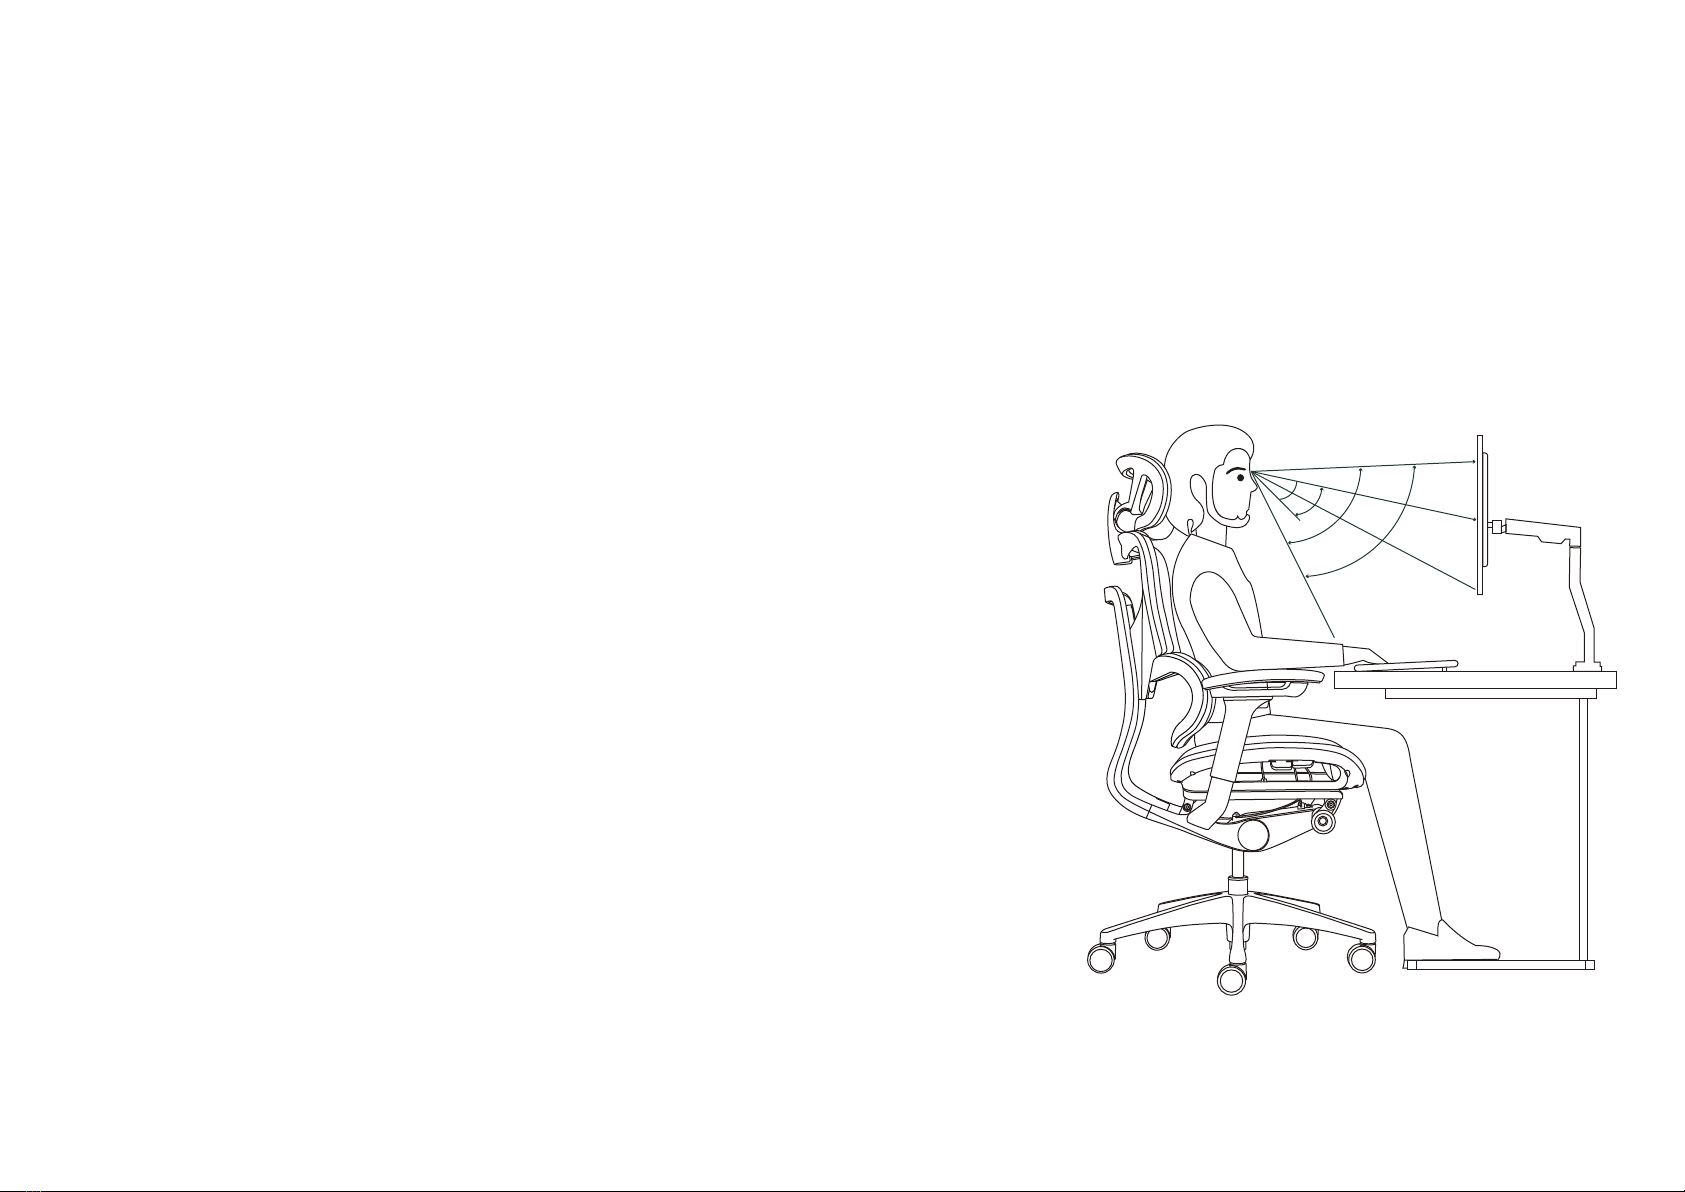
Office Ergonomic Guide
A comfortable working space can help you feel better. Give your
sitting and working area a makeover with this visual guideline to
office ergonomics.
Wrists straight,
hands at or below
elbows level
Keep an arm away
Enjoy your daily life with OdinLake Chairs!
Adjust chair height
so knees are about
same level with hips
15°
30°
30°
60°
15°