Odorox BOSS XL3 User manual


Safety Informaon ..................................................................................... 1
Contents List .............................................................................................. 2
Odorox® Boss XL3™ Unit Operaonal Guidelines...................................... 3
Operang The Odorox® Boss XL3™ ........................................................... 4
Care Instrucons ....................................................................................... 5
Opc Replacement Instrucons ................................................................ 6
Troubleshoong Guide .............................................................................. 7
Specicaons And Warranty ..................................................................... 8
TABLE OF CONTENTS

PLEASE READ AND SAVE
THESE IMPORTANT SAFETY
INSTRUCTIONS
IMPORTANT SAFEGUARDS
When using electrical equipment, basic
safety precautions should always be
followed to reduce the risk of re, electric
shock, and injury to persons, including the
following:
• Read all instructions before using this
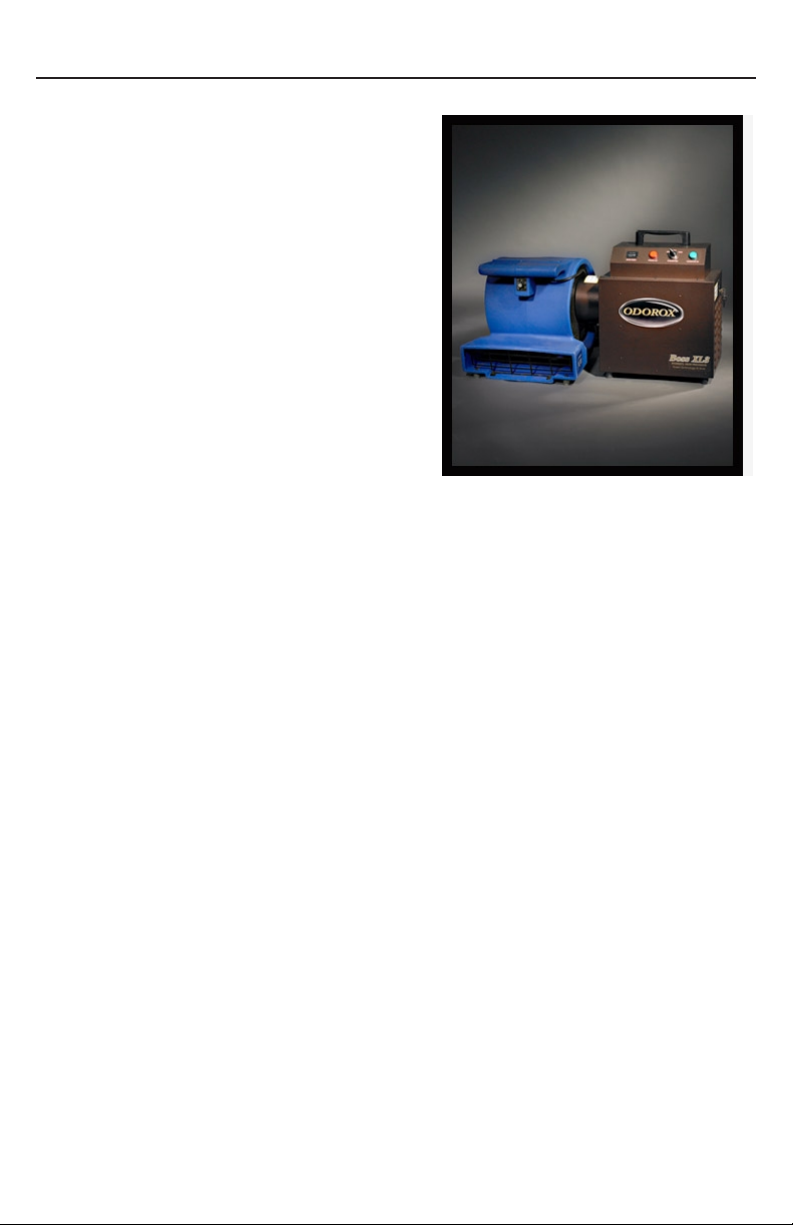
Hydroxyl Generator.
• To avoid re or shock hazard, plug the
equipment directly into a grounded AC
electrical outlet.
• If the generator is covered by a bag when
shipped: remove plastic bag before use.
• Keep the cord out of heavy trafc areas.
To avoid re hazard, NEVER put the cord
under rugs, near heat registers, radiators,
stoves, or heaters.
• To protect against electrical hazards, DO
NOT immerse in water or other liquids. DO
NOT use near water.
• DO NOT leave the generator in use
unattended around those requiring close
supervision.
• WARNING! Always unplug the generator
before moving it, cleaning, or whenever the
generator is not in use. Be sure to pull by the
plug and not the cord.
• NEVER drop or insert any object into any
openings.
• DO NOT operate any generator with a
damaged cord or plug, if motor fan fails to
rotate, after the generator malfunctions, or
if it has been dropped or damaged in any
manner. Return generator to manufacturer
or authorized repair facility for examination,
electrical or mechanical adjustment, or repair.
• Use generator only for intended use as
described in this manual. Any other use
not recommended by the manufacturer
may cause re, electric shock, or injury
to persons. The use of attachments not
recommended may cause hazards.
• INDOOR USE ONLY!
• NEVER block the air openings, grills/outlets
or place on a soft surface such as a bed or
sofa, as this could cause the unit to tip over,
blocking the Air Intake Opening/Grill.
• Keep unit away from heated surfaces and
open ames.
• CAUTION: For General Ventilating Use
Only. Do Not Use to Exhaust Hazardous or
Explosive Materials and Vapors.
• DO NOT attempt to repair or adjust any
electrical or mechanical functions on this
unit. Doing so will void your warranty.
The inside of the unit contains no user
serviceable parts. All servicing should be
performed by qualied personnel only.
• WARNING! To reduce the risk of re or
electric shock, DO NOT use this generator
with any solid-state speed control device.
• DO NOT place anything on top of generator.
• DO NOT plug the cord in with wet hands:
electric shock could result.
• NEVER use detergents, gasoline, glass
cleaner, furniture polish, paint thinner or
other household solvents to clean any part
of the generator.
• DO NOT, under any circumstances, cut or
remove the third (Ground) prong from power
cord. For personal safety, this generator
must be properly grounded.
WARNING!
Use this Hydroxyl Generator only for its intended
purpose as described in this Owner’s Manual.
SAFETY INFORMATION

The Odorox® Boss XL3™ Hydroxyl Generator is shipped with the following:
1. Odorox® Boss XL3™ Hydroxyl Generator
2. Washable Filter
3. Set of Keys
4. Owners’ Manual
5. Warranty Card
Note: Air Mover Not Included
CONTENTS LIST

ODOROX
®
BOSS XL3™ OPERATIONAL GUIDELINES
The Odorox® Boss XL3™ Unit is the
right choice for large area odor control
resulng from res, ooding, sewer
backup contaminaon, toxic odors and
chemical spills. This unit is designed
for use with your exisng air mover (air
mover is not included).
The Boss XL3™ Unit will provide a heavy concentration of Odorox® hydroxyls
to treat large areas affected by re and smoke, ood, nicotine, grey/black
water, decomposition, mold, sewage, chemical spills/off gassing and any other
odor problem you may encounter. This unit allows you to decontaminate and
deodorize while you dry because it joins directly to your existing air movers. The
Boss XL3™ Unit is equipped with a selector switch for 2 or 3 Odorox® hydroxyl
generating optics and operates using very low Wattage.
For use in heavy odor concentrations, the best performance will take place if the
washable lter is removed prior to start up. This will ensure that the Odorox®
Boss XL3™ Unit continues to treat the source of the odors and does not also
need to treat odors coming from accumulation on the lter.
Recommended treatment area per Boss XL3™ Unit

Note: The Odorox® Boss XL3™ Unit
requires an external air mover to
funcon (not supplied with Boss XL3™
Unit). The air mover must be operang
on high speed and situated as seen in
the adjacent picture to acvate the
Boss XL3’s vacuum switch allowing
the unit to funcon
POWER ON
The red “POWER ON” LED will turn on when the Boss XL3™ Unit is plugged
into a proper power source. With the red “POWER ON” LED turned on, the
Boss XL3™ Unit can be powered on by turning the “PROCESSOR” switch to the
“LOW” or “HIGH” position (refer to Note above). The green “PROCESSOR ON”
LED will indicate when the Boss XL3™ Unit has either two or three Odorox®
hydroxyl generating optics functioning.
POWER OFF
The main power for the Boss XL3™ Unit can be switched off by turning the
“PROCESSOR” switch to the “OFF” position.
PROCESSOR
The Boss XL3™ Unit is equipped with three Odorox® hydroxyl generating
optics. With the “PROCESSOR” switch in the “LOW” position, two optics will be
functioning. With the “PROCESSOR” switch in the “HIGH” position, three optics
will be functioning.
OPERATING THE ODOROX
®
BOSS XL3™ UNIT

CARE INSTRUCTIONS
CAUTION: DISCONNECT the unit from an electrical power source
before performing any maintenance or cleaning on the unit.
SYSTEM CASE CLEANING
Exterior
The exterior of the Odorox® product can be cleaned with mild dishwashing
detergent and a clean cloth, and then rinsed with clean water. DO NOT use any
all-purpose cleaners with harsh detergents or abrasives, as these may damage
the exterior of the equipment and void any warranty. Care should also be
taken to avoid spraying or otherwise directing detergent or water into or around
electrical components.
Interior
The interior of the Odorox® product can be cleaned in the same manner as the
exterior with the exception of the optics and optics’ housing.
OPTIC CLEANING
Cleaning of the Odorox® optics is recommended to maintain peak processing
efciency. Fingerprints, smudges, dirt, dust particles, etc. will interfere with the
hydroxyl production and should be avoided.
Note: Remove the optics from the optic chamber prior to cleaning to avoid
any damage to the optics during the cleaning process (refer to the Optic
Replacement Instructions for proper removal).
To clean the optics, use a solution of 10% Isopropyl Alcohol and 90% ltered/
distilled water on a clean lint-free cloth and wipe gently. Do not use any type of
commercial glass cleaner. Using another lint-free cloth, gently wipe the optic until
completely dry. Allow the optic to dry completely (20 minutes) before operating
the system.

OPTIC REPLACEMENT INSTRUCTIONS
CAUTION: DISCONNECT the unit from an electrical power source before
performing any maintenance or cleaning on the unit.
Step 1 – Turn “PROCESSOR” switch to the “OFF” position
Step 2 – Unplug power cord from the electrical receptacle
Step 3 – Using the supplied key, unlock and remove both end panels
Step 4 – Remove optic following these instructions:
CAUTION: Use clean powder free latex gloves and eye protecon when
handling the opcs in this unit.
• With a rm grip on the upper porcelain end of the optic, use your other hand to
grip the optic connector.
• Gently ‘wiggle’ connector while pulling from the optic base.
• Gently pull optic from three lamp supports (Do not put any pressure on the side
of the optic without support).
Cauon: Opcs contain Mercury. Dispose of opcs in accordance with
local regulaons. To nd out more about local regulaons, please visit
www.lamprecycle.org.
Step 5 – Install new optic following these instructions:
• Remove new optic from packaging and gently insert into the three optic clips.
• With a rm grip on the upper porcelain end of the optic, use your other hand to
grip the optic connector.
• Gently connect the optic connector to the optic.
• Note: Optic connector is keyed with the optic base and will connect in one
direction only
• Ensure optic connector and optic base are rmly pressed together.
Step 6 – Re-install end panels
Step 7 – Plug power cord back into the electrical receptacle
Step 8 – Test unit for proper operation

PROBLEM POSSIBLE CAUSE SOLUTION
Red “POWER ON” LED will
not light up
Boss XL3™ Unit is not
plugged into an energized
electrical receptacle.
Ensure circuit breaker is
‘ON’ and the electrical
receptacle has proper
power available.
Red LED has failed. Contact local distributor for
service.
Green “PROCESSOR ON”
LED will not light up
“PROCESSOR” switch is
not turned on.
Turn on “PROCESSOR”
switch to “LOW” or “HIGH”
position.
Auxiliary air mover not
connected to Boss XL3™
Unit as shown in manual.
Position Boss XL3™ Unit
and auxiliary air mover as
shown in manual.
Auxiliary air mover not
turned on high speed.
Turn auxiliary air mover on
to high speed.
Auxiliary air mover not
rated for high enough static
pressure (low amperage unit).
Try the setup using an
alternate auxiliary air
mover.
Negative pressure tubing is
kinked or not in the correct
position to activate the
pressure switch.
Ensure that the negative
pressure tubing (clear 1/4
inch) is pulled through into
the 7 inch discharge nozzle
of the Boss XL3™ Unit and
that it is not kinked.
Green LED has failed. Contact local distributor for
service.
Internal component failure. Contact local distributor for
service.
Optic(s) not functioning Rated life of optic has
been met.
Contact local distributor for
replacement optics/service.
Optics have been
damaged.
Contact local distributor for
replacement optics/service.
Internal component failure. Contact local distributor for
service.
OPTIC REPLACEMENT INSTRUCTIONS

SPECIFICATIONS AND WARRANTY
SPECIFICATIONS
Dimensions: 11.12” x 20.25” x 20.25” (282.4mm x 514.4mm x 514.4mm)
Weight: 25lbs (11.4kg)
Power Requirements: 120 Volt AC, 1.6 Amp, 60 Hz (North America Model)
240 Volt AC, 0.9 Amp, 50 Hz (International)
Control: Selector Switch
Meter: 1/10 Quartz Hour Meter
Mobility: Handle/Rubber Feet
Noise Level: N/A (refer to air mover specications)
Number of Optics: 3
REPLACEMENT PARTS
HGI PART # QUANTITY IN EACH
BOSS XL3™ UNIT
PART DESCRIPTION
OPT-XX-078 3 ODOROX® HYDROXYL GENERATING
OPTIC, BROWN
XSA00EW02 3 OPTICS POWER CABLE
XSA00EA01 3 BALLAST ASSEMBLY, 120 VOLT (N.Am.)
XSA00EA06 3 BALLAST ASSEMBLY, 200-277 VOLT,
50/60 Hz (INTL)
EPC-IL-021 1 LIGHT MODULE, PROTECTED LED,
110-120VAC, GREEN (N.Am.)
EPC-IL-017 1 LIGHT MODULE, PROTECTED LED,
230/240VAC, GREEN (INTL)
EPC-IL-148 1 LIGHT MODULE, PROTECTED LED,
110-120VAC, RED (N.Am.)
EPC-IL-149 1 LIGHT MODULE, PROTECTED LED,
230/240VAC, RED (INTL)
XSA00EA04 1 HOUR METER ASSEMBLY, 90-264VAC,
50/60 Hz
LIMITED WARRANTY
HGI Industries, Inc. warrants that this Odorox® product (excluding spare parts
and consumables) shall be free from defects in workmanship or materials for a
period of one (1) year from the delivery thereof to the customer.

CONTACTING YOUR LOCAL DISTRIBUTOR
For replacement parts, warranty service, or any questions regarding the
operation and maintenance of your Odorox® product, please contact your
local Odorox® distributor.
To nd a distributor in your area, please visit: www.Odorox.com
Odorox® Hydroxyl Generators are proudly manufactured in the USA.
HGI Industries, Inc.
2055 High Ridge Road
Boynton Beach, FL 33426
Toll Free: 877.735.3701
www.hgiind.com
Copyright © 2011, HGI Industries Incorporated
Odorox and Boss XL3 are trademarks or registered trademarks of HGI Industries Incorporated, Boynton Beach, Florida USA.
Table of contents
Other Odorox Inverter manuals
Popular Inverter manuals by other brands

Senci
Senci SC4000i user guide

Link electronics
Link electronics 1199 Specification sheet

SunSynk
SunSynk SUNSYNK-3.6K-SG01LP1 user manual

socomec
socomec SUNSYS H50 Installation and operating manual

Festo
Festo VADM Series operating instructions

Briggs & Stratton
Briggs & Stratton FORTRESS Series Installation and operation manual

Trace Engineering
Trace Engineering DR Series owner's manual

Whistler
Whistler GO AC PP150AC owner's manual

Mastervolt
Mastervolt WHISPER 20 ULTRA user manual

Parker
Parker 890GTR product manual

Agilent Technologies
Agilent Technologies 33250A Service guide

Dometic GROUP
Dometic GROUP Waeco SinePower MSI212 Installation and operating manual