manuals.online logo
Brands
  1. Home
  2. •
  3. Brands
  4. •
  5. OFM
  6. •
  7. Indoor Furnishing
  8. •
  9. OFM 130 User manual

OFM 130 User manual

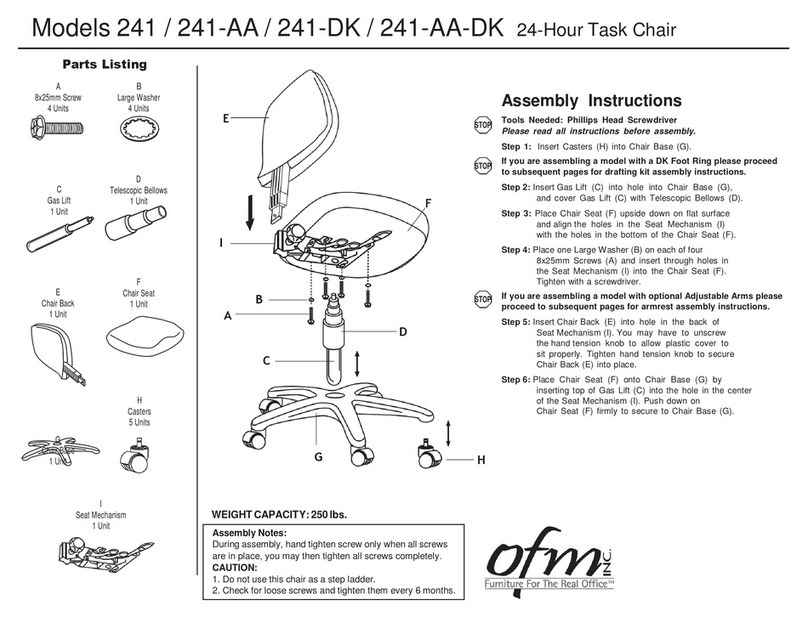
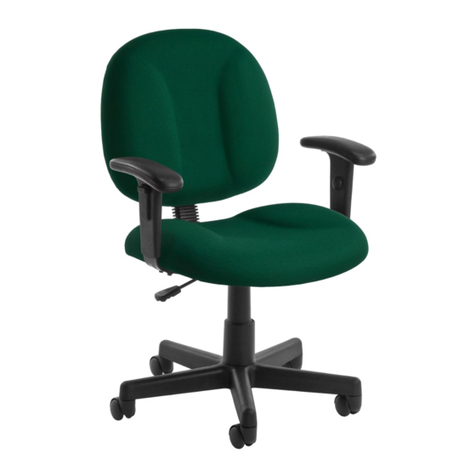
Model 130/130-AA3/130-AA3-DK/130-DK Modern Mesh Ergonomic Task Chair
Parts Listing Assembly Instructions:
A
Chair Back
1 Unit
C
Seat Mechanism
1 Unit
E
Gas Lift
1 Unit
G
8x20mm Screws
4 Units
B
Chair Seat
1 Unit
D
Casters
5 Units
F
Telescopic Bellows
1 Unit
H
Chair Base
1 Unit
WEIGHTCAPACITY:250lbs.
Tools Needed: Philips Head Screwdriver
Please read all instructions before assembly.
Step 1: Insert Casters (D) into Base (H).
If you are assembling a model with a DK Foot Ring please proceed
to subsequent pages for drafting kit assembly instructions.
Step 2: Insert Gas Lift (E) into Base (H).
Step 3: Cover Gas Lift (E) with 3 piece Telescopic Bellows (F).
Step 4: Place Chair Seat (B) upside down on a level,
non-abrasive surface and align pre-drilled holes in
Seat Mechanism (C), with holes in Chair Seat.
Step 5: Insert four 30mm Screws (G) through holes in the
Seat Mechanism (C), and into the Chair Seat (B).
Tighten with screwdriver.
If you are assembling a model with optional Adjustable Arms please
proceed to subsequent pages for armrest assembly instructions.
Step 6: Carefully place Chair Seat (B) with attached Seat
Mechanism (C) onto the Gas Lift (E), aligning the hole
in the Seat Mechanism with Gas Lift. Press down
on Chair Seat to secure onto Base (H).
Step 7: Slide Chair Back (A) with attached back support bar
into the slot on Seat Mechanism (C).
Step 8: Hand tighten tension knob on Seat Mechanism (C)
until the Chair Back (A) is properly secured.
Step 9: Carefully sit on chair to make sure the Gas Lift (E)
is properly inserted into the Base (H).
Step 10: Operate the Gas Lift lever on the Seat Mechanism (C),
to be sure unit is working properly.
Step 11: Readjust Chair Back (A) by loosening tension knob
on the Seat Mechanism (C) accordingly, for your
personal comfort.
D
STOP
A
STOP
B
C
STOP
G
F
E
H
Assembly Notes:
During assembly, hand tighten screw only when all screws
are in place, you may then tighten all screws completely.
CAUTION:
1. Do not use this chair as a step ladder.
2. Check for loose screws and tighten them every 6 months.
Model AA-3 Adjustable Arms
Parts Listing
A
AA-3 Adjustable Armrest
2 Units
B
M6x30mm Screw
6 Units
C
Washer
6 Units
Height Adjustment
Button
Forward
A
Chair Seat
C
Assembly Instructions
Tools Needed: Phillips Head Screwdriver
Please read all instructions before assembly.
Step 1: Turn Chair Seat upside down and place on a
clean, non-abrasive surface.
Step 2: Align the pre-drilled holes in the Adjustable Armrest (A)
with the holes in the bottom of the Chair Seat,
making sure that the arms face the correct direction.
Step 3: Place three Washers (C) onto three M6x30mm
Hex Screws (B) and insert through the Armrest (A)
holes and into the Chair Seat.
Step 4: Tighten Screws (B) using wrench or screwdriver.
It is recommended that to assure screws are secure,
a screwdriver is used to tighten.
To Adjust Arms:
Pull up on the Height Adjustment Button
and slide to desired height.
B
STOP
Assembly Notes:
During assembly, hand tighten screw. Only when all screws
are in place, you may then tighten all screws completely.
CAUTION:
1. Do not use this chair as a step ladder.
2. Check for loose screws and tighten them every 6 months.
Model DK-2 Drafting Kit Assembly
Parts Listing
A
Circular Foot Rest
1 Unit
Assembly Instructions
B
Tension Knob
1 Unit
C
B
9” Extension Tube
1 Unit
D
12” Extension Tube
1 Unit
Chair Seat
Chair Base
Please read all instructions before assembly.
Prior to assembly, select only one Extension Tube
for desired Height
9” Extension Tube will make the seat height 27.25” - 31.50”
12” Extension Tube will make the seat height 30.25" - 34.50”
Step 1: Slide the Circular Foot Rest (A) over the smaller
tapered end of your chosen Extension Tube (C / D).
Step 2: Screw in Tension Knob (B) and tighten to lock
Foot Rest (A).
Step 3: Place the tapered end of Extension Tube (C / D)
into your Chair Base.
Step 4: Insert bottom of Gas Lift Cylinder into the top
end of the Extension Tube (C / D).
Step 5: Place the Chair Seat onto the Gas Lift by
inserting top of Gas Lift into the hole in the
Seat Mechanism.
Step 6: Press down firmly to secure the chair.
Note: Save the left over extension tube for future use.
Gas Lift
C / D
A
STOP

This manual suits for next models

3

Other OFM Indoor Furnishing manuals

OFM 105 User manual

OFM

OFM 105 User manual

OFM ORO300 User manual

OFM

OFM ORO300 User manual

OFM 161-MWBC User manual

OFM

OFM 161-MWBC User manual

OFM 55295 User manual

OFM

OFM 55295 User manual
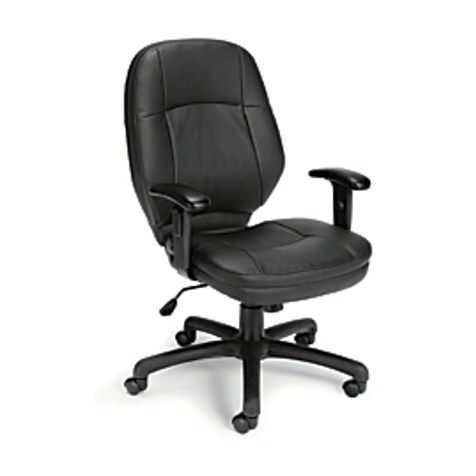
OFM CL-D6030 User manual

OFM

OFM CL-D6030 User manual

OFM Essentials ESS-6050 Use and maintenance manual

OFM

OFM Essentials ESS-6050 Use and maintenance manual

OFM ORO200 Use and maintenance manual

OFM

OFM ORO200 Use and maintenance manual

OFM ESS-3045 User manual

OFM

OFM ESS-3045 User manual

OFM E3035 Use and maintenance manual

OFM

OFM E3035 Use and maintenance manual

OFM Stimulus 521-LX User manual

OFM

OFM Stimulus 521-LX User manual

OFM 700 User manual

OFM

OFM 700 User manual

OFM 130 User manual

OFM

OFM 130 User manual

OFM Task Chair 130 User manual

OFM

OFM Task Chair 130 User manual

OFM Essentials ESS-1000 User manual

OFM

OFM Essentials ESS-1000 User manual

OFM Essentials ESS-1012 User manual

OFM

OFM Essentials ESS-1012 User manual

OFM Essentials ESS-5136-BLK User manual

OFM

OFM Essentials ESS-5136-BLK User manual

OFM Essentials ESS-3046 User manual

OFM

OFM Essentials ESS-3046 User manual

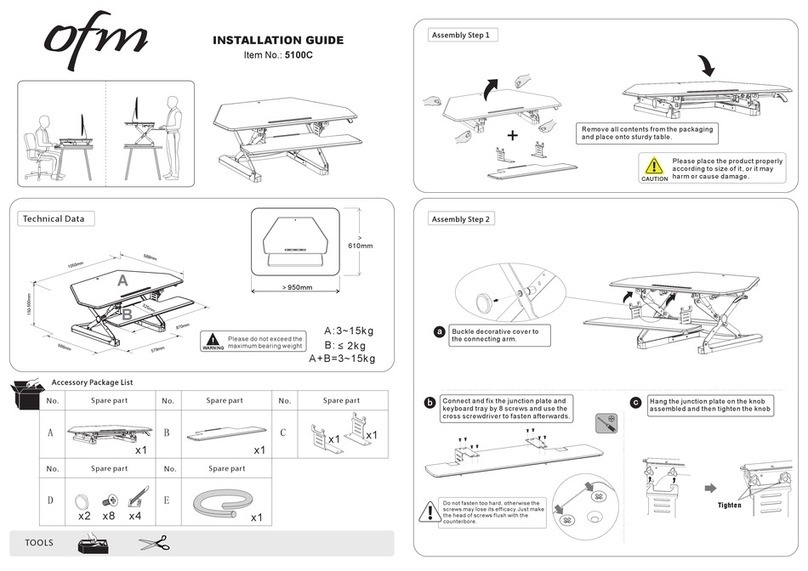
OFM 5100C User manual

OFM

OFM 5100C User manual

OFM Marque Series User manual

OFM

OFM Marque Series User manual
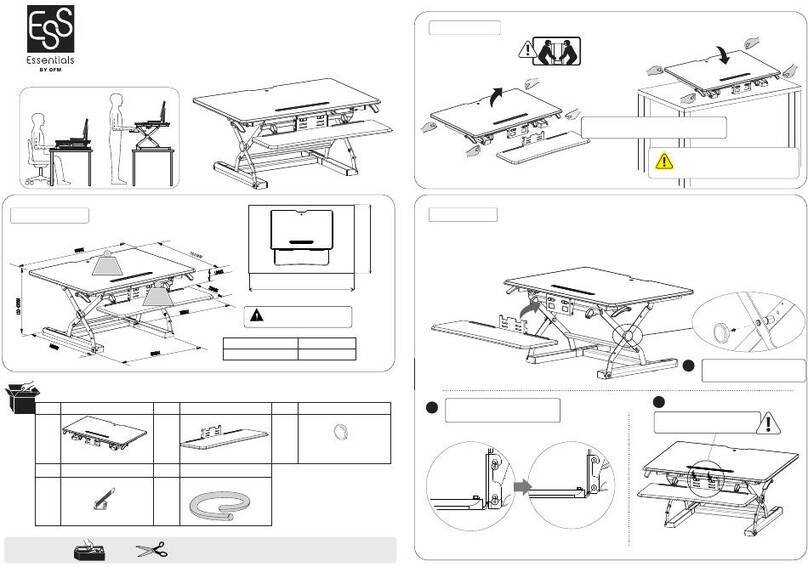
OFM CL-MP72 User manual

OFM

OFM CL-MP72 User manual

OFM Rize Pg6348 User manual

OFM

OFM Rize Pg6348 User manual
OFM Essentials ESS-1060 User manual

OFM

OFM Essentials ESS-1060 User manual
OFM ORO200 User manual

OFM

OFM ORO200 User manual

OFM 118-2 User manual

OFM

OFM 118-2 User manual
Popular Indoor Furnishing manuals by other brands

Sonifex S2 User handbook

Sonifex

Sonifex S2 User handbook

Rauch ME108 Assembly instructions

Rauch

Rauch ME108 Assembly instructions

John Lewis REIGN CRYSTAL PENDANT user guide

John Lewis

John Lewis REIGN CRYSTAL PENDANT user guide

Coaster 509362 Assembly instructions

Coaster

Coaster 509362 Assembly instructions

CAHABA IRIS CA101007 manual

CAHABA

CAHABA IRIS CA101007 manual

Furniture of America CM-AC6051 Assembly instructions

Furniture of America

Furniture of America CM-AC6051 Assembly instructions

URBAN OUTFITTERS HUXLEY BOOKSHELF Assembly instructions

URBAN OUTFITTERS

URBAN OUTFITTERS HUXLEY BOOKSHELF Assembly instructions

Heart of House 4271660 Assembly instructions

Heart of House

Heart of House 4271660 Assembly instructions

Lopas Athenas Plus Assembly instructions

Lopas

Lopas Athenas Plus Assembly instructions

Coaster 508821 Assembly instructions

Coaster

Coaster 508821 Assembly instructions

Emmezeta MDNK013 Assembling Instruction

Emmezeta

Emmezeta MDNK013 Assembling Instruction

John Lewis Twiggy Bed quick start guide

John Lewis

John Lewis Twiggy Bed quick start guide

Hanover Bergen HDR007 Assembly instructions

Hanover

Hanover Bergen HDR007 Assembly instructions

Forte NIKO NIKK35 Assembling Instruction

Forte

Forte NIKO NIKK35 Assembling Instruction

Argos 700-3024 Assembly instructions

Argos

Argos 700-3024 Assembly instructions

Whittier Wood 2072AEGSP Assembly instructions

Whittier Wood

Whittier Wood 2072AEGSP Assembly instructions

DETAIL DHS6351 manual

DETAIL

DETAIL DHS6351 manual

HAT collective S-COLLECTION SX installation instructions

HAT collective

HAT collective S-COLLECTION SX installation instructions

manuals.online logo
manuals.online logoBrands
  • About & Mission
  • Contact us
  • Privacy Policy
  • Terms and Conditions

Copyright 2025 Manuals.Online. All Rights Reserved.