- 5 -
Read the User’s Manual for your safety before using the product.
Cautions Related to Safety
WARNIN
Indicates additional information which, if ignored or not followed, may result in personal injury or
death.
CAUTIO
Indicates additional information which, if ignored, may result in personal injury.
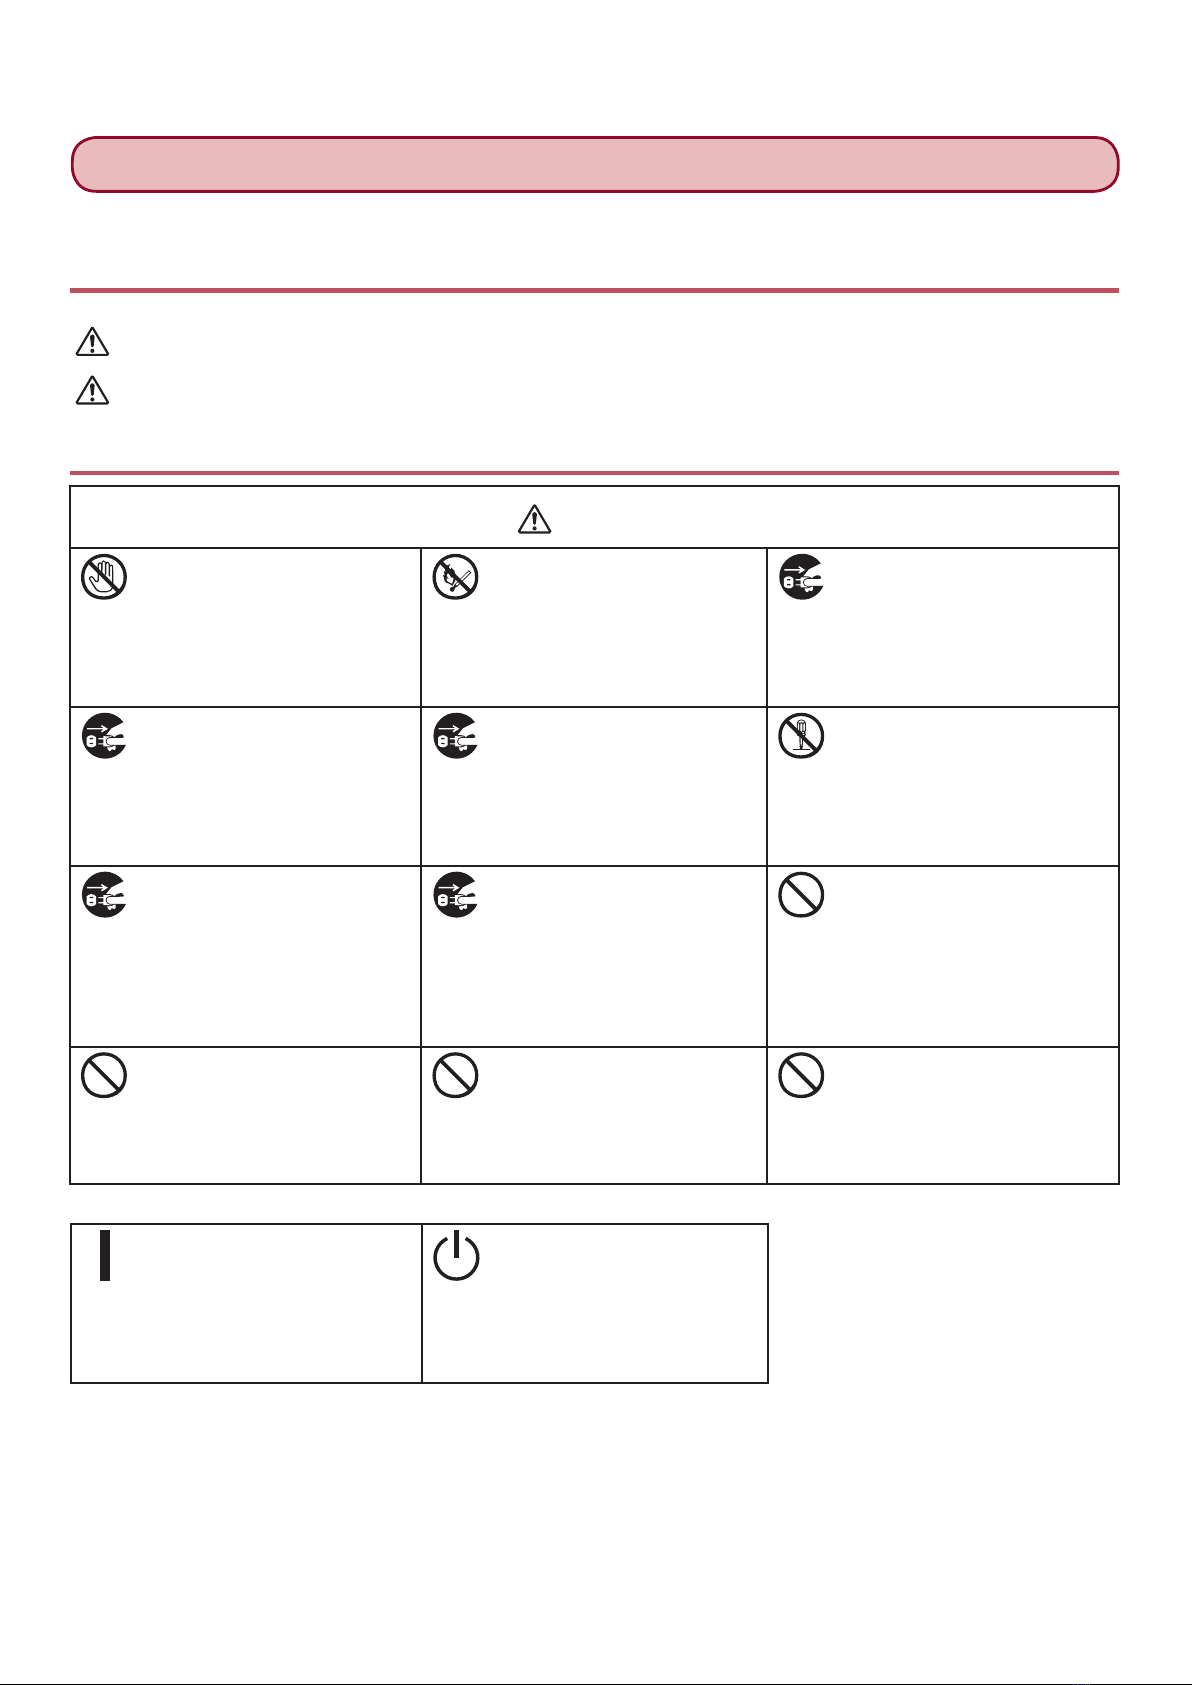
General Cautions
WARNIN
Do not touch the safety
switch inside the machine.
Doing so may cause electric
shock when high voltage
occurs. In addition, gears can
rotate, which may result in
personal injury.
Do not use an inflammable
spray near the machine.
Doing so may cause fire
since there is an area heating
up within the machine.
Pull the power plug out of the
socket and contact with a
customer’s service center when
the cover is unusually hot,
smoking, giving off questionable
odour, or making a strange noise.
Failure to do so may cause fire.
Pull the power plug out of
the socket and contact with a
customer’s service center when
a liquid such as water enters
in the internal parts of the
machine.
Failure to do so may cause fire.
Pull the power plug out of the
socket and remove foreign
materials such as clips when
they fall inside the machine.
Failure to do so may cause
electric shock and/or fire
leading to personal injuries.
Do not operate and/or
disassemble the machine
other than that directed in
User's Manual.
Doing so may cause electric
shock and/or fire leading to
personal injuries.
Unplug the power cord and
contact with a customer’s
service center if the machine
is dropped or the cover is
damaged.
Failure to do so may cause
electric shock and/or fire
leading to personal injuries.
Unplug the power cord
periodically to clean plug blades
and root section between
the blades. If the power plug
remains inserted for a long time,
the root section will get dusty,
and the plug may be shorted
out, which may cause fire.
Do not insert materials in a
vent hole.
Doing so may cause electric
shock and/or fire leading to
personal injuries.
Do not put a cup with liquids
such as water on the machine.
Doing so may cause electric
shock and/or fire leading to
personal injuries.
Do not use a power cord, a
cable, or a ground wire other
than those that are indicated
in User's Manual.
Doing so may cause fire.
The operation of using UPS
(uninterruptible power source)
or inverters is not guaranteed.
Do not use uninterruptible
power source or inverters.
Doing so may cause fire.
“ON” (power)
To indicate connection to the
mains, at least for mains
switches or their positions.
Stand-by
To identify the switch or
switch position by means of
which part of the equipment
is switched on in order to
bring it into the stand-by
condition.
This product is not intended for use in the immediate/direct visual field of the display work place. To
avoid disturbing reflections on the display work place, this product shall not be placed in the immediate/
direct field of vision.
For Your Safety