CONTENTS 5
CONTENTS
Preface................................................................................................................................................. 3
How to read this manual ............................................................................................................................................ 3
Chapter 1 TROUBLESHOOTING FOR THE HARDWARE
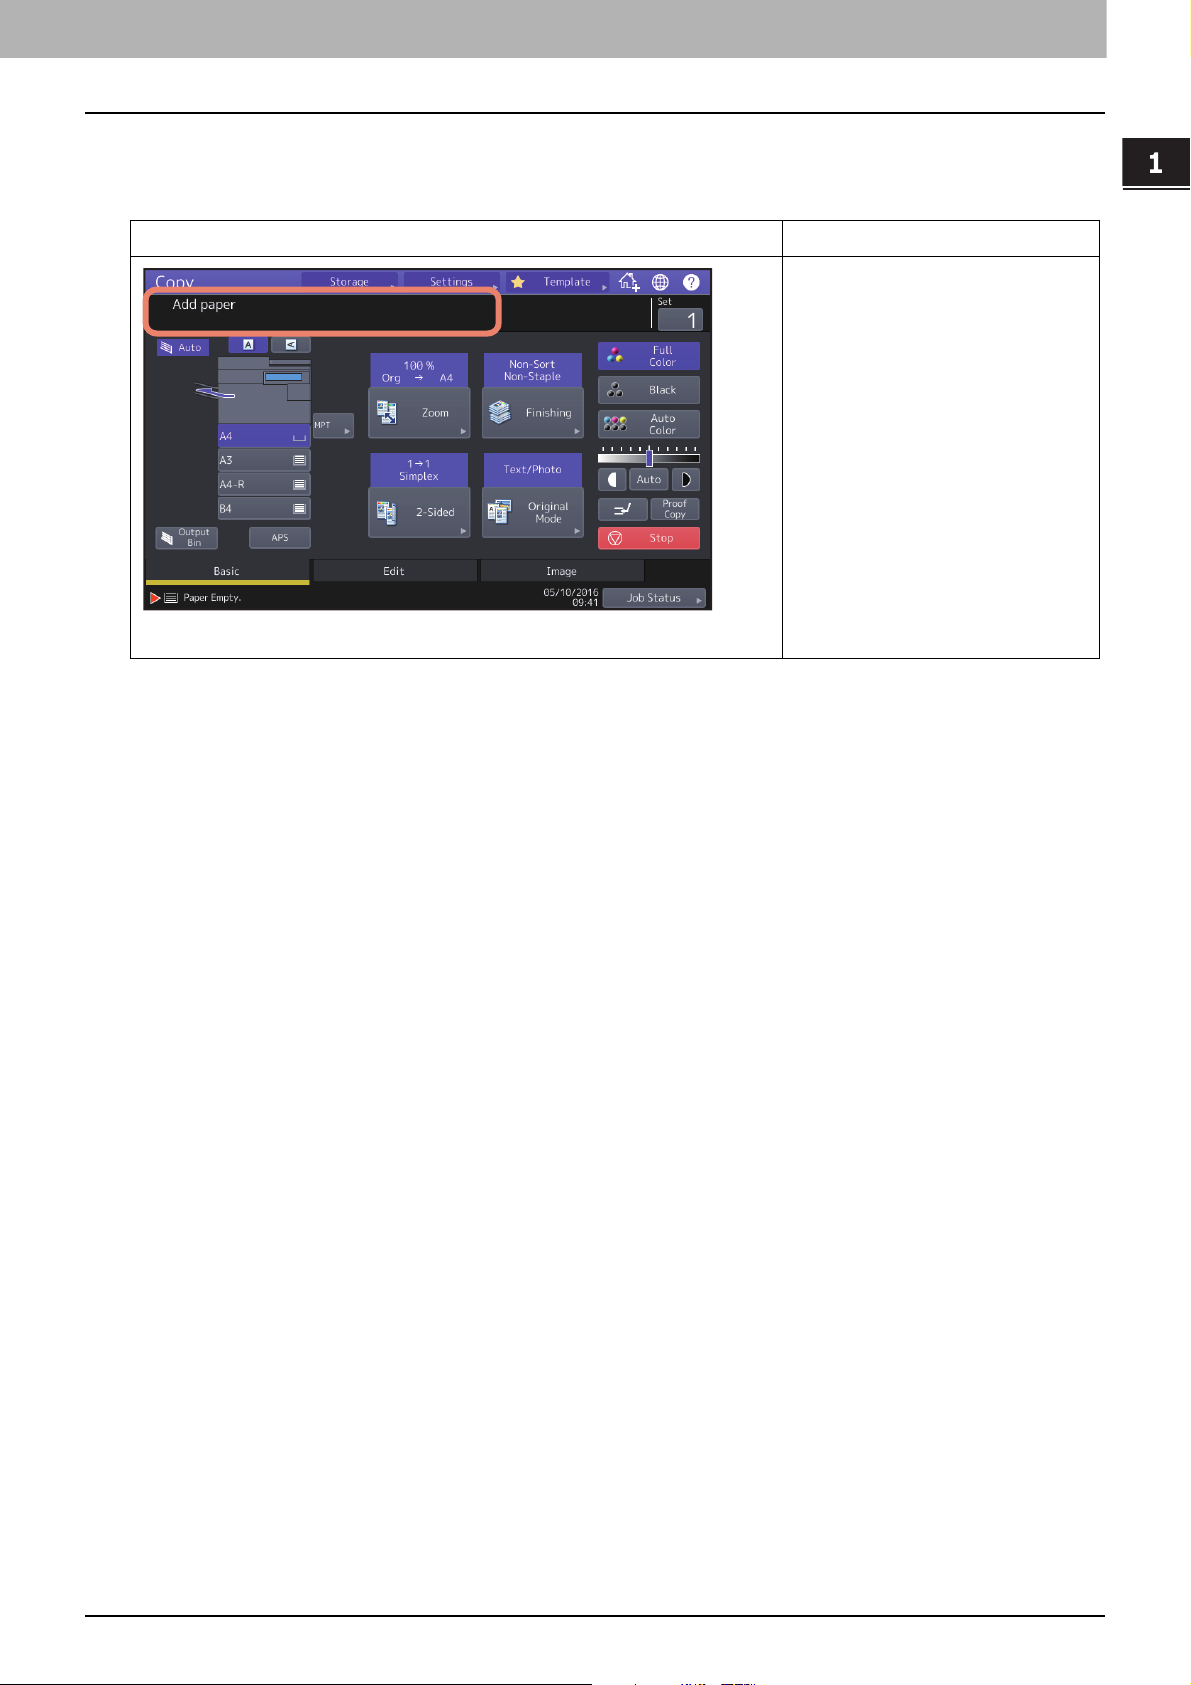
When This Screen Is Displayed................................................................................................................ 9
Messages Displayed on the Touch Panel ................................................................................................ 13
Clearing a Paper Jam........................................................................................................................... 18
Locating a paper jam ................................................................................................................................................. 18
Clearing a paper jam.................................................................................................................................................. 19
ADF.............................................................................................................................................................................. 21
Tray feeding portion .................................................................................................................................................. 27
Large Capacity Feeder ............................................................................................................................................... 28
Paper Feed Pedestal .................................................................................................................................................. 28
Trays ........................................................................................................................................................................... 29
Envelope Tray ............................................................................................................................................................ 30
Large Capacity Feeder ............................................................................................................................................... 30
MPT ............................................................................................................................................................................. 31
Automatic duplexing unit.......................................................................................................................................... 32
Paper transport path ................................................................................................................................................. 33
Fuser unit.................................................................................................................................................................... 34
Bridge Kit.................................................................................................................................................................... 36
Finisher and Hole Punch Unit.................................................................................................................................... 36
Saddle Stitch Finisher and Hole Punch Unit............................................................................................................. 42
Saddle Stitch unit of the Saddle Stitch Finisher....................................................................................................... 46
Inner Finisher and Hole Punch Unit .......................................................................................................................... 52
Clearing paper jams caused by a wrong paper size setting..................................................................................... 55
Clearing a Staple Jam .......................................................................................................................... 60
Finisher....................................................................................................................................................................... 60
Saddle Stitch unit ...................................................................................................................................................... 65
Replacing a Toner Cartridge ................................................................................................................. 67
Replacing a “Near Empty” toner cartridge ............................................................................................................... 69
Replacing the Waste Toner Box............................................................................................................. 72
Refilling With Staples .......................................................................................................................... 74
Finisher....................................................................................................................................................................... 74
Saddle Stitch unit ...................................................................................................................................................... 77
Cleaning the Inside of the Equipment.................................................................................................... 80
The Main Chargers and Slit Glass .............................................................................................................................. 80
Cleaning the Hole Punch Dust Bin ......................................................................................................... 84
Finisher / Saddle Stitch Finisher Hole Punch Unit ................................................................................................... 84
Inner Finisher Hole Punch Unit ................................................................................................................................. 84
When Printed Sheets Overflow from the Stacker.................................................................................... 87
Chapter 2 WHEN SOMETHING IS WRONG WITH THE EQUIPMENT
When You Think Something Is Wrong With the Equipment ...................................................................... 90
General operations .................................................................................................................................................... 90
Originals and paper ................................................................................................................................................... 91
Regular Maintenance........................................................................................................................... 93
INDEX .......................................................................................................................................................... 95