manuals.online logo
Brands
  1. Home
  2. •
  3. Brands
  4. •
  5. OKM
  6. •
  7. Security Sensor
  8. •
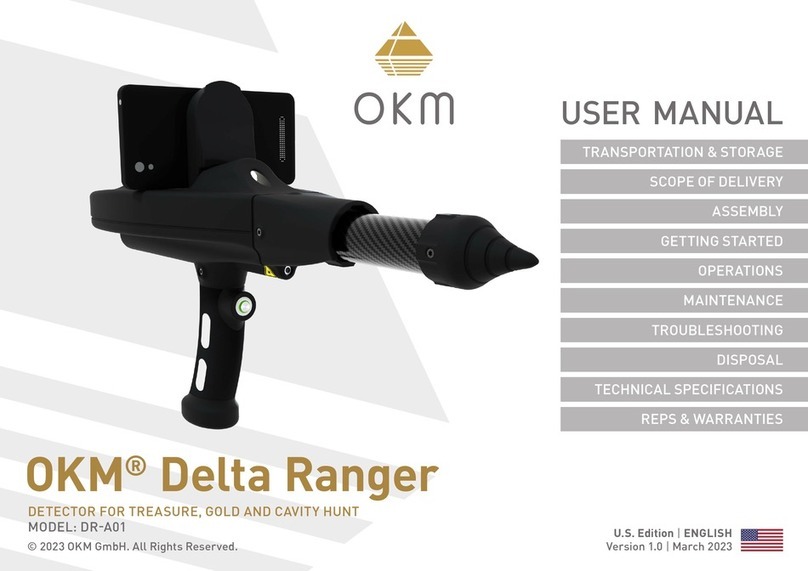
  9. OKM DELTA RANGER User manual

OKM DELTA RANGER User manual

Read all instructions first
before commencing
the assembly and usage!
Read the user manual!
Do not drink any alcohol
or take any drugs before
or during the operation of
the device and follow the
instructions carefully!
11
22
33
44
Tippen Sie auf das App-Symbol,
um die Anwendung zu starten.
Die Verbindung zur Kontrolleinheit
wird automatisch hergestellt
(Trigger-LED wird blau).
Tap on the App icon to start
the application. The connection
to the Control Unit will be
established automatically.
Fadenkreuz-Position festlegen:
Sonde auf Objekt richten. Ziehen
Sie das Fadenkreuz auf den roten
Laserpunkt. Achtung: Laser!
Set the crosshairs position:
Point the probe at a distant
object. Drag the crosshairs
to the red laser dot.
Warning: Laser!
Wählen Sie im Hauptmenü die
Option Einstellungen. Legen
Sie die Position des Fadenkreuzes
fest (Schritt 3) und kalibrieren Sie
den Kompass (Schritt 4).
Select Settings from the
main menu. From here, set the
crosshairs position (step 3) and
calibrate the compass (step 4).
Kompass kalibrieren:
Sonde waagerecht halten.
Trigger drücken und langsam um
eigene Achse drehen. Folgen Sie
den Anweisungen in der App!
Calibrate compass: Hold the probe
horizontally. Press the trigger and
rotate slowly around your own axis.
Follow the app instructions!
ERSTE SCHRITTE
GETTING STARTED
11
22
33
44
Stecken Sie die Sonde an.
Achten Sie auf die richtige
Position der Kontakte!
Die Sonde muss mit einem
Klickgeräusch einrasten.
Plug in the probe. Note the
correct position of the pins!
Push until the notch snaps in
with a noticable click sound.
Entfernen Sie die Schutzkappe
von der Ladebuchse. Stecken
Sie das Ladekabel (USB-C) ein:
orange LED = Batterie lädt,
grüne LED = voll geladen.
Remove the protection cap from
the charger socket. Plug in the
charging cable (USB-C):
orange LED = charging battery,
green LED = fully charged.
Öffnen Sie die Smartphone-
Halterung. Schalten Sie das
Smartphone ein und befestigen
Sie es am Magneten.
Lift the Smartphone Mount.
Power on the smartphone and
attach it to the magnet.
Power-Knopf drücken, um
Kontrolleinheit einzuschalten:
Die grüne LED zeigt an, dass
der Detektor eingeschaltet ist.
Press the Power Button to
switch on the Control Unit:
The green LED indicates that
the detector is switched on.
ZUSAMMENBAU
ASSEMBLY
QUICK START GUIDE
DELTA RANGER
BETRIEBSARTEN
OPERATING MODES
BIONIC STREAM
Detektion von frisch versteckten Goldobjekten.
Detection of freshly hidden gold objects.
IONIC STREAM
Detektion von länger vergrabenen Goldobjekten.
Detection of long-term buried gold objects.
WWW.OKMDETECTORS.COM
OKM GmbH | Julius-Zinkeisen-Str. 7 | 04600 Altenburg | Germany | +49 3447 499 300 0 | info@okmdetectors.com
WEITERE INFORMATIONEN
FURTHER SUPPORT
KREUZPEILUNG
CROSS BEARING
HANDBUCH | USER MANUAL
www.okmdetectors.com/downloads
VIDEOS & TUTORIALS
www.okmdetectors.com/tutorials
Bei weiteren Fragen wenden Sie sich bitte an
Ihren Händler oder direkt an OKM GmbH.
For further questions please contact your
dealer or directly OKM GmbH in Germany.
www.okmdetectors.com/products/delta-ranger
4“
10 cm
ERSTE MESSUNG
FIRST MEASUREMENT
IONIC
STREAM
11
22
33
44
Starten Sie Ionic Stream.
Platzieren Sie ein Referenzobjekt
und zielen Sie mit der Sonde in
Richtung Norden darauf. Halten
Sie etwa 10cm Abstand.
Start Ionic Stream. Aim at a
referential target with the probe
heading to the North. Keep a
distance of about 4“ (10cm).
Bewegen Sie die Sonde
langsam auf und ab sowie
nach links und rechts – immer
in Richtung Süden, Südosten
oder Südwesten.
Move the probe slowly up and
down as well as from side to
side – always pointing to the
South, SE or SW.
Tippen Sie auf die Fokuszone,
um die Kalibrierung zu starten.
Zielen Sie weiter auf das
Referenzobjekt, bis der
Countdown fertig ist.
Start calibrating by tapping on
the focus zone. Keep aiming at
the target until the countdown
has finished.
Ein Treffer wird durch Signal-
töne, Vibration und visuelles
Feedback (blinkendes Faden-
kreuz) angezeigt.
A hit is signaled by
acoustic feedback, vibration
and visual feedback (flashy
crosshairs).
Bei der Triangulation (oder
Kreuzpeilung) werden zwei
oder mehr Punkte zur Ziel-
bestimmung verwendet.
Triangulation (Cross Bearing)
uses two or more points to
locate a target.
Sobald Sie aus verschiedenen
Positionen Treffer an der
gleichen Stelle erzielen,
ist es ein potenzielles Signal.
As soon as you get hits
on the same target spot
from different positions,
it may be a potential signal.
ERSTE MESSUNG
FIRST MEASUREMENT
BIONIC
STREAM
11
22
33
44
Starten Sie Bionic Stream.
Umfassen Sie den Griff mit einer
Hand, berühren Sie dabei die
Elektroden. Drehen Sie mit der
anderen Hand den Knopf.
Start Bionic Stream. Grasp the
handle with one hand. Make sure
you touch the electrodes. With the
other hand, turn the Knob gently.
Halten Sie die Sonde waagerecht
und bewegen Sie sie langsam
seitwärts sowie auf und ab.
Hold the Probe horizontally and
move it slowly from side to side
as well as up and down.
Stellen Sie einen
Wert im oberen
grünen Bereich ein (idealerweise
250 bis 254). Halten Sie den Wert
für mindestens 3s stabil.
Set a value within the upper
green range (ideally between 250
and 254). Keep the value stable
for at least 3 seconds.
Ein Treffer wird durch Signal-
töne, Vibration und visuelles
Feedback (blinkendes
Fadenkreuz) angezeigt.
A hit is signaled by
acoustic feedback, vibration
and visual feedback
(flashy crosshairs).
DR-A01-QO2303
11
22
33
• Feldlänge: Auto
• Impulsmodus: Automatisch
• Scanmodus: Parallel
Tippen Sie auf Scan starten.
• Field Length: Auto
• Impulse Mode: Automatic
• Scan Mode: Parallel
Tap on Start Scan to confirm.
Starten Sie 3D Ground Scan.
Für eine schnelle Messung,
wählen Sie Standard mit vor-
konfigurierten Einstellungen:
Start 3D Ground Scan.
Select Default to use the preset
parameters for fast scans:
Gehen Sie zum Startpunkt der
ersten Messbahn (im Messfeld
rechts unten).
Go to the starting point of the
first scan line (bottom right
corner of the scan field).
ERSTE MESSUNG
FIRST MEASUREMENT
55
66
77
88
Laufen Sie die erste Messbahn
und drücken Sie den Trigger er-
neut, sobald Sie das Ende erreicht
haben. So legen Sie die Länge
für alle folgenden Bahnen fest.
Scan the first line. Press the
trigger as soon as you reach its
end to set the field length for the
following lines.
Gehen Sie zum nächsten Start-
punkt. Drücken Sie den Trigger
und laufen Sie bis zum Ende der
Messbahn. Wiederholen Sie dies,
um weitere Bahnen zu messen.
Go to the next starting point, press
the trigger and walk to the end of
the scan line. Repeat this to scan
as many lines as you like.
Gehen Sie zum nächsten Start-
punkt und drücken Sie den
Trigger, um die Messung zu
starten. Messen Sie parallel
zur ersten Messbahn.
Go to the next starting point
without scanning.
Press the
trigger to start scanning and
walk parallel to your first
scan line.
Schließen Sie die Messung ab,
indem Sie auf Scan beenden
tippen. Geben Sie die gemessene
Feldlänge und Feldbreite ein.
Complete the measurement by
tapping on Finish Scan .
To save the scan, enter the Field
Length and Field Width that you
actually measured.
3D GROUND SCAN
Laufen Sie los, sobald Sie den
Trigger drücken. Scannen Sie in
gleichmäßiger Geschwindigkeit.
Start walking as soon as you
press the trigger. Walk at a
constant speed.
44
QUICK START GUIDE
DELTA RANGER PROFESSIONAL
BETRIEBSARTEN
OPERATING MODES
THERMO SCAN
Darstellung versteckter Hohlräume hinter Wänden.
Thermography mode to map hidden voids behind walls.
3D GROUND SCAN
3D-Darstellung von unterirdischen Objekten und Strukturen.
3D imaging technology to detect underground structures.
MAGNETOMETER
Metalldetektion zur Optimierung von 3D-Bodenscans.
Metal detection to optimize 3D Ground Scans.
THERMO STREAM
Echtzeit-Temperaturmessung von Oberflächen.
Real-time measurement of surface temperatures.
BIONIC STREAM
IONIC STREAM
WWW.OKMDETECTORS.COM
OKM GmbH | Julius-Zinkeisen-Str. 7 | 04600 Altenburg | Germany | +49 3447 499 300 0 | info@okmdetectors.com
WEITERE INFORMATIONEN
FURTHER SUPPORT
HANDBUCH | USER MANUAL
www.okmdetectors.com/downloads
VIDEOS & TUTORIALS
www.okmdetectors.com/tutorials
Bei weiteren Fragen wenden Sie sich bitte an
Ihren Händler oder direkt an OKM GmbH.
For further questions please contact your
dealer or directly OKM GmbH in Germany.
Starten Sie Thermo Stream.
Bewegen Sie die Sonde beliebig in alle Richtungen. Die jeweils
gemessene Oberflächentemperatur wird in Echtzeit angezeigt.
Start Thermo Stream. Move the probe freely.
The measured surface temperature is indicated in real time.
ERSTE MESSUNG
FIRST MEASUREMENT
THERMO
STREAM
www.okmdetectors.com/products/delta-ranger
DATENÜBERTRAGUNG
FILE TRANSFER
11
22
33
44
Verbinden Sie das Smartphone
über USB-Kabel mit dem Note-
book. Aktivieren Sie die Datei-
übertragung im Smartphone.
Connect the smartphone with the
notebook via USB cable. Enable
file transfer in your smartphone.
Wischen Sie nach unten, um
die Benachrichtigungen zu
öffnen, tippen Sie auf Weitere
Optionen und wählen Sie Datei-
übertragung.
Swipe down to open the
notifications, tap for more
options and select File Transfer.
Kopieren Sie die Dateien auf
das Notebook und öffnen Sie
diese in Visualizer 3D Studio.
Copy the scan files to the
notebook and open the files in
Visualizer 3D Studio.
Öffnen Sie den Datei-Explorer
auf dem Notebook und den
internen Speicherpfad.
Open the File Explorer on
the notebook and access the
internal storage folder.
ERSTE MESSUNG
FIRST MEASUREMENT
THERMO
SCAN
22
33
44
Starten Sie Thermo Scan und
wählen Sie Benutzerdefiniert:
• Feldlänge: Auto
• Impulsmodus: Automatisch
• Scan Mode: Zigzag
Start 3D Ground Scan and select
customized parameters:
• Field Length: Auto
• Impulse Mode: Automatic
• Scan Mode: Zigzag
Sonde auf den nächsten Start-
punkt richten. Trigger drücken
und Messung beginnen. Bewegen
Sie die Sonde parallel zur ersten
Messbahn, aber nach unten.
Point the probe at the next start-
ing point. Press the trigger and
start scanning. Move the probe
parallel to your first scan line,
but downwards.
Sonde auf den Startpunkt der
ersten Messbahn richten (untere
rechte Ecke). Trigger drücken und
Messung beginnen. Trigger erneut
am Ende der Messbahn drücken.
Point the probe at the starting
point of the first scan line (bottom
right corner). Press the trigger and
start scanning. At the end of the
scan line, press the trigger again.
Wiederholen Sie die Messbahnen
im Zickzack-Modus beliebig oft:
ungerade Bahnen nach oben,
gerade Bahnen nach unten.
Zum Speichern auf Scan beenden
tippen.
Repeat scanning up and down as
many times as you like: Odd scan
lines upwards, even scan lines
downwards. Complete by tapping
on Finish Scan .
11
DR-A01-QO2303

Other OKM Security Sensor manuals

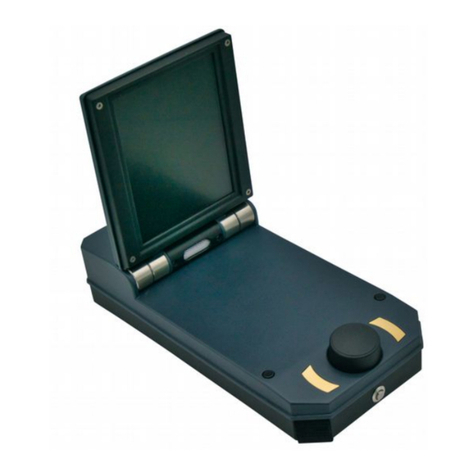
OKM FS Future Series User manual

OKM

OKM FS Future Series User manual

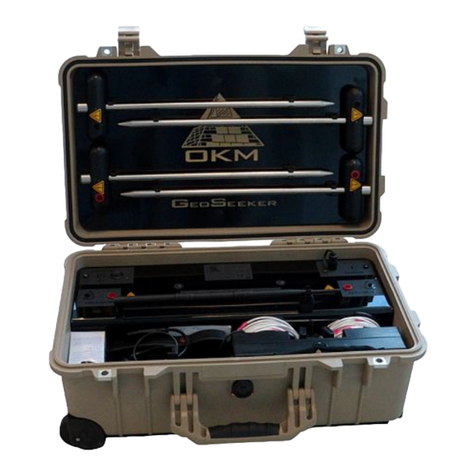
OKM Future Series User manual

OKM

OKM Future Series User manual

OKM Delta Ranger DR-A01 User manual

OKM

OKM Delta Ranger DR-A01 User manual

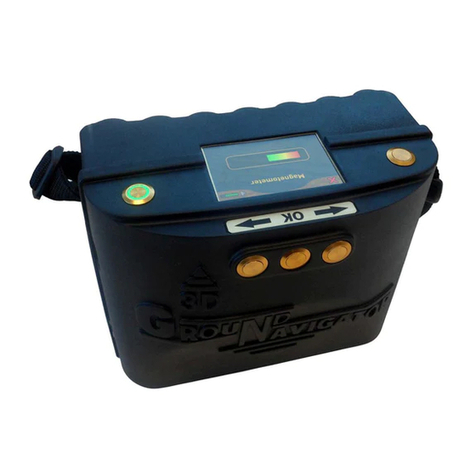
OKM eXp 4500 User manual

OKM

OKM eXp 4500 User manual

OKM eXp 4500 User manual

OKM

OKM eXp 4500 User manual

Popular Security Sensor manuals by other brands

LEGRAND 695 93 manual

LEGRAND

LEGRAND 695 93 manual

Carena TORSHAMN manual

Carena

Carena TORSHAMN manual

Risco ShockTec 601SM installation instructions

Risco

Risco ShockTec 601SM installation instructions

GJD D-TECT X 40 MKIII Quick install guide

GJD

GJD D-TECT X 40 MKIII Quick install guide

Cura1 2701 manual

Cura1

Cura1 2701 manual

RKI Instruments 35-3010A-11 manual

RKI Instruments

RKI Instruments 35-3010A-11 manual

JUMO ZELOS operating manual

JUMO

JUMO ZELOS operating manual

Apollo XPander Commissioning Guide

Apollo

Apollo XPander Commissioning Guide

AMC IF400 Installation handbook

AMC

AMC IF400 Installation handbook

Crown GBD-II installation instructions

Crown

Crown GBD-II installation instructions

SICK OLM200 operating instructions

SICK

SICK OLM200 operating instructions

Aritech 2000 Series Installation sheet

Aritech

Aritech 2000 Series Installation sheet

Toshiba GF630 instruction manual

Toshiba

Toshiba GF630 instruction manual

Edwards SIGA-HRD Installation sheet

Edwards

Edwards SIGA-HRD Installation sheet

Inficon Modul1000 operating instructions

Inficon

Inficon Modul1000 operating instructions

Nobile BT Mounting and operation instructions

Nobile

Nobile BT Mounting and operation instructions

Swann One quick start guide

Swann

Swann One quick start guide

hager TCC510S User instructions

hager

hager TCC510S User instructions

manuals.online logo
manuals.online logoBrands
  • About & Mission
  • Contact us
  • Privacy Policy
  • Terms and Conditions

Copyright 2025 Manuals.Online. All Rights Reserved.