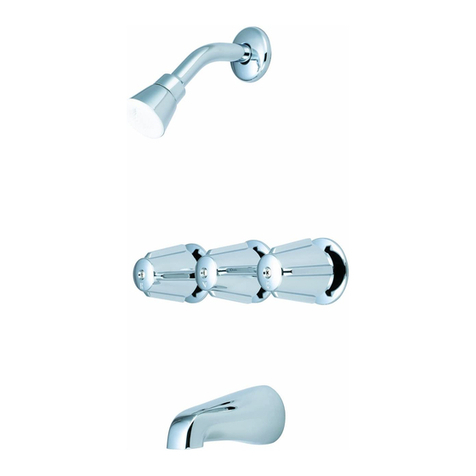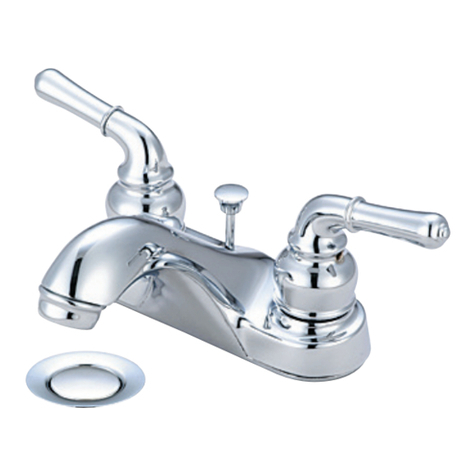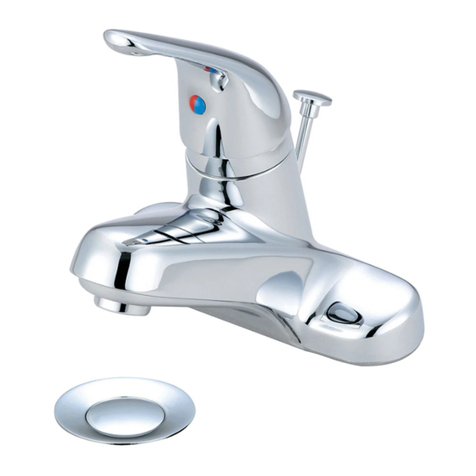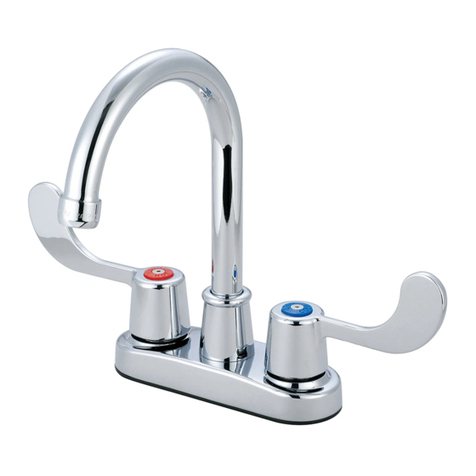
Thank you for purchasing this quality product. Olympia products are rigorously tested to provide long service
under normal conditions. Prior to installation, familiarize yourself with this parts diagram. Make sure that you have
all of the illustrated parts for your Olympia product before installation.
ITEM # DESCRIPTION
A1 OP-190003C,H Acrylic Handle Cold,Hot
A2 OP-190004C,H Mini Blade Handle Cold, Hot
A3 OP-190006C,H Handle Hub
A4 OP-490017 Chrome Insert
A5 OP-490018 Acrylic Insert
A6 OP-190005C,H Wrist Blade Handle Cold, Hot
B OP-490040 Bonnet Nut
C OP-390004
OP-390005
Stem Unit-Brass Post
Stem Unit-Plastic Post
D OP-490041 Spring and seats
E OP-490035 1.5 GPM Aerator
F OP-590003 Mounting Locknut & Washer
G OP-590001 Supply Nut
H OP-630004
OP-630002
50/50 Pop-Up Drain Assembly
Brass Pop-Up Drain Assembly
INSTALLATION INSTRUCTIONS
Tools you will need:
Plumbers Putty• Teon Tape•
Screwdriver• Flexible Supply Lines•
Pipe Wrench• Adjustable Wrench•
Basin Wrench• Soft Cloth•
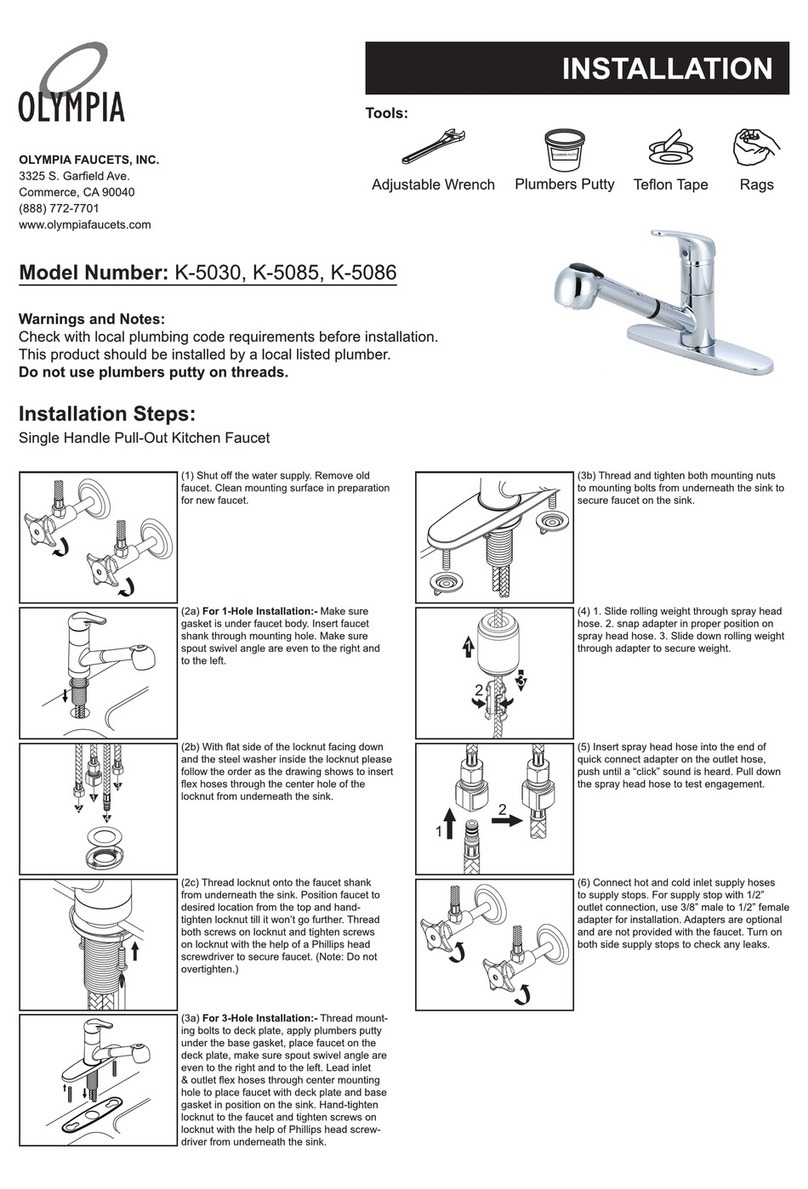
FAUCET INSTALLATION:
Carefully shut off both hot and cold water supplies from under the sink. Plug the sink drain with1.
a soft cloth to prevent intrusion of debris or the loss of any faucet parts. If this installation is for a
replacement, carefully remove the existing faucet and clean the entire surface of the sink mounting
holes.
Apply adequate Plumbers Putty along the boundary of the bottom of the Faucet.2.
Gently align the faucet with the sink mounting holes and place the faucet on the sink. Carefully lead3.
brass waterways through the sink mounting holes.
Thread friction washers and mounting locknuts (F) along the brass waterways. Carefully Hand4.
Tighten the mounting locknuts. CAUTION: Do not overtighten.
Connect supply lines to hot (LEFT INLET) and cold (RIGHT INLET) waterways. NOTE: If additional5.
adapters or supply lines are required, they may be purchased from the same location where this
faucet was purchased. Use with Teon tape when attaching supply lines to waterways.
POP-UP DRAIN ASSEMBLY INSTALLATION:
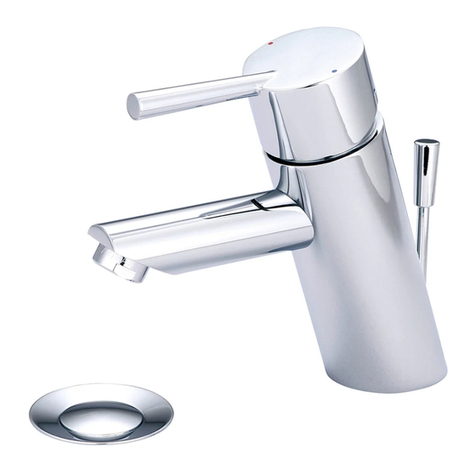
Thread mounting nut and bottom gasket of the pop-up drain assembly (H) onto the drain body. Wrap1.
bottom threaded end of the ange with Teon tape. Apply adequate amount of plumbers putty to the
underside of the ange.
Gently slip the drain body up through the drain opening. Screw ange onto drain body, holding the 2.
drain body in position with the pivot rod opening facing the back of the sink. Tighten the mounting
nut securely with a wrench.
Place pivot rod in pivot rod opening. Slide pivot nut over pivot rod and thread it onto the drain body.3.
Hand tighten until it is snug. CAUTION: Be careful not to overtighten.
With the lift rod in position through the faucet lift rod hole, insert the rod through the lift rod strap and4.
secure with the set screw.
Guide the pivot rod through one of the holes on the lift rod strap and secure it with the spring clip,5.
then adjust the height of the lift rod by resetting the set screw.
FINAL PRODUCT INSTALLATION:
Turn on the hot and cold water. Check all around for any minor joint leaks. NOTE: Inspect for any1.
leaks around the Connections to the supply lines.
Remove aerator (E) from end of spout. Flush both water lines by allowing water to run through for2.
one minute. Replace aerator (E).
CAUTION: MAKE SURE TO TIGHTEN THE AERATOR SECURELY AFTER FLUSHING THE WATER
LINES TO PREVENT FROM FUTURE WATER SEEPAGE UNDER THE BASE PLATE AND SINK.
Olympia Faucets, Inc. © 2009
ITEM # DESCRIPTION
1 OP-490012C,H Acrylic Handle Button Cold, Hot
2 OP-490014 Screw
3 OP-490013C,H Mini Blade Button Cold, Hot
4 OP-490042 Handle Hub Screw
5 OP-490015 Handle Screw
6 OP-490016C,H Wrist Blade Button Cold, Hot
For more care information or trouble shooting inquiries
about your Olympia product, please call:
OLYMPIA FAUCETS, INC. (888) 772-7701
Central Standard Time: 8:00am ~ 7:00pm
www.olympiafaucets.com
