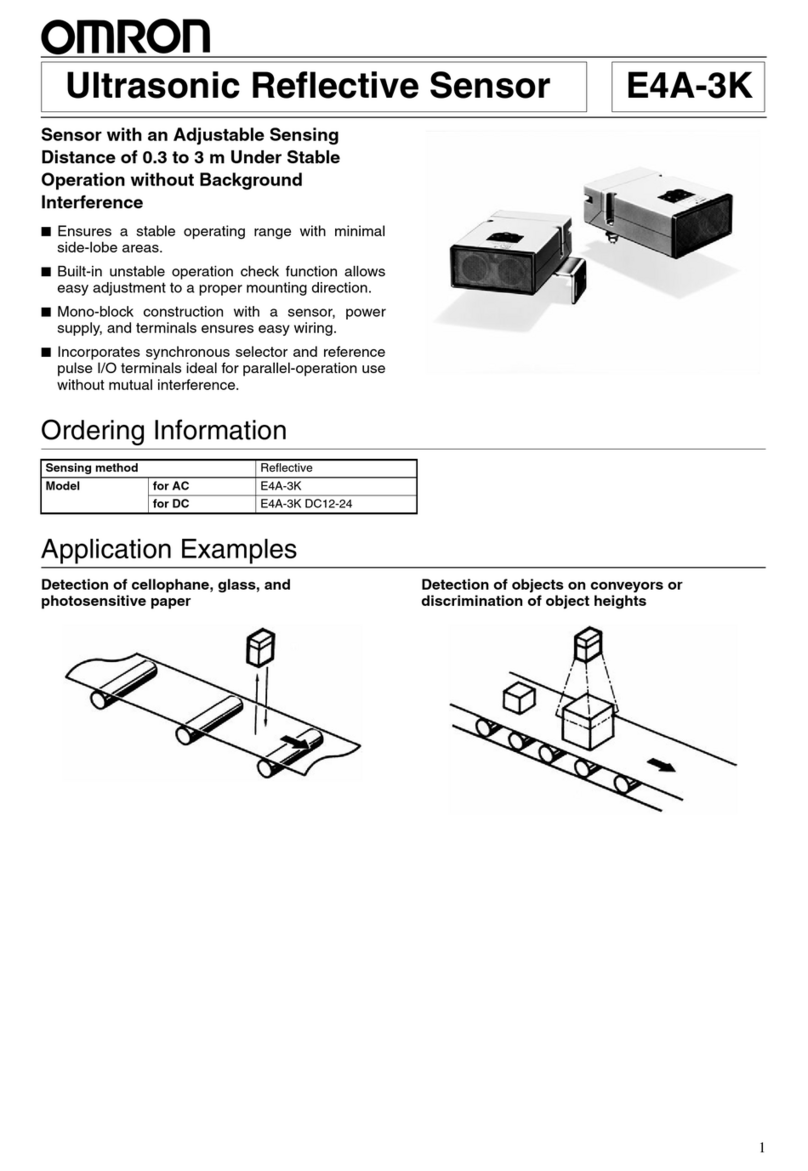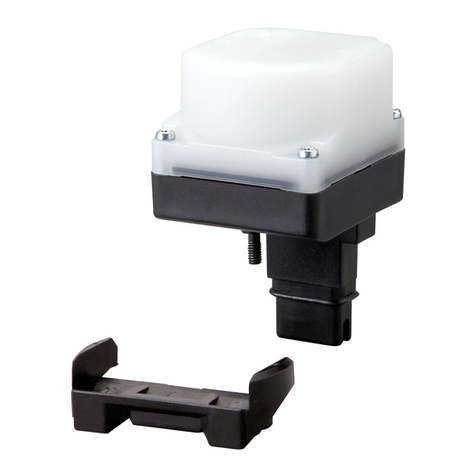
F39-PTG
Laser Alignment Kit
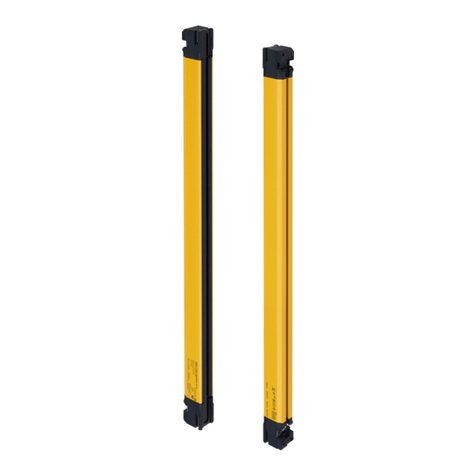
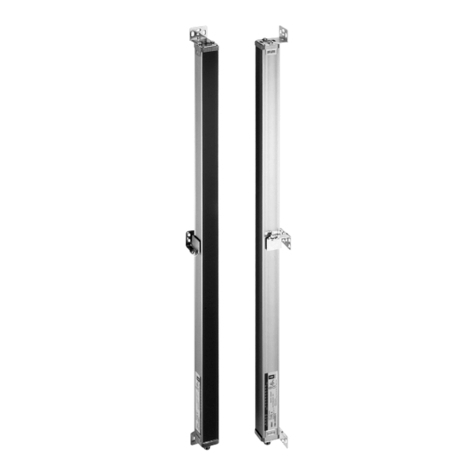
For F3SG Safety Light Curtain
Thank you for selecting OMRON product. This sheet primarily
describes precautions required in installing and operating the
product.
Read this Manual thoroughly to understand and make good use of
the descriptions before installing and operating the product.
Keep this Manual at the place where the operator can refer to
whenever necessary.
©OMRON Corporation 2015 All Rights Reserved.
PRECAUTIONS ON SAFETY
●Meanings of Signal Words
●Meanings of Alert Symbols
WARNING
Indicates a potentially hazardous situation which, if
not avoided, will result in minor or moderate injury,
or may result in serious injury or death. Additionally
there may be significant property damage.
Laser Caution
Indicates information related to laser safety
Disassembly Prohibition
Indicates that disassembly is prohibited to prevent
electric shock.
●Alert Statements
WARNING
Never look into the laser beam.
Looking into the laser beam continuously
will cause injury to the eyes.
Do not disassemble the product.
Disassembly of the product may cause
leakage of the laser beam.
PRECAUTIONS FOR SAFE USE
Observe the following precautions to ensure safe operation.
1. Do not use the product in atmospheres containing flammable or explosive gases.
2. Do not try to disassemble, repair, or modify this product.
3. Do not drop the product.
4. Before mounting the product, be sure to check that there is no damage or crack on
the mounting band.
5. Before mounting the product, be sure to check that the mounting band holding
screw is not loose.
6. Insert batteries into the product properly, with the + (positive) and - (negative)
terminals aligned correctly.
7. After battery change, be sure to check the battery cover is closed.
INSTRUCTION SHEET
8. Remove the used battery out of the product as soon as possible.
Also, if the product is not used for a long period of time, remove the
battery out of the product.
9. Be careful to avoid pinching your hand when installing the product.
10. Dispose of this product in accordance with local and national
disposal regulations.
PRECAUTIONS FOR CORRECT USE
1. Do not use the product in the following location:
Places exposed to water.
2. Battery
• Do not mix batteries with new and old, different brands or different types.
• Do not charge, short circuit, disassemble, heat or throw into fire.
•In case of accidental ingestion of batteries, immediately consult a doctor for
the necessary treatment.
• The battery contains strong alkaline solution or electrolyte solution composed
of organic solvents. If it gets into your eyes, it may cause blindness.
Wash your eyes with lots of water and immediately consult your doctor.
3. Battery Handling
• When replacing batteries, be sure to check the switch of the product is turned OFF.
• When the product is not in use, turn OFF the switch.
4. Cleaning
• Avoid the use of thinner, benzine, acetone, and kerosene. Use of these solvents will
melt the surface of the product.
LASER SAFETY
■Precautions on Handling
•
F39-PTG radiates visible-light laser. Do not directly look into beam.
Terminate the optical path of the product.
Termination material with less reflective and lusterless painted surface is the best choice.
When a specular reflector exists on an optical path, block beam to the reflective optical
path. In the case of releasing beam, avoid the optical path to be at eye level.
■Laser safety regulations vary according to the country where
LED devices are used.
1. Use in Japan
JIS C 6802 regulates safety protection measures to the user according to classes
of laser products.
F39-PTG is classified as Class 2.
2. Use in the United States
This product is subject to FDA (Food and Drug Administration) laser regulations.
For details on exports to foreign countries, contact OMRON representative.
Label for laser radiation aperture Label for laser radiation aperture
Warning label
Warning label
Certification label
3. Use in countries other than Japan and United States
•For areas other than Japan and United States,
replace warning labels with the supplied English
labels.
•For used in Europe, regulations differ due to
EN 60825-1.
This product is classified as Class 2 according to
EN 60825-1 (IEC60825-1).
Certification label
•
F39-PTG is used for coarse adjustment.
Coarse adjustment means to adjust an approximate location to install a Safety Light
Curtain. Beam adjustment cannot be performed with coarse adjustment alone.
After coarse adjustment, be sure to perform beam adjustment using Safety Light
Curtain's light intensity level indicators according to the User's Manual.
1. Turn ON the power of the laser module.
2. Mount a F39-PTG at the top of the emitter (or receiver) of the F3SG and
fixt it with a rubber band.
3. Perform coarse adjustment so that laser beam is radiated at the center
of the top of the opposed receiver (or emitter). After adjustment, temporarily
tighten the mounting bracket on top.
4. Turn OFF the F39-PTG and remove it.
5. Perform coarse adjustment steps 1 to 4 as needed and temporarily tighten the
mounting bracket.
6. Also perform coarse adjustment steps 2 to 4 for the receiver (or emitter).
■Ratings and performance
■Usage
F39-PTG
Item Model
Applicable sensor (*1)
Power supply voltage
Battery
Battery life (*2)
Light source
Spot size
(Typical)
Ambient temperature
Ambient humidity
Material
Weight
Accessories
F3SG
4.65 VDC or 4.5 VDC
Three button batteries (SR44 or LR44: 3)
SR44: Approx. 10 hours, LR44: Approx. 6 hours (cont. use)
Red semiconductor laser (wavelength 650 nm, 1 mW max,
JIS Class 2, IEC Class 2, FDA Class II)
6.5 mm (at 10 m)
Operating: 0 to 40°C
Storage: -15 to 60°C (non-condensing, non-icing)
Operating, storage: 35 to 85% RH (non-icing)
Laser module case: Aluminum, Mounting band: NBR
Attaching part: Aluminum, stainless
Approx. 240 g (in packing) Approx. 210 g (in packing)
Laser standard related labels (EN: 1, FDA: 3)
Instruction Sheet, hexagonal wrench
*1. The F39-PTG can be used with the spatter protection cover mounted.
*2. Battery life differs depending on a battery used.
Laser Warning Label
The label shown on the right is pasted
onthe F39-PTG.
Laser Warning Label
The FDA labels supplied with the product conform to FDA technical criteria. When using
the product in the U.S., refer to the illustration below to replace warning labels of
F39-PTG with the FDA labels. Refer to the illustration below to paste them in
correct locations.
Be sure that the F39-PTG does not fall off.
A horizontal misalignment between the product and the optical axis of the laser
pointer does not affect the coarse adjustment.
If the mounting band is damaged, use a replacement mounting band:
F39-PTG-RUB (sold separately).
2. Remove the lid.
Screw
Laser module
Positive pole
Negative pole
Battery orientation
1. Use a provided hexagonal wrench to
loosen the screw and remove the laser
3. Insert three batteries in the correct
orientation.
5. Mount the laser module and tighten the screw with the provided
hexagonal wrench. (recommended torque: 0.15 to 0.20 Nm)
The laser is irradiated when the power button is pressed.
The F39-PTG can be used with the spatter
protection cover mounted.
■Battery replacement
4. Tighten the lid.
Suitability for Use
Omron Companies shall not be responsible for conformity with any standards,
codes or regulations which apply to the combination of the Product in the
Buyer’s application or use of the Product. At Buyer’s request, Omron will
provide applicable third party certification documents identifying ratings and
limitations of use which apply to the Product. This information by itself is not
sufficient for a complete determination of the suitability of the Product in
combination with the end product, machine, system, or other application or
use. Buyer shall be solely responsible for determining appropriateness of the
particular Product with respect to Buyer’s application, product or system.
Buyer shall take application responsibility in all cases.
NEVER USE THE PRODUCT FOR AN APPLICATION INVOLVING
SERIOUS RISK TO LIFE OR PROPERTY WITHOUT ENSURING THAT THE
SYSTEM AS A WHOLE HAS BEEN DESIGNED TO ADDRESS THE RISKS,
AND THAT THE OMRON PRODUCT(S) IS PROPERLY RATED AND
INSTALLED FOR THE INTENDED USE WITHIN THE OVERALL
EQUIPMENT OR SYSTEM.
See also Product catalog for Warranty and Limitation of Liability.
Power button
Laser emission aperture
Mounting band
Mounting band
holding screw
When mounting the laser module, be
sure that the power button does not
protrude from the sensor mounting
surface and the lid surface is placed in
line with the mounting bracket convex
surface.
Convex surface of
the mounting bracket
Lid surface
Sensor mounting
surface
Mounting hole
OMRON Corporation (Manufacturer)
Contact: www.ia.omron.com
Regional Headquarters
Shiokoji Horikawa, Shimogyo-ku, Kyoto, 600-8530 JAPAN
OMRON EUROPE B.V. (Importer in EU)
Wegalaan 67-69-2132 JD Hoofddorp
The Netherlands
Tel: (31)2356-81-300/Fax: (31)2356-81-388
OMRON SCIENTIFIC TECHNOLOGIES INC.
6550 Dumbarton Circle,
Fremont, CA 94555 U.S.A.
Tel: (1) 510-608-3400/Fax: (1) 510-744-1442
OMRON ASIA PACIFIC PTE. LTD.
No. 438A Alexandra Road # 05-05/08 (Lobby 2),
Alexandra Technopark,
Singapore 119967
Tel: (65) 6835-3011/Fax: (65) 6835-2711
OMRON (CHINA) CO., LTD.
Room 2211, Bank of China Tower,
200 Yin Cheng Zhong Road,
PuDong New Area, Shanghai, 200120, China
Tel: (86) 21-5037-2222/Fax: (86) 21-5037-2200
