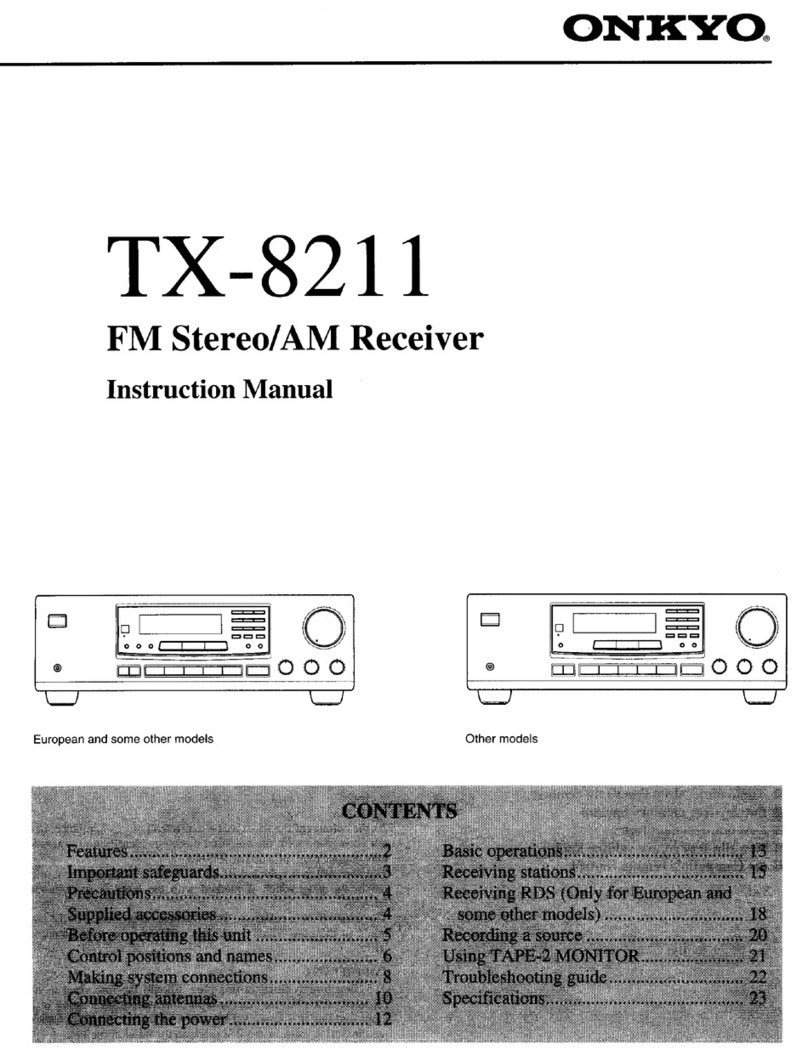
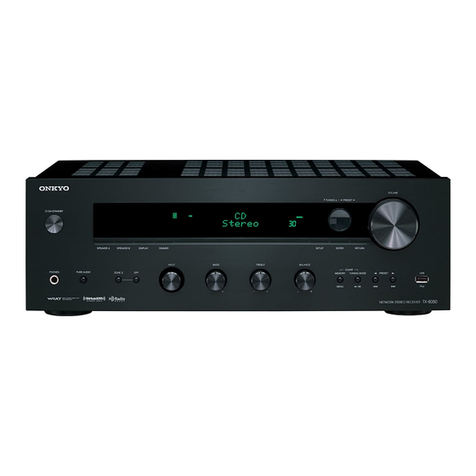
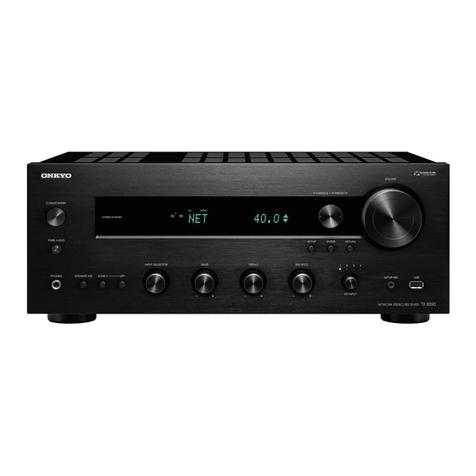
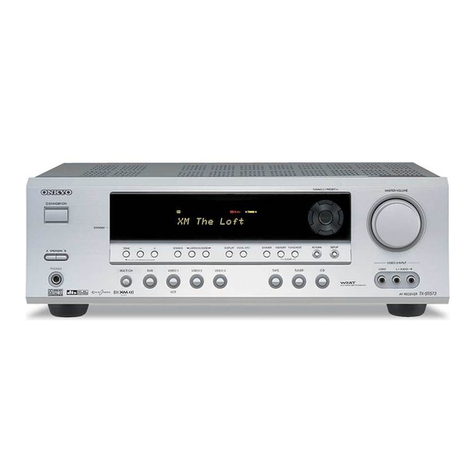
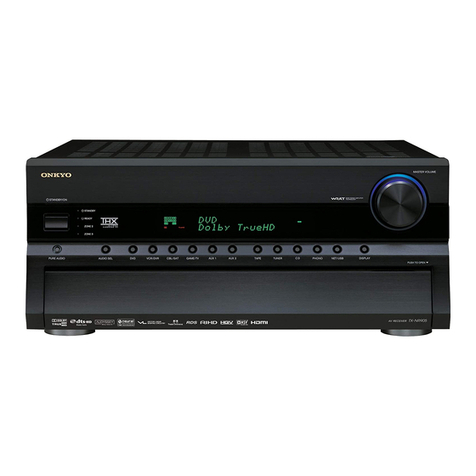
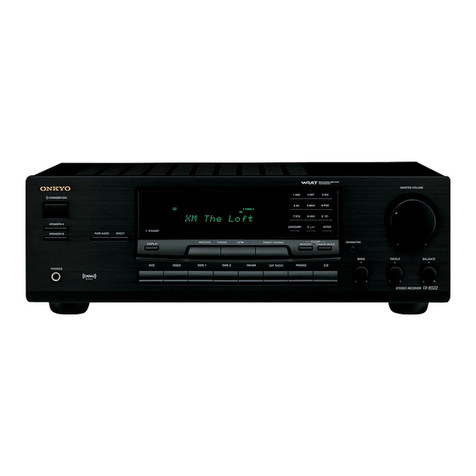
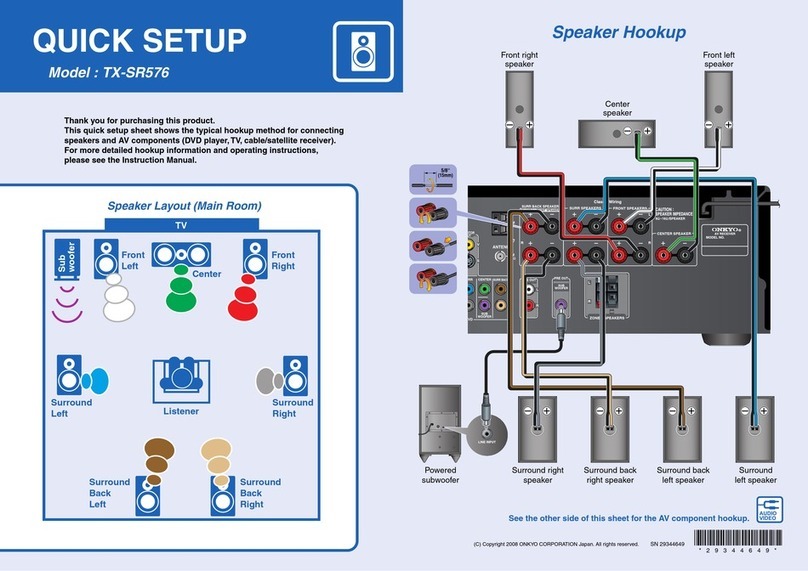
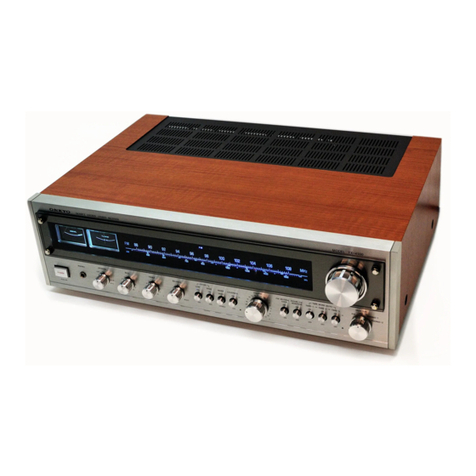
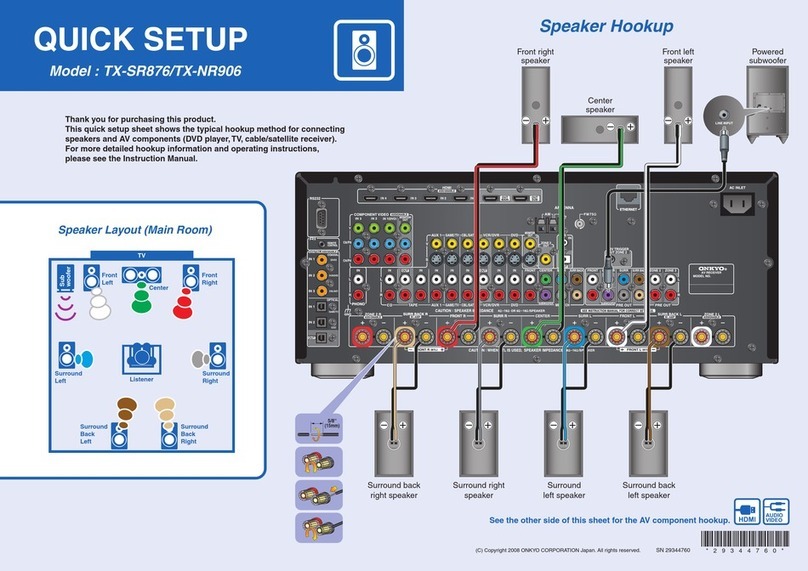
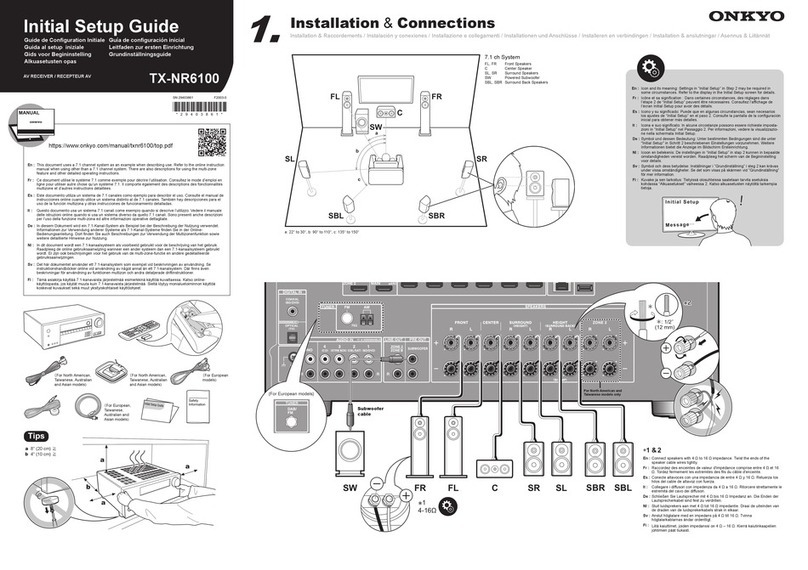
Onkyo TX-8522 User manual

E
n
Stereo Receiver
TX-8522
Using XM Satellite Radio
Instruction Manual
Thank you for purchasing an Onkyo Stereo Receiver.
Please read this manual thoroughly before making XM
Radio connections.
Following the instructions in this manual will enable
you to obtain optimum performance and listening
enjoyment from your new Stereo Receiver.
Please retain this manual for future reference.
Contents
Introduction.................................... 2
Connecting the XM Passport
System ............................................ 2
Selecting XM Satellite Radio......... 3
Signing Up for XM Satellite Radio
......................................................... 3
Selecting XM Radio Channels ...... 4
Presetting XM Channels................ 5
Displaying XM Radio Information
......................................................... 6
Positioning the XM Passport
System ............................................ 7
XM Radio Messages ...................... 7
TX-8522_XMsection.book 1 ページ 2006年5月2日 火曜日 午後1時41分

2
Note:
Hardware and required basic monthly subscription sold
separately. Premium Channels available at additional
monthly cost. Installation costs and other fees and taxes,
including a one-time activation fee may apply.
Subscription fee is consumer only. All fees and
programming subject to change.
About XM Radio:
There is a world beyond AM and FM. It is XM Satellite
Radio. XM offers more than 160 digital channels of
audio entertainment, including 100% commercial-free
music channels, in the top markets in the U.S.
Channels with frequent explicit language are indicated
with an XL. Channel blocking is available for XM radio
receivers by calling 1-800-XMRADIO.
About XM Canada:
XM Canada offers the most commercial-free music –
and engaging talk show programs. XM Canada creates
original content that reflects our unique Canadian culture
and broadcasts it throughout North America.
Canadian Satellite Radio Inc. offers its satellite radio
service and operates under the XM Canada™ brand. XM
Canada has an exclusive Canadian licence from XM
Satellite Radio Inc.
For more information about XM Canada, visit
www.xmradio.ca or call 1-877-GET-XMSR.
A warning against reverse engineering:
It is prohibited to copy, decompile, disassemble, reverse
engineer, or manipulate any technology incorporated in
receivers compatible with the XM Satellite Radio
system. Furthermore, the AMBE
®
voice compression
software included in this product is protected by
intellectual property rights including patent rights,
copyrights, and trade secrets of Digital Voice Systems,
Inc. The user of this or any other software contained in
an XM Radio is explicitly prohibited from attempting to
copy, decompile, reverse engineer, or disassemble the
object code, or in any other way convert the object code
into human-readable form. The software is licensed
solely for use within this product.
The XM Passport System is sold separately. You can
purchase the
XM Passport System
from the XM Web site
at:
http://www.xmradio.com (U.S.A.)
http://www.xmradio.ca (Canada)
Connect the Passport System to the XM antenna jack on
the rear panel.
Put the XM Passport System by a southerly facing
window, with nothing obstructing its path to the sky.
XM Ready
®
, XM Public Radio™ are trademarks of XM
Satellite Radio Inc. ©2005 XM Satellite Radio Inc. All rights
reserved. All other trademarks are the property of their
respective owners.
Introduction
Important XM Radio Information
To receive XM Radio on this receiver you need to
purchase an optional XM Passport System and
subscribe to XM’s paid programming. Please note
that XM is currently only licensed to provide service
to the contiguous 48 United States (not available in
Alaska and Hawaii) and portions of Canada. XM
Radio service is not currently available in Mexico or
any other region outside the continental U.S. and
portions of Canada. For updates on service
availability please visit XM's website at
http://www.xmradio.com or http://www.xmradio.ca
Connecting the XM Passport System
XM antenna jack
TX-8522_XMsection.book 2 ページ 2006年5月2日 火曜日 午後1時41分
3
Before you can use XM Satellite Radio, you must first
sign up for an account. You’ll need a major credit card
and your
XM Satellite Radio ID,
which you can get from
the receiver, as explained below, or from the Passport
System package and itself.
Notes:
• Channel 0 cannot be selected in Category Search
mode. You must select Channel Search mode (see
page 4).
• The following letters are not used in XM Satellite
Radio IDs: I, O, S, F.
ENTERDIRECT TUNING
SAT RADIO
0
SAT RADIO
ENTER
DIRECT TUNING
0
Selecting XM Satellite Radio
1
Press the [SAT RADIO] input
selector button to select XM.
If “CHECK ANTENNA” appears on
the display, make sure the XM Passport
System is connected properly.
Signing Up for XM Satellite Radio
1
Press the [DIRECT TUNING]
button.
Remote
controller
Receiver
Lights up
Remote
controller
Receiver
2
Within 8 seconds, use the
number buttons to select
channel 0, and press [ENTER]
button.
Your XM Satellite Radio ID number is
displayed. Write it below.
ID
3
To sign up, go to:
http://activate.xmradio.com
Or call: 1-800-967-2346
For XM Canada, go to:
http://xmradio.ca
Or call: 1-877-GET-XMSR
Receiver
Remote
controller
TX-8522_XMsection.book 3 ページ 2006年5月2日 火曜日 午後1時41分
4
There are three ways to select XM radio channels:
•
Direct tuning:
enter channel number.
•
Channel Search mode:
select any channel.
•
Category Search mode:
select channels by category.
Note:
You can’t select Channel Search or Category Search
mode, while the Tuning Arrow indicators are
flashing, as tuning is in progress.
■
Direct Tuning
You can select an XM radio channel directly by entering
its number.
■
Channel Search Mode/Category Search Mode
Selecting an XM radio channel on the receiver:
Selecting an XM radio channel with the remote
controller:
ENTERCATEGORY
TUNING MODE
DIRECT TUNINGTUNING DOWN/UP ENTER
RETURN
///
DIRECT TUNING
Number
buttons
Number buttons
Selecting XM Radio Channels
1
Press the [DIRECT TUNING]
button.
2
Within 8 seconds, use the
number buttons to enter the
channel number.
The channel is selected.
For example, to select channel #20,
press 0, 2, 0, or 2, 0, [ENTER].
Remote
controller
Receiver
Remote
controller
Receiver
1
Press the [TUNING MODE]
button to select “Channel
Search” or “Category Search”
mode.
2
Press the [CATEGORY] button
repeatedly to select a category.
3
Use the TUNING [UP ] and
[ DOWN] buttons to select a
channel.
In Channel Search mode, you can
select any channel.
In Category Search mode, you can only
select channels from the currently
selected category.
1
Press the [ENTER] button to
select “Channel Search” mode.
2
While the “Category Search”
mode is selected, use the Left
and Right [ ]/[ ] buttons to
select a category.
3
Use the Up and Down [ ]/[ ]
buttons to select a channel.
To listen to the previously selected XM
channel, press the [RETURN] button.
Remote
controller
Channel nameChannel number
TX-8522_XMsection.book 4 ページ 2006年5月2日 火曜日 午後1時41分
5
You can store a combination of up to 40 of your favorite
XM channels and AM/FM radio stations as presets.
■
Selecting Presets
■
Deleting Presets
PRESET
/
Number buttons
MEMORY TUNING MODE
Presetting XM Channels
1
Tune into the XM channel that
you want to store as a preset.
2
Press the [MEMORY] button.
The MEMORY indicator appears and
the preset number flashes.
3
While the MEMORY indicator is
displayed (about 8 seconds), use
the number buttons on the
receiver to select a preset from 1
through 40.
4
Press the [MEMORY] button
again to store the station or
channel.
The channel is stored and the preset
number stops flashing.
Repeat this procedure for all of your
favorite XM channels.
Receiver
1
To select a preset, use the
number buttons on the receiver,
or the remote controller’s
PRESET [ ]/[ ] buttons.
1
Select the preset that you want to
delete.
See the previous section.
2
While holding down the
[MEMORY] button, press the
[TUNING MODE] button.
The preset is deleted and its number
disappears from the display.
Receiver
Remote
controller
Receiver
TX-8522_XMsection.book 5 ページ 2006年5月2日 火曜日 午後1時41分
6
The following information can be displayed:
Notes:
• If the category, artist, or song title is not available,
“- - -” will be displayed instead.
• The listening mode is displayed only when speaker set
A is on.
DISPLAY
DISPLAY
Displaying XM Radio Information
1
Press the [DISPLAY] button
repeatedly to cycle through the
available information.
DISPLAY
DISPLAY
Remote
controller
Receiver
Channel name
Channel number
& preset number
Category
Artist
Song title
TX-8522_XMsection.book 6 ページ 2006年5月2日 火曜日 午後1時41分
7
You can check the signal strength of the XM radio signal
and adjust the position of the XM Passport System
accordingly.
The following messages may appear while using XM
radio.
The XM Passport System is not connected properly.
Check the connection.
The XM user encryption code is being updated. Please
wait.
The signal is too weak. Check the XM Passport System
connection and reposition it for the best reception.
The receiver is tuning or decoding audio or text data.
Please wait.
The XM channel you selected is not currently
broadcasting. Select another channel.
SETUP
/
Positioning the XM Passport System
1
Press the [SETUP] button on the
remote controller.
2
Use the Up and Down [ ]/[ ]
buttons to select “ANT Aiming,”
and then press [ENTER].
3
Adjust the position of the XM
Passport System so that the SAT
signal strength bar is as long as
possible.
If you can’t receive a satellite signal,
press the Down [ ] button to display
the terrestrial (TER) signal strength
meter and adjust your XM Passport
System so that the bar is as long as
possible.
Terrestrial
signals are only available in
certain areas.
So long as the signal strength is good,
you can enjoy XM Radio by using
either satellite or terrestrial reception.
XM Radio Messages
TX-8522_XMsection.book 7 ページ 2006年5月2日 火曜日 午後1時41分
8
SN 29344288
D0605-1
Sales & Product Planning Div. : 2-1, Nisshin-cho, Neyagawa-shi, OSAKA 572-8540, JAPAN
Tel: 072-831-8023 Fax: 072-831-8124
ONKYO U.S.A. CORPORATION
18 Park Way, Upper Saddle River, N.J. 07458, U.S.A.
Tel: 201-785-2600 Fax: 201-785-2650 http://www.us.onkyo.com/
(C) Copyright 2006 ONKYO CORPORATION Japan. All rights reserved.
http://www.onkyo.com/
HOMEPAGE
* 2 9 3 4 4 2 8 8 *
TX-8522_XMsection.book 8 ページ 2006年5月2日 火曜日 午後1時41分
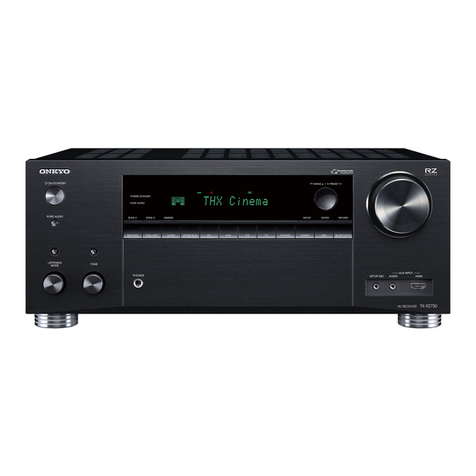
Other manuals for TX-8522
2
Table of contents
Other Onkyo Stereo Receiver manuals

Onkyo
Onkyo TX-SR3100 User manual

Onkyo
Onkyo TX-NR801 - AV Receiver User manual

Onkyo
Onkyo TX-SR875 User manual

Onkyo
Onkyo TX-6500MKII User manual

Onkyo
Onkyo Integra TX-DS898 User manual

Onkyo
Onkyo K-185X User manual

Onkyo
Onkyo TX-SR804 User manual

Onkyo
Onkyo TX-RZ70 User manual

Onkyo
Onkyo TX-8222 User manual

Onkyo
Onkyo HT-R380 User manual

Onkyo
Onkyo TX-NR7100 Manual

Onkyo
Onkyo TX-NR6050 User manual

Onkyo
Onkyo TX-NR727 Setup guide

Onkyo
Onkyo TX-RZ830 User manual

Onkyo
Onkyo TX-4500 User manual

Onkyo
Onkyo TX-8500 User manual

Onkyo
Onkyo TX-SR803 User manual

Onkyo
Onkyo TX-8050 User manual

Onkyo
Onkyo TX-NR901 User manual

Onkyo
Onkyo TX-8255 User manual