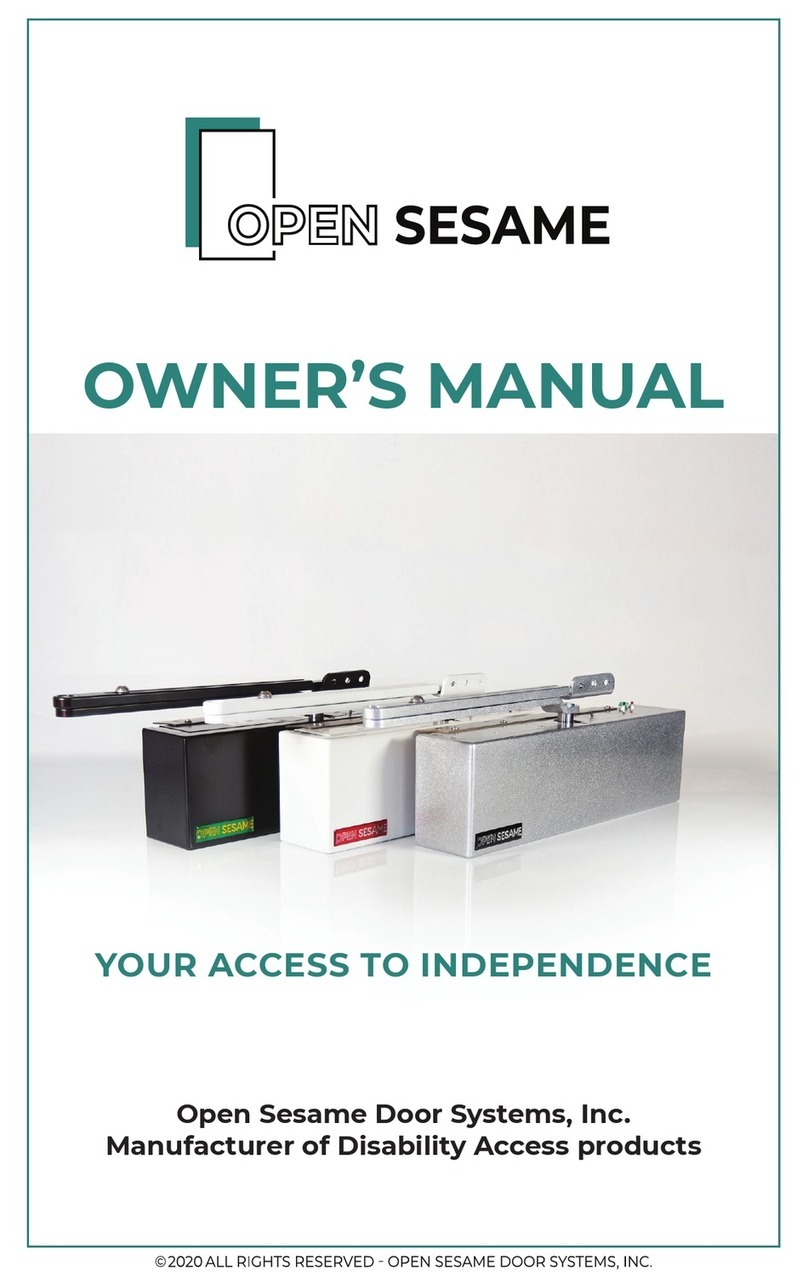
Open Sesame Door Systems 133 User manual

Owner's Manual
Open Sesame Door Systems, Inc.
Manufacturer of Disability Access products
1.800.673.6911

Thank you for your purchase of the Open Sesame door
operating system. This product is designed to be durable and
provide years of trouble-free service.
To ensure the Open Sesame Door System lives up to all
expectations, it is important to read and comply with this
owners manual. lease store this manual near the door
operator for easy access, as it is an important resource for
operation and future maintenance.
If there are further questions about the operation or
maintenance of the door operator, please contact your local
dealer or installer. You can find their information on the back
cover of this manual.
For further questions you can contact us at (800) 673-6911.
Our business hours are 9am - 5pm pacific time Monday-
Friday.
NOTICE: Information in this manual is subject to change without
notice. You can locate the most current version of this manual on
our website at www.opensesamedoor.com.
age 1
The Open Sesame Door System must be
plugged in to a wall outlet at all times to
ensure the battery stays fully charged.

90 Day
5 year
Limited
Warranty
Page 2
You can locate the invoice number/serial
number on the bottom of the Open
Sesame operator and on the inside cover
Inside Cover
Bottom of Operator
ON/OFF Switch

On the inside cover you will find instructions for
the following:
●Left Hand Conversion
●Red Dot Alignment
●Close Delay Adjustment
●Opening Angle Adjustment
●Direction Slide Switch
TO REMOVE COVER:
Only TWO screws need to be removed which
are located on the top and bottom center of
the operator. ith the door closed, the screw
on the top of the operator will be blocked by
the arm; the door will need to be opened in
order to access the top screw
Page
Top Screw
Bottom
Screw

90 Day
5 year
Limited
Warranty
Page 4
Adjustments
Your Open Sesame door operator has three
potentiometer (pot/knob) adjustments and one
position jumper adjustment (auto-close). To change
these settings at any point during or after installation
you must first remo e the Operator co er. The
location of these adjustments are shown on the
diagram on the inside co er of the operator. To
remo e co er refer to page 2 of this manual.
Open door to access top screw. After screws
are loosened, slide cover forward to remove.
Close Delay adjustment (Yellow knob).
Turn clockwise to allow more time for people to go
through the door before automatically closing.
Opening Angle adjustment (Blue knob).
Turn clockwise for wider door opening.
Obstruction Sensitivity adjustment (W ite knob).
Turn clockwise for hea ier door or sticky door sweep.
Auto-close
jumper White
knob
Blue knob
Yellow
knob

Auto-close (for Model 133 only) is an optional
feature used for elevator doors, public bathroom
doors and doors off public hallways. When the
auto-close adjustment feature is selected and the
door is manually opened and left open, the door
will automatically close after a delay. his feature
disables the park-open feature. o activate the
auto - close function, locate small or jumper on
the right side of the circuit board (displayed on
the diagram on inside cover of operator). o
select auto-close, pull up jumper and put back in
the “on” position, over the two center pins.
Door Operator Battery
The battery is a 12V lead acid gel cell with 1.2 amp-hr
capacity. The physical dimensions are approximately 2”
high, by 2” wide by 4” long. The brand is MK, part
n mber ES1.2-12. An equivalent can be substituted.
The battery is always sed for normal operation b t the
transformer sho ld remained pl gged into the wall o tlet.
Open Sesame door operating systems provide a great
sense of sec rity: in
the event of a power
o tage, o r openers
still operate at f ll
power se of yo r
door for several
ho rs, allowing
remote access.
Page 5

Door Operator Battery Maintenance
and Troubleshooting
The battery in the door operator should last approximately
3-5 years.
To test the function of the operator without using the
remote, manually press the black button on the top surface
of the operator. If the unit does not respond the door
operator battery may be completely discharged and may
need recharging or replacement.
Reasons For Battery Failure
If the battery is not working it could be due to an old battery
or that the battery has been discharged. A discharged
battery is not being charged because the wall transformer
and operator has become disconnected or damaged. If the
battery is discharged, turn operator switch FF. Make sure
that the power transformer is still plugged into the wall
outlet and that the green light on it is lit and let the operator
charge for a minimum of 2 hours.
When this battery becomes low, the operator may
display one or all of the following symptoms:
a. The door may not open to its normal width.
b. The door may move slower upon opening/closing
c. Electric strike will not release door latch
It could be that the fuse is blown. The fuse is located in
tubular fuse holder connected to orange battery wire.
Page 6

Testing the Battery:
1. Make sure the operator is switched FF
2. Remove cover from the operator.
3. Unplug one of the terminals connected to the battery.
4. With your meter place the positive lead on the red
terminal and the negative lead on the black terminal
5. The battery should read anywhere from 13-14 vdc.
New batteries for the door operator may be obtained by
contacting your local dealer/installer, your local Batteries
Plus or Interstate Battery store, or pen Sesame.
Replacing the operator battery:
AUTION: Turn the operator switch off and disconnect the
phone cord before changing the battery.
To remove existing battery, remove clear tape on the side of the
battery. Next remove the electrical tape covering the battery
terminals. Lastly, disconnect wires connected to the battery
terminals. Now you can pull the battery out and insert the new
one.
nce new battery is in place, wires to the battery should be
tightly reconnected with special care as is indicated by the color
coding: range wire to positive red terminal and black wire to
negative black terminal on battery.
Reversing these wires will result in a puff of smoke and
permanent damage to the battery charging circuit.
N TE: nce you replace the battery, date it for your
future reference so you know the date of when it was
last replaced.
Page 7

About Your Remote Control
Open Sesame remote controls are
radio-frequency transmitters similar to
controls used for automatic garage doors.
They will transmit through walls and have
a range of up to 100 ft.
Your remote control contains batteries that
will require replacement about once a
year. s the batteries become weak, the
range will slowly decrease & door may not
respond every time. The batteries can be found at most drug
stores depending on the model, see page 8 for details.
Your remote control is unique – remote controls will NOT
operate your door unless they are specifically programmed to
work with the unit.
Open Sesame remote control can be mounted on the joystick
housing or on a side panel of a wheelchair.
Using Your Remote Control
Your Open Sesame door operator is simple to use. With one
push of the button* the door will open, delay and then close.
The delay time may be adjusted from the standard 15 seconds
setting to the desired setting (5-35 sec) by internal adjustment
(see adjustments section, page 3).
If you would like to leave the door open or partially open (for
pet access or for ventilation) simply push the remote once to
activate the operator, then push the remote a second time and
the door will stop in place indefinitely.
If the door has been left open, you can press the remote once
and the door will close.
*(or other means to activate such as voice control or through a
ECU wheelchair control system)
Page 8

Remote Control Batteries
The batteries used in our transmitters are shown below.
They can be obtained at your local drug stores.
=
12v 23A
= x 2 =
3v CR123
3v 2016
= v
Page

How to Program Transmitters
ECU Transmitter, Keychain Transmitter, 1-Button,
2-Button, and 4-Button Transmitters
•Locate the RED program button on the upper right surface of the opener.
Press an release this button momentarily for 1 seconds (one thousand
and one).
•If you have the cover off of the operator you will see the green light on the
receiver board turn on and stay on for 15 seconds indicating the receiver
is in program mode.
•Within the 15 seconds press and hold the button on the transmitter for 2
seconds (one thousand one one thousand two).
•The light on the receiver board will flash five (5) times within 2 seconds
and then turn off indicating the transmitter has been programmed to the
receiver and the program mode has been exited.
(FL), (FN), (FW) Wireless Push Pads
•Open the box (Allen screws are on the bottom) and connect the loose
connectors inside.
•On the Open Sesame operator locate the RED program button on the
upper right surface of the opener. Press an release this button
momentarily for 1 seconds (one thousand and one).
•If you have the cover off of the operator you will see the green light on the
receiver board turn on and stay on for 15 seconds indicating the receiver
is in program mode.
•Within the 15 seconds press and hold the push pad you wish to program
for 2 seconds.
•The light on the receiver board will flash five (5) times within 2 seconds
and then turn off indicating the transmitter has been programmed to the
receiver and the program mode has been exited.
(FT) Wireless Wall Touch Pad
•On the Open Sesame operator press and release the red program button
for 1 seconds.
•If you have the cover off of the operator you will see the green light on the
receiver board turn on and stay on. This light will stay on for 15 seconds
indicating the receiver is in program mode.
•Within the 15 seconds touch the pad that you wish to program
momentarily (2 second)
•The light on the receiver board will flash five (5) times within 2 seconds
and then turn off indicating the transmitter has been programmed to the
receiver and the program mode has been exited.
Page 10

To Change Code for Keyless
Entry Pad
You may have chosen to purchase
the security entry system, also
known as the keyless entry pad. If not, it is
always available for purchase after
your original installation. The
keyless entry pad is primarily used to allow
home healthcare personnel access
to a residence without giving out
keys. The combination code can
also be given to trusted friends,
caretakers or emergency personnel.
To change code:.
1) Enter XXXX on keypad (XXXX
is the old code)
2) Enter desired 4-digit code
3) Enter 1
4) Wait a few seconds
5) Enter **. You can now use the
new code.
NOTE: To reset code factory
setting of “1234”, do the following:
1. Disconnect battery
2. While holding down any button,
reconnect the battery.
3. Continue holding button for
5 seconds.
Page 11

Replacing Remote Controls
If your remote control has been lost or damaged, you
will need to acquire a new remote and program your
Open Sesame operator to respond to it. For your
security the Open Sesame operator will only respond
to the remote control it has been programmed to.
If you have lost your remote and are concerned about
others using it to gain access to your residence, you
can de-program all of the remote units by following the
instructions below.
Deprogramming Remotes
To de-program remotes from Open Sesame operator,
push the ED program button on top of the door
operator 5 times within 3 seconds. This will deprogram
ALL of the remotes from the operator.
Refer back to page 9 for reprogramming instructions.
Page 12

Page 13
90 Day
5 year
Limited
Warranty
90 Day
Satisfaction Guarantee
During the first 90 days after date of purchase*,
if you are dissatisfied with the performance or
the qua ity of materia s of the Open Sesame
door operator, you may return the door operator
for a refund or exchange. For customized/specia
order items contact us to check return e igibi ity.
If you purchased your Open Sesame door
operator from an outside vendor, p ease check
with them regarding their exchange/return po icy.
Door operators must be returned in origina
packing materia s. Prior to shipping back the
operator contact Open Sesame, Inc. at
1.800.673.6911 to receive a Return Authorization
Number. The Guarantee does not inc ude any
charges for shipping, insta ation, accessory
equipment or hardware required for insta ation.
This guarantee does not cover any ma function,
fai ure or defect resu ting from improper
insta ation, misuse, abuse, neg ect, a teration,
modification or repair done by any other than
authorized Open Sesame Door Systems
representative.
*Date of Sa e is based on Date of Invoice and
interna seria number. Seria number is ocated
on the bottom of the unit or on the inside cover
and must be present when
unit is returned.

Page 14
1 Year Warranty
5 Year Limited Warranty
During the first year Open Sesame wi
rep ace, exchange, and/or repair a
factory supp ied components of our door
operator free of charge. This does not
inc ude any transmitters or transmitter
batteries. The course of action necessary
to return your door operator to a
functiona state is so e y at the discretion
of Open Sesame Door Systems, Inc.
After the first year, Open Sesame wi
rep ace, exchange or repair a factory
supp ied components on a fee basis not
to exceed $450 for an additiona 5 years.
The warranty exc udes rep acement of
batteries for remote contro s or the
battery in the operator itse f. Open
Sesame Door Systems, Inc is not iab e
for incidenta or consequentia damages,
so the above exc usion may not app y to
you. This warranty a so gives you specific
ega rights, and you may have other
rights that may vary from State to State.

Troubleshooting
Issue Cause Solution
No Green (ON) light on the
board
No power from transformer
(no green light on the
transformer)
Plug transformer into a different outlet
Bad Transformer Replace transformer
No red light on board Operator is switched OFF Mo e switch to ON position
Unaligned H Sensor and red dot
on disk
Realign
H Sensor
and
red dot
on disk
H-Sensor may not be close
enough to red dot
Push up
H Sensor
with your thumb,
should be 1/16” away from red dot
Blown Fuse Replace fuse - located in tubular fuse
holder connected to orange battery
wire.
Bad top board Replace top board
Door does not open Red light on board not on
H Sensor
and
red dot
not aligned
Loose Connections Check & tighten all connections
Battery Failure Refer to battery testing instructions.
Turn operator off if recharging is
needed or replace battery if it's 3-5
years old.
Obstruction, weather stripping Remo e obstruction, thick weather
stripping may need to be remo ed.
Blown fuse Replace fuse – located in tubular fuse
holder connected to orange battery
wire
Bad Radio Recei er Board
(if
Test
button does not work)
Replace Radio Recei er Board
Strike in Fail Safe Mode (new install) Change strike to Fail-Secure Mode
Door does not open wide
enough/to its normal width
Opening angle not adjusted Adjust
Opening Angle
(blue knob on top board)
Battery Failure Recharge or replace battery
Door does not delay Incorrect Close Delay setting Adjust
Close Delay
knob (5-35 sec)
Bad Top Board Replace Top Board
Operator only works in one
direction
Bad Bottom Board Test by: Sliding Switch on opposite
direction, open the door and hit test
button (M133) door should open further
if it doesn't then there is a bad bottom
board. M233 door should open
automatically.
If it does not, replace bottom board
15

Door mo es slower upon
opening/closing
Weather stripping, dragging on
door..
Remo e anything that might be
dragging the door. Thick weather
stripping may need to be remo ed
Battery Failure Recharge or replace battery
Strike does not release door
latch
Clutch is engaging and keeps
running so it wont let you open
the door
Battery Failure-Turn off operator and
recharge. Replace battery if it's 3-5 yrs
old.
Bad Wiring See
Detailed Troubleshooting
on
www.OpenSesameDoor.com
Bad Door Cord or Bad RJ-11 See
Detailed Troubleshooting
on
www.OpenSesameDoor.com
Door goes the opposite way Direction of
Slide Switch
towards wrong side.
Mo e
Slide Switch
towards hinges.
With parallel mount,
Slide Switch
should be away from hinges
Door does not close Not enough force M233: adjust clutch by rotating the red
ring on the clutch.
If more force needed (both models)
mo e shoe of arm in towards hinges
and place middle of shoe on the next
existing hole
Battery Failure Recharge or replace battery
Clutch is slipping and makes
a grinding whining noise
Bad clutch Send in to ha e motor clutch assembly
replaced (call for RA# before shipping
operator in)
Transmitter does not work Incorrect remote Green Antenna = 433Mhz
Purple Antenna = 315Mhz
Gray Antenna = 390Mhz
(Antenna is the coiled wire located behind
red and black buttons on the top of the
operator)
Transmitter not programmed Refer to Owners Manual or see
programming instructions at
OpenSesameDoor.com
Dead battery on transmitter Replace battery, refer to Owners
Manual or go to OpenSesameDoor.com
for battery information
Bad/loose connection between
Top Board and Recei er Board
Fix/tighten the connection
Bad Recei er Board Replace Recei er Board
16

90 Day
5 year
Limited
Warranty
For Technical Service
Contact your local dealer/installer
Dealer/Installer:
Contact:
Phone #:
Invoice #:
Manufacturer of Disability Access Products
www.opensesamedoor.com
Open Sesame Door Systems, Inc.
1933 Davis Street Suite 279
San Leandro CA 94577
1.800.67 .6911
Other manuals for 133
2
Table of contents
Other Open Sesame Door Systems Door Opening System manuals
Popular Door Opening System manuals by other brands

Assa Abloy
Assa Abloy Effeff 843G Installation and mounting instructions

Dormakaba
Dormakaba LA GARD 700 Series System user's guide

Assa Abloy
Assa Abloy G-CO-FMS installation instructions

Opera
Opera 18100 Series Installation instruction

tau
tau BIUNO manual

Allegion
Allegion VON DUPRIN XP98 Series installation instructions