manuals.online logo
Brands
  1. Home
  2. •
  3. Brands
  4. •
  5. ENTRO
  6. •
  7. Door Opening System
  8. •
  9. ENTRO D0451 User manual

ENTRO D0451 User manual

Print Actual Size A3
D0451 Closer - Standard Arm
Installation Instructions
D0451 Installation Instructions www.entro.com.au
Strong
Strong
FOLD HERE
Instructions for Installation of the Door Closers (Standard Type)
Force 2/4Force 3
220mm (Force 2/3, Door Width≤950mm, Max 180°)
Hinge
Hinge
82
Weak
230 45
104
39
2-#10x5/8”
UNDERSIDE
OF FRAME
SET TO TOP
OF DOOR
4-#10x2”
Weak
Use this side of template for clockwise opening door
(RIGHT HAND OPENING)
245mm (Force 4, Door Width≤1100mm, Max 180°)
Determine the installation position of the
door closer place the templet on the closed
door and the top jamb, and make holes in
them with a punch or other proper tool
Templet
Fix the link shoe to the top jamb
Fit the lever to the pinion shaft and fix it
firmly with the screw
Mount the closer on the door Adjust the link length so that the link makes
a right angle with the top jamb, and fix with
the lock nut
FIX PINION CAP TO CLOSER BODY
Adjust the closing speed.
The door closer closes the door at two differ-
ent speeds.
The first speed can be controlled by the No.1
speed adjusting valve, and the second speed,
by the No. 2 speed adjusting valve
LINK ARM MUST BE SET 90° TO
FRAME WITH DOOR CLOSER
Link shoe
Door closer
Lever
Mounting screw CLOSING LATCHING
SLOW
No.1 CLOSING
No.2 LATCHING
FAST
Print Actual Size A3
D0451 Closer - Standard Arm
Installation Instructions
D0451 Installation Instructions www.entro.com.au
Strong
Instructions for Installation of the Door Closers (Standard Type)
45
104
39
2-#10x5/8”
UNDERSIDE
OF FRAME
SET TO TOP
OF DOOR
4-#10x2”
Weak
Use this side of template for clockwise opening door
(LEFT HAND OPENING)
220mm (Force 2/3, Door Width≤950mm, Max 180°)
245mm (Force 4, Door Width≤1100mm, Max 180°)
LINK ARM MUST BE SET 90° TO
FRAME WITH DOOR CLOSER
SLOW
No.1 CLOSING
No.2 LATCHING
FAST
Adjust the closing speed.
The door closer closes the door at two differ-
ent speeds.
The first speed can be controlled by the No.1
speed adjusting valve, and the second speed,
by the No. 2 speed adjusting valve
CLOSING LATCHING
Adjust the link length so that the link makes
a right angle with the top jamb, and fix with
the lock nut
FIX PINION CAP TO CLOSER BODY
Determine the installation position of the
door closer place the templet on the closed
door and the top jamb, and make holes in
them with a punch or other proper tool
Templet
Fix the link shoe to the top jamb
Fit the lever to the pinion shaft and fix it
firmly with the screw
Mount the closer on the door
Link shoe
Door closer
Lever
Mounting screw
Strong
FOLD HERE
Force 2/4 Force 3
Weak
230
Hinge
Hinge
Print Actual Size A3
D0451 Closer - Parallel Arm
Installation Instructions
D0451 Installation Instructions www.entro.com.au
PARALLEL ARM INSTALLATION FOR ANTI CLOCKWISE OPENING DOOR
FOR CLOCKWISE OPENING DOOR SEE THE BACK PAGE
FOLD HERE
REGULAR INSTALLATION
FOR ANTI CLOCKWISE OPENING DOOR
(CLOSER MOUNTED ON DOOR ON PULL SIDE)
Parallel Bracket
Set to underside of frame head
This face to underside
of frame head
Set this end to
the left of door
4-#12x5/8”
4-#10x2”
#2,#3
#4
NO. 1 CLOSING
NO. 2 LATCHING SPEED ADJUSTING VALVE
SPEED
UP
SLOW
DOWN
NO. 2
NO. 1
Print Actual Size A3
D0451 Closer - Parallel Arm
Installation Instructions
D0451 Installation Instructions www.entro.com.au
PARALLEL ARM INSTALLATION FOR CLOCKWISE OPENING DOOR
FOR ANTI CLOCKWISE OPENING DOOR SEE THE BACK PAGE
REGULAR INSTALLATION
FOR CLOCKWISE OPENING DOOR
(CLOSER MOUNTED ON DOOR ON PULL SIDE)
FOLD HERE
Set to underside of frame head
Set this end to
the right of door
Parallel Bracket
This face to underside
of frame head
4-#12x5/8”
4-#10x2”
#2,#3
#4
NO. 1 CLOSING
NO. 2 LATCHING
SPEED ADJUSTING VALVE
SPEED
UP
SLOW
DOWN
NO. 2
NO. 1
Print Actual Size A3
D0451 Closer - Slide Arm
Installation Instructions
D0451 Installation Instructions www.entro.com.au
104240
39
4-#10x2”
2-#10x2”
470
CAUTION - Pull Side Installation Only
For Push Side Installation Order D0612 Long Slide Rail
143
HOLD - OPEN CLIP (OPTIONAL) SLIDER
Instructions for Installation of the Door Closers (Standard Type)
Determine the installation position of the door closer
place the templet on the closed door and the top
jamb, and make holes in them with a punch or other
proper tool
Templet
Fix the link shoe to the top jamb
Fit the lever to the pinion shaft and fix it firmly
with the screw
Mount the closer on the door
Adjust the link length so that the link
makes a right angle with the top jamb,
and fix with the lock nut
FIX PINION CAP TO CLOSER BODY
Adjust the closing speed.
The door closer closes the door at two different
speeds.
The first speed can be controlled by the No.1
speed adjusting valve, and the second speed, by
the No. 2 speed adjusting valve
Track
Body
Main arm
Mounting screw CLOSING LATCHING
SLOW
No.1 CLOSING
No.2 LATCHING
FAST
Print Actual Size A3
D0451 Closer - Slide Arm
Installation Instructions
D0451 Installation Instructions www.entro.com.au
104 240
39
4-#10x2”
2-#10x2”
470
CAUTION - Pull Side Installation Only
For Push Side Installation Order D0612 Long Slide Rail
143
HOLD - OPEN CLIP (OPTIONAL)SLIDER
Instructions for Installation of the Door Closers (Standard Type)
No.1 CLOSING
No.2 LATCHING
SLOWFAST
Adjust the link length so that the link
makes a right angle with the top jamb,
and fix with the lock nut
FIX PINION CAP TO CLOSER BODY
Determine the installation position of the door closer
place the templet on the closed door and the top
jamb, and make holes in them with a punch or other
proper tool
Templet
Adjust the closing speed.
The door closer closes the door at two different
speeds.
The first speed can be controlled by the No.1
speed adjusting valve, and the second speed, by
the No. 2 speed adjusting valve
CLOSING LATCHING
Fix the link shoe to the top jamb
Fit the lever to the pinion shaft and fix it firmly
with the screw
Mount the closer on the door
Track
Body
Main arm
Mounting screw

Other ENTRO Door Opening System manuals

ENTRO D0401 User manual

ENTRO

ENTRO D0401 User manual

ENTRO D5000 User manual

ENTRO

ENTRO D5000 User manual

ENTRO D0701 User manual

ENTRO

ENTRO D0701 User manual

Popular Door Opening System manuals by other brands
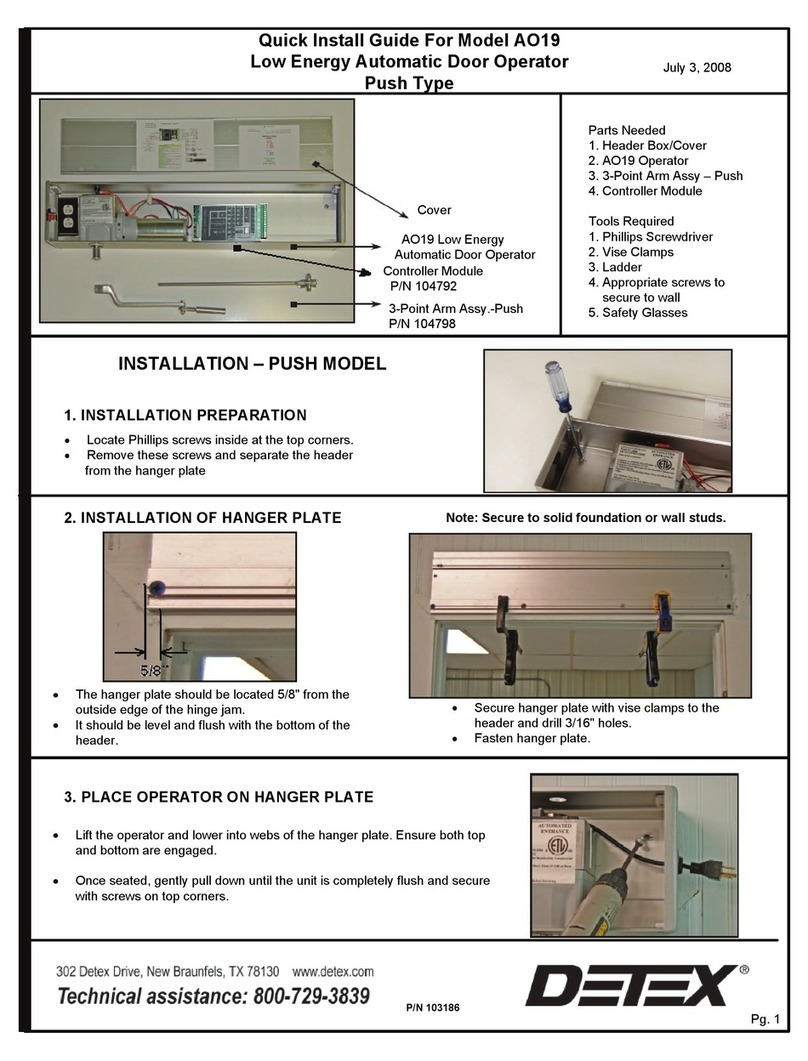
Detex AO19 Quick install guide

Detex

Detex AO19 Quick install guide

Von Duprin 3550AWDC installation instructions

Von Duprin

Von Duprin 3550AWDC installation instructions

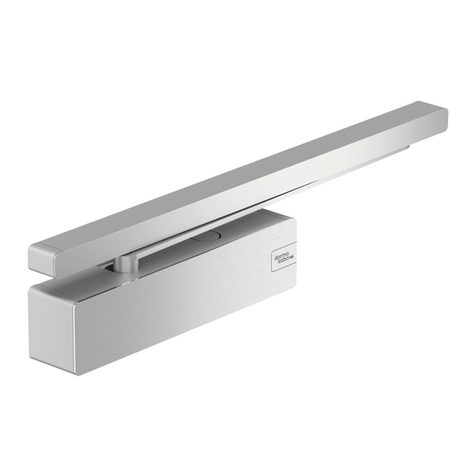
Dorma ITS 96 EN 2-4 Fixing instructions

Dorma

Dorma ITS 96 EN 2-4 Fixing instructions

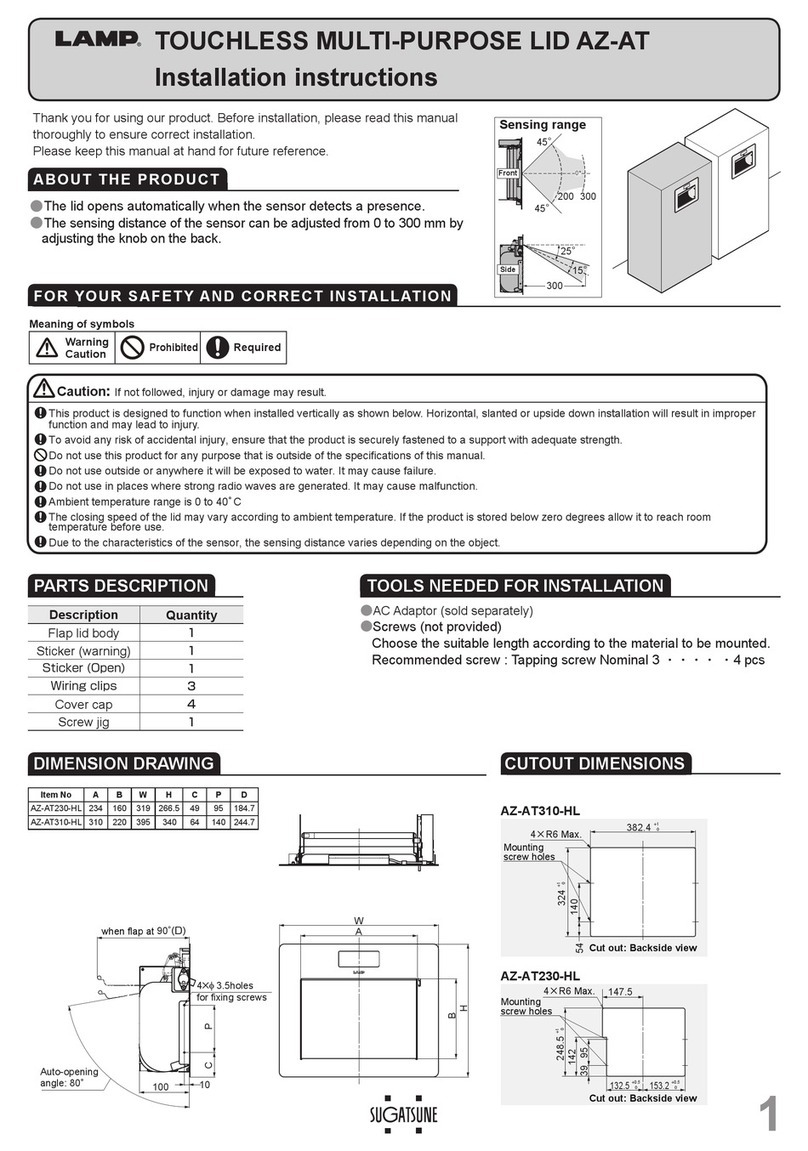
Lamp AZ-AT230-HL Nstallation instructions

Lamp

Lamp AZ-AT230-HL Nstallation instructions

Eco TS-31 Assembly instruction

Eco

Eco TS-31 Assembly instruction

Häfele Finetta Flatfront M35 FB Assembly and adjustments

Häfele

Häfele Finetta Flatfront M35 FB Assembly and adjustments

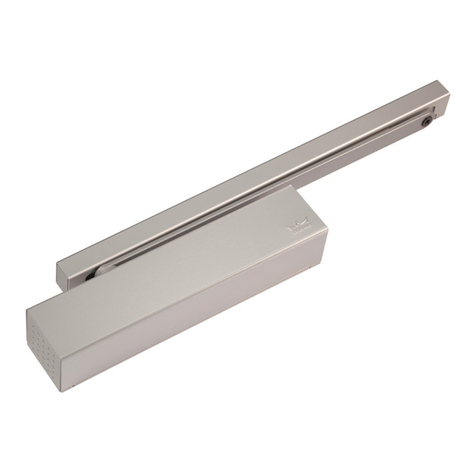
Dormakaba TS 92 XEA G Original instruction manual
Dormakaba

Dormakaba TS 92 XEA G Original instruction manual

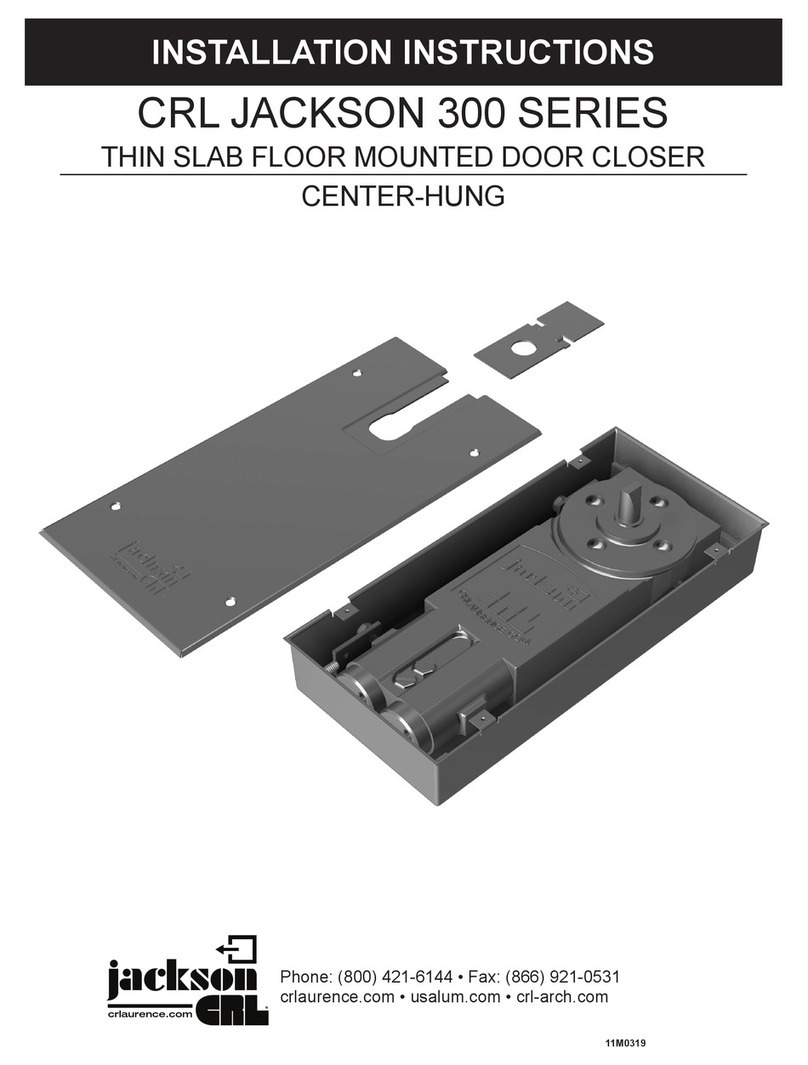
CRL JACKSON 300 Series installation instructions

CRL

CRL JACKSON 300 Series installation instructions

golmar K-ACCESS PAC-90 quick start guide

golmar

golmar K-ACCESS PAC-90 quick start guide

Assa Abloy Norton 6300 Series quick start guide
Assa Abloy

Assa Abloy Norton 6300 Series quick start guide

Dorma TS93 GSR/EMF instructions

Dorma

Dorma TS93 GSR/EMF instructions

Von Duprin QEL94/9547 Series installation instructions
Von Duprin

Von Duprin QEL94/9547 Series installation instructions

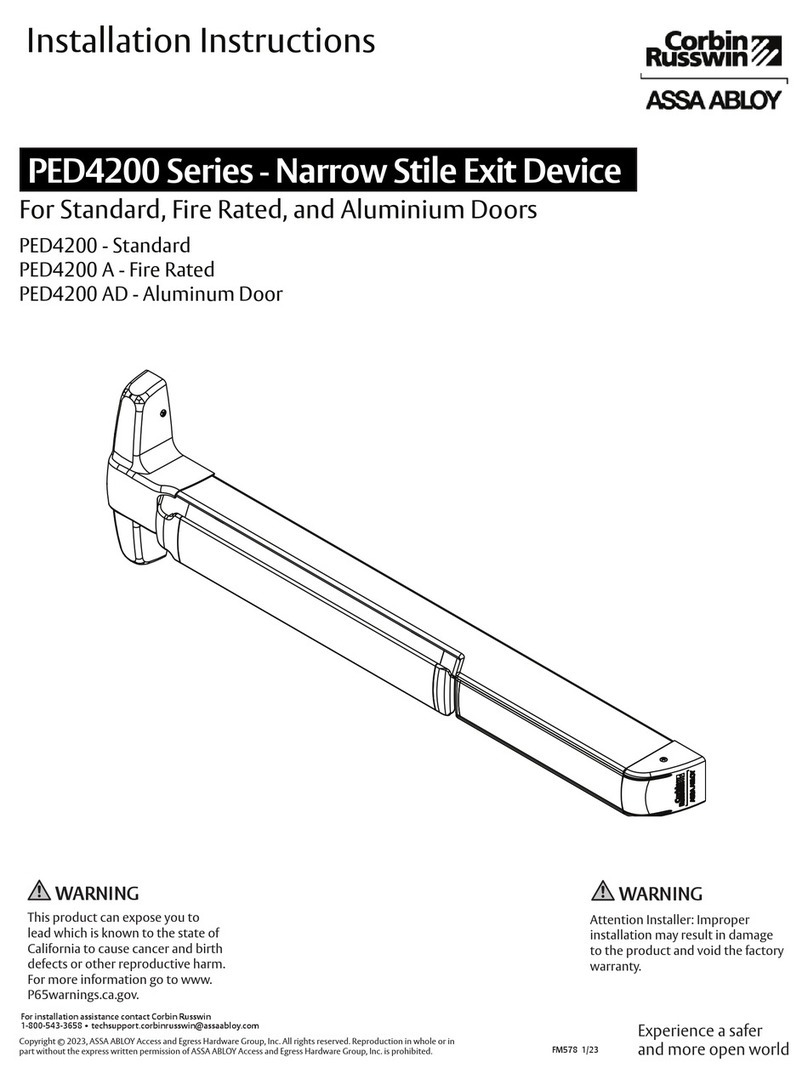
Assa Abloy Corbin Russwin PED4200 Series installation instructions

Assa Abloy

Assa Abloy Corbin Russwin PED4200 Series installation instructions
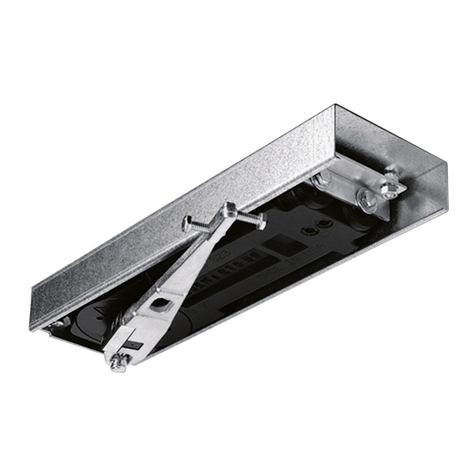
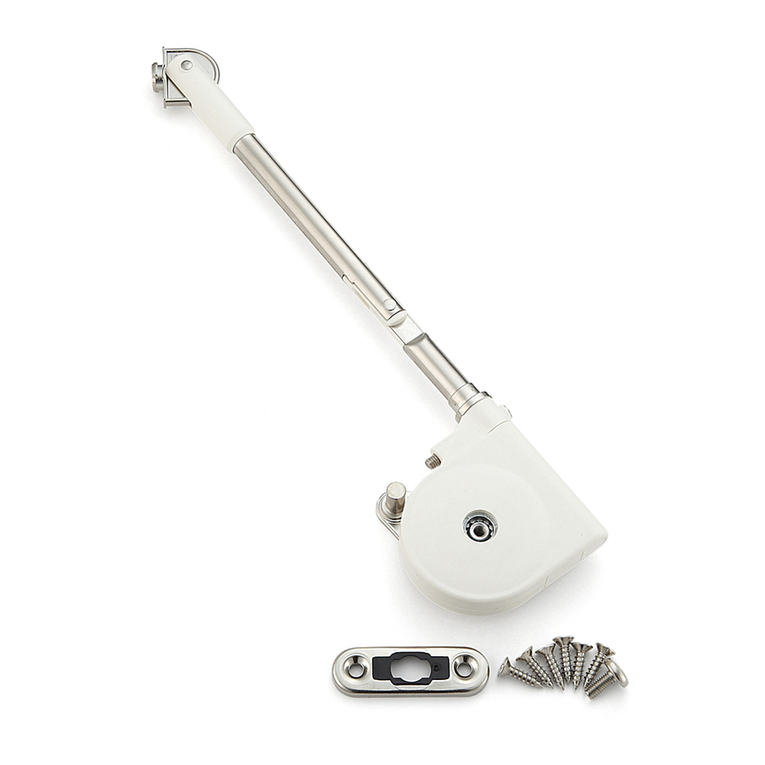
Dormakaba RTS Series installation instructions
Dormakaba

Dormakaba RTS Series installation instructions

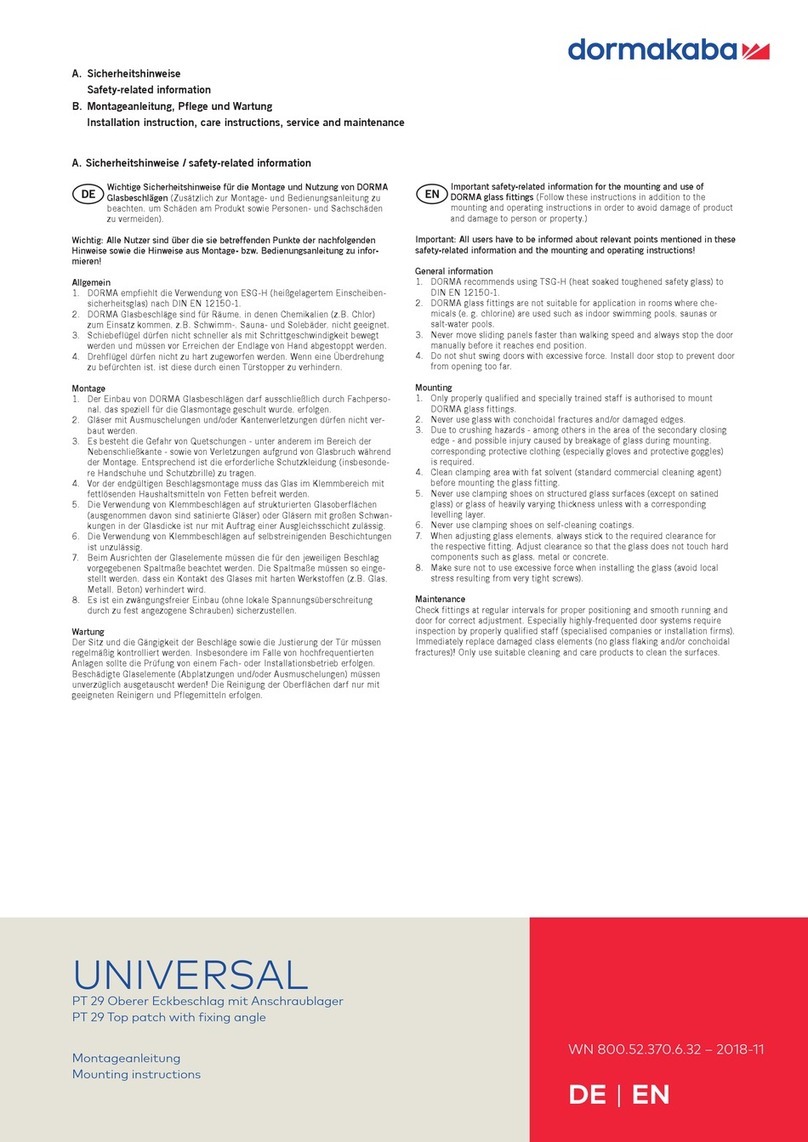
SUGATSUNE LAMP Lapcon SDS-210 Installation
SUGATSUNE

SUGATSUNE LAMP Lapcon SDS-210 Installation

Dormakaba UNIVERSAL PT 29 Mounting instructions

Dormakaba

Dormakaba UNIVERSAL PT 29 Mounting instructions

KROME 910DA installation instructions

KROME

KROME 910DA installation instructions

D+H ZA 35-HS instructions

D+H

D+H ZA 35-HS instructions

manuals.online logo
manuals.online logoBrands
  • About & Mission
  • Contact us
  • Privacy Policy
  • Terms and Conditions

Copyright 2025 Manuals.Online. All Rights Reserved.