manuals.online logo
Brands
  1. Home
  2. •
  3. Brands
  4. •
  5. OpenEye
  6. •
  7. Network Hardware
  8. •
  9. OpenEye MA Series User manual

OpenEye MA Series User manual

Other manuals for MA Series

1

Other OpenEye Network Hardware manuals

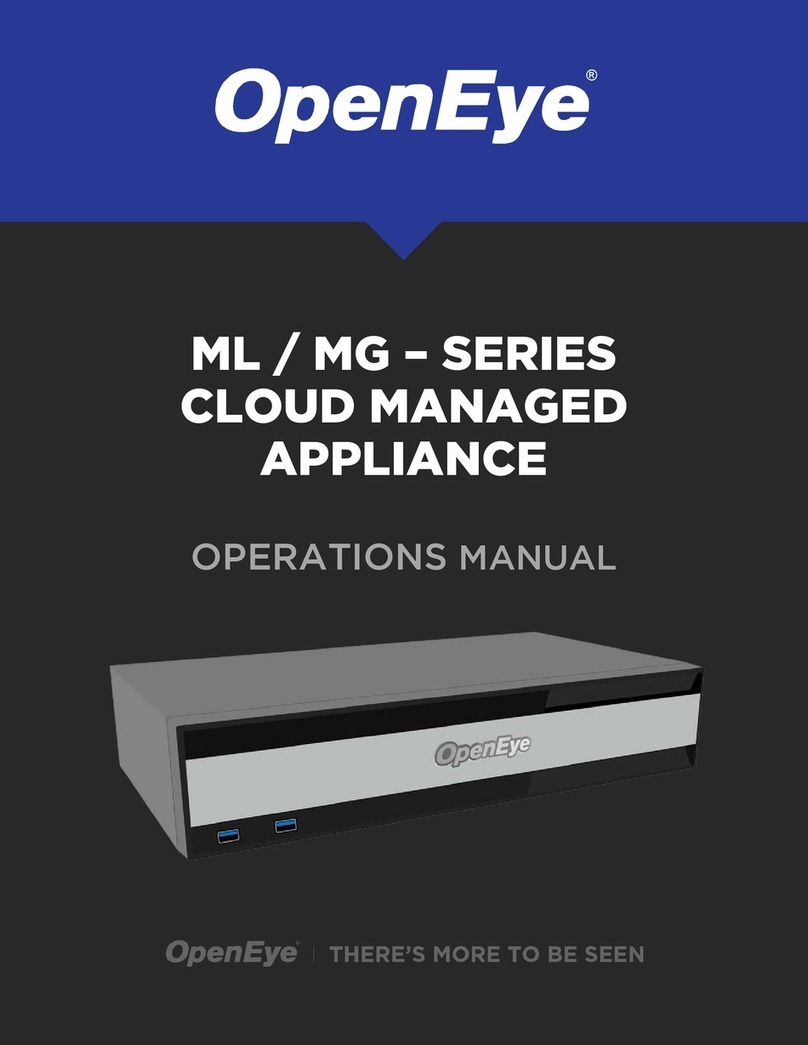
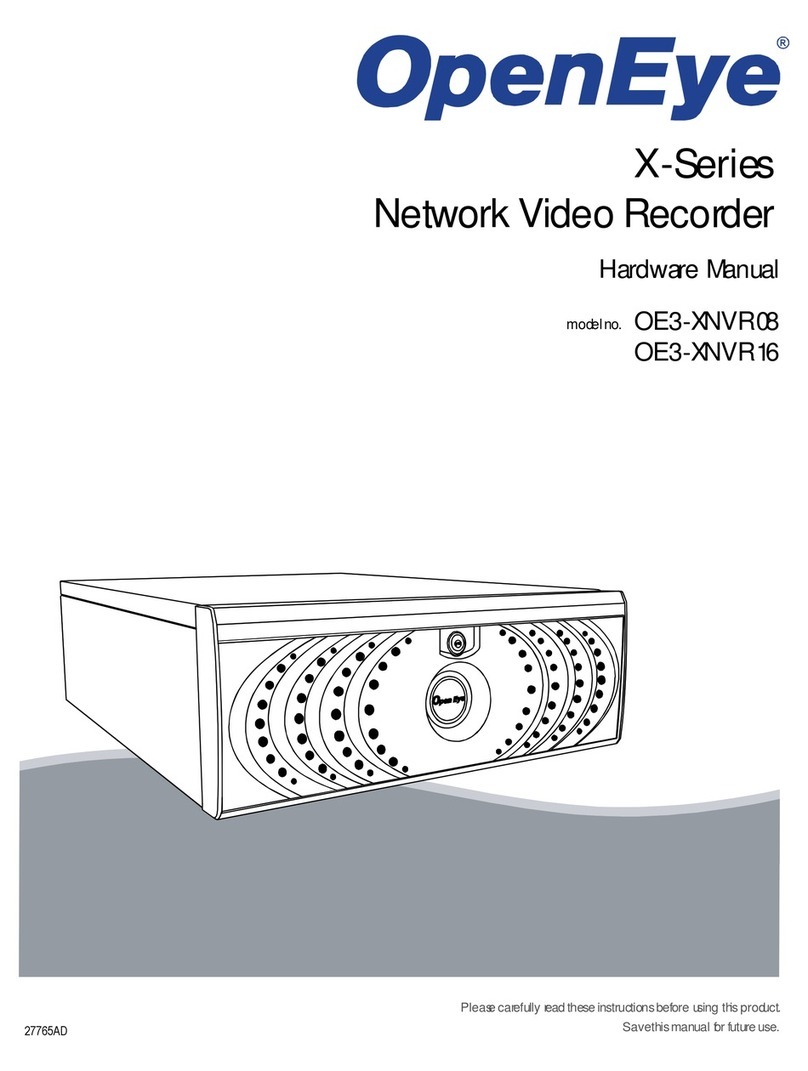
OpenEye OE3-XNVR08 User manual

OpenEye

OpenEye OE3-XNVR08 User manual

OpenEye MV Series User manual

OpenEye

OpenEye MV Series User manual

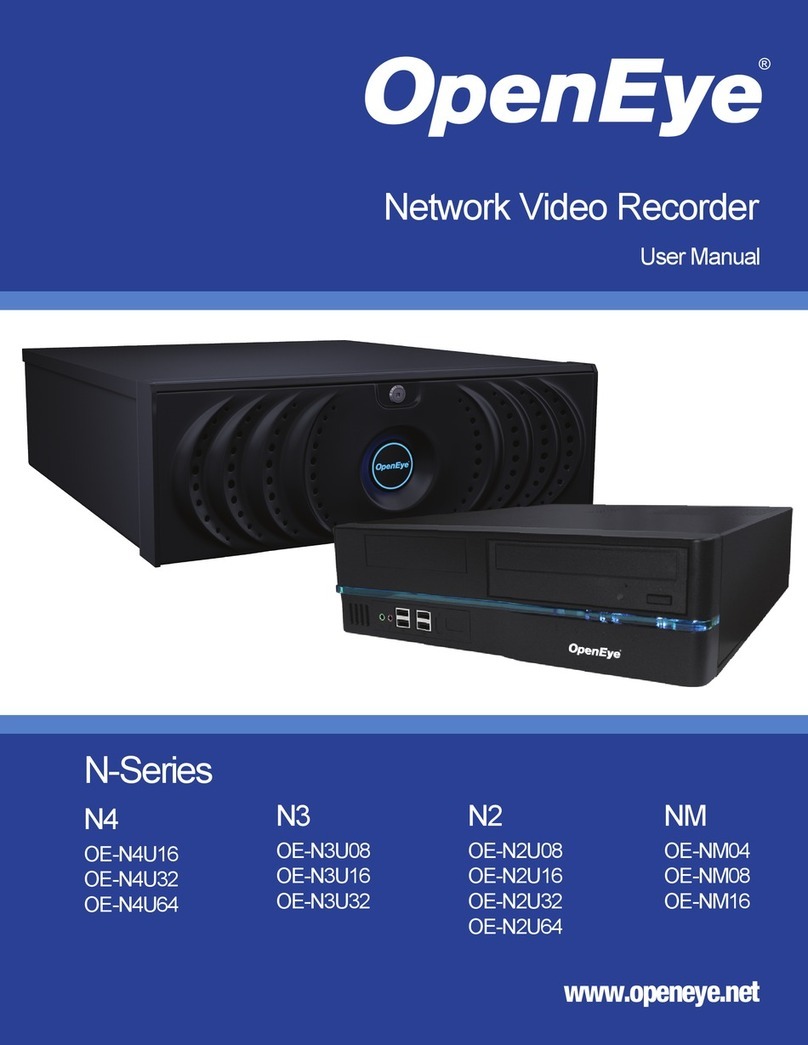
OpenEye OE-N4U16 User manual

OpenEye

OpenEye OE-N4U16 User manual

OpenEye MA Series User manual

OpenEye

OpenEye MA Series User manual

OpenEye OE-N4U16 User manual

OpenEye

OpenEye OE-N4U16 User manual

OpenEye MV Series User manual

OpenEye

OpenEye MV Series User manual

OpenEye OE3-XRNVR08 User manual

OpenEye

OpenEye OE3-XRNVR08 User manual

OpenEye OE-ENVRPOE4 User manual

OpenEye

OpenEye OE-ENVRPOE4 User manual

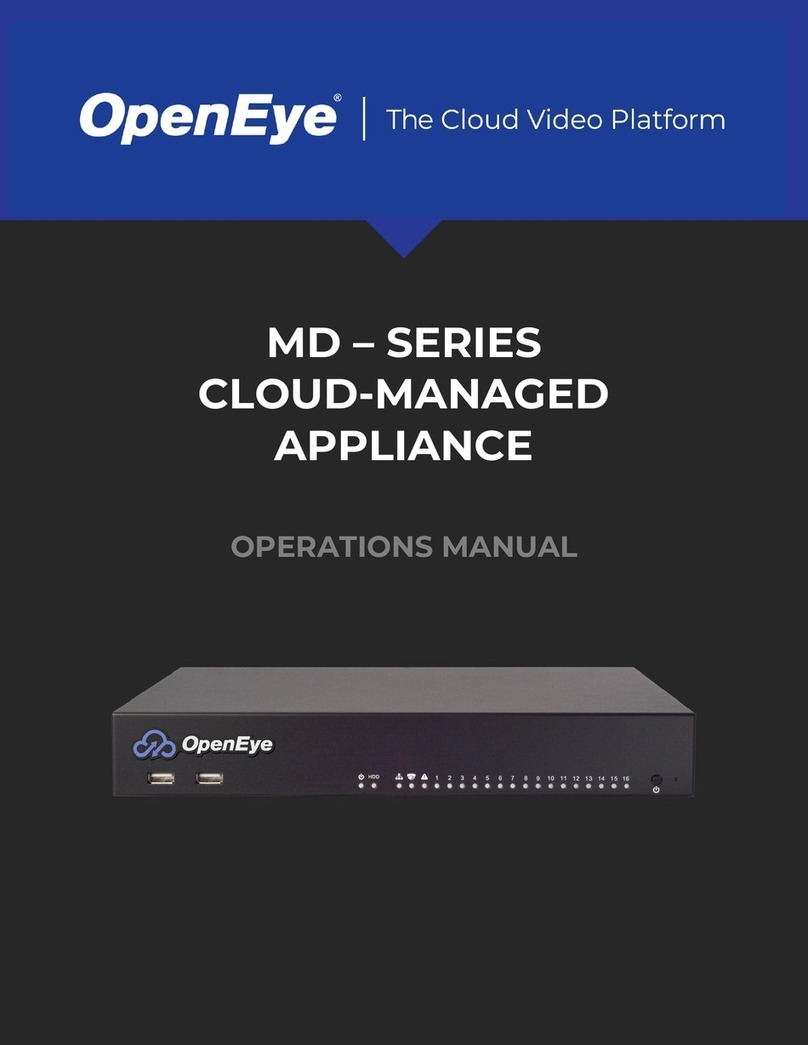
OpenEye MD Series User manual

OpenEye

OpenEye MD Series User manual

OpenEye OE-EASYNVR4 User manual

OpenEye

OpenEye OE-EASYNVR4 User manual

OpenEye MV Series User manual

OpenEye

OpenEye MV Series User manual

OpenEye ML Series User manual

OpenEye

OpenEye ML Series User manual

OpenEye ME Series User manual

OpenEye

OpenEye ME Series User manual

Popular Network Hardware manuals by other brands

socomec SNMP Card II quick start guide

socomec

socomec SNMP Card II quick start guide

NVR SYSTEMS 4-CH user manual

NVR SYSTEMS

NVR SYSTEMS 4-CH user manual

Draytek VigorSwitch G1240 quick start guide

Draytek

Draytek VigorSwitch G1240 quick start guide

Westermo TD-34 LV installation manual

Westermo

Westermo TD-34 LV installation manual

LaCie Network Space MAX Quick install guide

LaCie

LaCie Network Space MAX Quick install guide

ZoneVu ZSI-450-IP Installation guide & user manual

ZoneVu

ZoneVu ZSI-450-IP Installation guide & user manual

QNAP Turbo NAS Application notes

QNAP

QNAP Turbo NAS Application notes

Huawei SmartAX MT880a quick start guide

Huawei

Huawei SmartAX MT880a quick start guide

Proxim Tsunami QuickBridge 2454-R installation guide

Proxim

Proxim Tsunami QuickBridge 2454-R installation guide

Bay Networks CLAM quick start guide

Bay Networks

Bay Networks CLAM quick start guide

Innodisk SATADOM-SH 3SE Series manual

Innodisk

Innodisk SATADOM-SH 3SE Series manual

Cisco CGR 1000 Series Getting connected guide

Cisco

Cisco CGR 1000 Series Getting connected guide

Matrix Switch Corporation MSC-HD161DEL product manual

Matrix Switch Corporation

Matrix Switch Corporation MSC-HD161DEL product manual

National Instruments NI 653x user manual

National Instruments

National Instruments NI 653x user manual

B&B Electronics ZXT9-IO-222R2 product manual

B&B Electronics

B&B Electronics ZXT9-IO-222R2 product manual

Yudor YDS-16 user manual

Yudor

Yudor YDS-16 user manual

D-Link ShareCenter DNS-320L datasheet

D-Link

D-Link ShareCenter DNS-320L datasheet

Samsung ES1642dc Hardware user manual

Samsung

Samsung ES1642dc Hardware user manual

manuals.online logo
manuals.online logoBrands
  • About & Mission
  • Contact us
  • Privacy Policy
  • Terms and Conditions

Copyright 2025 Manuals.Online. All Rights Reserved.

MA-SERIES CLOUD MANAGED HYBRID APPLIANCE
This guide will assist you with the initial setup of your cloud managed appliance and recording software. This guide includes hardware
setup, software setup, network confi guration, and connecting your appliance to OpenEye Web Services.
Power
Supply
2
Client
Network
Port
3
4
HDMI®or VGA
Monitor
5
Video In
Alarm
I/O Block
On / Off
Switch
Audio In / Out
Camera
Network
Port
1
LINE IN
13
24
Keyboard and
Mouse
QUICK START GUIDE
1. Connect the network cable intended for remote
connections to the Client Network Port.
NOTE The Camera Network Port is intended for use
with a dedicated camera network.
2. Connect the supplied keyboard and mouse using the
USB ports.
3. Connect a monitor using the HDMI®or VGA port.
4. Connect the cameras to the BNC inputs.
5. Plug the supplied power cord into the recorder and
connect it to a power source.
GETTING STARTED
Log in to the server software using the default credentials:
Username: admin
Password: 1234
Complete the First Time Wizard for basic system setup.
APEX SERVER SOFTWARE CREDENTIALS
NOTE When connecting a sensor to the Sensor Relay
Block, use grounds on the relay side (Relay
1 Ground or Relay 2 Ground) as the sensor
ground.
1. Go to Setup , and navigate to the Remote Services
tab.
2. Click Web Services.
3. Type your Recorder Name & Registration Code.
CONNECTING TO OPENEYE WEB SERVICES
NOTE Reference the OWS Software Manual for
instructions on fi nding your Recorder
Registration Code.
4. Click Connect.
Apex Server software automatically detects OpenEye and other
ONVIF Profi le S compliant IP cameras with an IP address in
the same range; 192.168.51.x. Cameras not meeting these
requirements must be confi gured manually.
1. Click Setup , and then click Cameras.
2. Click Add Cameras.
3. For automatically detected cameras, select the
camera(s) using the check boxes, and then type the
appropriate Username and Password.
4. Click Add Selected Cameras.
1. Click Setup , and then click Cameras.
2. Click Add Cameras.
3. For cameras not automatically detected, click Manually
Add a Camera.
4. Select the ONVIF or the RTSP protocol, and then type the
appropriate Username, Password, IP Address and Port.
5. If you have more cameras to add manually, click Save
and Add New; if you do not have more cameras to add,
click Save.
Adding Cameras through the Camera
Network Port
The MA-Series appliance supports plug & play for TVI, AHD,
and CVBS cameras and will detect and display OpenEye analog
cameras when connected to the rear panel video inputs (BNC).
Adding Cameras Manually
Cameras set to static IP addresses, third party cameras,
and cameras not supported by ONVIF may not be detected
automatically. To confi gure cameras not automatically detected
by Apex Server software, follow the steps below.
1. Click Setup , and then click Cameras.
2. Click Advanced.
3. Select the camera(s) of which you would like to change
the IP address to a static IP.
Setting a Static IP Address with Network
Camera Manager
Adding Third Party Cameras
Third party cameras may require installing a manufacturer
camera discovery tool on a separate PC. Once the camera
discovery tool is installed, follow the steps for adding a camera
with a static IP address or using DHCP as outlined above.
Adding Cameras Not Supported by ONVIF
Cameras which are not ONVIF compliant must be added via
RTSP stream. Consult the manufacturer’s camera manual for
more detailed information regarding RTSP streams. When you
know the URL for the RTSP stream of your camera, follow the
steps in the Adding Cameras Manually section, selecting RTSP
protocol.
NOTE Third party cameras may need to be confi gured
using a third party program before being
added to Apex Appliance. Cameras that don’t
support ONVIF can be confi gured to record via
RTSP streaming.
NOTE When using RTSP, specify the individual
URL streams for your cameras. For
instructions regarding these streams, consult
the camera’s manual.
NOTE Selecting multiple cameras will set a static IP on
all cameras, starting at the IP address entered
and increasing with each camera. If necessary,
reference the Network Camera Manager User
manual for additional instruction.
4. Exit Network Camera Manager.
5. Follow the steps in the Adding Cameras Manually
section, typing the Static IP Address.
CAMERA MANAGEMENT ADVANCED CAMERA MANAGEMENT
Copyright ©2020 OpenEye. All Rights Reserved. Information contained in this
document is subject to change without prior notice. OpenEye does its best to provide
accurate information but cannot be held responsible for typos or mistakes.
35428AI
Network Settings
Remote
Communication Port 80 (8888 used if 80 is blocked) Camera Network
(External Switch)
192.168.51.1 / 255.255.255.0
(Gateway and DNS blank)
Client NIC IP Address DHCP