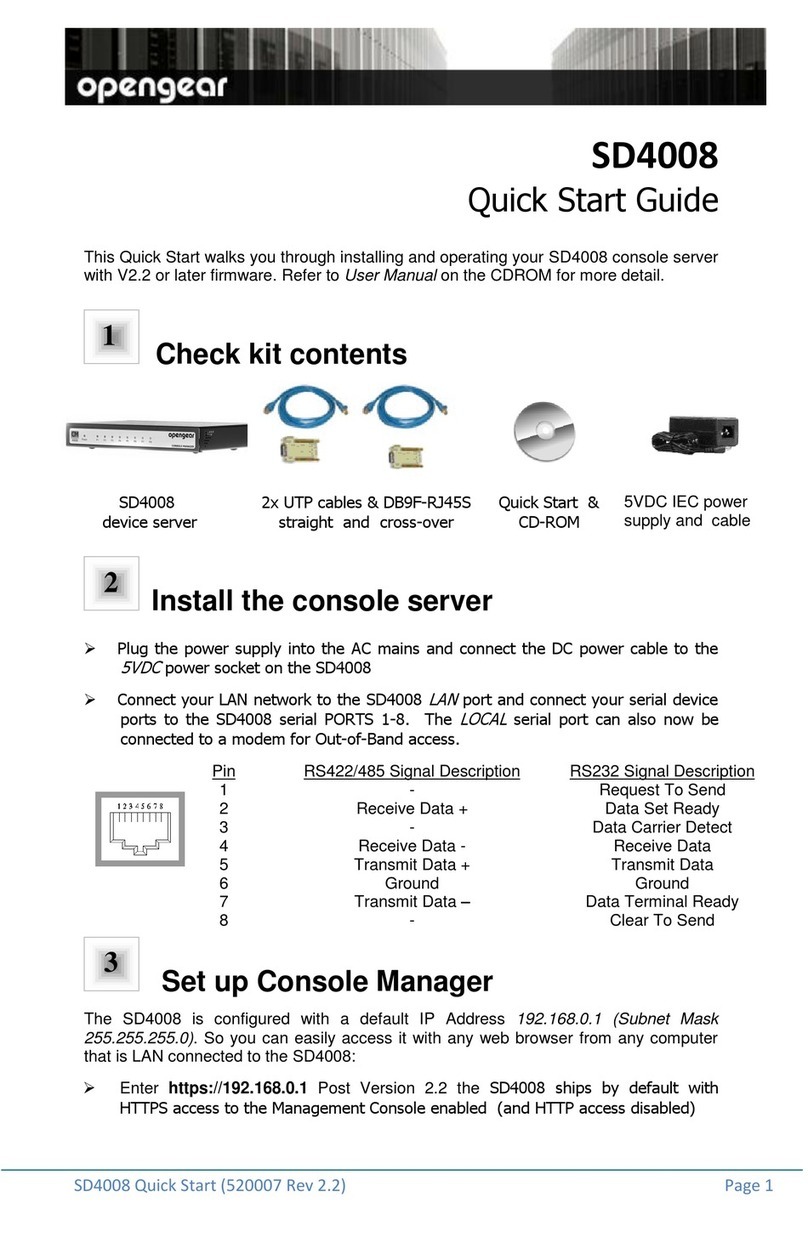
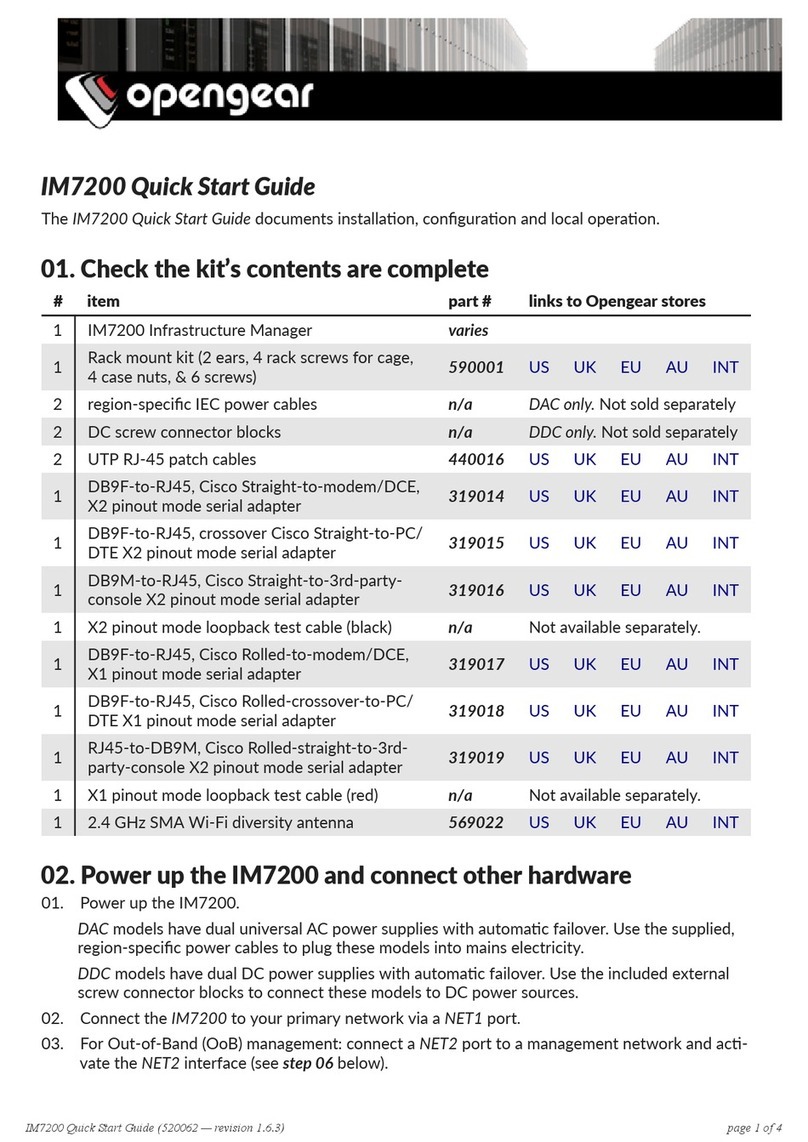
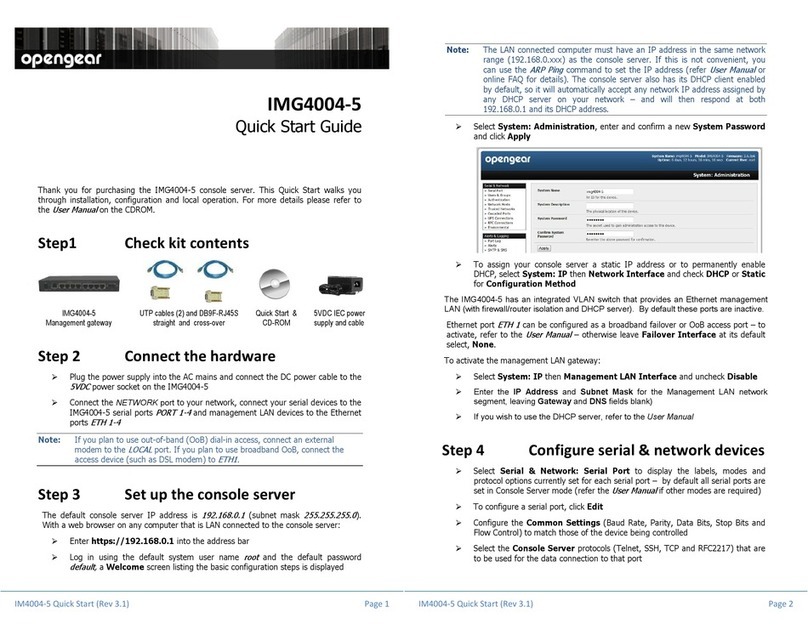
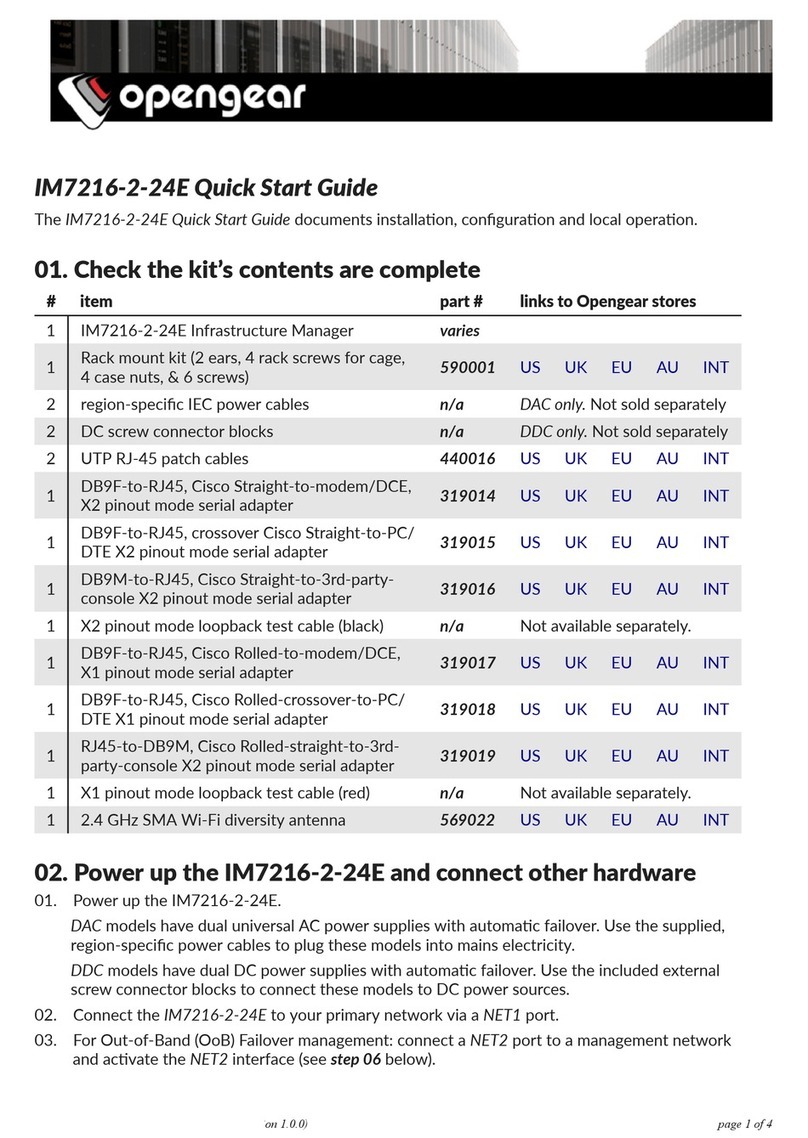
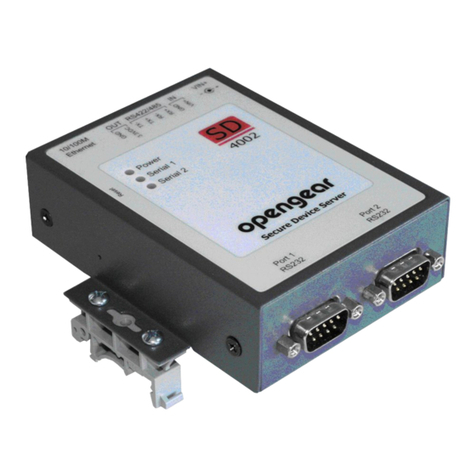
Opengear SD4000 User manual

_____________________________________________________________________
Opengear SD4000 User Manual Page 1 of 159
USER MANUAL
SD4000 Secure Device Server
User Manual
Rev: 1.7
April 8, 2006

_____________________________________________________________________
Opengear SD4000 User Manual Page 2 of 159
INDEX
This Manual 6
Manual Conventions 8
INSTALLATION 9
2.1
Models 9
SD4002 Kit Components 10
SD4008 Kit Components 10
2.2
Power onne tion 11
2.3
Network onne tion 12
2.4
Serial Port onne tion 12
SYSTEM CONFIGURATION 14
3.1
Management Console onne tion 14
3.2
Change the default Password 17
3.3
Set the Network IP address 19
3.4
Network Servi e sele tion 20
3.5
Client Communi ations Software 23
PuTTY 23
SSHTerm 24
SERIAL PORT CONFIGURATION 25
4.1
Port Labels 25
4.2
Proto ol and Property Configuration 26
4.3
Add Users 31
4.4
Trusted Networks 32
4.5
Serial Port Redire tion Client 33
4.6
Serial Port Terminal 34
DIAL IN ACCESS 36
5.1
Conne t modem 36
5.2
Configure for Dial-In PPP A ess 37
5.3
Set up the remote Client 39
SECURE DESKTOP TUNNELING 42
6.1
Se ure Desktop Tunneling for Remote Desktop 44
6.1.1
Enable emote Desktop on the Windows computer to be accessed 45
6.1.2
Set up SDT Hosts on the SD4000 47
6.1.3
Establish a PPP connection from the computer’s COM port to SD4000 49
6.1.4
Set up SDT Ports on SD4000 54

_____________________________________________________________________
Opengear SD4000 User Manual Page 3 of 159
6.1.5
Establish connection between the remote Client PC and SD4000 57
6.1.6
Create the SSH tunnel 59
6.1.7
Configure the emote Desktop Connection client 64
6.2
Se ure Desktop Tunnel for VNC 68
6.2.1
Install and configure the VNC Server on the computer to be accessed 69
6.2.2
Set up SDT Hosts on the SD4000 71
6.2.3
Establish a PPP connection from the computer’s COM port to SD4000 72
6.2.4
Set up SDT Ports on the SD4000 73
6.2.5
Establish a connection between the Viewer PC and SD4000 73
6.2.6
Create the SSH tunnel 73
6.2.7
Install, configure and connect the VNC Viewer 75
6.3
Se ure Desktop Tunnel for HTTP 79
6.3.1
Set up SDT Hosts on the SD4000 79
6.3.2
Establish a connection between the Browser PC and SD4000 79
6.3.3
Create the SSH tunnel and connect 80
ALERTS AND LOGGING 83
7.1
SMTP and SNMP Settings 83
7.2
Serial Port Logging 85
7.3
Configure Serial Port Alerts 86
7.4
Syslog 88
POWER CONTROL 91
8.1
Configuring Power Strips 91
8.2
Controlling Power 92
AUTHENTICATION 94
9.1
Remote Authenti ation Configuration 94
9.2
PAM (Pluggable Authenti ation Modules) 96
9.3
Se ure Management Console A ess 97
SYSTEM MANAGEMENT 99
10.1
Configure Date and Time 99
10.2
Configure NTP 100
10.3
Soft and Hard Reset 101
10.4
Upgrade Firmware 102
10.5
Support Reports 104
10.6
Status 105
BASIC CONFIGURATION - LINUX COMMANDS 107
11.1 The Linux Command line 109
11.2 Administration Configuration 110
_____________________________________________________________________
Opengear SD4000 User Manual Page 4 of 159
System Settings 110
Authentication Configuration 111
11.3 Date and Time Configuration 111
11.4 Network Configuration 112
IP Configuration 112
Dial-in Configuration 113
Services Configuration 114
11.5 Serial Port Configuration 115
Serial Port Settings 115
Supported Protocol Configuration 116
Users 116
Trusted Networks 117
11.6 Event Logging Configuration 118
emote Serial Port Log Storage 118
Alert Configuration 119
11.7 SDT Host Configuration 119
SDT host TCP Ports 119
ADVANCED CONFIGURATION 121
12.1 Advan ed Portmanager 122
12.2 External S ripts and Alerts 124
12.3 Raw A ess to Serial Ports 125
12.4 IP- Filtering 126
12.5 Modifying SNMP Configuration 128
12.6 Se ure Shell (SSH) Support 129
12.7 Se ure So kets Layer (SSL) Support 130
12.8 HTTPS 131
12.9 Power Strip Control 133

_____________________________________________________________________
Opengear SD4000 User Manual Page 5 of 159
APPENDIX
A. Linux Commands
B. Hardware Spe ifi ation
C. Safety and Certifi ations
D. Conne tivity and Serial I/O
E. Hardware Test
F. Terminology
G. End User Li ense Agreement
H. Servi e and Warranty

_____________________________________________________________________
Opengear SD4000 User Manual Page 6 of 159
Chapter 1
Introduction
This Manual
This Users Manual walks you hrough ins alling and opera ing your SD4002 or SD4008
secure device server (referred o generically in he manual as SD4000). Once
configured, your SD4000 will enable you o connec your serial devices o he local
ne work and securely con rol hese devices, locally and remo ely.
Chap er 2 of his manual covers he physical ins alla ion of your SD4000 secure device
server, and he connec ing of con rolled devices.
Each SD4000 hos s a web server wi h a Managemen Console ha allows you ( he
Adminis ra or) o configure your secure device server wi h your browser. Chap ers 3 o
10 of his manual ake you hrough using his Managemen Console o connec o he
ne work, se up serial por s and dial-in facili ies, configuring secure access, and se ing
up logging and aler s. I also ins ruc s you on se ing up new User accoun s for hose
o her ex ernal users o whom you wish o give serial and graphical console access o
devices a ached o he SD4000.

_____________________________________________________________________
Opengear SD4000 User Manual Page 7 of 159
A unique benefi of he SD4000 secure device server is o provide you wi h secure low
bandwid h VNC, HTTP and Windows Remo e Desk op capabili ies. So in addi ion o
communica ing wi h serial devices, you can also ake secure local and remo e con rol of
he PCs, Windows embedded machines and browser con rolled appliances - jus as
hough you were in fron of he local compu er screens. This Secure Desk op Tunneling
fea ure is covered in Chap er 6.
The SD4000 runs an embedded Linux opera ing sys em. Experienced Linux and UNIX
users may prefer o under ake configura ion a he command line. You can ge
command line access by connec ing hrough a erminal emula or or communica ions
program o he console serial por , or by telnet connec ing hrough he LAN. Chap er 11
akes you hrough ins alla ion and configura ion using he config command.
The Managemen Console and he config command should enable you o comple e he
configura ions you generally will require. However Chap er 12 covers some even more
advanced configura ion ac ivi ies, where you will need o use Linux commands o edi
config files etc.
The la es upda e of his manual can be found online a
www.opengear.com/download.h ml

_____________________________________________________________________
Opengear SD4000 User Manual Page 8 of 159
Manual Conventions
This manual uses differen fon s and ypefaces o show specific ac ions:
Tex presen ed wi h an arrow head inden indica es an ac ion you should ake as
par of he procedure.
old text indica es ex ha you ype, or he name of a screen objec (e.g. a menu
or bu on) on he Managemen Console.
Italic text indica es a ex command o be en ered a he command line level.
WARNING
Text presented like this highlights important issues.
It is essential you read and take head of these warnings.
Note
Tex presen ed like his indica es issues o ake no e of.

_____________________________________________________________________
Opengear SD4000 User Manual Page 9 of 159
Chapter
Installation
INSTALLATION
Introduction
This chap er describes he physical ins alla ion of he SD4000 hardware and
in erconnec ion o he ne work and con rolled appliances.
2.1 Models
There are four models of he SD4000, each wi h a differen number of serial por s:
SD4002 – wo serial por s (one dedica ed RS232 por – configurable as
console/modem or a general serial por - and one general serial por ha can
be configured as RS232, RS422 or RS485)
SD4008 – eigh general serial por s ha are all RS232/422/485 sof ware
selec able; and one dedica ed RS232 console/modem por
The ables below show he componen shipped wi h each model.
WARNING
To avoid physical and electrical hazard
please read Appendix C on Safety

_____________________________________________________________________
Opengear SD4000 User Manual Page 10 of 159
SD4002 Kit Components
Part # 509005
SD4002 Secure evice server
Part #539000
Quick Start Gui e an CD-ROM
Unpack your SD4002 and verify you have all he par s shown above, and ha
hey all appear in good working order
Proceed o connec your SD4002 o he ne work, o he serial por s of he
con rolled devices, and o power as ou lined below
SD4008 Kit Components
Part # 509000
SD4008 Secure evice server
Part # 440016
2 x Cable UTP Cat5 blue
Part # 319000
an 319001
Connector DB9F-RJ45S straight an
DB9F-RJ45S cross-over
Part # 450006
Power Supply 5VDC 2.0A
IEC Socket with connector block
Part # 440001
IEC AC power cable
Part #539000
Quick Start Gui e an CD-ROM
Unpack your SD4008 Ki and verify you have all he par s shown above, and ha
hey all appear in good working order

_____________________________________________________________________
Opengear SD4000 User Manual Page 11 of 159
Proceed o connec your SD4008 o he ne work, he serial por s of he con rolled
servers and AC power as shown below
2.2 Power connection
The SD4008 is supplied wi h an ex ernal 5V DC power supply uni . This power supply
works wi h any inpu from 100 and 250 VAC (50 o 60 Hz). The DC power supply has an
IEC AC power socke , which accep s a conven ional IEC AC power cord. The power
cord for Nor h American is provided by defaul . The 5V DC cable has wo wire
ermina ions which are connec ed o he IN-GND and IN-5V+ screw jacks on he rear of
he SD4008 chassis.
You can also use your own ex ernal power source wi h he SD4008. I can be powered
from +48V DC or -48V DC. Power is connec ed o he IN-48V- and IN-48V+ screw
jacks. The 48V DC inpu on he SD4008 is isola ed, so polari y is no impor an .
The SD4002 ki is no supplied wi h a power supply, so you can use
your own power source. The SD4002 can be powered wi h any
source ranging from +5V DC o +48V DC. Power is connec ed o
he IN-GND and IN-VIN+ screw jacks.
Al erna ely SD4002 wall moun power uni s are available from
Opengear for Nor h American, Europe, UK, Japan and Aus ralian
connec ion. The 12V DC connec or from his power uni plugs in o
he VIN+ power socke on he rear of he SD4002 chassis.
Part # 4500XX
Power Supply 12VDC 1.0A Wall mount
Plug in he AC power cable for SD4002/4008 and urn power on
Confirm he Power LED on he fron of he SD4002/4008 panel is li . No e: When
you have applied power o he SD4008, you will also observe he LEDs P1
hrough P8 ligh up in sequence.

_____________________________________________________________________
Opengear SD4000 User Manual Page 12 of 159
2.3 Network connection
The RJ45 LAN por is loca ed on he rear panel of he SD4002/4008. All physical
connec ions are made using indus ry s andard Ca 5 cabling and connec ors. Ensure
you only connec he LAN por o an E herne ne work ha suppor s 10Base-T/100Base-
T.
2.4 Serial Port connection
The SD4008 has eigh RJ-45 serial por s. All offer 2400 o 230,400bps and are surge
pro ec ed. The RJ-45 serial por s are loca ed on he rear panel on he SD4008 and are
each RS-232/422/485 sof ware selec able. SD4008 also has (on he rear panel) one
dedica ed DB-9 RS-232 LOCAL console / modem por (2400 o 115,200 bps)
The SD4002 has one DB9 RS-232 serial por ((Por 1) and one DB9/connec or block
RS-232/422/485 sof ware selec able serial por (Por 2). These por s bo h offer 2400 o
230,400bps and are surge pro ec ed. Por 1 on he SD4002 can opera ionally be
configured o be a LOCAL console/modem por .
Opengear supplies an ex ensive range of cables and adap ers ha may be required o
connec o he more popular ne work appliances. These are overviewed online a
h p://www.opengear.com/cabling.h ml
WARNING
T
o avoid electrical shock the power cord grounding
conductor must be connected to ground.

_____________________________________________________________________
Opengear SD4000 User Manual Page 13 of 159
Note
Care should be aken in handling SD4000 produc s. There
are no opera or serviceable componen s inside, so please do
no remove covers, and do refer service o qualified
personnel.

_____________________________________________________________________
Opengear SD4000 User Manual Page 14 of 159
Chapter 3
System Configuration
SYSTEM CONFIGURATION
Introduction
This chap er provides s ep-by-s ep ins ruc ions for ins alling your SD4000 secure device
server in o your ne work. This involves:
Ac iva ing he Managemen Console
Changing he adminis ra ion password
Se ing he IP address and
Selec ing ne work services
3.1 Management Console connection
Your SD4000 comes configured wi h a defaul IP Address 192.168.0.1 Subne Mask
255.255.255.0
Direc ly connec a PC or works a ion o he SD4000
To browser configure he SD4000; he connec ed PC or works a ion should have
an IP address in he same range as he SD4000. If his is no convenien , you
can use he ARP-Ping command as described in he No e below o rese he
SD4000 IP address
Note
For ini ial configura ion i is recommended ha he SD4000
console server be connec ed direc ly o a single PC or
works a ion. However, if you choose o connec your LAN
before comple ing he ini ial se up s eps, i is impor an ha :
you ensure here are no o her devices on he LAN wi h an
address of 192.168.0.1
he console server and he PC/works a ion are on he same
LAN segmen , wi h no in erposed rou er appliances

_____________________________________________________________________
Opengear SD4000 User Manual Page 15 of 159
Ac iva e your preferred browser on he connec ed PC/ works a ion and en er
http://192.168.0.1 The Managemen Console can be used wi h all curren
versions of he popular browsers (Ne scape, In erne Explorer, Mozilla Firefox
and more)
You will be promp ed o log in.
En er he defaul adminis ra ion
user name and adminis ra ion
password:
Username: root
Password: default
Note
The PC/works a ion mus have an address in he same
ne work range as he SD4000 (e.g. 192.168.0.100).
To configure he IP Address of your Linux or Unix
PC/works a ion simply run ifconfig. For Windows PCs
(Win9x/Me/2000/XP/ NT):
Click Start -> (Settings ->) Control Panel and double click
Network Connections (for 95/98/Me, double click Network).
Righ click on Local Area Connection and selec Properties
Selec Internet Protocol (TCP/IP) and click Properties
Selec Use the following IP address and en er he following
de ails:
IP address: 192.168.0.100
Subne mask: 255.255.255.0
If you wish o re ain your exis ing IP se ings for his ne work
connec ion, click Advanced and Add he above as a
secondary IP connec ion.

_____________________________________________________________________
Opengear SD4000 User Manual Page 16 of 159
Note
ARP-Ping IP Address Assignmen
An al erna ive connec ion op ion is o use he arp command
on a ne work connec ed PC/works a ion o assign an
al erna e s ar ing IP address o he SD4000. To do his from a
Windows PC:
Click Sar -> Run
Type cmd and click OK o bring up he command line
Type arp –d o flush he ARP cache
Type arp –a o view he curren ARP cache which should be
emp y
Now add a s a ic en ry o he ARP able and ping he SD4000 o
have i ake up he IP address. In he example below we have a
SD4000 uni wi h a MAC Address 00:13:C6:00:02:0F (designa ed
on he label on he bo om of he uni ) and we are se ing i s IP
address o 192.168.100.23. Also he PC/works a ion issuing he
arp command mus be on he same ne work segmen as he
SD/CM4000 device (i.e. have an IP address of 192.168.100.xxx).
Type arp -s 192.168.100.23 00-13-C6-00-02-0F
(No e for UNIX he syn ax is:
arp -s 192.168.100.23 00:13:C6:00:02:0F)
Type ping -t 192.18.100.23 o s ar a con inuous ping o he
new IP Address.
Turn on he SD4000 and wai for i o configure i self wi h he
new IP address. The Opengear will s ar replying o he ping
a his poin
Type arp –d o flush he ARP cache again

_____________________________________________________________________
Opengear SD4000 User Manual Page 17 of 159
A Welcome screen, which lis s he four basic ins alla ion configura ion s eps, will be
displayed:
1.
Change the default administration password ...
(Covered in his C apter 3)
2.
Configure the local network settings ... (Covered in his C apter 3)
3.
Configure serial ports settings ... (Refer C apter 4 - Serial Port Configuration)
4. Configure users with access ... (Refer C apter 4 - Serial Port Configuration)
Af er comple ing each of he above s eps, you can re urn o he configura ion lis by
clicking in he op lef corner of he screen on he logo
As you comple e each s ep, he configura ion lis will be upda ed e.g. af er you have
configured he serial por s i will display his s ep as:
3. Configure serial ports settings and enable remote access method on the Serial
Port/Configuration page. Done.
3.2 Change the default Password
Note
If you are no able o connec o he Managemen Console a
192.168.0.1 or if he defaul Username / Password were no
accep ed hen rese y
our
SD4000 (refer
C apter 10
.3
)

_____________________________________________________________________
Opengear SD4000 User Manual Page 18 of 159
For securi y reasons, only he adminis ra ion user ( he “Adminis ra or”) named root can
log in o your secure device server. So only hose people who know he roo password
can access and reconfigure he SD4000 server i self. The corollary is ha anyone who
correc ly guesses he roo password could gain access (and he defaul roo password
is default). So i is impor an ha you en er and confirm a new password before giving
he SD4000 any access o, or con rol of, your compu ers and ne work appliances.
Selec Administration: System
En er a new System Password hen re-en er i in Confirm System Password.
This is he new password for root, he main adminis ra ive user accoun , so i is
impor an ha you choose a complex password, and keep i safe
A his s age you may also wish o en er a System Name and System Location
o give your SD4000 secure device server a unique ID and make i simple o
iden ify
Click Apply. As you have changed he password you will be promp ed o log in
again. This ime use he new password
Note
If you are no confiden your SD4000 has been supplied wi h
he curren release of firmware, you can upgrade. Refer
Upgrade Firmware - C apter 10.4

_____________________________________________________________________
Opengear SD4000 User Manual Page 19 of 159
3.3 Set the Network IP address
You now mus specify if he secure device server is o be manually assigned an IP
address, or if i is o au oma ically ob ain an address from a DHCP server on he
ne work.
On he Network: IP menu selec dhcp or static for he Configuration Method
If you selec ed static you mus manually en er he new IP Address, Subne
Mask, Defaul Ga eway and DNS Server. This selec ion au oma ically urns off
he DHCP clien
If you selec ed dhcp, he SD4000 will look for configura ion de ails from a DHCP
server on your LAN. This selec ion au oma ically disables any s a ic address. The
SD4000 MAC address can be found on a label on he base pla e
By defaul he SD4000 LAN por au o de ec s he E herne connec ion speed.
However you can use he Media menu o lock he E herne o 10 Mb/s or
100Mb/s and o Full Duplex (FD) or Half Duplex (HD)

_____________________________________________________________________
Opengear SD4000 User Manual Page 20 of 159
Click Apply
Reconnec he browser on he PC/works a ion ha is connec ed o he SD4000
by en ering http://new IP address
3.4 Network Service selection
The Adminis ra or can access and configure he SD4000 server using a range of access
pro ocols. The fac ory defaul configura ion enables HTTP, HTTPS, Telne and SSH
access. You can modify his very simply o disable any of he services, or enable o hers:
Note
If you have changed he SD4000 IP address, you may need
o reconfigure your PC/works a ion so i has an IP address
ha is in he same ne work range as his new address (as
de ailed in an earlier no e in his chap er).
Note
In i s fac ory defaul s a e (wi h no Configura ion Me hod
selec ed) he SD4000 has i s DHCP clien enabled, so i will
au oma ically accep any ne work IP address assigned by he
DHCP server on your ne work. So in his ini ial s a e, he
SD4000 will hen respond o bo h i s S a ic address
(192.168.0.1) and i s newly assigned DHCP address.
Table of contents
Other Opengear Server manuals

Opengear
Opengear SD4008 User manual

Opengear
Opengear ACM7000 User manual

Opengear
Opengear SD4001 User manual

Opengear
Opengear cm4008 User manual

Opengear
Opengear ACM5004-GV User manual

Opengear
Opengear IMG4004-5 User manual

Opengear
Opengear CM4132 User manual

Opengear
Opengear IM7216-2-24E User manual

Opengear
Opengear IM7200 User manual

Opengear
Opengear SD4002 User manual