6. Rain Sensor / Flow Sensor / Program Switch
If you have a rain sensor, you can connect it to OSPi via the rain sensor terminal. The rain sensor has two wires and is
essentially a rain-activated switch. The OSPi software can decide what to do when rain is detected, such as turn off
stations or ignore rain. The latest OpenSprinkler also supports using the sensor terminal to connect a flow sensor, or
program switch. Please refer to the OpenSprinkler User Manual Sensors Section for details.
7. Analog-Digital Converter (Advanced Topic)
OSPi has a built-in PCF8591T A/D D/A converter, which provides four 8-bit analog inputs, and one analog output. The
analog inputs can be used to read analog sensors, such as light, temperature, soil humidity. Details on how to use this
converter can be found in this blog post.
8. Radio Frequency (RF) Transmitter (Advanced Topic)
The current OSPi has a 3-pin header that fits a 433MHz or 315MHz radio frequency (RF) transmitter. This allows you to
use OSPi to communicate with RF wireless power sockets. Please refer to the OpenSprinkler User Manual RF
Transmitter Section for details.
Software Setup
1. Install OpenSprinkler Unified Firmware
The recommended way to install OpenSprinkler Firmware is to start from a standard Raspbian image, make sure you can
boot RPi correctly, then follow the OSPi firmware installation instructions below to install the firmware yourself:
●OSPi Firmware Installation Instructions
NOTE: some Raspbian systems installed by NOOBs will take over GPIO 4 for 1-wire interface, but that OSPi needs GPIO
4 to send control signals to the solenoid valves. If you found that the firmware runs correctly but OSPi does not turn on
valves correctly, one solution is to sudo open /etc/modules, and comment out the line containing w1-gpio, then reboot.
Another solution is to reinstall Raspbian OS from scratch without using NOOBs.
The previous OSPi pre-configured SD card image is retired -- we no longer provide pre-configured SD card image
because it's relatively easy to install a fresh Raspbian and follow the instructions above to install the OpenSprinkler
firmware.
2. Using OSPi Firmware
The default firmware set to run on start-up is the OpenSprinkler Unified Firmware. It’s available at port 8080. Open a
browser, and type in http://ospi_ip:8080/ to start using the firmware, where ospi_ip is your OSPi's local IP address.
Details about the OpenSprinkler Unified Firmware can be found in the OpenSprinkler Firmware User Manual:
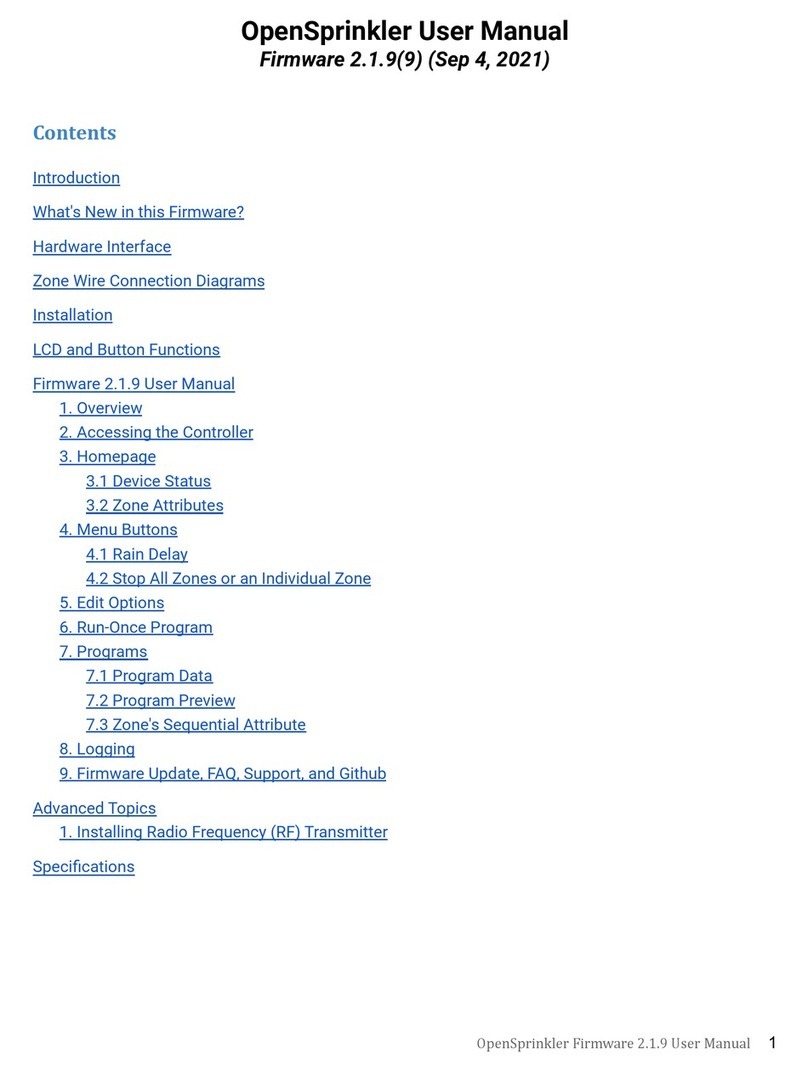
●OpenSprinkler User Manual
The two alternative firmwares are the Python Interval Program (written by Dan Kimberling) and the sprinklers_pi
program (written by Rich Zimmerman). Please refer to their specific Github repositories for installation and usage
instructions.
If you want to write your own firmware, use the provided firmwares as starting point. In addition, in the OSPi Github
folder, there are a few demo programs that shows basic solenoid control in various programming languages.


