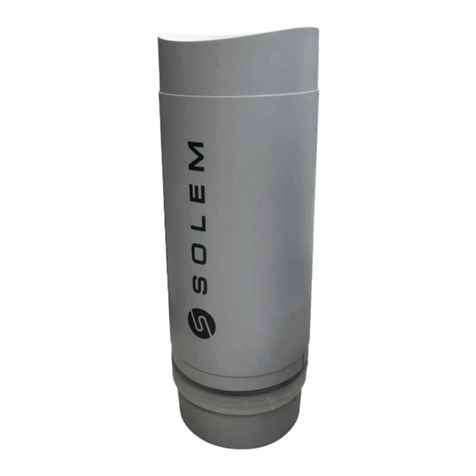
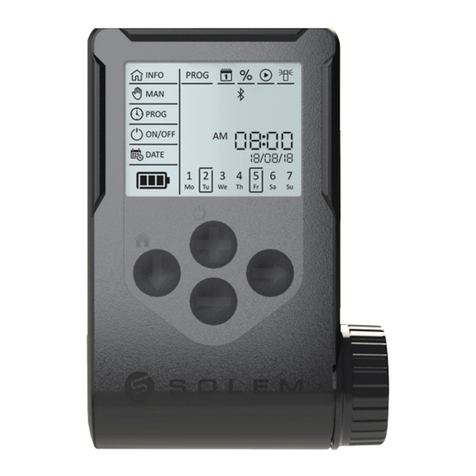
Solem LR-IP User manual

L’EXPERT DE L’IRRIGATION CONNECTÉE
L’IRRIGATION DES GRANDS ESPACES
LR-IP
GUIDE
D’INSTALLATION
RAPIDE

2
Le LR-IP est un programmateur d’irrigation Bluetooth®et LoRaTM
étanche, fonctionnant à pile et pilotable à distance. Il permet de créer
simplement des installations longues portées de 1 à 150 stations.
Il nécessite l’association avec un LR-MB (relai Wi-Fi/LoRa).
PRÉSENTATION
TÉLÉCHARGEMENT
1. Sur votre smartphone et/ou tablette, rendez-vous sur l’application
«App Store» ou «Google Play».
2. Recherchez «MySOLEM» dans la barre de recherche.
Étape 1
3. Une fois trouvée, téléchargez l’application MySOLEM.
MySOLEM
OBTENIR INSTALLER
4. Une fois installée, activez le Bluetooth®de votre smartphone et/ou
tablette.

3
ASSOCIATION
1. Dévissez le bouchon du LR-IP.
3. Lancez l’application MySOLEM depuis votre smartphone et/ou
tablette.
Étape 2
2. Branchez une pile 9V 6LR61 ou 6AM6 et revissez le bouchon.
5. Choisissez le LR-IP parmi la liste des programmateurs disponibles.
7. Suivez les étapes décrites sur l’application pour terminer
l’association de votre LR-IP.
6. (Optionnel) Dénissez un nom et une clé de sécurité pour votre
programmateur et appuyez sur le bouton «Valider».
Note : Pour identier votre LR-IP parmi les programmateurs
disponibles à proximité, référez-vous au «Default name» présent sur
son étiquette produit.
4. Appuyez sur le bouton «Ajouter un programmateur» ou sur le
bouton «+».

4
ASSOCIATION LR-MB
Étape 3
An d’optimiser la connexion LoRaTM entre le LR-MB et le LR-IP,
installez de préférence ce dernier dans un regard en plastique et
à une distance inférieure à 800 mètres. Il est conseillé d’associer
tous vos LR-IP à proximité du LR-MB avant de les installer
séparément dans les regards.
2. Appuyez sur l’icône pen haut à droite de votre écran, pour accéder
aux informations du produit.
4. Sélectionnez le relai LR-MB que vous souhaitez utiliser.
2. Appuyez sur le bouton rpour commencer le test.
3. Appuyez sur «Accès à distance».
1. Retournez sur l’écran «Accès à distance» du LR-IP, vu
précédemment.
1. Sélectionnez le programmateur LR-IP préalablement installé.
5. Validez l’opération en appuyant sur le bouton «Envoyer» ou sen
bas de votre écran.
Une fois l’association terminée, vous pouvez tester la connexion entre
votre LR-MB et votre LR-IP :
Note :
- Le message «Connexion établie» indique que la connexion est able.
- Le message «Aucune connextion établie» indique qu’il est
nécessaire de rapprocher votre LR-IP du LR-MB ou inversement.

5
INSTALLATION
1. Raccordez votre LR-IP aux électrovannes comme illustré
ci-dessous. Utilisez des électrovannes avec solénoïdes 9V à
impulsion.
2. (Optionnel) Si vous souhaitez installer une sonde de pluie, coupez le
l jaune pour la raccorder à votre LR-IP.
Étape 4
S S CP
Noir
Rouge
123456

6
PROGRAMMATION
Pour tout renseignement supplémentaire sur le LR-IP et l’application
MySOLEM, connectez-vous à www.solem.fr et consultez ou
téléchargez notre documentation complémentaire.
Étape 5
INFORMATIONS UTILES
Signaux LoRaTM
Ces icônes indiquent le moment de la dernière connexion entre LR-MB
et le LR-IP :
La connexion a eu lieu il y a moins de 5 minutes
La connexion a eu lieu il y a entre 5 et 10 minutes
La connexion a eu lieu il y a plus de 10 minutes
La connexion n’a jamais eu lieu
Clé de sécurité
La clé de sécurité permet de protéger votre programmateur. Elle est
demandée uniquement lors de prochaines installations. Vous pouvez
la dénir pendant l’étape 6 de l’«ASSOCIATION» ou en accédant aux
informations du produit, via l’icône pen haut à droite de votre écran.
Note : Appuyez sur l’icône pour plus d’informations.

7
FAQ
Quelles sont les caractéristiques requises pour que le produit
Bluetooth®fonctionne ? Téléphones et tablettes Android 4.3 et
supérieur équipés du Bluetooth Smart 4.0 et supérieur. Apple iPhone
ou iPad avec iOS 9.0 et supérieur équipés du Bluetooth Smart 4.0 et
supérieur.
Pourquoi ma station ne démarre pas ? À chaque station doivent être
aectés un temps et un Programme A ou B ou C. Si plusieurs stations
sont aectées au même programme, elles démarreront les unes après
les autres.
Pourquoi mon Programme B ne démarre pas ? Si l’heure de départ
du Programme A est la même heure que celle du Programme B, alors
les 2 programmes seront exécutés l’un après l’autre dans l’ordre A puis
B.
À quoi sert la sortie P ? Vous pouvez brancher une vanne
maîtresse ou une pompe via un relai, sur la sortie P. Elle démarrera
automatiquement 2s avant chaque station et pendant les arrosages de
chaque station.
À quoi servent les sorties S (Fil jaune) du programmateur ? Vous
pouvez brancher une sonde de pluie sur les sorties Spour cela il vous
faut couper le l jaune.
Comment fonctionne la sonde de pluie ? La sonde de pluie,
lorsqu’elle est reliée au l jaune, agit sur l’ensemble des 3 programmes.
S’il pleut, les programmes A, Bet Cne se lanceront pas ; il faut
attendre que la sonde ait séché pour que les programmes se relancent.
La commande manuelle «Toutes les stations» n’est pas aectée par
l’état de la sonde de pluie.

8
Qu’est-ce que le Water Budget ? Le Water Budget permet d’ajouter
un % de temps par rapport au temps indiqué pour chaque station. Il
est généralement utilisé lors des changements de saisons (ex : été à
automne ou printemps à été)
Ex : Si vous avez entré Station 1 = 1h sur Programme A et Station 2
= 0h30 sur Programme A. Si, ensuite, vous entrez un Water Budget
pour le Programme A à 120 %, lors d’un départ du Programme A, les
stations 1et 2seront augmentées de 20 %, soit 1h12 pour la Station 1
et 0h36 pour la Station 2.
Comment puis je reprendre la procédure d’association ? Pour
reprendre une procédure d’association, il sut de court-circuiter les
2 plots de la pression pile (enlever la pile préalablement) pendant 30s
minimum.
Si mon appareil n’a plus de pile, est-ce que je perds
mes programmes ? Non, ils ne sont jamais perdus, ils sont
automatiquement sauvegardés.
Je voudrais réinitialiser la programmation de mon appareil.
Comment faire ? Ouvrez l’application, entrez dans le produit puis
ouvrez les p Paramètres et sélectionner «Eacer les programmes et
durées».

9
CARACTÉRISTIQUES
TECHNIQUES
DIMENSIONS
Largeur : 14 cm
Hauteur : 5,5 cm
Profondeur : 9 cm
INSTALLATION
Connexion sonde de pluie / Connexion vanne maîtresse
Connexion solénoïde 9V à impulsion
Distance maximale LR-IP et solénoïde : 30 m
Température d’utilisation : de -20°C à 60°C
FONCTIONNEMENT
100% étanche (classé IP68)
Pile alcaline 9V 6AM6 ou 6LR61
Bluetooth®Smart 4.0 Low Energy
Communication en radio LoRaTM
Sauvegarde permanente de la programmation
Sauvegarde de l’horloge interne en cas de coupure
d’alimentation < 30 s

THE CONNECTED IRRIGATION EXPERT
THE OPEN SPACES IRRIGATION
LR-IP
QUICK
INSTALLATION
GUIDE

11
INTRODUCTION
Step 1
APP DOWNLOAD
1. On your smartphone or tablet, go to the «App Store» or to the
«Play Store» app.
2. Search for «MySOLEM» in the search bar.
3. Once found, download MySOLEM app.
MySOLEM
GET INSTALL
4. Once installed, activate the Bluetooth® of your smartphone and/or
tablet.
The LR-IP is a Bluetooth®and LoRaTM waterproof irrigation controller,
battery operated and remotely controllable. It can easily create long
range installations, from 1 to 150 stations.
It require the association with a LR-MB (relay Wi-Fi/LoRa).

12
1. Unscrew the LR-IP’s cap.
3. Launch MySOLEM app from your smartphone and/or tablet.
2. Plug the 9V 6LR61 or 6AM6 battery and screw the cap.
5. Choose the LR-IP from the available controllers list.
7. To nish your LR-IP pairing, follow the next steps described
in the app.
6. (Optional) Dene a name and a security key for you controller and
tap on the button «Validate».
Note : To identify your LR-IP among the nearby controllers, please
refer to the «Default name» present on his product label.
4. Tap on the «Add a controller» button or on the «+» button.
Step 2
PAIRING

13
To optimize the radio connection between the two controllers,
we advise to install the LR-IP in a plastic valve box under 800
meters to the LR-MB. We also advise to associate all your
LR-IPs near the LR-MB before installing them separately in the
valve boxes.
2. Tap on the top right icon pto access to the product’s information.
4. Select the LR-MB you want to use.
2. Tap on the button rto start the test.
3. Tap on «Remote Access».
1. Go back to the «Remote Access» screen.
1. Select the LR-IP programmer previously installed.
5. Tap on the button «Send» or son the bottom of your screen to
validate.
Once the pairing nished, you can test the connection between your
LR-MB and your LR-IP:
Note :
- The message «Connection established» indicates that the
connection is reliable.
- The message «No connection established» indicates it is necessary
to bring the LR-IP closer to the LR-MB or vice versa.
Step 3
LR-MB PAIRING

14
Step 4
WIRING
S S
Black
Red
CP123456
1. Connect the LR-IP to the solenoids as described below.
Use 9V pulse valves only.
2. (Optional) If you want to install a rain sensor, cut the yellow wire of
the LR-IP and connect it to the sensor.

15
Step 5
USEFUL INFORMATION
LoRaTM Signals
These icons indicate the last connection between LR-MB and LR-IP:
Last connection has been less than 5 minutes ago
Last connection has been between 5 and 10 minutes ago
Last connection has been more than 10 minutes ago
Connection never made
Security key
The security key allows to protect your controller. It is required only for
future installations. To dene during step 6 of “PAIRING” or accessing
to product’s information by tapping on the icon pon top right of your
screen.
Note : Tap on the icon for more information.
SETTING
For further information about the LR-IP and MySOLEM app, please
visit our website www.solem.fr and check our supplementary
documentation.

16
FAQ
What are the features required for the Bluetooth®product to work?
Android 4.3 (or more) Smartphones or tablets equipped with Bluetooth
Smart 4.0 (or more). iOS 9.0 Apple iPhone or iPad running (or more)
with Bluetooth Smart 4.0 (or more)
Why does my station not start? It has to be assigned a time and a
Program A, Bor Cto each station. If several stations are assigned to
the same program, they will start one after the other.
Why does Program B not start? If Program A departure time is the
same than Program B’s one, then the programs will be executed one
after the other.
What is output P for? You can connect a master valve or a pump
through a relay, on Poutput. It will start automatically 2 sec before
each station and during each station watering.
What are the controller’s output S (yellow wire) for? You can plug a
rain sensor into Soutputs, to do that you need to cut the yellow wire.
How does the rain sensor work? When connected to the yellow wire
the rain sensor acts on the 3 programs. If it is raining, programs A, B
and Cwon’t start; you must wait the probe to dry before the programs
star again. The manual control “All stations” is not aected by the rain
sensor conditions.
What is the Water Budget? The Water Budget allows to add a time
percentage, according to the time recorded by each station.
It is generally used during seasonal changes (for example: summer to
autumn, or spring to summer).
E.g.: If you entered Station 1 = 1h on Program A and Station 2 = 0h30
on Program A. Then, if you enter a Water Budget for Program A at

17
120%, when starting Program A, stations 1and 2will be increased by
20%, which means 1h12 for Station 1 and 0h36 for Station 2.
How can I restart the pairing or the pairing procedure? To start the
pairing procedure again, just bypass the 2 pins of the battery pressure
(battery prior removed) for 30s minimum.
If my device has no more battery, do I lose my programs? No, they
are not lost, they are automatically saved.
I would like to reset the settings of my device. How do I do it?
Open the app, go to the product, then open the pSettings and select
«Erase programs and durations».

18
TECHNICAL FEATURES
DIMENSIONS
Width: 14 cm
Height: 5,5 cm
Depth: 9 cm
INSTALLATION
Rain sensor connection / Master Valve connection
Compatible with 9V latching solenoïd
Maximum range LR-IP and solenoid: 30 m
Usage environment: from -20°C to 60°C
FEATURES
100% waterproof (rated IP68)
6AM6 or 6LR61 9V Alkaline battery
Bluetooth®Smart 4.0 Low Energy
LoRaTM radio communication
Permanent programming save
Internal clock saved in case of power failure < 30 s
Table of contents
Languages:
Other Solem Irrigation System manuals
Popular Irrigation System manuals by other brands

Viking
Viking MICROFAST VK307 Technical data
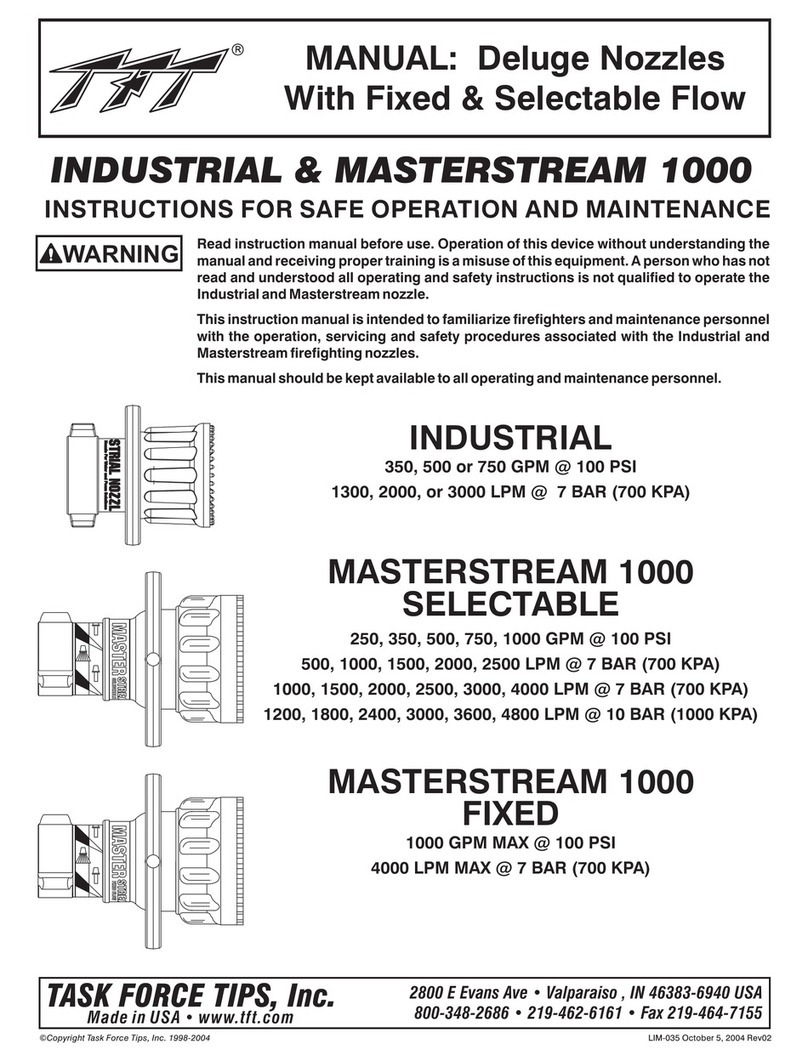
Task Force Tips
Task Force Tips MASTERSTREAM 1000 Series INSTRUCTIONS FOR SAFE OPERATION AND MAINTENANCE

Tyco Fire Product
Tyco Fire Product CENTRAL ELO-16 GB FR instruction manual
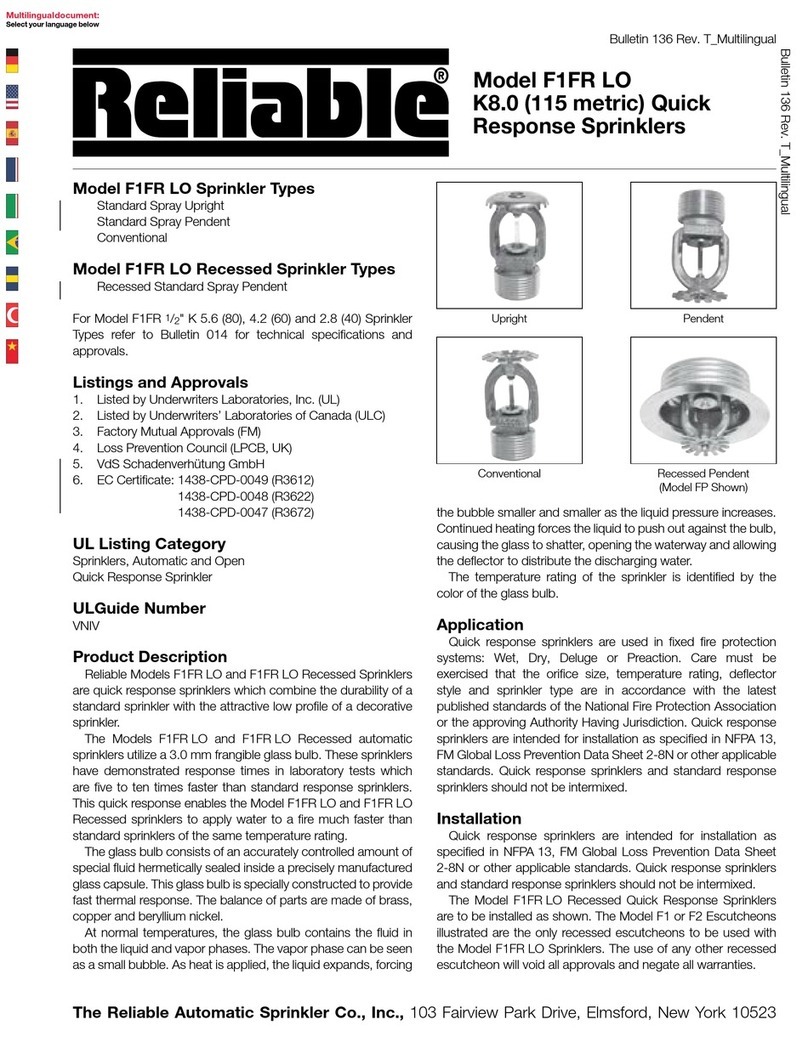
Reliable
Reliable F1FR LO Series Bulletin
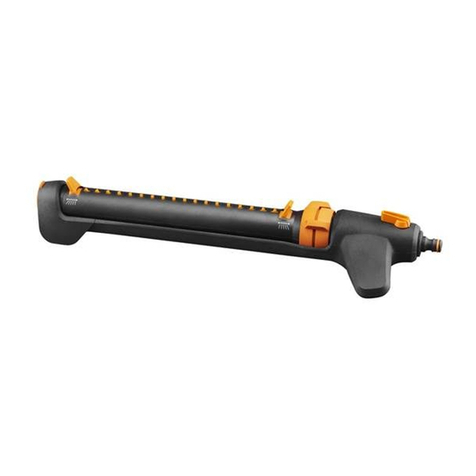
Fiskars
Fiskars 1027028 Original instructions

Reliable
Reliable F1FR56-300 Series manual
