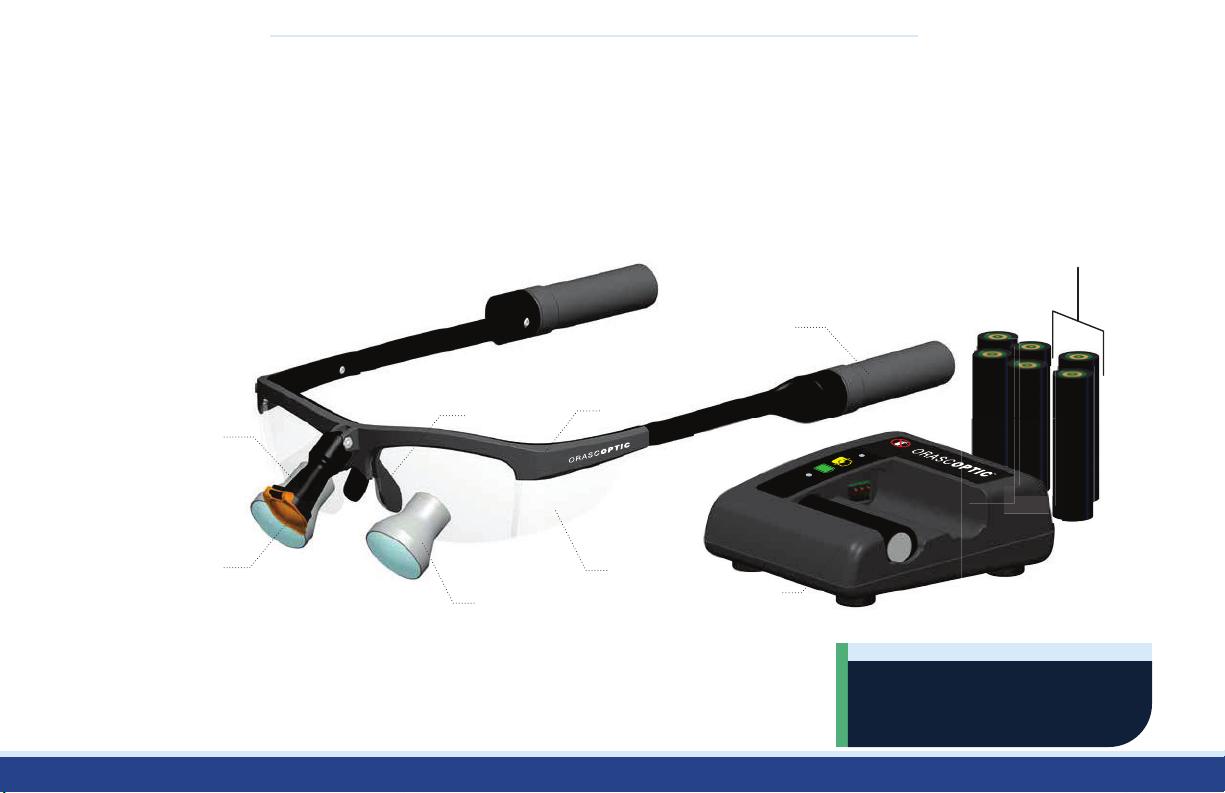
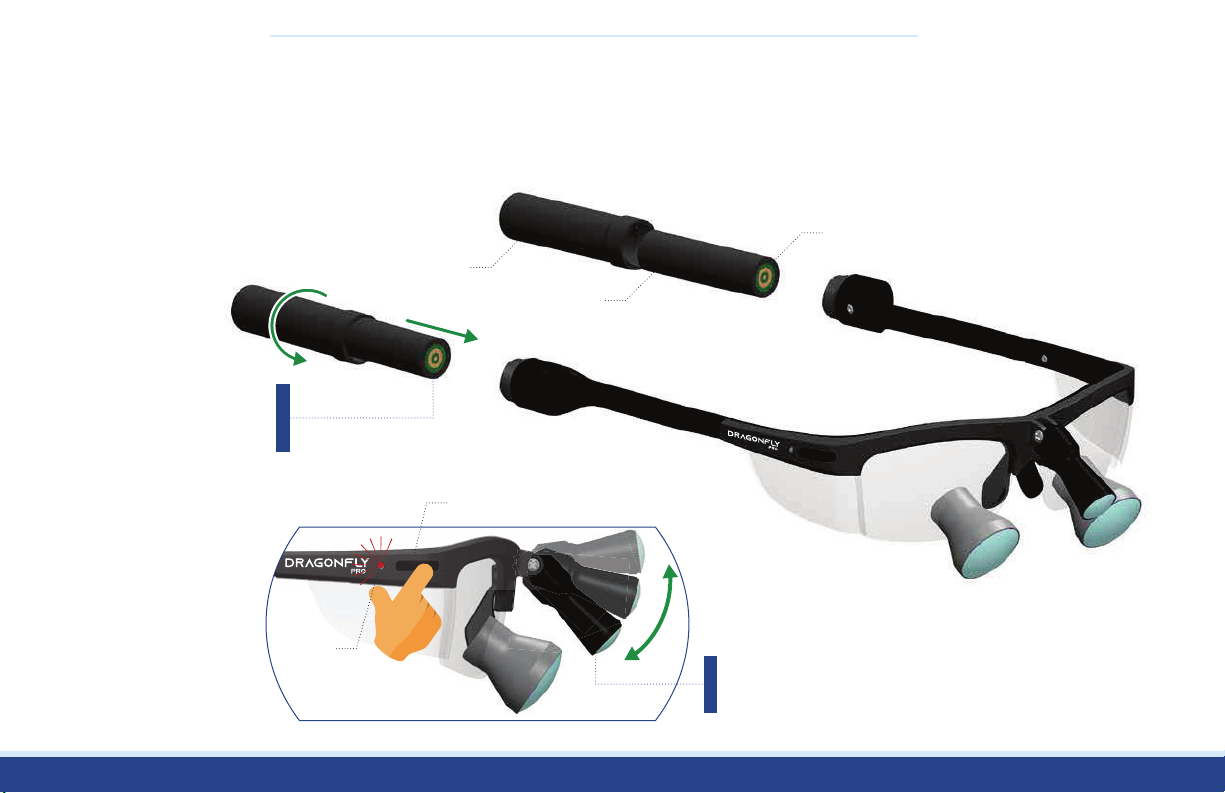
Orascoptic™Dragony™Powered Loupe
INSTRUCTIONS FOR USE AND CARE
4
Disposal Instructions
When you plan to dispose of the device, please return to Orascoptic for recycling. The European Union
Waste Electrical and Electronic Equipment (WEEE) directive forbids the disposal of waste electrical
and electronic equipment as unsorted municipal waste, requiring that it be collected and recycled
or disposed of separately. Hazardous substances are present in electrical and electronic equipment
and present potential risk to human health and environment if disposed of in municipal landfills
which are not designed to prevent migration of substances into the soil and groundwater. If you
need assistance when disposing the device, please call one of our Customer Care Specialists or your
authorized Orascoptic distributor.
This device contains lithium-ion cells. Recycle or dispose of the batteries accordingly to national,
state, and local regulations.
Transport and Storage
-4°F
(-20°C)
104°F
(+40°C)
85%
10%
0.5 atm
(500 hPa)
1.0 atm
(1060 hPa)
Indications for Use
This device is intended to illuminate and magnify oral structures and operating areas and is to be used
by qualified health professionals including, but not limited to, dentists, dental hygienists, medical
doctors and medical professionals.
This device is suitable in professional healthcare facility environments, specifically physician/dental
offices and clinics, limited care facilities, freestanding surgical centers, and hospitals (emergency rooms,
patient rooms, intensive care rooms, and surgery rooms), except near high frequency surgical equipment
outside the radio frequency shielded room for magnetic resonance imaging (MRI).
Precautions
1. Before each use, ensure all screws and removable components are secured to the device.
2. To prolong the life of the batteries, do not store in a fully charged or discharged state.
3. DO NOT
... disassemble or modify the device
... remove the product serial number labeling
... touch exposed electrical contacts
... begin a procedure while the battery indicator light is flashing
... hang or pull on exposed cables
... spray directly onto the device
... run any part of the device under water or submerge in any liquid or an ultrasonic cleaner
... use an autoclave, chemiclave, glutaraldehyde, iodophor, or any other sterilization method
... use a cleaner with alcohol concentration greater than 70%
... use paper towel to clean the lenses
Contraindications None known.
Adverse Reactions None known.