Orascoptic Zeon Discovery User manual

Portable LED Light System
User Manual
960813_Discovery_IFU_RevD.indb 1 4/1/2015 2:22:07 PM

INDEX
Language Selecons Page
ENGLISH .................................................. 1
ČESKÝ ..............(CZECHOSLOVAKIAN) ..................12
DANSK ..............(DANISH).............................23
DEUTSCH ............(GERMAN) ...........................34
EESTI ................(ESTONIAN) ..........................45
ESPAÑOL ............(SPANISH) ...........................56
EΛΛHNIKA ..........(GREEK) .............................67
FRANÇAIS ...........(FRENCH) ...........................78
ITALIANO ............(ITALIAN).............................89
LATVIEŠU ............(LATVIAN) ...........................100
LIETUVIU ...........(LITHUANIAN) .......................111
MAGYAR ............(HUNGARIAN) .......................122
NEDERLANDS ........(DUTCH) ...........................133
NORSK ..............(NORWEGIAN) .......................144
POLSKI .............(POLISH) ...........................155
PORTUGUÊS .........(PORTUGUESE).......................166
SLOVENSKO ..........(SLOVENIAN) ........................177
SLOVENSKÝ .........(SLOVAKIAN) ........................188
SUOMI ..............(FINNISH) ...........................199
SVENSKA ............(SWEDISH) ..........................210
българин ...........(BULGARIAN) ........................221
正體字 ..............(CHINESE – TRADITIONAL) .............232
日本語 ..............(JAPANESE) ..........................243
한국어 ..............(KOREAN) ...........................254
960813_Discovery_IFU_RevD.indb 2 4/1/2015 2:22:07 PM

OPERATING INSTRUCTIONS
Discovery™ Portable LED Light System
Table of Contents
1. Components .................................................... 2
2. Zeon Discovery Controls and Connectors. . . . . . . . . . . . . . . . . . . . . . . . . . . . . . 3
3. Charge the Battery. . . . . . . . . . . . . . . . . . . . . . . . . . . . . . . . . . . . . . . . . . . . . . . . 4
4. Operate the Zeon Discovery Lighting System. . . . . . . . . . . . . . . . . . . . . . . . . . . 5
5. Technical Data. . . . . . . . . . . . . . . . . . . . . . . . . . . . . . . . . . . . . . . . . . . . . . . . . . . 6
6. Safety Precautions / Warnings ...................................... 7
7. Disposal Instructions .............................................. 8
8. Clean the Headlight. . . . . . . . . . . . . . . . . . . . . . . . . . . . . . . . . . . . . . . . . . . . . . . 8
9. Troubleshooting. . . . . . . . . . . . . . . . . . . . . . . . . . . . . . . . . . . . . . . . . . . . . . . . . . 9
10 Replacement Parts ............................................... 10
11. Limited Manufacturer’s Warranty..................................... 10
Congratulations on your purchase of the Zeon® Discovery™ portable light-
emitting diode (LED) lighting system. The high-capacity illumination unit, which
represents the most modern LED technology, was developed especially for use
in dental practices.
Please read these instructions carefully before using the unit. Follow the
procedures described in order to optimize the lifespan and functionality of the
components of the Zeon Discovery illumination system.
1
960813_Discovery_IFU_RevD.indb 3 4/1/2015 2:22:07 PM

2
1. Components
1. Battery Pack
Check to see that the following components are
included in the packaging:
This unit contains an integrated Lithium Ion battery,
an on/off control button (1), and a light intensity
control button (2).
OPERATING INSTRUCTIONS
Discovery™ Portable LED Light System
2. LED Light Cable
The five components of the LED light cable are as
follows:
• Headlamp (3)
• Mounting Jaw Clip (4)
• Gown Clip (5)
• Plug (6)
• Grommet (not pictured)
Note: Temple clips (not pictured) suitable for use
with your specific frame are also included.
3. Power Supply/Battery Charger
When plugged into the electrical outlet and the
battery pack, the light (7) located on top of the power
supply will indicate the charging state of the battery.
The power supply is provided with the following four
electrical outlet adapters:
• United States
• United Kingdom
• Europe
• Australia
Insert the appropriate adapater into the power supply
based on your geographic region.
4
3
5
6
7
2
1
960813_Discovery_IFU_RevD.indb 4 4/1/2015 2:22:20 PM

OPERATING INSTRUCTIONS
Discovery™ Portable LED Light System
2. Zeon Discovery Controls and Connectors
1. On/Off Control Button (1)
Turns the LED on and off.
3. LED Cable Socket
The LED cable plug (4) fits into the battery pack in
this socket (3).
4. Curing Filter
The curing filter is intended to be used when working
with light-cured polymers. When working with
these materials, unfiltered light from the headlight
could cause premature curing of the polymer. The
figure to the right shows the filter installed (8) over a
headlight.
8
1
3
2. Light Intensity Control Button (2)
Adjusts light output between three intensity settings;
LOW (3,000 foot candles), MEDIUM (5,000 foot
candles), and HIGH (7,000 foot candles).
4
3
2
960813_Discovery_IFU_RevD.indb 5 4/1/2015 2:22:34 PM

The Zeon Discovery battery is not completely
charged on delivery. The battery must be charged
for at least 3 hours before its first use. Beyond the
initial charge, no battery conditioning is required.
1. Plug the charger into the battery pack.
2. Plug the charger into the electrical outlet.
3. While charging, the light (1) on the charging unit
will show red. When the battery is fully charged,
the light will be green and the charger will switch
to a maintenance mode.
4. Install the correct adapter:
• United States – 110V
• Europe – 220V
• United Kingdom – 240V
• Australia – 240V
3. Charge The Battery
OPERATING INSTRUCTIONS
Discovery™ Portable LED Light System
4. Battery Charger Connection Port (5)
The battery charger connects to this port. The plug
is a concentric design that fits in any orientation. 5
5. Battery Capacity Monitor (6)
Light will turn on, and a short beep will sound when
battery life is down to ten minutes. The beep will
reoccur every minute until the battery enters a shut-
down mode. During shut-down mode, the light will
blink, indicating that the battery has depleted its
capacity.
4
6
1
960813_Discovery_IFU_RevD.indb 6 4/1/2015 2:22:35 PM

OPERATING INSTRUCTIONS
Discovery™ Portable LED Light System
4. Operate the Zeon Discovery Lighting System
1. Attach the LED headlight to your loupe (1)
by tightening the jaws of the mounting hinge
to the mounting block on the bridge of your
loupe frame. (You may have to first attach the
mounting block to your loupe frame if it is not
already attached.)
2. Insert the cable grommet through the cable
guide (2) and rotate the grommet so that is locks
in place.
3. Secure the cable to the temple using the
supplied temple clip.
4. Put the loupe/light on and adjust it to a
comfortable working position.
5. Secure the cable with the gown clip (3) so that
the cable does not hinder the view or the work of
the user.
6. Connect the cable to the control unit as
previously described.
7. Press the “On” control button on the unit to turn
on the light.
8. When using the light, or when storing the unit,
never bend the cable tightly to avoid damaging
the cable.
2
3
5
1
960813_Discovery_IFU_RevD.indb 7 4/1/2015 2:22:42 PM

OPERATING INSTRUCTIONS
Discovery™ Portable LED Light System
5. Technical Data
Weight of the reflector lamp Approximately 0.7 ounces (20 grams)
Weight of control unit Approximately 8.5 ounces (240 grams)
Diameter of the reflector lamp Approximately 1.0 inch (26 mm)
Dimensions of control unit Height approximately 3.8 inches (97 mm)
Width approximately 2.5 inches (64 mm)
Depth approximately 1.0 inch (26 mm)
Equipment class
Ingress of water (ordinary equipment) IXPØ
Battery type Li-Ion battery, 7.4 V/ 2,400 mAh
Battery charge time 3 hours
Battery life Low – approximately 17 hours
Medium – approximately 10 hours
High – approximately 7 hours
Light intensity Measured at a distance of 12 inches:
Low – 3,000 foot candles
Medium – 5,000 foot candles
High – 7,000 foot candles
Operation mode Continuous
EMC IEC60601-1-2, Class B, EN55011
Safety IEC 60601-1
Protection from shock Internally powered
Temperature for operation and
storage 32° to 95° F (0° to 35° C)
9. Install the curing filter (if needed).
a) Slide the filter’s frame over the outer rib of the
headlight so that the hinged frame can flip down in
front of the headlight as shown in the figure to the
right.
b) Slide the filter into the groove provided in the hinged
frame.
c) The filter can now be flipped down in a position in
front of the headlight.
II
6
Type BF
960813_Discovery_IFU_RevD.indb 8 4/1/2015 2:22:45 PM

OPERATING INSTRUCTIONS
Discovery™ Portable LED Light System
Technical Data – Continued
6. Safety Precautions/Warnings
1. Only Orascoptic–supplied power supplies (part number 921680) are to be used to power the
Zeon Discovery LED battery.
2. In order to avoid the risk of permanent eye damage, do not look directly into the headlight or
aim the headlight directly into someone’s eyes. Consider providing patients with protective
eyewear.
3. The control unit and the battery must be used exclusively for the purpose described.
4. Under no circumstances should you open the housing of the charger or the control unit.
Never take the devices apart or undertake modifications.
Misuse of the battery can cause the battery to become hot, explode, or ignite and may
cause serious injury. Make sure that the following safety precautions are expressly followed:
• Never open the battery charger or control unit.
• Never make any changes/modifications to the battery charger or control unit.
• Do not bring the battery charger or control unit into contact with fire or severe heat (over
158°F or 70°C).
• Do not use outside.
• Do not short circuit (do not connect via a conductor or reverse polarity).
• Protect from fluids and damp environments.
• Do not use a damaged device.
• Maintain storage and operational temperature of 32°F to 95°F (0° to 35°C).
Relative Humidity: 10% to 85% (non-condensing)
Atmospheric Pressure 0.5atm to 1.0atm (500-hPa to 1060-hPa)
The Waste Electrical and
Electronic Equipment (WEEE)
Directive symbol. Do not dispose
of this product as normal trash.
Equipment class 1
Electric shock class
Alternating current
Direct current
Symbols Key:
II
- - -
~
7
Type BF
960813_Discovery_IFU_RevD.indb 9 4/1/2015 2:22:45 PM

OPERATING INSTRUCTIONS
Discovery™ Portable LED Light System
5. Never try to use non-Orascoptic-supplied charger units or control units.
6. The charger must never be used outside.
7. Do not use the control or charger units if the housing or plugs are damaged.
8. If you determine that the charger or control unit is hot, emits an odor, or changes color or
shape, turn it off immediately and disconnect from the power network. The device may not
be used again and must be immediately returned to Orascoptic.
9. Do not store within reach of children.
7. Disposal Instructions
We are certain that you will receive many years of exceptional service from the Discovery
product. But, it is inevitable that at some time in the future you will need to dispose of it.
When that time comes, we encourage you to return it to Orascoptic in its original packaging
for environmentally sound recycling. Orascoptic will be glad to bear the cost of the return
shipping. Please contact your sales rep for details. The Waste Electrical and Electronic
Equipment (WEEE) Directive forbids the disposal of waste electrical and electronic equipment as
unsorted municipal waste and requires that they should be collected and recycled or disposed
of separately. Hazardous substances are present in electrical and electronic equipment and
present potential risks to human health and the environment if disposed of in municipal landfills
that are not designed to prevent migration of substances into the soil and groundwater. By
properly disposing of this waste, you will be contributing to the advancement of reuse, recycling
and other forms of recovery, as well as the prevention of pollution at a very local level.
8. Clean the Headlight
The headlight is manufactured using only high-quality components. This is an optical precision
instrument that must be cleaned and handled with the greatest care. Basic contaminations may
only be removed with a soft, clean, dry cloth in order to avoid scratching the lenses.
• Do not immerse the headlight in water, sterilization fluid or ultrasound cleaning solutions.
The product is not waterproof.
• Only use disinfection cloths for severe contamination. Disinfection spray must not be used
under any circumstances to avoid severely damaging the light.
• Only clean the headlight with a disinfection cloth, such as CaviWipes™.
• Do not use gasoline, cleaning solutions or aggressive solvents for cleaning.
8
960813_Discovery_IFU_RevD.indb 10 4/1/2015 2:22:45 PM

OPERATING INSTRUCTIONS
Discovery™ Portable LED Light System
9. Troubleshooting
Problem Solution
1. The operational unit is turned on, but
the headlight does not light up. - Make sure that the headlight is properly
connected to the control unit.
- Charge the battery.
2. The headlight does not light up or no
longer lights up enough. - The battery is too weak.
- Charge the battery.
3. Power to the charger is interrupted
before the end of the charge cycle
(such as a power outage).
As soon as power has been restored, the
charge cycle will start again.
4. The charger display stays red (even
after 3 hours of charging) and does not
change to green.
Send the lighting system with the charger to Me-
trex Research, LLC/Orascoptic for evaluation.
5. Battery capacity monitor is blinking.
- Battery capacity has been depleted.
- Charge the battery.
• Make absolutely sure that your disinfection cloth:
- is suitable for alcohol–sensitive surfaces and for medical facilities, such as a dentist’s
chair.
- contains no type of 1-propanol, Aldehyde, phenol or a quaternary ammonium bond.
- has a broad-spectrum effect against bacteria, fungi and viruses.
• Sterilization is not to be done with an autoclave or the following chemicals: glutaraldeyde or
agents containing iodide. To avoid damaging the headlight, do not use cleaning methods
other than those prescribed.
Do not pull on the cable during cleaning!
9
960813_Discovery_IFU_RevD.indb 11 4/1/2015 2:22:45 PM

OPERATING INSTRUCTIONS
Discovery™ Portable LED Light System
10. Replacement Parts
921679-1 Zeon Discovery battery pack
921730 Zeon Discovery cable with headlight - TTL
921731 Zeon Discovery cable with headlight - DVI TTL
921732 Zeon Discovery cable with headlight - STD FLIP
921733 Zeon Discovery cable with headlight - MINI FLIP
921734 Zeon Discovery cable with headlight - SURGITEL
921735 Zeon Discovery cable with headlight - ZEISS
921682 Zeon Discovery curing filter
921680 Zeon LED universal charger
921720 Zeon Discovery cable clip - TTL
921721 Zeon Discovery cable clip - DVI TTL
921722 Zeon Discovery cable clip - STD FLIP
921723 Zeon Discovery cable clip - MINI FLIP
921724 Zeon Discovery cable clip - SURGITEL
921725 Zeon Discovery cable clip - ZEISS
922052-1 Loupe/light carrying case
11. Limited Manufacturer’s Warranty
This limited manufacturer warranty from Metrex Research, LLC applies for all countries to
the extent that no other warranty exists at that location. Pursuant to the following contractual
provisions, Metrex Research, LLC guarantees material, construction and design to be free of
deficiencies from the time of first purchase.
1. This limited liability applies for the end purchaser of the product (Client). Legal claims by the
client or claims by the client against the seller/dealer of the device are neither excluded nor
limited.
2. The standard limited warranty for this product is 12 months for the battery pack and charger,
and 48 months for the cable and LED headlight, from the time of purchase by the original
purchaser. The standard limited warranty applies to the Battery Pack assembly and all
accessory items included with the product. A limited 48 month warranty applies to the LED
headlight cable assembly only. These warranties are non-transferable and shall only apply
to the original purchaser of the Product, as exclusively contained in Metrex Research, LLC’s
records.
3. During the warranty period, defective units (according to unilateral decision by Metrex
Research, LLC), will be repaired or replaced either by Metrex Research, LLC or by
authorized customer service. The client will receive either the repaired unit or a comparable
replacement unit from Metrex Research, LLC. Exchanged parts or accessory parts become
the property of Metrex Research, LLC.
10
960813_Discovery_IFU_RevD.indb 12 4/1/2015 2:22:45 PM

OPERATING INSTRUCTIONS
Discovery™ Portable LED Light System
4. There is no extended or renewed warranty period for repaired or replaced parts.
5. This limited warranty does not apply for painted or otherwise personalized parts.
6. This limited warranty does not apply to abnormal signs of use. In addition, this limited
warranty does not apply if
a) The deficiency has been caused by misuse of the instructions for operation,
inappropriate use, contact with fluids or moisture or extreme heat or climatic
conditions and/or short term variations in relevant influences or to corrosion, oxidation,
unauthorized intervention or attempts at connection, unauthorized opening or repair,
repair attempts with unacceptable replacement parts, abnormal installation, accidents,
forces majeures, spillage of food or drinks, chemical influences or other influences over
which Metrex Research, LLC has no control (including deficiencies to operational parts
such as batteries that only have a limited lifespan, as well as damage to cables), unless
the deficiency is caused by a material, construction or fabrication error.
b) The client does not report the deficiency within 30 days after it was discovered within
the Metrex Research, LLC warranty period or to an authorized customer service agent.
c) The serial number has been removed, scratched off, crossed out, changed or is
illegible.
d) The deficiency was caused by the fact that the device was used with a part not
approved for use by Metrex Research, LLC, was connected to such a part or was
otherwise used inappropriately.
e) The deficiency was caused by the short circuit of the battery or the breakage of the seal
of the battery housing or manipulation of it or by the fact that the battery was used to an
inappropriate end.
7. This limited warranty is the only legal remedy of the client against Metrex Research, LLC as
well as Metrex Research, LLC’s only and exclusive liability to the client for deficiencies and
functional disruptions of the device. This limited warranty replaces all other warranties and
declarations of liability, whether in written or oral form, or other (not urgently enforceable)
legal provisions, contractual provisions or non-allowed negotiations. Metrex Research, LLC
is in no way liable for ancillary, causal or collateral damage, costs or expenses. If the client
is a legal person, Metrex Research, LLC assumes no liability for collateral damages, costs
or expenses.
8. For assertion of a warranty claim, the original purchase receipt with purchase date is to be enclosed.
9. Changes to this limited warranty require the previous written approval of Metrex Research, LLC.
11
960813_Discovery_IFU_RevD.indb 13 4/1/2015 2:22:46 PM

Přenosný osvětlovací LED systém
Návod k použi
960813_Discovery_IFU_RevD.indb 14 4/1/2015 2:22:47 PM

NÁVOD K POUŽITÍ
Přenosný osvětlovací LED systém Discovery™
Obsah
1. Součásti . . . . . . . . . . . . . . . . . . . . . . . . . . . . . . . . . . . . . . . . . . . . . . . . . . . . . . . . 13
2. Ovládací prvky a konektory systému Zeon Discovery ..................... 14
3. Nabití baterie . . . . . . . . . . . . . . . . . . . . . . . . . . . . . . . . . . . . . . . . . . . . . . . . . . . . 15
4. Použití systému Zeon Discovery ..................................... 16
5. Technické údaje . . . . . . . . . . . . . . . . . . . . . . . . . . . . . . . . . . . . . . . . . . . . . . . . . . 17
6. Varování a bezpečnostní opatření . . . . . . . . . . . . . . . . . . . . . . . . . . . . . . . . . . . . 18
7. Pokyny k likvidaci ................................................. 19
8. Čištění lampy . . . . . . . . . . . . . . . . . . . . . . . . . . . . . . . . . . . . . . . . . . . . . . . . . . . . 19
9. Řešení potíží .................................................... 20
10. Náhradní díly . . . . . . . . . . . . . . . . . . . . . . . . . . . . . . . . . . . . . . . . . . . . . . . . . . . . 21
11. Omezená záruka výrobce .......................................... 21
Gratulujeme vám k nákupu přenosného osvětlovacího LED systému Zeon®
Discovery™. Tento výkonný přístroj s nejmodernější technologií LED byl
vyvinut speciálně pro využití ve stomatologické praxi.
Prostudujte si pečlivě tyto pokyny, než začnete výrobek používat. Chcete-li
zajistit optimální životnost a funkčnost osvětlovacího systému Zeon Discovery,
uvedené pokyny dodržujte.
12
960813_Discovery_IFU_RevD.indb 15 4/1/2015 2:22:47 PM

2
1. Součásti
1. Baterie
Zkontrolujte, zda dodané balení obsahuje
následující součásti:
Přístroj je vybaven integrovanou Lithium-iontovou
baterií, vypínačem (1) a tlačítkem intenzity světla (2).
NÁVOD K POUŽITÍ
Přenosný osvětlovací LED systém Discovery™
2. LED Kabel světla
LED Kabel má následující příslušenství:
• Vlastní lampa (3)
• Instalační svorka (4)
• Spona na lékařský plášť (5)
• Zástrčka (6)
• Průchodka kabelu (není zobrazena)
Poznámka: V balení jsou také postranicové svorky
(nejsou zobrazeny) vhodné pro konkrétní používaný
rámeček.
3. Napájecí zdroj a nabíječka baterie
Po zapojení do elektrické zásuvky a baterie bude
kontrolka (7) na horní ploše napájecího zdroje
ukazovat stav nabíjení baterie.
Napájecí zdroj je dodáván s následujícími adaptéry
elektrických zásuvek:
• Spojené státy
• Velká Británie
• Evropa
• Austrálie
Vhodný adaptér zapojte do zdroje.
4
3
5
6
7
13
1
960813_Discovery_IFU_RevD.indb 16 4/1/2015 2:22:54 PM

NÁVOD K POUŽITÍ
Přenosný osvětlovací LED systém Discovery™
2. Ovládací prvky a konektory systému Zeon Discovery
1. Vypínač (1)
Slouží k vypnutí a zapnutí LED světla.
3. LED zdířka kabelu
LED zástrčka kabelu (4) se zapojuje do bateriového
zdroje, do zdířky (3).
4. Filtr vytvrzovacího světla
Filtr je určen k použití při práci s polymery
vytvrzovanými světlem. Při práci s těmito materiály
může nefiltrované světlo z lampy způsobit předčasné
vytvrzení polymeru. Obrázek vpravo zachycuje filtr
(8) instalovaný na lampě.
8
1
14
2. Tlačítko intenzity světla (2)
Slouží k nastavení světelného výstupu na jednu ze
tří hodnot; LOW (32 000 lux), MEDIUM (56 000 lux),
a HIGH (77 000 lux).
4
3
2
960813_Discovery_IFU_RevD.indb 17 4/1/2015 2:23:08 PM

Zeon Discovery baterie systému není při dodání
plně nabitá. Před prvním použitím je nutno ji nabíjet
alespoň 3 hodiny. Před prvním nabitím není nutno
baterii vybíjet nebo formátovat.
1. Zapojte kabel nabíječky do baterie.
2. Zasuňte zástrčku nabíječky do elektrické
zásuvky.
3. Během nabíjení bude kontrolka (1) na nabíječce
svítit červeně. Po ukončení nabíjení se kontrolka
rozsvítí zeleně a nabíječka přejde do režimu
udržovacího dobíjení.
4. Použití správného adaptéru:
• Spojené státy – 110 V
• Evropa – 220 V
• Velká Británie – 240 V
• Austrálie – 240 V
3. Nabití baterie
NÁVOD K POUŽITÍ
Přenosný osvětlovací LED systém Discovery™
4. Konektor nabíječky baterií (5)
Ten zapojíte do nabíječky. Zástrčka je konstruována
tak, že ji lze zapojit v libovolné orientaci. 5
5. Indikace kapacity baterií (6)
Světlo se zapne, a pokud kapacita baterie vystačí
jen na deset minut provozu, ozve se krátké pípnutí.
Pípnutí se bude opakovat každou minutu, dokud se
baterie nevypne. Během vypínání světlo bliká na
znamení, že je baterie vybita.
15
6
1
960813_Discovery_IFU_RevD.indb 18 4/1/2015 2:23:09 PM

NÁVOD K POUŽITÍ
Přenosný osvětlovací LED systém Discovery™
4. Použití systému Zeon Discovery
1. Připevněte LED lampu k lupě (1) připevněním
svorky instalačního závěsu k instalačnímu bloku
na můstku u rámečku lupy. (Pokud instalační
blok není ještě připevněn k rámečku lupy, možná
jej budete nejdřív muset připevnit.)
2. Zasuňte průchodku kabelu do jeho oka (2) a
otočte průchodkou tak, aby zapadla na místo.
3. Fixujte kabel dodanou postranicovou svorkou.
4. Zapněte lupu/světlo a upravte do pohodlné
pracovní polohy.
5. Fixujte kabel sponou na lékařský plášť (3) tak,
aby kabel nebránil ve výhledu ani práci.
6. Pomocí výše popsaného postupu připojte kabel
k ovládací jednotce.
7. Stiskněte vypínač na ovládací jednotce a
rozsviťte tak světlo.
8. Při použití nebo skladování světla nikdy kabel
neohýbejte pod ostrým úhlem, aby nedošlo
k jeho poškození.
2
3
16
1
960813_Discovery_IFU_RevD.indb 19 4/1/2015 2:23:17 PM

NÁVOD K POUŽITÍ
Přenosný osvětlovací LED systém Discovery™
5. Technické údaje
Hmotnost reektoru lampy asi 20 gramů
Hmotnost ovládací jednotky asi 240 gramů
Průměr reektoru lampy asi 26 mm
Rozměry ovládací jednotky Výška přibližně 97 mm
Šířka přibližně 64 mm
Hloubka přibližně 26 mm
Třída vybavení
Vniknutí vody (běžné vybavení) IXPØ
Typ baterie Li-Ion, 7,4 V/ 2 400 mAh
Doba nabíjení baterie 3 hodiny
Životnost baterie Režim Low – přibližně 17 hodin
Režim Medium – přibližně 10 hodin
Režim High – přibližně 7 hodin
Intenzita světla Při měření ve vzdálenosti 30 cm:
Low – 32 000 lux
Medium – 56 000 lux
High – 77 000 lux
Provozní režim Kontinuální
EMK IEC60601-1-2, Třída B, EN55011
Bezpečnost IEC 60601-1
Ochrana před úrazem
elektrickým proudem
interní napájení
Provozní a skladovací teplota 0 až 35°C
9. V případě potřeby instalujte filtr vytvrzovacího světla.
a) Nasuňte rámeček filtru na vnější žebro lampy tak,
aby se rámeček mohl na pantech před lampou
sklápět (viz obrázek vpravo).
b) Zasuňte filtr do drážky v rámečku.
c) Filtr lze teď sklopit do polohy před lampou.
II
17
Typ BF
960813_Discovery_IFU_RevD.indb 20 4/1/2015 2:23:19 PM
Other manuals for Zeon Discovery
1
Table of contents
Languages:
Other Orascoptic Dental Equipment manuals
Orascoptic
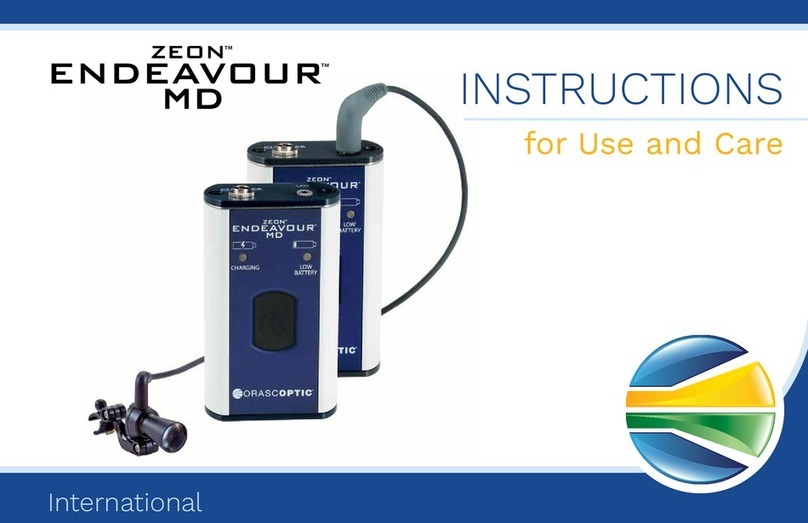
Orascoptic ZEON ENDEAVOUR MD User manual
Orascoptic
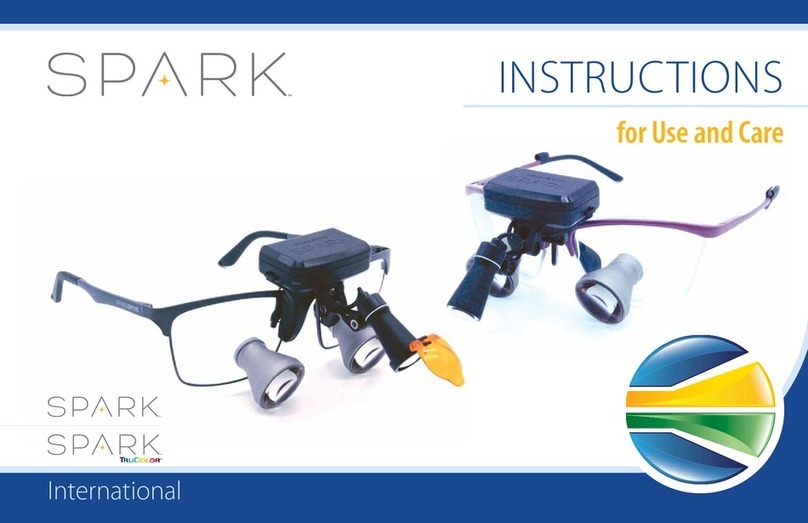
Orascoptic SPARK Assembly instructions

Orascoptic
Orascoptic EyeZoom User manual
Orascoptic
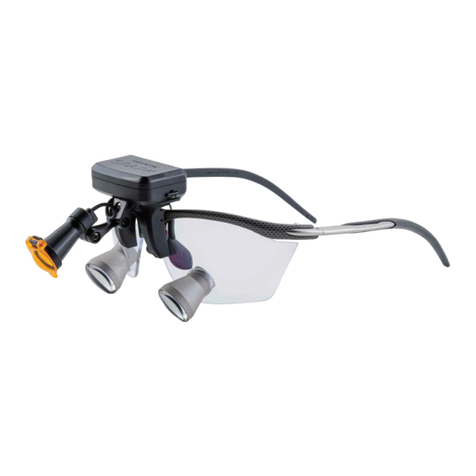
Orascoptic Spark Series Assembly instructions
Orascoptic
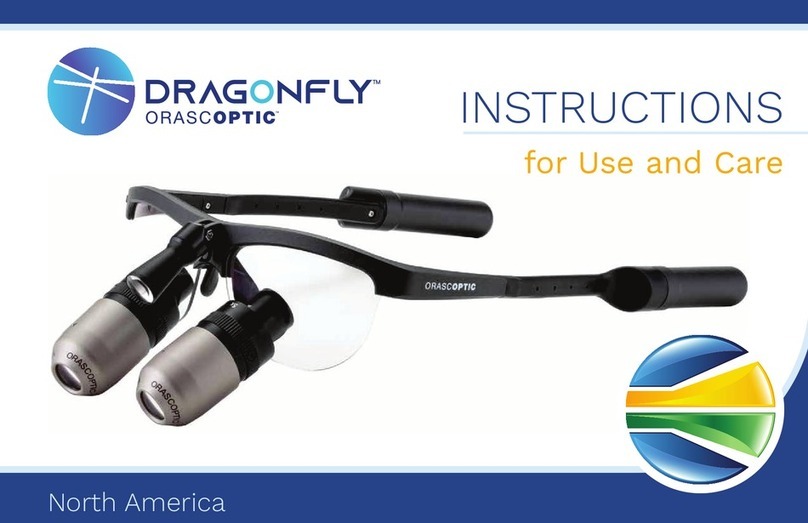
Orascoptic DRAGONFLY Assembly instructions
Orascoptic
Orascoptic EyeSpy User manual
Orascoptic
Orascoptic UNIVERSAL FLIP-UP LOUPE User manual
Orascoptic
Orascoptic EyeZoom User manual


