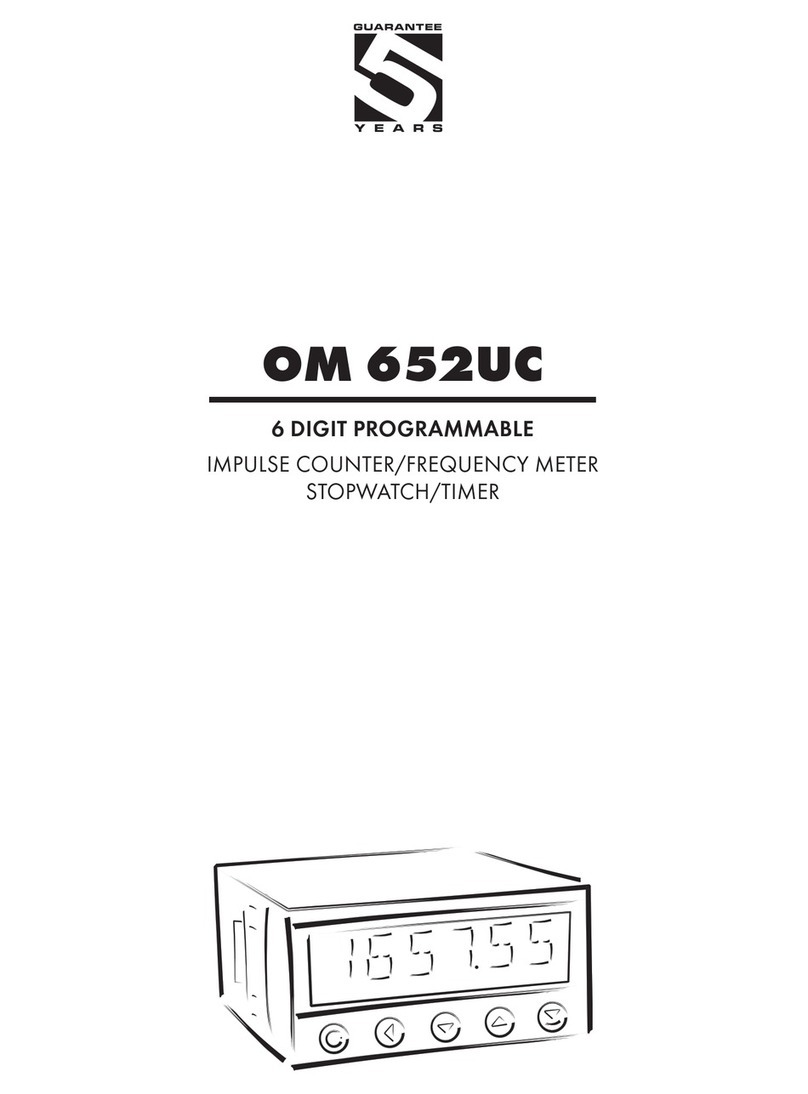
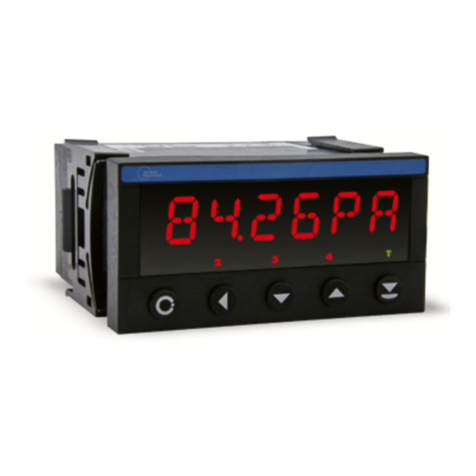
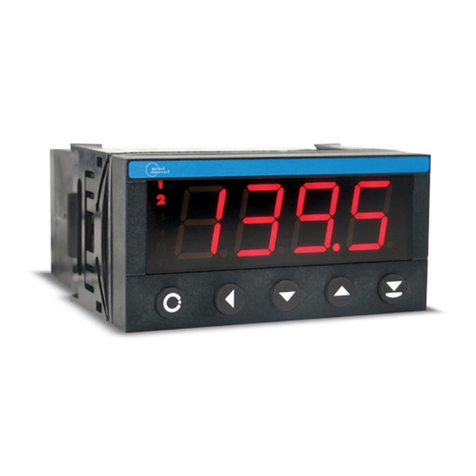
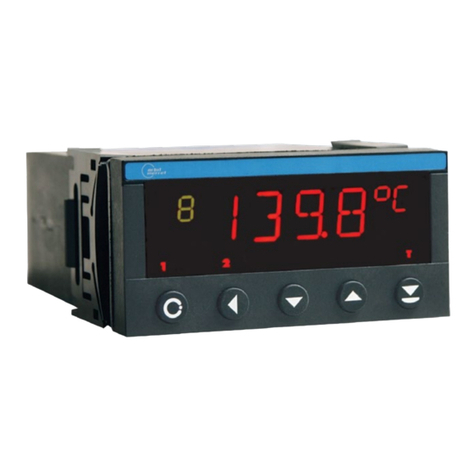
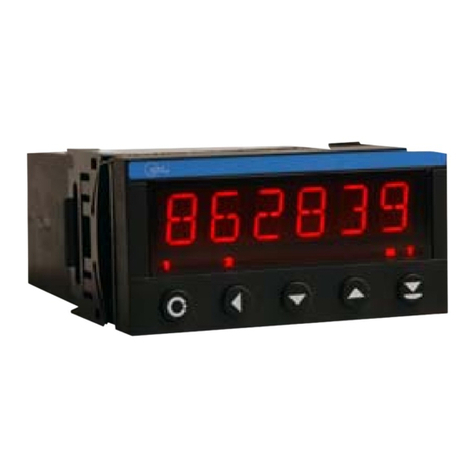
Orbit Merret OMM 650UC User manual

OMM 650UC
6 DIGIT PROGRAMMABLE
IMPULSE COUNTER/FREQUENCYMETER
STOPWATCH/CLOCK
GUARANTEE
YEARS

2|INSTRUCTIONS FOR USE OMM 650UC
SAFETY INSTRUCTIONS
Please, read the enclosed safety instructions carefully and observe them!
These instruments should be safeguarded by isolated or common fuses (breakers)!
For safety information the EN 61 010-1 + A2 standard must be observed.
This instrument is not explosion-safe!
TECHNICAL DATA
Measuring instruments of the OMM 650 series conform to the European regulation 89/336/EWG
and the Ordinance 168/1997 Coll.
They are up to the following European standards:
EN 55 022, class B
EN 61000-4-2, -4, -5, -6, -8, -9, -10, -11
The instruments are applicable for unlimited use in agricultural and industrial areas.
CONNECTION
Supply of energy from the main line has to be isolated from the measuring leads.
1OBSAH
ORBIT MERRET, spol. s r.o.
Vodňanská 675/30
198 00 Prague 9
Czech Republic
Tel: +420 - 281 040 200
Fax: +420 - 281 040 299
e-mail: [email protected]
www.orbit.merret.cz

INSTRUCTIONS FOR USE OMM 650UC |3
1. Contens . . . . . . . . . . . . . . . . . . . . . . . . . . . . . . . . . . . . . . . . . . . . . . . . . . . . . . . . . . . . . . . . . . . . . . . . . . . . . . . . . . . . . . . . . . . . .3
2. Instrument description. . . . . . . . . . . . . . . . . . . . . . . . . . . . . . . . . . . . . . . . . . . . . . . . . . . . . . . . . . . . . . . . . . . . . . . . . . . . . . . . . . . . . . .4
3. Instrument connection. . . . . . . . . . . . . . . . . . . . . . . . . . . . . . . . . . . . . . . . . . . . . . . . . . . . . . . . . . . . . . . . . . . . . . . . . . . . . . . . . . . . . . . 6
4. Instrument setting . . . . . . . . . . . . . . . . . . . . . . . . . . . . . . . . . . . . . . . . . . . . . . . . . . . . . . . . . . . . . . . . . . . . . . . . . . . . . . . . . . . . . . . . . .8
Symbols used in the instructions. . . . . . . . . . . . . . . . . . . . . . . . . . . . . . . . . . . . . . . . . . . . . . . . . . . . . . . . . . . . . . . . . . . . . . 10
Setting the DP and the (-) sing . . . . . . . . . . . . . . . . . . . . . . . . . . . . . . . . . . . . . . . . . . . . . . . . . . . . . . . . . . . . . . . . . . . . . . . 10
Control keys functions. . . . . . . . . . . . . . . . . . . . . . . . . . . . . . . . . . . . . . . . . . . . . . . . . . . . . . . . . . . . . . . . . . . . . . . . . . . . . . 11
Configuration of „User“ menu items . . . . . . . . . . . . . . . . . . . . . . . . . . . . . . . . . . . . . . . . . . . . . . . . . . . . . . . . . . . . . . . . . . 11
5. Setting “LIGHT” menu
5.0 Description “LIGHT” menu . . . . . . . . . . . . . . . . . . . . . . . . . . . . . . . . . . . . . . . . . . . . . . . . . . . . . . . . . . . . . . . . . . . . . . . . . 12
Input to menu . . . . . . . . . . . . . . . . . . . . . . . . . . . . . . . . . . . . . . . . . . . . . . . . . . . . . . . . . . . . . . . . . . . . . . . . . . . . . . . . . . . . 14
Selection of instrument measuring mode . . . . . . . . . . . . . . . . . . . . . . . . . . . . . . . . . . . . . . . . . . . . . . . . . . . . . . . . . . . . . . . 14
Selection of digital input filter. . . . . . . . . . . . . . . . . . . . . . . . . . . . . . . . . . . . . . . . . . . . . . . . . . . . . . . . . . . . . . . . . . . . . . . . 15
Selection of the type of input A . . . . . . . . . . . . . . . . . . . . . . . . . . . . . . . . . . . . . . . . . . . . . . . . . . . . . . . . . . . . . . . . . . . . . . 15
Setting the level of input A . . . . . . . . . . . . . . . . . . . . . . . . . . . . . . . . . . . . . . . . . . . . . . . . . . . . . . . . . . . . . . . . . . . . . . . . . . 16
Selection of the type of input C (Resetting) . . . . . . . . . . . . . . . . . . . . . . . . . . . . . . . . . . . . . . . . . . . . . . . . . . . . . . . . . . . . . 16
Setting the level of input C (Resetting) . . . . . . . . . . . . . . . . . . . . . . . . . . . . . . . . . . . . . . . . . . . . . . . . . . . . . . . . . . . . . . . . . 17
Setting calibration constant . . . . . . . . . . . . . . . . . . . . . . . . . . . . . . . . . . . . . . . . . . . . . . . . . . . . . . . . . . . . . . . . . . . . . . . . . 17
Setting offset - PRESET . . . . . . . . . . . . . . . . . . . . . . . . . . . . . . . . . . . . . . . . . . . . . . . . . . . . . . . . . . . . . . . . . . . . . . . . . . . . . 18
Setting the limits . . . . . . . . . . . . . . . . . . . . . . . . . . . . . . . . . . . . . . . . . . . . . . . . . . . . . . . . . . . . . . . . . . . . . . . . . . . . . . . . . . 20
Setting the menu type (LIGHT/PROFI). . . . . . . . . . . . . . . . . . . . . . . . . . . . . . . . . . . . . . . . . . . . . . . . . . . . . . . . . . . . . . . . . 22
Restoration of the manufacture setting. . . . . . . . . . . . . . . . . . . . . . . . . . . . . . . . . . . . . . . . . . . . . . . . . . . . . . . . . . . . . . . . . 22
Setting new access password . . . . . . . . . . . . . . . . . . . . . . . . . . . . . . . . . . . . . . . . . . . . . . . . . . . . . . . . . . . . . . . . . . . . . . . 23
Instrument identification . . . . . . . . . . . . . . . . . . . . . . . . . . . . . . . . . . . . . . . . . . . . . . . . . . . . . . . . . . . . . . . . . . . . . . . . . . . . 23
6. Setting “PROFI” menu
6.0 Description “PROFI” menu. . . . . . . . . . . . . . . . . . . . . . . . . . . . . . . . . . . . . . . . . . . . . . . . . . . . . . . . . . . . . . . . . . . . . . . . . . 24
6.1 “PROFI” menu - INPUTS
6.1.1 Counter resetting. . . . . . . . . . . . . . . . . . . . . . . . . . . . . . . . . . . . . . . . . . . . . . . . . . . . . . . . . . . . . . . . . . . . . . . 28
6.1.2 Instrument configuration . . . . . . . . . . . . . . . . . . . . . . . . . . . . . . . . . . . . . . . . . . . . . . . . . . . . . . . . . . . . . . . . . 29
6.1.2a Selection of measuring mode. . . . . . . . . . . . . . . . . . . . . . . . . . . . . . . . . . . . . . . . . . . . . . . . . . . . . . . . . . . . . 29
6.1.2.b Selection of measuring time/time base . . . . . . . . . . . . . . . . . . . . . . . . . . . . . . . . . . . . . . . . . . . . . . . . . . . . . 30
6.1.2.c Selection of input filter parameters. . . . . . . . . . . . . . . . . . . . . . . . . . . . . . . . . . . . . . . . . . . . . . . . . . . . . . . . . 30
6.1.2.d Selection of the type of input . . . . . . . . . . . . . . . . . . . . . . . . . . . . . . . . . . . . . . . . . . . . . . . . . . . . . . . . . . . . . 31
6.1.2.d Setting input level . . . . . . . . . . . . . . . . . . . . . . . . . . . . . . . . . . . . . . . . . . . . . . . . . . . . . . . . . . . . . . . . . . . . . . 31
6.1.2.f Selection of display status backup. . . . . . . . . . . . . . . . . . . . . . . . . . . . . . . . . . . . . . . . . . . . . . . . . . . . . . . . . 32
6.1.2.g Setting time H. . . . . . . . . . . . . . . . . . . . . . . . . . . . . . . . . . . . . . . . . . . . . 32
6.1.2.h Selection of stopwatch control/clock H. . . . . . . . . . . . . . . . . . . . . . . . . . . . . . . . . . . . . . . . . . . . . 33
6.1.2.j Setting the display status backup H. . . . . . . . . . . . . . . . . . . . . . . . . . . . . . . . . . . . . . . . . . . . . 34
6.1.3 Selection the external control input . . . . . . . . . . . . . . . . . . . . . . . . . . . . . . . . . . . . . . . . . . . . . . . . . . . . . . . . 35
6.1.4 Selection function of key „ENTER“. . . . . . . . . . . . . . . . . . . . . . . . . . . . . . . . . . . . . . . . . . . . . . . . . . . . . . . . . 35
6.2 “PROFI” menu - CHANNELS
6.2.1 Setting calibration constant . . . . . . . . . . . . . . . . . . . . . . . . . . . . . . . . . . . . . . . . . . . . . . . . . . . . . . . . . . . . . . 36
6.2.2 Nastavení offsetu . . . . . . . . . . . . . . . . . . . . . . . . . . . . . . . . . . . . . . . . . . . . . . . . . . . . . . . . . . . . . . . . . . . . . . 36
6.2.3 Setting the digital filter . . . . . . . . . . . . . . . . . . . . . . . . . . . . . . . . . . . . . . . . . . . . . . . . . . . . . . . . . . . . . . . . . . 37
6.2.4 Setting the decimal point . . . . . . . . . . . . . . . . . . . . . . . . . . . . . . . . . . . . . . . . . . . . . . . . . . . . . . . . . . . . . . . . 35
6.3 “PROFI” menu - OUTPUTS
6.3.1 Configuration and setting the limits . . . . . . . . . . . . . . . . . . . . . . . . . . . . . . . . . . . . . . . . . . . . . . . . . . . . . . . . 36
6.3.2 Setting the display brightness. . . . . . . . . . . . . . . . . . . . . . . . . . . . . . . . . . . . . . . . . . . . . . . . . . . . . . . . . . . . . 37
6.4 “PROFI” menu - SERVICE
6.4.1 Selection of the type of programming menu . . . . . . . . . . . . . . . . . . . . . . . . . . . . . . . . . . . . . . . . . . . . . . . . . 42
6.4.2 Restiration of the manufacture setting. . . . . . . . . . . . . . . . . . . . . . . . . . . . . . . . . . . . . . . . . . . . . . . . . . . . . . . 42
6.4.3 Setting new access password. . . . . . . . . . . . . . . . . . . . . . . . . . . . . . . . . . . . . . . . . . . . . . . . . . . . . . . . . . . . . 43
6.4.4 Instrument identification . . . . . . . . . . . . . . . . . . . . . . . . . . . . . . . . . . . . . . . . . . . . . . . . . . . . . . . . . . . . . . . . . 43
7. Setting “USER” menu . . . . . . . . . . . . . . . . . . . . . . . . . . . . . . . . . . . . . . . . . . . . . . . . . . . . . . . . . . . . . . . . . . . . . . . . . . . . . . . . . . . . . .44
8. Error statements . . . . . . . . . . . . . . . . . . . . . . . . . . . . . . . . . . . . . . . . . . . . . . . . . . . . . . . . . . . . . . . . . . . . . . . . . . . . . . . . . . . . . . . . . .46
9. Instrument dimension and installation . . . . . . . . . . . . . . . . . . . . . . . . . . . . . . . . . . . . . . . . . . . . . . . . . . . . . . . . . . . . . . . . . . . . . . . .48
10. Technical data . . . . . . . . . . . . . . . . . . . . . . . . . . . . . . . . . . . . . . . . . . . . . . . . . . . . . . . . . . . . . . . . . . . . . . . . . . . . . . . . . . . . . . . . . . . .50
11. Certificate of guarantee . . . . . . . . . . . . . . . . . . . . . . . . . . . . . . . . . . . . . . . . . . . . . . . . . . . . . . . . . . . . . . . . . . . . . . . . . . . . . . . . . . . . 51
1CONTENS
4|INSTRUCTIONS FOR USE OMM 650UC
2.1 Description
The OMM 650UC model is a universal 6 digit programmable panel impulse counter/frequency meter/repeat/stop-watch.
The instrument is based on an 8-bit microprocessor, that secures high accuracy, stability and easy operation of the instru-
ment.
Measuring modes
COUNTER Single counter C-F
FREQUENCY Frequency C-F
STOP-WATCH Stop- Watch H
CLOCK Clock H
Programmable display projection
Calibration in „CM“ may be set the calibration coefficient
Projection -99999...999999 with fixed or floating DP in adjustable format 10/24/60
Time base 0,5/1/2/5/10/50 s
Digital filters
Input filter: the instrument allows to filter the input signal and thus suppress undesirable interfering
signals (e.g. relay back-swings). The set parameter indicates maximum possible measured
frequency, that the instrument will process, 5/40/100/200 Hz
Exponential average from 2...100 measurements
Radius of insensitiveness adjustable in digits
Functions
Preset initial non-zero value which is read always after instrument resetting
Rounding setting the projection step for the display
OM Link company interface for instrument operation, setting and update
External control
Hold display/instrument/menu access locking
Lock control keys lockin
Resetting resetting/presetting counter
2INSTRUMENT DESCRIPTION

INSTRUCTIONS FOR USE OMM 650UC |5
2.2 Operationn
The instrument is set and controlled by five control keys located on the front panel. All programmable settings of the instru-
ment are realized in two adjusting modes:
LIGHT Simple programming menu
- contains only items necessary for instrument setting and is protected by an optional numeral
code
PROFI Complete programming menu
- contains complete instrument menu and is protected by an optional numeral code
USER User programmable menu
- may contain arbitrary items selected from programmable menu (LIGHT/PROFI), which determines
the authorization (see or change)
- access is without password
All programmable parameters are stored in the EEPROM memory
(they hold even after the instrument is switched off).
Complete operation and setting of the instrument may be performed via communication interface
OM Link, which is a standard equipment of every instrument.
The operation program is freely available (www.orbit.merret.cz) and the only requirement is the
purchase of OML cable for connecting the instrument to PC. It is manufactured in version RS 232 and USB and is compatible
with all ORBIT MERRET instruments.
The OM LINK program version „Standard“ allows you to connect an unlimited number of instruments with the option of
visualizatiion and storage in PC.
2.3 Options
Comparators are assigned to control two limit values with relay output. The limits have adjustable hysteresis as well as
selectable delay of the switch-on. Reaching the preset limits is signalled by LED and simultaneously by the switch-on of the
relevant relay.
Time backup by RTC is designed for measuring mode „CLOCK“ and secures time measurement also when the instrument
is switched off (without projection on display).
2INSTRUMENT DESCRIPTION

6|INSTRUCTIONS FOR USE OMM 650UC
The instrument supply leads should not be in proximity of the incoming low-potential signals.
Contactors, motors with larger input power should not be in proximity of the instrument.
The leads into the instrument input (measured quantity) should be in sufficient distance from all power leads and appliances.
Provided this cannot be secured it is necessary to use shielded leads with connection to ground (bracket E).
The instruments are tested in compliance with standards for use in industrial area, yet we recommend to abide by the above
mentioned principles..
CONNECTION
Description Connector
Input A - 1 input signal < 43 V (absolut 60 V) GND + Input A -1
Input A - 2 input signal < 300 V GND + Input A - 2
Reset input signal < 60 V GND + Reset
Function Description Control
Hold Instrument blocking (adjustable in the menu) upon contact, (Nr. 6/7)
Lock Keyboard locking upon contact, (Nr. 6/7)
3INSTRUMENT CONNECTION
+
678910111213
GND
Reset (< 300 V)
INPUT A (< 300 V)
-
Hold/Lock
+
-
L
NPOWER SUPPLY
L2
L1
++
INPUT A (< 30 V)
Reset (< 30 V)
123 54
+

INSTRUCTIONS FOR USE OMM 650UC |7
Table of the comparison levels
Input Type of
input
Max. input voltage
(Level A, C)
Comarator levels
L > H H > L
Input A-1
Reset
NPN, Contact xxx 0,5 V 4,5 V
PNP 9,7 V 0,5 V 4,5 V
PNP 14,4 V 1,0 V 9,0 V
PNP 19,2 V 1,5 V 13,3 V
PNP 23,9 V 2,0 V 17,8 V
PNP 28,7 V 2,5 V 22,1 V
PNP 33,5 V 3,0 V 26,6 V
PNP 38,3 V 3,4 V 31,0 V
PNP 43,0 V 3,9 V 35,5 V
Input A-2
NPN, Contact !!! do not connect !!!
PNP 84 V 4,9 V 39,8 V
PNP 128 V 9,2 V 78,0 V
PNP 170 V 13,6 V 117,8 V
PNP 211 V 17,8 V 156,0 V
PNP 253 V 22,3 V 195,8 V
PNP 295 V 26,5 V 234,1 V
PNP 301 V 30,9 V 273,9 V
3INSTRUMENT CONNECTION

8|INSTRUCTIONS FOR USE OMM 650UC
For trained users
Only items necessary for instrument
setting
Access is password protected
Possibility to arrange items of the
„User“ menu
Linear menu structure
•
•
•
•
•
For expert users
Complete instrument menu
Access is password protected
Possibility to arrange items of the
„User“ menu
Tree menu structure
•
•
•
•
•
Setting PROFISetting LIGHT
For user operation
Menu items are set by the user
(Profi/Light) as per request
Access is not password protected
Optional menu structure either tree
(PROFI) or linear (LIGHT)
•
•
•
•
Setting USER
INSTRUMENT SETTING3

INSTRUCTIONS FOR USE OMM 650UC |9
4.1 Setting
The instrument is set and controlled by five control keys located on the front panel. All programmable settings of the instrument
are performed in three adjusting modes:
LIGHT Simple programming menu
- contains solely items necessary for instrument setting and is protected by optional number code
PROFI Complete programming menu
- contains complete instrument menu and is protected by optional number code
USER User programming menu
- may contain arbitrary items selected from the programming menu (LIGHT/PROFI), which determine
the right (see or change)
- acces without password
All programmable parameters are stored in the EEPROM memory (they hold even after the instrument is switched off).
Complete instrument operation and setting may be performed via OM Link communication interface, which is a standard
equipment of all instruments.
The operation program is freely accessible (www.orbit.merret.cz) and the only requirement is the purchase of OML cable
to connect the instrument to PC.
INSTRUMENT SETTING 3

10 |INSTRUCTIONS FOR USE OMM 650UC
Setting and controlling the instrument is performed by means of 4 control keys located on the front panel. With the aid of
these keys it is possble to browse through the operation menu and to select and set required values.
Symbols used in the instructions
HIndicates the setting for given type of instrument
DEF values preset from manufacture
42symbol indicates a flashing light (symbol)
MI N inverted triangle indicates the item that can be placed in USER menu
TI M E .broken line indicates a dynamic item, i.e. it is displayed only in particular selection/version
after pressing the key the set value will not be stored
after pressing the key the set value will be stored
30
continues on page 30
Setting the decimal point and the minus sign
DECIMAL POINT
Its selection in the menu, upon modification of the number to be adjusted it is performed by the control key with transition
beyond the highest decade, when the decimal point starts flashing . Positioning is performed by .
THE MINUS SIGN
Setting the minus sign is performed by the key on higher decade. When editing the item substraction must be made from
the current number (e.g..: 013 > , on class 100 > -87)
12
Relay status
ON the digit is lit
OFF the digit is not lit
OFF the digit is flashing
limits withrestriction
(hysteresis, delay)
Measured value
4INSTRUMENT SETTING

INSTRUCTIONS FOR USE OMM 650UC |11
Controntrol keys functions
Setting items into „USER“ menu
• in LIGHT or PROFI menu
• no items permitted in USER menu from manufacture
• on items marked by inverted triangle
NO item will not be displayed in USER menu
YES item will be displayed in USER menu with the option of setting
SHOW item will be solely displayed in USER menu
4INSTRUMENT SETTING
Key Measurement Menu Setting numbers/Selection
access into USER menu exit menu w/o saving transition to next item w/o
saving
back to previous level move to higher decade
move to next item move up
counter resetting confirm selection setting/selection confirmation
+numeric value is set to zero
+access into LIGHT/PROFI
menu
+direct access into PROFI menu
- temporary (remains LIGHT)
+configuration of an item for
USER menu
+determine the sequence of items
in “USER - LIGHT” menu
--- +NO YES SHOW ---
return to item
legend is flashing - current setting is displayed

12 |INSTRUCTIONS FOR USE OMM 650UC
5.0 Setting “LIGHT”
LIGHT Simple programming menu
- contains only items necessary for instrument setting and is protected by optional numeral code
For capable users
Only items necessary for instrument
setting
Password protected access
Possibility to arrange items of the
„User“ menu
Linear menu structure
•
•
•
•
•
Setting LIGHT
light
5SETTING
light
light
Password “0”
Menu LIGHT
USR menu off
Setting the items DEF
Preset from manufacture

INSTRUCTIONS FOR USE OMM 650UC |13
LI M . L.1 25 LI M . L. 2 75
142. 8
PASSW.0
MENU LI G H T
142. 8
+
IDENT.YES OMM 650....
N. PASS.0
FREQV .
MODE OFFFI L T E R
SETTIN .
5
SETTING
light
light
light
NPN.CON .TYPE A
300LEV ELA 60LEV ELCNPN.CON .TYPE C
1SCALE 0OFFSET
Access code
Option - Comparator
Return to previous measuring mode
Return to manufacture setting New password
Identification
Upon delay exceeding 60 s the programming mode
is automatically discontinued and the instrument
itself restores the measuring mode
!
Menu type
TYPE

14 |INSTRUCTIONS FOR USE OMM 650UC
light
5SETTING
light
light
142. 8
PASSW. 0
COU N T FREQV .
MODE Selection of the instrument
measuring mode
- basic selection of instrument type
DEF = FREQV.
MODE
Menu Instrument mode
COUNT. Counter
FREQU. Frequencymeter
Entering access password
for access into the menu
Selection of mode “COUNT.” Example
FI L T E RCOUNT.
PASSW.Access into instrument
menu
PAS = 0
- access into menu is unrestricted, after
releasing keys you automaticaly move to first
item of the menu
PAS > 0
- access into menu is protected ny number
code
DC DU OHMPM RTD T/C
“Password” = 42 Example
0 1 2 0212
42
22
32MODE
MODE

INSTRUCTIONS FOR USE OMM 650UC |15
4. NASTAVENÍ PŘÍSTROJE - UŽIVATELSKÝ MÓD 5
SETTING
light
light
light
OFF 200 100 .40 5
Maximum input frequency 100 Hz > 100 Example
FI L T E R Selection of digital filter
- digital filter may supress undesirable
disturbing pulses (e.g. relay backswings) on
the input signal. Set parameter determines
maximum possible frequency, which the
instrument processes without limitation
DEF = OFF
FI L T E R
TYP E AOFF 200 100
NPN.CON PNP
TYPE A Selection of input type
- setting applies for Input A
DEF = NPN.CON.
TYPE
Menu Input type
NPN.CON NPN or contact
PNP PNP
Selection of input type > NPN Example
LEV ELANPN.CO N .
TYPE A
Following this selection it is required to set input
levels (Level A)
!
For contact input and known maximum input
frequency we recommend using the filter
!

16 |INSTRUCTIONS FOR USE OMM 650UC
light
5SETTING
light
light
NPN.CON PNP
TYPE C Selection of input type
- setting applies for resetting input
DEF = NPN.CON.
TYPE
Menu Input type
NPN.CON NPN or contact
PNP PNP
Selection of input type > NPN Example
LEV ELCNPN.CO N .
TYPE C
10 Setting input level
LEV ELA Setting input level for
input A
- setting applies for Input A
- setting the level (only for type PNP) of
input voltage, instrument subsequently
automatically selects the divider and thus
also the comparison levels
- range of setting 0…43 V (Input 1)
- range of setting 43…300 V (Input 2)
- table of comparison levels on page 7
Setting the level = 34 V Example
1011121314
34
14
24TYPE C
LEV ELA
Following this selection it is required to set input
levels (Level A)
!

INSTRUCTIONS FOR USE OMM 650UC |17
5
SETTING
light
light
light
10 Setting input level
LEV ELC Setting input level for
resetting input
- setting the level (only for type PNP) of
input voltage, instrument subsequently
automatically selects the divider and thus
also the comparison levels
- range of setting 0…60 V
- table of comparison levels on page 7
Setting the level = 34 V Example
1011121314
34
14
24SCALE
1Setting the calibration
constant
SCALE Setting the calibration
constant
- calibration constant is for the conversion of
input value to required display value
- by setting a minus value the direction of
counting is changed, i.e. we count down
- range: -0,00001...999999
- DEF = 1
Calibration constant = 3,12 Example
1 2 0212012 112
212
OFFSET
312 000312.00031200312031 2
00031. 2 0003.12
SCALE
LEV ELC

18 |INSTRUCTIONS FOR USE OMM 650UC
light
5SETTING
light
light
0Setting the PRESET
OFFSET Setting the additive
constant „PRESET“
- shift of the beginning of the measurement by
a set value which will always be read upon
instrument resetting
- range: -99999...999999
- DEF = 0
Setting „PRESET“ = 24 Example
0 1 2 3 4
24
04
14MENU * subsequent item on the menu depends on instrument equipment
OFFSET

INSTRUCTIONS FOR USE OMM 650UC |19
5
SETTING
light
light
light

20 |INSTRUCTIONS FOR USE OMM 650UC
light
5SETTING
light
light
LI M . L. 2
LI M . L. 1 25
LI M . L. 1 Setting the boundary for
limit 1
- range of the setting is -99999…999999
- presetting “Hysteresis”=0 “Delay”=0
- contingent change of hysteresis or offset
of the switch-on may be performed in the
PROFI menu
DEF = 25
Setting the boundary
for limit 1
LI M . L. 2 Setting the boundary for
limit 2
- range of the setting is -99999…999999
- presetting “Hysteresis”=0 “Delay”=0
- contingent change of hysteresis or offset
of the switch-on may be performed in the
PROFI menu
DEF = 75
75 Setting the boundary
for limit 2
Setting limit 2 > L 2 = 230 Example
100100 130130120110
230 MENU
Setting limit 1 > L 1 = 30 Example
252620292827
20 30LI M . L. 2
Only with option > Dual Comparator
Items for “Limits” are accessible only if the instru-
ment contains them.
!
Table of contents
Other Orbit Merret Measuring Instrument manuals

Orbit Merret
Orbit Merret OMM 37 User manual

Orbit Merret
Orbit Merret OMM 37 User manual

Orbit Merret
Orbit Merret OMB 451UNI User manual

Orbit Merret
Orbit Merret OM 402UNI User manual

Orbit Merret
Orbit Merret OMD 202UNI-B User manual

Orbit Merret
Orbit Merret OM 621BCD User manual

Orbit Merret
Orbit Merret OMM 323UQC User manual

Orbit Merret
Orbit Merret OM 36DC User manual

Orbit Merret
Orbit Merret OM 351 User manual

Orbit Merret
Orbit Merret OM 601UQC User manual