Table of contents Operating instructions BRB
II (08.10) MT_BRB_BA_04_790086762_00.doc
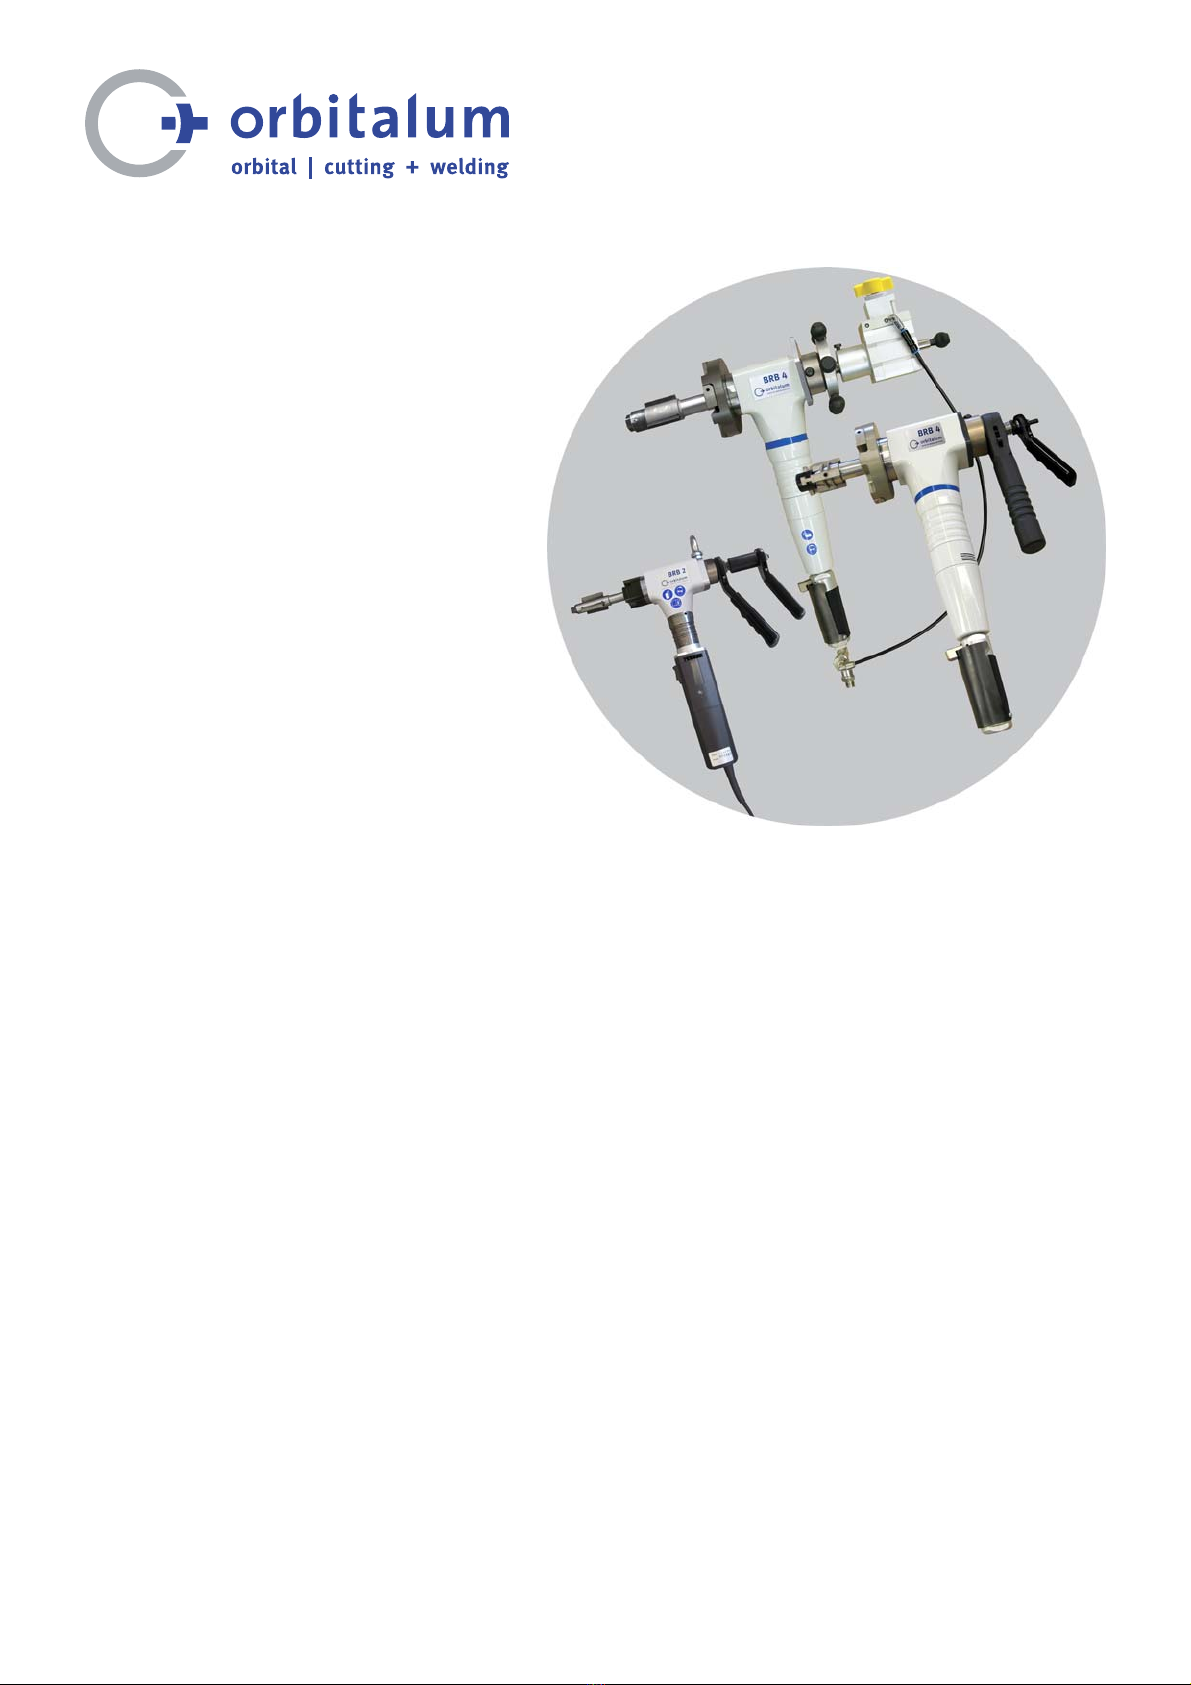
orbitalum tools gmbh
5Initial operation 23
5.1 Included with the machine 23
5.1.1 Standard 23
5.1.2 Additional parts of the "standard" clamping system 23
5.1.3 Additional parts of the "NC" clamping system 24
6Transport and storage 25
7Preparation 26
7.1 Connection requirements 26
7.1.1 BRB Pneumatic and BRB Pneumatic/Auto 26
7.1.2 BRB Electric 27
8Clamping wedge and mandrel assembly BRB 2 28
8.1 Overview of clamping wedges and mandrel 28
8.1.1 BRB 2 with "standard" clamping system 28
8.1.2 BRB 2 with "NC" clamping system 28
8.2 Replacing the clamping wedges: BRB 2 "Standard" 29
8.2.1 Replacing the clamping wedges:
BRB 2 "standard" with mandrel Ø 12.75 30
8.2.2 Replacing the clamping wedges:
BRB 2 "standard" with mandrel Ø 19.05 31
8.3 Replacing the clamping wedges: BRB 2 "NC" 32
8.3.1 Replacing the clamping wedges:
BRB 2 "NC" with mandrel Ø 19.05 mm 33
8.3.2 Replacing the clamping wedges:
BRB 2 "NC" Pneu/Auto with mandrel Ø 19.05 mm 34
8.4 Replacing the mandrel: BRB 2 "standard" 35
8.4.1 Removing the mandrel:
BRB 2 "standard" with mandrel Ø 12.75 36
8.4.2 Fitting the mandrel:
BRB 2 "standard" with mandrel Ø 12.75 36
8.4.3 Removing the mandrel:
BRB 2 "standard" Auto with mandrel Ø 12.75 37
8.4.4 Fitting the mandrel:
BRB 2 "standard" Auto with mandrel Ø 12.75 37
8.4.5 Removing the mandrel:
BRB 2 "standard" with mandrel Ø 19.05 38
8.4.6 Fitting the mandrel:
BRB 2 "standard" Ø 19.05 38
8.4.7 Removing the mandrel:
BRB 2 "standard" Auto with mandrel Ø 19.05 39
8.4.8 Fitting the mandrel:
BRB 2 "standard" Auto with mandrel Ø 19.05 39
8.5 Replacing the mandrel: BRB 2 "NC" 40
8.5.1 Removing the mandrel:
BRB 2 "NC" with mandrel Ø 19.05 40
8.5.2 Fitting the mandrel:
BRB 2 "NC" with mandrel Ø 19.05 41
8.5.3 Removing the mandrel:
BRB 2 "NC" Auto with mandrel Ø 19.05 42
8.5.4 Fitting the mandrel:
BRB 2 "NC" Auto with mandrel Ø 19.05 43