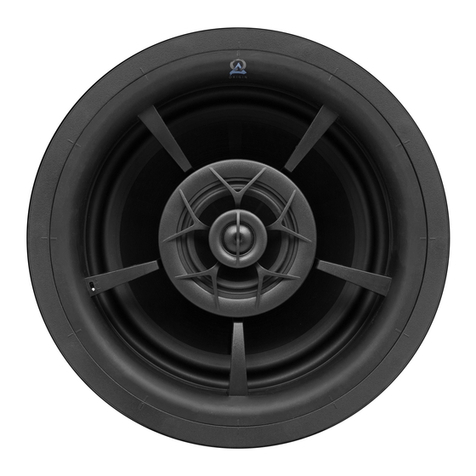
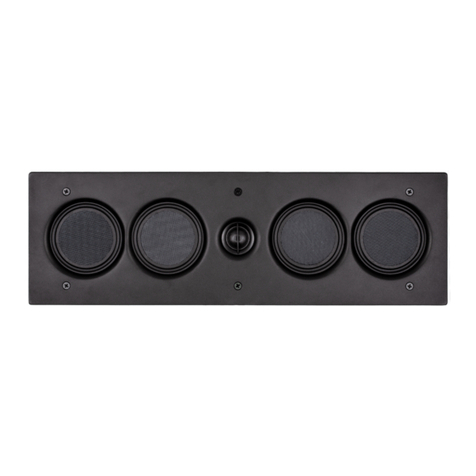
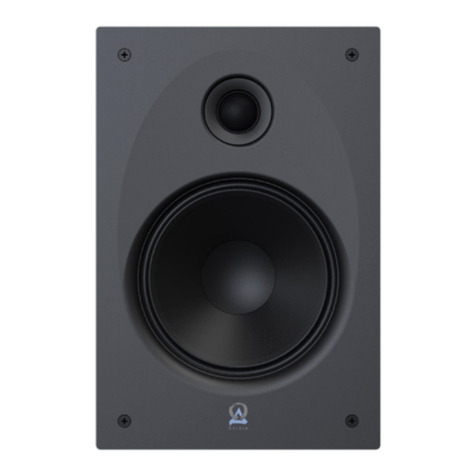
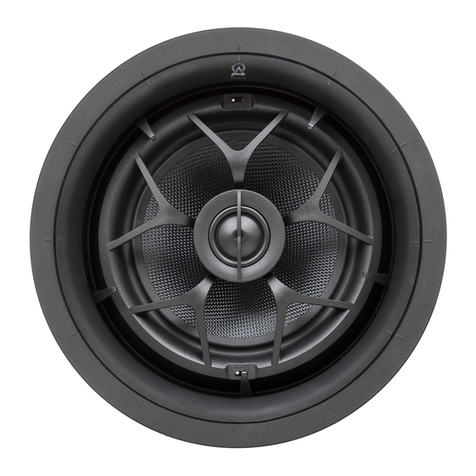
DIRECTOR COLLECTIONTM 3'' MANUAL
1110
DIRECTOR COLLECTIONTM MANUAL • 10'' SERIESDIRECTOR COLLECTIONTM MANUAL • 10'' SERIES
1a UNLOCK RING-LOCK TAB ON BAYONET RING
UNLOCKED POSITION
Twist Speaker
15ᵒ
Counter - Clockwise
to Unlock
3
Li Speaker
out of
Bayonet
Ring
QUICK START GUIDE
REMOVAL OF SPEAKER FROM BAYONET RING
from the Bayonet Ring, before
removing loudspeaker from Bayonet Ring.
will release the Speaker
from the Bayonet Ring.
01-11-23
6975 S Decatur Blvd, Las Vegas, NV 89118 • www.originacoustics.com • 844-674-4461
©2023 Origin Acoustics. All copyrighted, trademarked and patented elements mentioned herein are the sole property of Origin Acoustics.
D109 install
SCALE:1:2
Origin Acoustics
6975 S Decatur Blvd
Suite 140
Las Vegas, NV 89118
844-ORIGIN1 (674-4461)
www.originacoustics.com
A C O U S T I C S
O R I G I N
®
The Speaker will arrive securely in its Bayonet Ring. Scan the QR Code
on the reverse of this page for full instructions for this product.
Note: If the Bayonet Zip-ClipsTM need
to be adjusted or removed, depress the
metal tabs along the rail and push up.
SPEAKER INSTALLATION
Push the Zip-Clip™ rails inwards from the
top, just enough, so they fit throughthe
ceiling hole opening,then
hole
within the ceiling surface.
To finalize the
installation,
the Bayonet Ring.
Note: Grille may not sit flush until this
Lock is properly engaged.
until the indicators on both the Bayonet
Ring & the Speaker are aligned.
Aer connecting wires, insert the Speaker
into the Bayonet Ring, with the
D109 install
SCALE:1:2
Origin Acoustics
6975 S Decatur Blvd
Suite 140
Las Vegas, NV 89118
844-ORIGIN1 (674-4461)
www.originacoustics.com
A C O U S T I C S
O R I G I N
®
B 1
2 3
456
on all 4 Bayonet Zip-
ClipsTM to lower them along the Bayonet
rails.
PUSH Rails
Inwards
to Fit
through
Ceiling Hole
Reach through and
of the Bayonet
Zip-ClipTM to pull each Zip-ClipTM down
the rail.
Twist Speaker
15ᵒ
Counter - Clockwise
to Unlock
3
Li Speaker
out of
Bayonet
Ring
QUICK START GUIDE
REMOVAL OF SPEAKER FROM BAYONET RING
from the Bayonet Ring, before
removing loudspeaker from Bayonet Ring.
will release the Speaker
from the Bayonet Ring.
01-11-23
6975 S Decatur Blvd, Las Vegas, NV 89118 • www.originacoustics.com • 844-674-4461
©2023 Origin Acoustics. All copyrighted, trademarked and patented elements mentioned herein are the sole property of Origin Acoustics.
D109 install
SCALE:1:2
Origin Acoustics
6975 S Decatur Blvd
Suite 140
Las Vegas, NV 89118
844-ORIGIN1 (674-4461)
www.originacoustics.com
A C O U S T I C S
O R I G I N
®
The Speaker will arrive securely in its Bayonet Ring. Scan the QR Code
on the reverse of this page for full instructions for this product.
Note: If the Bayonet Zip-ClipsTM need
to be adjusted or removed, depress the
metal tabs along the rail and push up.
SPEAKER INSTALLATION
Push the Zip-Clip™ rails inwards from the
top, just enough, so they fit throughthe
ceiling hole opening,then
hole
within the ceiling surface.
To finalize the
installation,
the Bayonet Ring.
Note: Grille may not sit flush until this
Lock is properly engaged.
until the indicators on both the Bayonet
Ring & the Speaker are aligned.
Aer connecting wires, insert the Speaker
into the Bayonet Ring, with the
D109 install
SCALE:1:2
Origin Acoustics
6975 S Decatur Blvd
Suite 140
Las Vegas, NV 89118
844-ORIGIN1 (674-4461)
www.originacoustics.com
A C O U S T I C S
O R I G I N
®
1
2 3
456
on all 4 Bayonet Zip-
ClipsTM to lower them along the Bayonet
rails.
PUSH Rails
Inwards
to Fit
through
Ceiling Hole
Reach through and
of the Bayonet
Zip-ClipTM to pull each Zip-ClipTM down
the rail.
TWIST SPEAKER 15O COUNTER-CLOCKWISE
TO RELEASE FROM RING
When you’ve decided on the locations for all of the speakers, use the Cut-Out
Template to trace a circle lightly in pencil where the hole should be. (If you don’t
have a template, check the Specifications section for cutout sizes).
If you’re unsure on whether there may be obstacles (such as pipes or wires) where
you plan on installing the speaker, drill a ⅛ inch hole in the center of the circle,
then put a bent coat hanger through the hole to feel around. Use a keyhole or
drywall saw to cut the hole.
9. Cutting the Hole
10. Installation Guidance
10a. REMOVAL OF SPEAKER FROM BAYONET RING
The Speaker will arrive securely in its Bayonet Ring. To release the speaker,
follow these steps:
1a) UNLOCK RING-LOCK TAB ON BAYONET RING:
Pull the Metal Ring-Lock Tab AWAY from the Bayonet Ring, into the OPEN &
UNLOCKED POSITION, before attempting to remove the loudspeaker from the
Bayonet Ring.
1b) TWIST SPEAKER 15o COUNTER-CLOCKWISE, holding the Bayonet Ring in
place, until you feel that it unlocks. You will see that the grooves between the
speaker and Bayonet Ring are no longer aligned. Here the Speaker can be lied
out from the Bayonet Ring.