ORION TELESCOPES & BINOCULARS VersaGo III Micro‑MotionAltazimuth Mount User manual
Other ORION TELESCOPES & BINOCULARS Camera Accessories manuals
ORION TELESCOPES & BINOCULARS
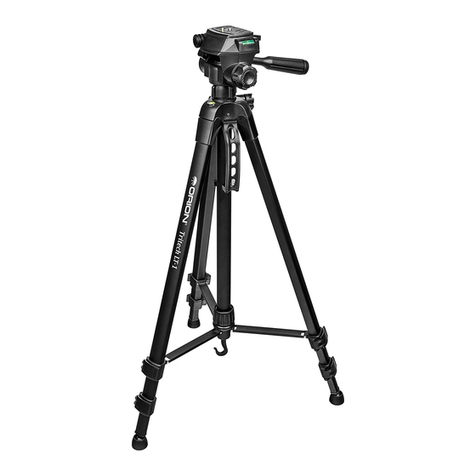
ORION TELESCOPES & BINOCULARS Tritech LT-1 User manual

ORION TELESCOPES & BINOCULARS
ORION TELESCOPES & BINOCULARS SteadyPix Deluxe User manual
ORION TELESCOPES & BINOCULARS
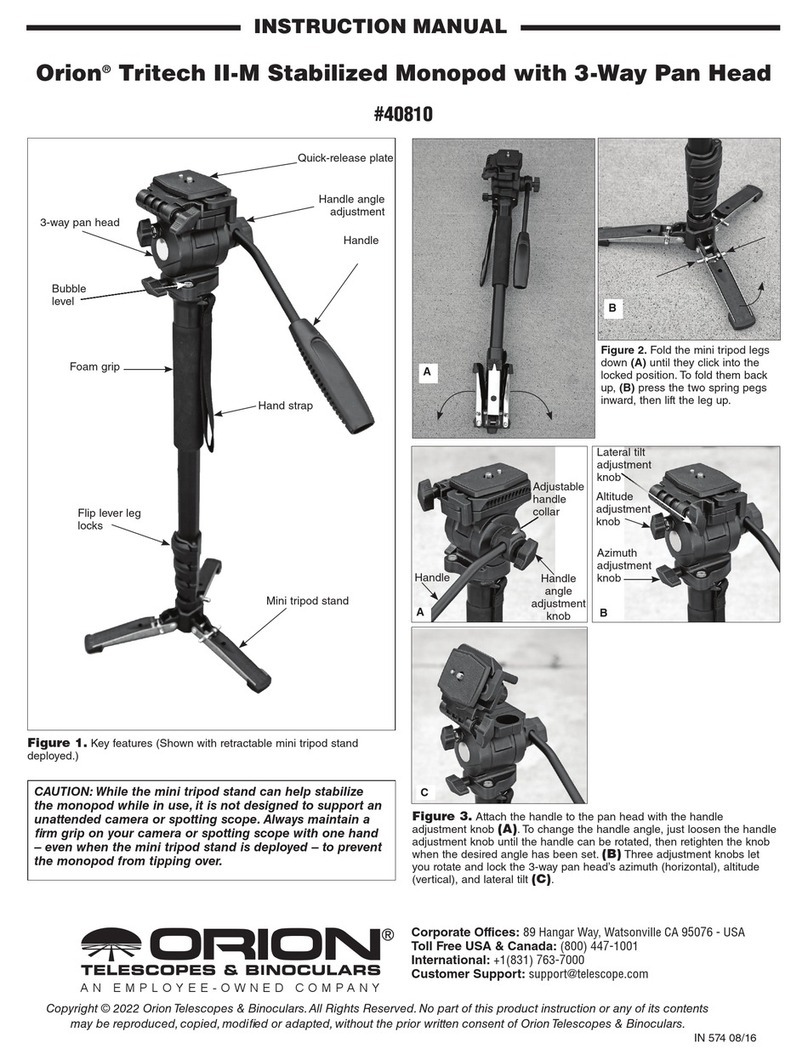
ORION TELESCOPES & BINOCULARS Tritech II-M User manual
ORION TELESCOPES & BINOCULARS
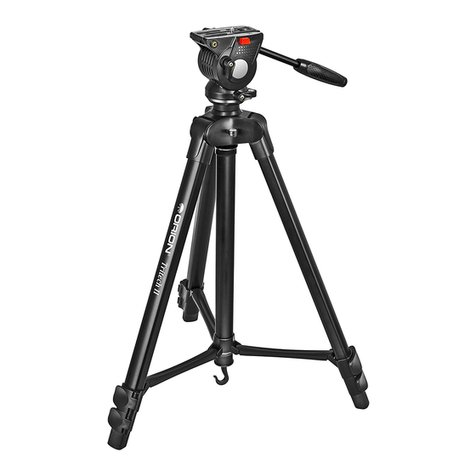
ORION TELESCOPES & BINOCULARS Tritech II User manual
ORION TELESCOPES & BINOCULARS
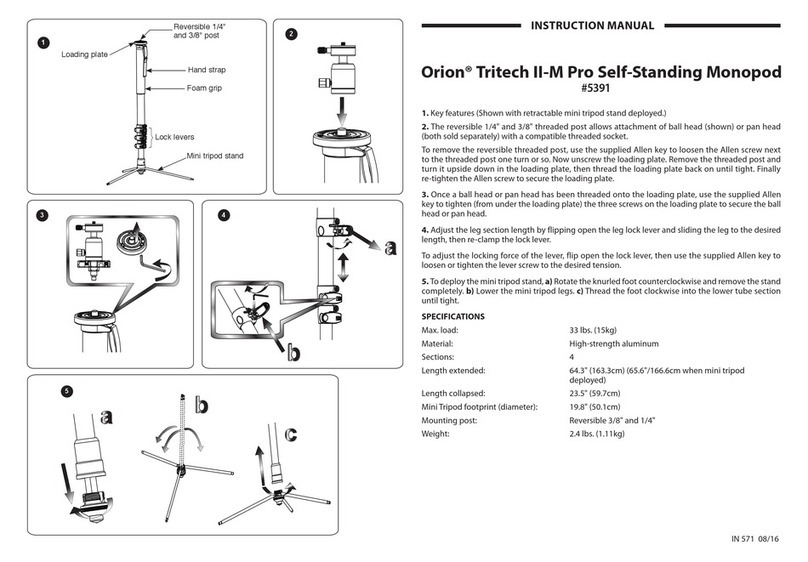
ORION TELESCOPES & BINOCULARS Tritech II-M Pro User manual

ORION TELESCOPES & BINOCULARS
ORION TELESCOPES & BINOCULARS Tritech II-M User manual
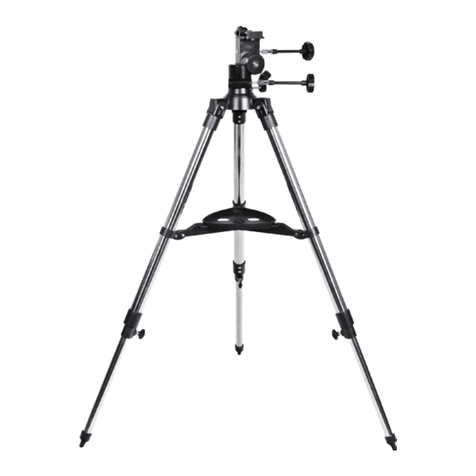
ORION TELESCOPES & BINOCULARS
ORION TELESCOPES & BINOCULARS AZ-4 User manual
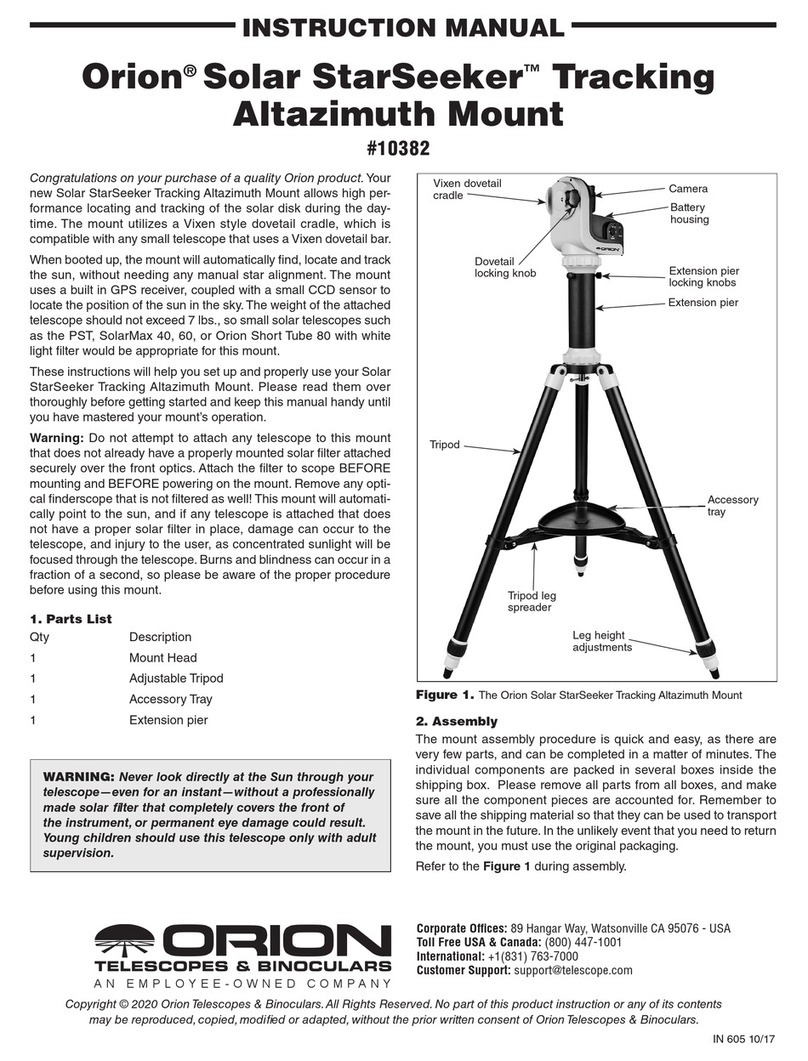
ORION TELESCOPES & BINOCULARS
ORION TELESCOPES & BINOCULARS Solar StarSeeker 10382 User manual

ORION TELESCOPES & BINOCULARS
ORION TELESCOPES & BINOCULARS Tritech II Installation and operating instructions
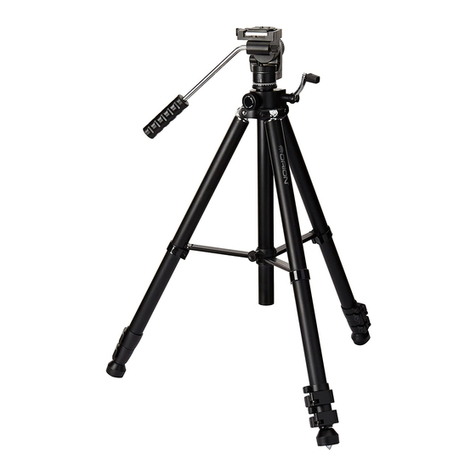
ORION TELESCOPES & BINOCULARS
ORION TELESCOPES & BINOCULARS Paragon HD-F2 User manual
ORION TELESCOPES & BINOCULARS
ORION TELESCOPES & BINOCULARS AutoTracker 8976 User manual

ORION TELESCOPES & BINOCULARS
ORION TELESCOPES & BINOCULARS StarBlast II User manual
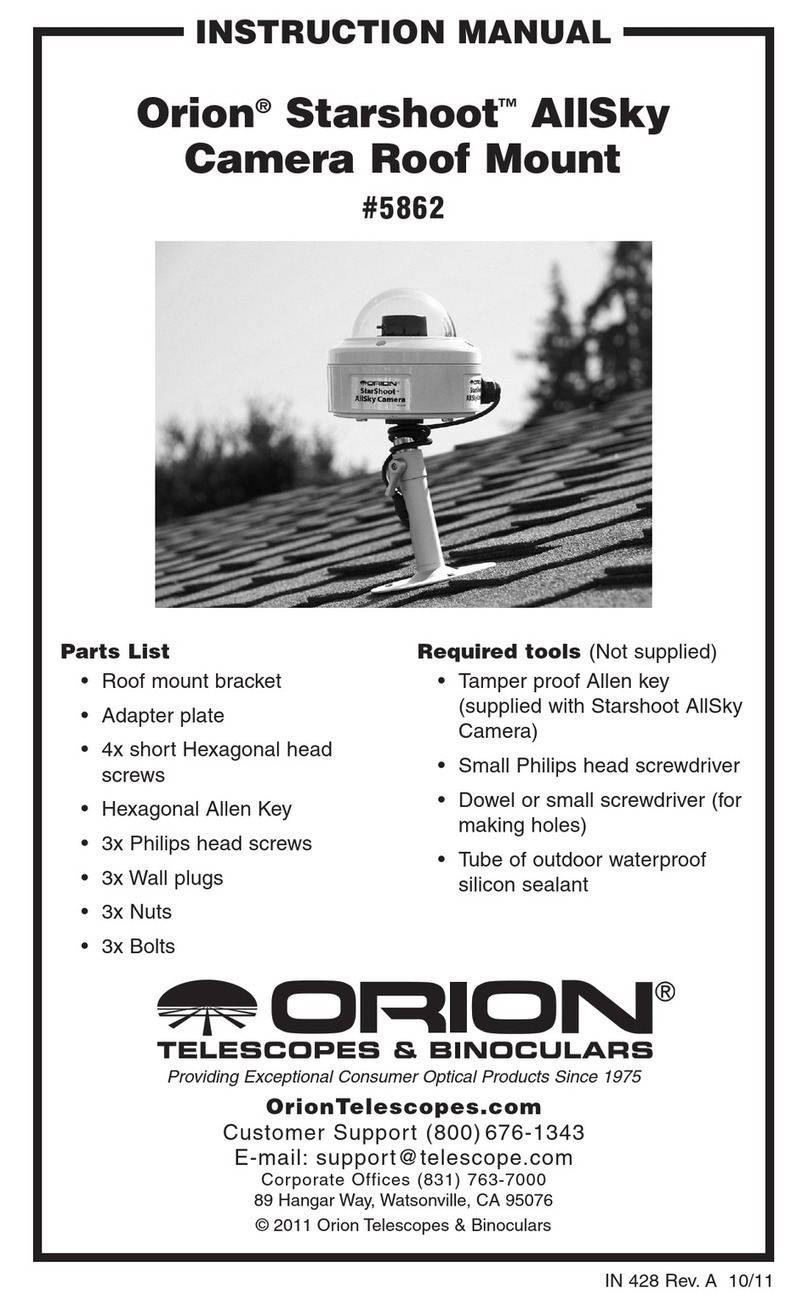
ORION TELESCOPES & BINOCULARS
ORION TELESCOPES & BINOCULARS Starshoot 5862 User manual
ORION TELESCOPES & BINOCULARS
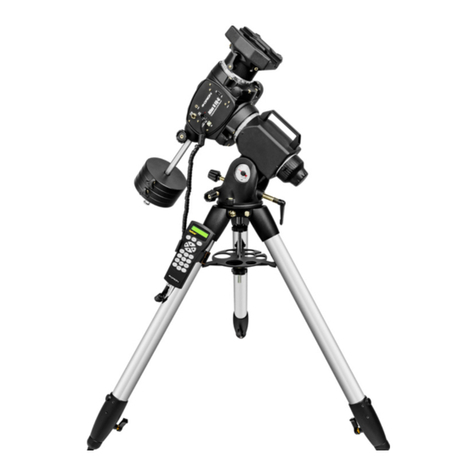
ORION TELESCOPES & BINOCULARS Atlas II EQ-G Equatorial GoTo Mount User manual
Popular Camera Accessories manuals by other brands

Trojan
Trojan GC2 48V quick start guide

Calumet
Calumet 7100 Series CK7114 operating instructions

Ropox
Ropox 4Single Series User manual and installation instructions

Cambo
Cambo Wide DS Digital Series Main operating instructions

Samsung
Samsung SHG-120 Specification sheet

Ryobi
Ryobi BPL-1820 Owner's operating manual


