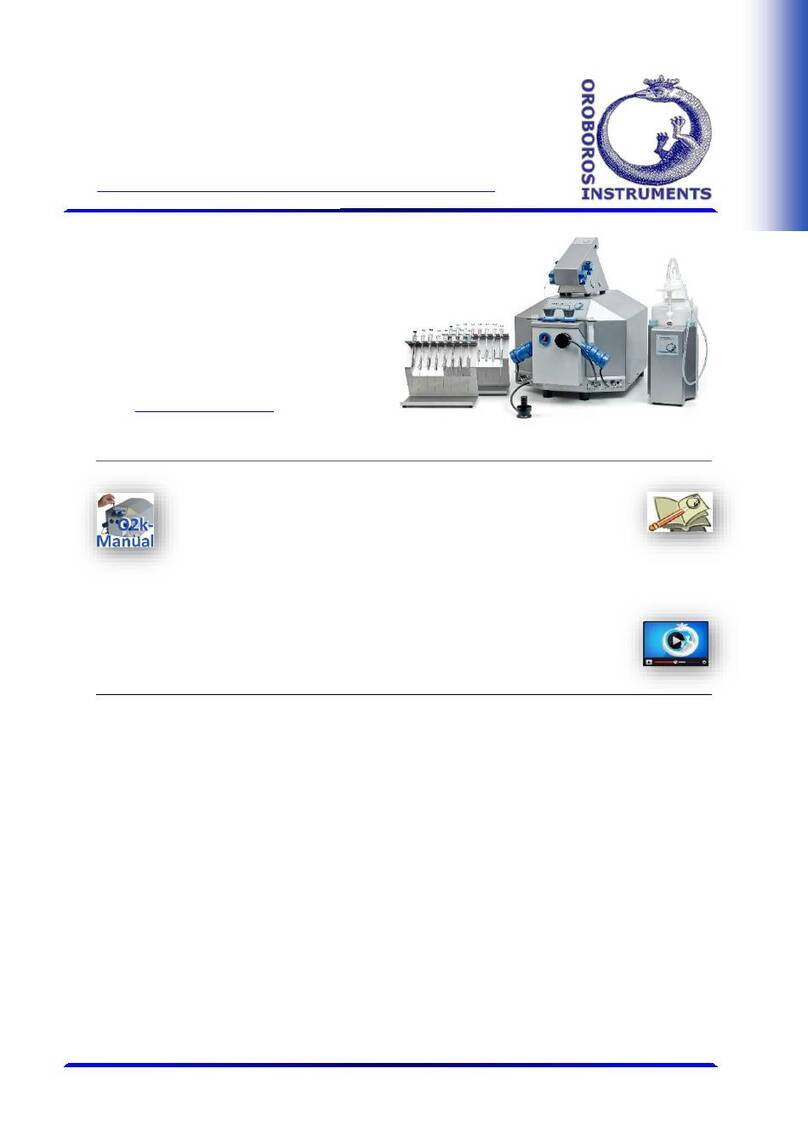
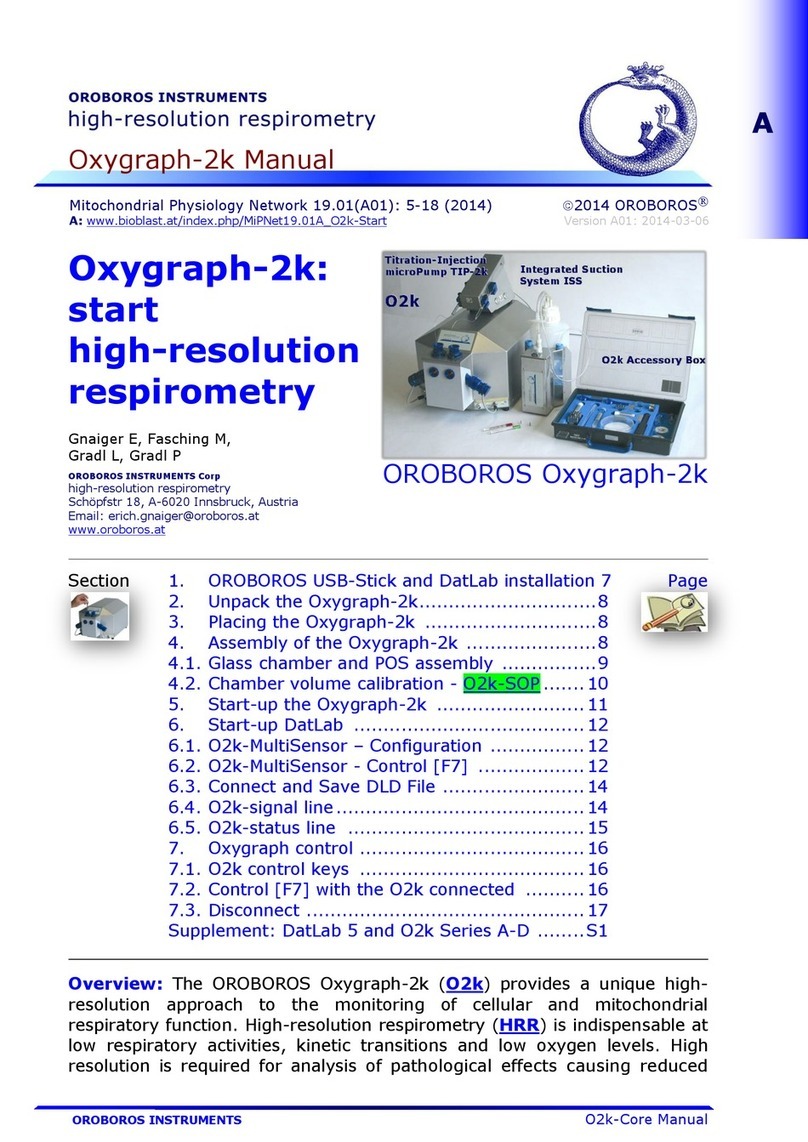
Oroboros Instruments O2k-Core User manual

OROBOROS O2k-Core Manual
Mitochondrial Physiology Network 19.18(B04):17-22 (2016)
Version B04: 2016-08-08 DatLab 7 2014-2016 OROBOROS
B:http://wiki.oroboros.at/index.php/MiPNet19.18B_POS-Service
OROBOROS INSTRUMENTS high-resolution respirometry
Service of the
polarographic
oxygen sensor
OroboPOS
Gnaiger E
OROBOROS INSTRUMENTS
Schöpfstr 18, A-6020 Innsbruck, Austria
Email: instruments@oroboros.at
www.oroboros.at
Section 1. OroboPOS-Service Kit............................... 18 Page
2. Cleaning ................................................. 18
3. Membrane mounting ................................ 20
4. Electrical cable connection ........................ 21
5. Storage of the OroboPOS .......................... 21
6. Replacement of the OroboPOS head ........... 22
7. References.............................................. 22
Supplement: Videosupport
Summary Service of the polarographic oxygen sensors (OroboPOS,
POS) is the basis of signal stability, low noise and high time resolution.
Performance specifications of the OROBOROS O2k can be met only with
oxygen sensors which are maintained in a well monitored functional state.
POS service may not be required
for several months of operation.
POS service is necessary if (1) a
new sensor is prepared, (2) the
signal at air calibration is not stable
over time, (3) signal noise is high,
(4) the time response is prolonged
and biphasic (time constant >10 s),
(5) the oxygen signal at zero calibration does not decline rapidly to 0% to
max. 5% of the signal at air saturation. For each sensor, the
frequency of POS service is optimized on the basis of long-term
calibration records for quality control (O2-calibration.xlsx).
B

MiPNet19.18 B: OroboPOS service 18
OROBOROS INSTRUMENTS O2k –tested and trusted
Removal of a used membrane
from the OroboPOS.
2
2. Grab the PEEK
membrane ring
on the sensor
head
3
4
3. Pull the PEEK
membrane ring from
the sensor head
4. Remove and
discharge the old
membrane
Remove an old
membrane from
the OroboPOS
OroboPOS-
Mounting Tool
POS on POS
connector
1. Remove
POS seal tip
1
1. OroboPOS-Service Kit
Accessories for sensor service are provided in the OroboPOS-Service Kit.
In addition, distilled water and 25% ammonia solution (fresh) are
required. Store the OroboPOS in the dark.
2. Cleaning
Prevent damage by electrostatic
discharge (ESD) when handling the
OroboPOS-Connector or cable
connections to the O2k (MiPNet14.01).
For sensor service, remove the black
POS seal tip 1. It is normal to see many
small bubbles in the electrolyte reservoir.
This does not indicate that the bubbles
caused a problem while the sensor was
actually in use. Remove the OroboPOS-
membrane ring 2,3 and membrane 4.
Wash off electrolyte with distilled water.
Clip B1
Clip B2

MiPNet19.18 B: OroboPOS service 19
OROBOROS INSTRUMENTS high-resolution respirometry
B
Cathode cleaning on the
polishing cloth.
For cleaning the anode and cathode, the sensor head is removed from the
OroboPOS-Connector and mounted onto the blue base of the Perspex
housing of the POS (OroboPOS-Service kit).
The cathode is cleaned when its gold surface appears to be coated by
a colored layer. The silver/silver chloride anode darkens after long-term
operation, inadequate storage of the sensor or contact with hydrogen
sulfide. This may cause high signal noise or reduce the signal output by
>30%, reflected by the requirement to increase the gain. Such sensors
can be improved by cleaning the cathode, anode and gold connections.
2.1. Cathode cleaning
The cathode must be treated with
extreme care. Do not touch with fingers,
nor expose to detergents or greasy liquids.
Mount the OroboPOS onto the blue
storage base. Wash off electrolyte from the
POS with distilled water. Place the Petri
dish with the Polishing Cloth (OroboPOS-
service kit) on a flat surface. Add a few
drops of distilled water. Add on the tip of a
spatula OroboPOS-Polishing Powder
(aluminum oxide, 0.3 m). Hold the sensor
in a vertical position and polish the
cathode in the thin paste for one minute in a figure-eight motion. Wash the
polishing powder carefully off the sensor with distilled water. Subsequently,
the anode is always cleaned as well (Section 2.2).
If noise remains high or the response time of the sensor signal is
biphasic (exponential phase followed by a slow drift) after polishing the
cathode and cleaning the anode with ammonia, repeat the cathode/anode
cleaning cycle several times. Finally, wash the polishing cloth.
In rare cases you may further clean the gold cathode with ultrasonic
treatment at low power for up to 30 seconds while immersing the tip of the
sensor head in distilled water. In extreme cases, the cathode may be
cleaned by adding a drop of 50-75% nitric acid onto the surface of the
cathode for only 15 seconds (no longer) with care. Remove carefully any
traces of nitric acid by washing with distilled water, and proceed as
described above (Section 2.1).
2.2. Anode cleaning
Fill the electrolyte reservoir of the POS with fresh concentrated (25%)
ammonia solution. Within 10 min the silver/silver chloride should appear
bright gray. Wash the sensor with distilled water. Repeat the application
of ammonia solution twice. With severely aged sensors it is necessary to
prolong the exposure to ammonia up to several hours (overnight), sealing
the ammonia under a membrane and under the POS cover slip. Protect
the POS from light, since the silver/silver chloride anode is light sensitive.
Clip B2
Clip B3
Clip B4

MiPNet19.18 B: OroboPOS service 20
OROBOROS INSTRUMENTS O2k –tested and trusted
2.3. Clean the electrical connection
Unscrew the POS head and inspect both sides of the electrical connection
(gold pin and threads). Remove any contamination such as salt crystals,
grease and moisture with a fine paper cloth. If necessary, wash with
distilled water and then with pure alcohol. Apply Pen-Contact Oil from the
OroboPOS-Service Kit to the connections only if necessary. Before screwing
the POS head onto the OroboPOS-Connector for membrane application,
clean the POS connector of moisture and any other contamination
(particularly any salt crystals from the electrolyte). Similarly, clean the plug
of the electrical cable connecting to the O2k-Main Unit.
3. Membrane mounting
The POS head is screwed onto the blue OroboPOS-Connector. Check the O-
ring on the POS head to ensure that its surface is smooth and intact. In
exceptional cases, apply a tiny amount of grease to the O-ring of the
sensor head.
Use KCl solution as electrolyte (1 mol∙dm-3; 74.56 g potassium
chloride per litre, in distilled water) provided in the OroboPOS-Service Kit.
Add distilled water to the electrolyte powder up to the 10 ml mark.
Alternatively, dissolve 1.49 g KCl in distilled water with a total volume of 20
ml. Store at room temperature or 4 °C in a closed vial. To prevent the
formation of gas bubbles in the electrolyte, heat the electrolyte solution by
shaking the electrolyte vial in hot water (40-70 °C) before membrane
mounting.
POS membranes are contained in small boxes in the OroboPOS-Service
Kit. They are fully transparent. Each membrane is separated by a non-
transparent white paper sheet. Do not add the paper to the oxygen sensor.
Separate a membrane from the stack of paper sheets and membranes,
carefully avoiding any mechanical damage of the transparent membrane.
Do not touch the central area of the membrane with your fingers.
The black OroboPOS-Mounting Tool consists of two parts, (i) the
membrane guide (larger diameter) and (ii) membrane ring holder with O-
ring. Wash off any electrolyte and salt crystals with distilled water.
1 Position a new membrane into the membrane guide using the pair
of forceps. 2 Fix the OroboPOS-Membrane Ring (which seales the
membrane against the sensor body) to the membrane ring holder. Fill
the POS head with electrolyte. 3 Slide the membrane guide downwards
across the POS head while pushing the lower ring (arrow) of the blue
OroboPOS-Connector strongly downwards. By releasing this ring, the
membrane guide is fixed to the POS connector. 4 To slide the OroboPOS-
Membrane Ring over the POS head, slide the membrane ring holder into
the membrane guide, and press firmly down in a single movement to the
final position.
Clip B5

MiPNet19.18 B: OroboPOS service 21
OROBOROS INSTRUMENTS high-resolution respirometry
B
•
Mounting a membrane onto the OroboPOS, using
the OroboPOS-Mounting Tool which consists of two
parts, the membrane guide and the membrane ring
holder.
No gas bubbles
should be trapped
in the electrolyte
reservoir after
membrane
application. No
folds should be
visible in the
membrane in the
central area.
Inspect the
electrolyte
reservoir under a
binocular. Small
folds in the
membrane near
the outer
circumference
have no
influence, but large folds should be avoided. Wash excess electrolyte off the
POS and POS connector. Apply a wet OroboPOS-Seal Tip and attach the
OroboPOS-Connector to the OroboPOS-Holder (O2k-Main Unit, Chapter A).
4. Electrical cable connection
Insert the male plug of the cable of the
OroboPOS-Connector into the female connector
next to the control light of the stirrer (O2k-Main
Unit). The red dot on the male plug has to face
accurately upwards when inserting the plug.
Avoid bending and torsions of the cable.
» MiPNet19.01 for O2k Series B to C.
After sensor service and membrane mounting, the POS needs some
time in operation to stabilize while the O2k is switched on. Such
stabilization may require several hours. For this purpose the O2k may be
switched on and run overnight.
5. Storage of the OroboPOS
5.1. Short-term storage in the O2k
For short periods of days or several weeks, the POS is maintained in the
O2k chamber. The chamber is washed with distilled water and completely
filled with 70% ethanol for chemical sterilization. The stopper is inserted
loosely without pushing it down beyond the point where the sealing ring is
inserted into the glass chamber. This ensures a longer life time of the
sealing rings. The receptacle of the stopper is completely filled with
ethanol from the top, and is sealed with a black cover slip to avoid

MiPNet19.18 B: OroboPOS service 22
OROBOROS INSTRUMENTS O2k –tested and trusted
evaporation of ethanol. Before an experiment, the ethanol is siphoned off
and the chamber is washed with distilled water (MiPNet06.03).
5.2. Short-term shelf storage
For shelf storage, unplug the POS connector from the O2k-Main Unit.
Clean the sealing tip and membrane with distilled water. Mount the POS to
the blue storage base and seal it with the Perspex cup to prevent the
drying out of the electrolyte. Store in the dark.
5.3. Long-term storage
For storage of the POS for several months, the sealing tip and membrane
are removed. Wash the electrolyte off the POS with distilled water. Even if
the membrane is not damaged, remove it by gripping the membrane
holding ring with the groove in the lower end of the membrane ring holder
of the OroboPOS-Mounting Tool (see above). The POS head is stored dry
and in the dark. Check for any moisture and salt contamination in the
electrical connector of the POS head. In case, wash with distilled water and
subsequently with pure methanol, dry at 60 oC for 24 h.
6. Replacement of the OroboPOS head
After cleaning and drying the gold cathode contact or drying the sensor
body at 60 °C for a few days, the zero current should be reduced. In
addition, the zero current of the bare cable, without sensor head
connected, is tested for any leak currents. If the latter test excludes any
sources of leak currents other than the POS, and POS service is not
successful, the sensor head must be replaced.
A new sensor head can be screwed onto the sensor connector, if the
old sensor head has been irreversibly damaged or should be replaced.
7. References
Gnaiger E (2008) Polarographic oxygen sensors, the oxygraph and
high-resolution respirometry to assess mitochondrial function. In:
Mitochondrial dysfunction in drug-induced toxicity (Dykens JA, Will Y
eds) John Wiley:327-52.»
Gnaiger E, Forstner H, eds (1983) Polarographic Oxygen Sensors.
Aquatic and Physiological Applications. Springer, Berlin, Heidelberg,
New York:370 pp. »
Hitchman ML (1983) Calibration and accuracy of polarographic oxygen
sensors. In: Polarographic oxygen sensors, Gnaiger E and Forstner H,
eds., Springer, Berlin, Heidelberg, New York:18-30. »
Hitchman ML, Gnaiger E (1983) A thermodynamic consideration of
permeability coefficients of membranes. In: Polarographic oxygen
sensors, Gnaiger E and Forstner H, eds., Springer, Berlin, Heidelberg,
New York:31-6. »
Updates »http://wiki.oroboros.at/index.php/MiPNet19.18B_POS-Service
»http://wiki.oroboros.at/index.php/MiPNet19.18A_O2k-Start
Next step –O2k-Core Manual D »MiPNet19.18D O2k-Calibration

MiPNet19.18 B: OroboPOS service: Supplement S1
OROBOROS INSTRUMENTS high-resolution respirometry
B
Supplement A. Videosupport
»O2k-Videosupport (online)
The following links are functional on the OROBOROS USB flash drive:
B1_OroboPOS from Perspex housing
B2 Disassembly of OroboPOS
B3 Cathode cleaning
OroboPOS-Polishing Cloth, OroboPOS-Polishing Powder.
B4 Anode cleaning
B5 Membrane mounting
Supplement B. Links to O2k-Catalogue
» http://wiki.oroboros.at/index.php/OroboPOS
» http://wiki.oroboros.at/index.php/O2k-Catalogue:_OroboPOS_components
» http://wiki.oroboros.at/index.php/OroboPOS-Service_Kit
Table of contents
Other Oroboros Instruments Laboratory Equipment manuals