manuals.online logo
Brands
  1. Home
  2. •
  3. Brands
  4. •
  5. Osmio
  6. •
  7. Water Dispenser
  8. •
  9. Osmio MAXISOFT User manual

Osmio MAXISOFT User manual

TELEPHONE: 0330 113 7181
EMAIL: info@osmiowater.co.uk
OSMIO MAXISOFT USER MANUAL
Version Date
1.0 10/09/2020
2
Notes
This user manual is your guide to installation, use and maintenance of the
equipment and should be kept for future reference. The manual should follow the
equipment in the case of sale, transfer, removal etc.
This manual should be considered an integral part of the equipment. The
instructions described herein are intended for your safety and should be read
carefully before installation and use of the equipment.
This document contains the instructions for the use, maintenance, assembly and
installation. It has been designed in order to provide general information about use
and operation of the product. This document contains instructions and
requirements which are not supposed to replace any current legislation.
Assembly, installation and extraordinary maintenance must be performed by
qualified personnel only. The term qualified personnel indicates a technician
skilled in the art who has received adequate training, has sufficient experience,
knowledge of rules, laws, standards, safety and use measures and is able to
perform all necessary interventions, avoiding all possible risks and/or damages.
When in doubt on the identification of qualified and authorised personnel please
contact Osmio Water.
We recommend that you follow all instructions carefully as the proper operation
and lifetime of the equipment depends on it. When in any doubt while reading this
manual or for any other questions regarding use and maintenance of the equipment
please contact Osmio Water on 0330 113 7181 or send an email to:
info@osmiowater.co.uk
Symbols used
A symbol warning the user of any conditions requiring his/her attention has been
employed and is placed on the side of the text.
Warning! This symbol refers to important statements concerning
installation use and maintenance of the apparatus.
3
Water Treatment
This product is a hydrodynamic feeder of food grade polyphosphates (patented
system) for descaling and anticorrosion treatment as per UNI CTI 8065 standards
and complies with D.M.174/2004 and the Ministerial Decree 25/2012 for drinking
water treatment.
The system proportionally doses the water with the correct dosage of
polyphosphate to maintain water potability.
The patented needle system guarantees precision and regularity of dose over time.
Free of turbulence and vibrations, quiet mode of action with a very low pressure
drop.
A totally automatic system, no user interaction or power are required.
Patented hydrodynamic dispenser
Technical Information
Connection 3/4” & 1” BSPP Female
Height 210 mm
Width 90 mm
Depth 140 mm
Dosing 3 -5 ppm
Maximum pressure 12 bar
Maximum flow rate 90 lpm
Approximate pressure drop 0.075 bar
Incoming water temperature 5 – 50 ⁰C
Maximum temperature (water storage) 70 ⁰C
Body OT58 stamped brass
Bowl Grilamid
Soffietto (Bellows) Silicon
Attach Inline
Weight (without media) 2.70 kg
Polyphosphate weight 200 g
The system is suitable for installation within existing systems and we recommend
fitting a bypass for ease of maintenance.
4
Planning your Installation
Step 1 - Locate the rising main.
If you don’t already know where this is it could be anywhere within the property.
There will always be one outside, but we are looking for the one inside which is the
point where the water enters the property before it branches off anywhere else.
This could be in the basement, garage, utility room, under stairs, under the kitchen
sink or somewhere else. The mains incoming stopcock usually has a yellow and
green earthing cable attached to it. If you are planning on installing this product
yourself, please make sure you know where the mains stop tap is in the street and
have the mains stop tap key if needed. In rare cases there can be more than one
entry point and some apartments have communal hot water, providing a cold water
and a hot water entry point. If this applies to you then please contact us.
Once you have located where your internal stopcock is and where the cold pipe
goes before it branches off around the property then you can plan where you are
going to install the MaxiSOFT. Installation can occur at any suitable point before
the pipe branches off.
It can be plumbed directly onto the cold water supply to the property, protecting the
whole hot water system, or to an individual appliance.
Dimensions
Once you have located the area where
the MaxiSOFT will be fitted check to
make sure you have enough room.
Please allow at least two inches of
clearance from the bottom of the
system to the floor to allow enough
space to drop the bowl down when
taking it on and off to refill with media.
Install with the media bowl in a vertical position and if appropriate consider
bypassing the garden tap.
Do not install with an incoming water temperature exceeding 50 ⁰C
H - 210 mm
D - 140 mm
W - 90 mm
5
Step 2 - Check your water pressure
Incoming water pressure should be tested prior to
installation. You can do this using a mains water pressure
gauge (available online or at a local plumber’s merchants).
Your standing water pressure can increase dramatically
overnight by an additional 2- 4 bar when water usage is
low.
The best way to control high pressure is to install a pressure reducing valve
(PRV). These take a high pressure at the inlet, then the valve reduces it to a lower
pressure at the outlet as required. Installing one protects all the appliances and
plumbing in the property. Increases or spikes in water pressure can and do happen
which can cause filter systems and other plumbing to leak therefore we always
recommend fitting a PRV in your property if you do not already have one.
PRV’s are sized based on flow rate and application e.g.
residential, commercial. Sizing a PRV incorrectly can
cause several problems so it is always best to consult
your plumber prior to installation.
Step 3 – Sourcing the plumbing parts
Once you have located space to fit the product and tested the water pressure the
next step is to source the necessary plumbing parts that you will need.
If installing the product yourself then you will need to source the necessary
compression or other fittings required to connect the product to the existing
pipework. For high quality plumbing parts and pressure reducing valves we
recommend you shop at Screwfix. If you are having the system professionally
installed by a plumber please provide them with the product information prior to
installation.
The system comes with 3/4” and 1” BSPP Female connectors.
The MaxiSOFT is designed to be fitted on 22 mm pipework, maximum
water pressure: 12 Bar
6
Water to house
Ball valve 1 - Off
Ball valve 3 - On
Ball valve 2 - On
Stopcock
Allow 2” clearance to drop bowl
down for media change
Installing the MaxiSOFT
Mount the MaxiSOFT in a suitable location after the stopcock and connect to the
incoming water main. Install the product on the existing pipework after the
stopcock using the fittings required for installation on your pipework.
Unlike the MiniSOFT this system does not have its own built in bypass so you may
want to install a separate water bypass for easy maintenance as shown in the
diagram below.
Ensure the MaxiSOFT is mounted vertically with 2” clearance for the bowl to be
dropped when replacing the media.
The water must flow in the direction of the arrow shown on top of the system. You
can remove the 4 screws on the MaxiSOFT and reposition the system to change the
direction of the arrow to match the flow of water through your pipework.
If you are installing or have already installed whole house filters then the
MaxiSOFT should be installed after the whole house filters.
We recommend that you have your product installed professionally by a
qualifed plumber.
7
Polyphosphate Media
Available in powder form.
• Stabilises minerals in hot and cold water
• Decomposes existing incrustations
• Prevents precipitation
• Masks heavy metal ions such as iron and manganese
• Prevents corrosion
• Forms a protective layer of phosphate-calcium-iron
Each Osmio MaxiSoft Refill contains 1kg of polyphosphate media which will treat
240,000 litres of water. Based on an average of 4 adults using 600 litres per day,
this would last about 400 days.
The system is designed to release 3-5 ppm of food grade polyphosphates in the
water. Through its movement, the system guarantees a constant feed of
polyphosphates. The water that is delivered into the media bowl, enables the
correct dose of polyphosphate to be delivered. Inside the MaxiSOFT there is a
bellows that constantly sucks in the saturated solution.
You will need to refill the system with media every 80,000 litres and the system will
hold approximately 330g of media when filled to the line. Do not overfill.
Maintenance
The bowl should be removed whenever the media is being replaced. It should be
carefully washed in hot water in order to eliminate any encrustations that may have
formed. The media bowl must be in an upright position.
Once the unit has been installed on the pipework insert the polyphosphate media
using the following instructions.
8
Inserting the media
Step 1
Block the water flow to the
dispenser by either turning off
the stopcock or if you have in-
stalled a bypass - bypass the
water to the MaxiSOFT.
Step 2
Vent the system using the
pressure release valve by
turning it to open it and
release pressure.
Step 3
Unscrew the ring nut on the
dispenser using the housing
spanner. Carefully remove the
bowl from the system and discard
the water from the bowl. Clean the
bowl with hot water to remove any
encrustations.
Pressure release
valve
Ring nut
9
Inserting the media
Step 4
Pour the polyphosphate media
up to the level indicated on the
bowl.
Step 5
Replace the bowl securely
back on and screw the ring
nut back up. Then tighten this
using the housing spanner.
Fill level
Take care not
to cross thread
the ring nut
Step 6
Open up the water and allow the
bowl to fill. When the dosing bowl
is full of water you can close the
pressure relief valve.
Pressure
release valve
10
Declaration of Conformity
We hereby certify that MaxiSOFT polyphosphate doser is made using the following
parts:
- Brass OT 58
- Polyamide Trogamid
- Non-toxic rubber
We declare that the above listed product is manufactured in compliance with
98/83/CE directive concerning regulation of materials and objects that can be used
inpermanent plants for collection, treatment and distribution of water intended for
human consumption.
We hereby declare that the MaxiSOFT polyphosphate is produced in compliance
with 80/778/CE directives relating to the quality of water intended for human
consumption and it is suitable for human consumption when dosed with the
MaxiSOFT proportional polyphosphate doser.
11
© 2020 Osmio Water. All rights reserved. Reproduction and copying of the
accompanying user documentation in whole or in part is prohibited.
Disclaimer
Osmio Water reserves the right to change its products and services at any time to
incorporate technological developments. This manual is subject to change without
prior notice as part of continuous product development. Although this manual has
been prepared with every precaution to ensure accuracy, Osmio Solutions Ltd as-
sumes no liability for any errors or omissions, or for any damages resulting from
the application or use of this information. This manual supersedes all previous
versions.
No liability for consequential damages
Osmio Water shall not be liable for any indirect or consequential damages
whatsoever arising out of the use or inability to use this product.
2 Year Warranty
The Osmio MiniSOFT and MaxiSOFT are fully guaranteed against defective parts
and materials, including defects caused by poor workmanship. Osmio Water will
replace defective parts or materials during the term of warranty at no extra charge
providing that the system has been used and maintained in accordance with the
following instructions. The warranty is invalid if the product has been dosed with
an alternative polyphosphate media or misused or abused in any way.
For the warranty to be effective, the product must have been purchased directly
from Osmio Solutions Ltd. The guarantee is not transferable to a third party with-
out prior written approval from Osmio Water. It is strictly prohibited to modify or
upgrade the system in any way. Failure to comply with this precaution will void the
warranty of the system.
If you are experiencing any problem WITH DAMAGED, MISSING OR FAULTY PARTS,
please contact our technical support team. We will ask for pictures/video so
please be prepared to take pictures/video which you can email to
info@osmiowater.co.uk
Osmio Solutions Ltd,
Buckland Lake Reserve,
Buckland Road,
Cliffe
Nr Rochester
ME3 7RT
www.osmiowater.co.uk
OSMIO MINISOFT USER MANUAL
TELEPHONE: 0330 113 7181
EMAIL: info@osmiowater.co.uk

Other Osmio Water Dispenser manuals

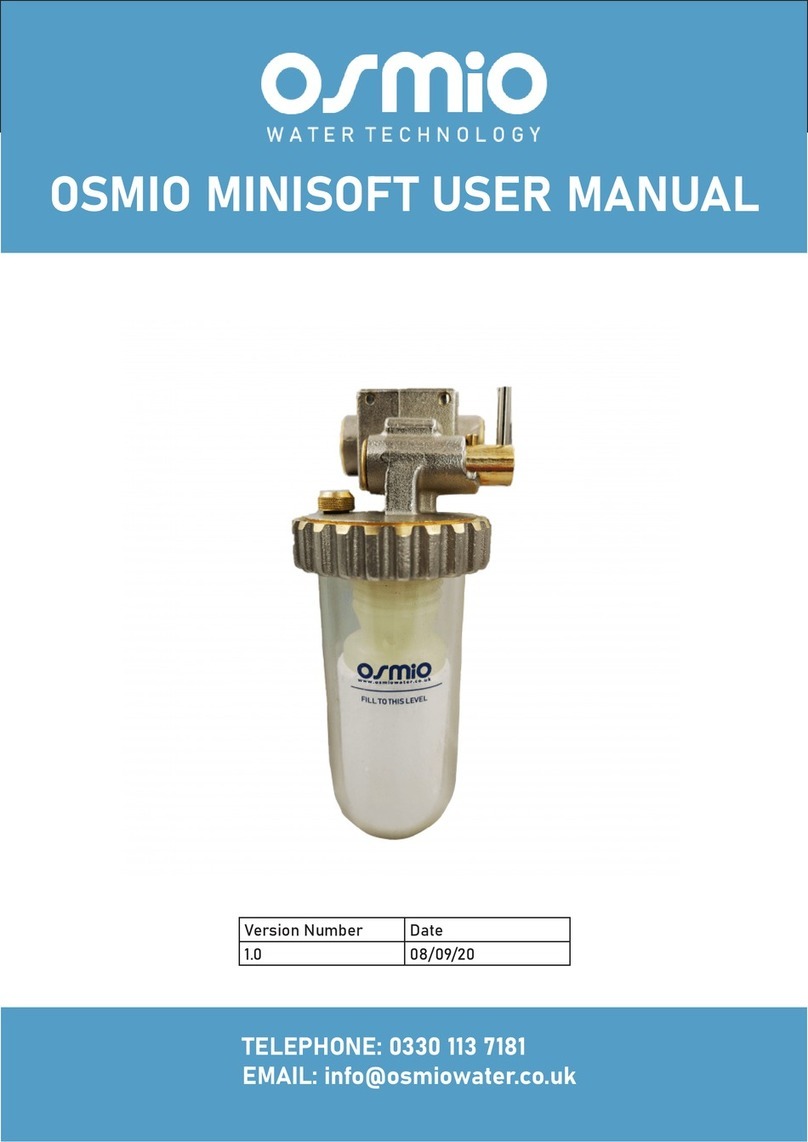
Osmio MINISOFT User manual

Osmio

Osmio MINISOFT User manual

Osmio D7 Instruction manual

Osmio

Osmio D7 Instruction manual

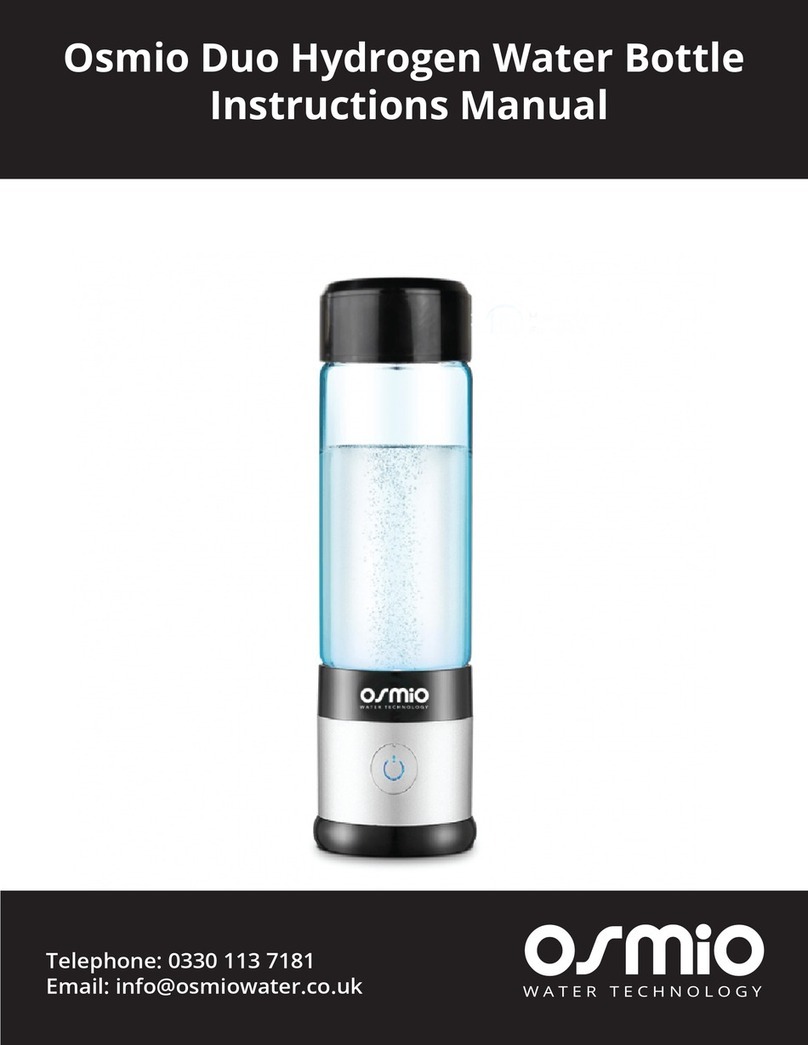
Osmio Duo Hydrogen User manual

Osmio

Osmio Duo Hydrogen User manual

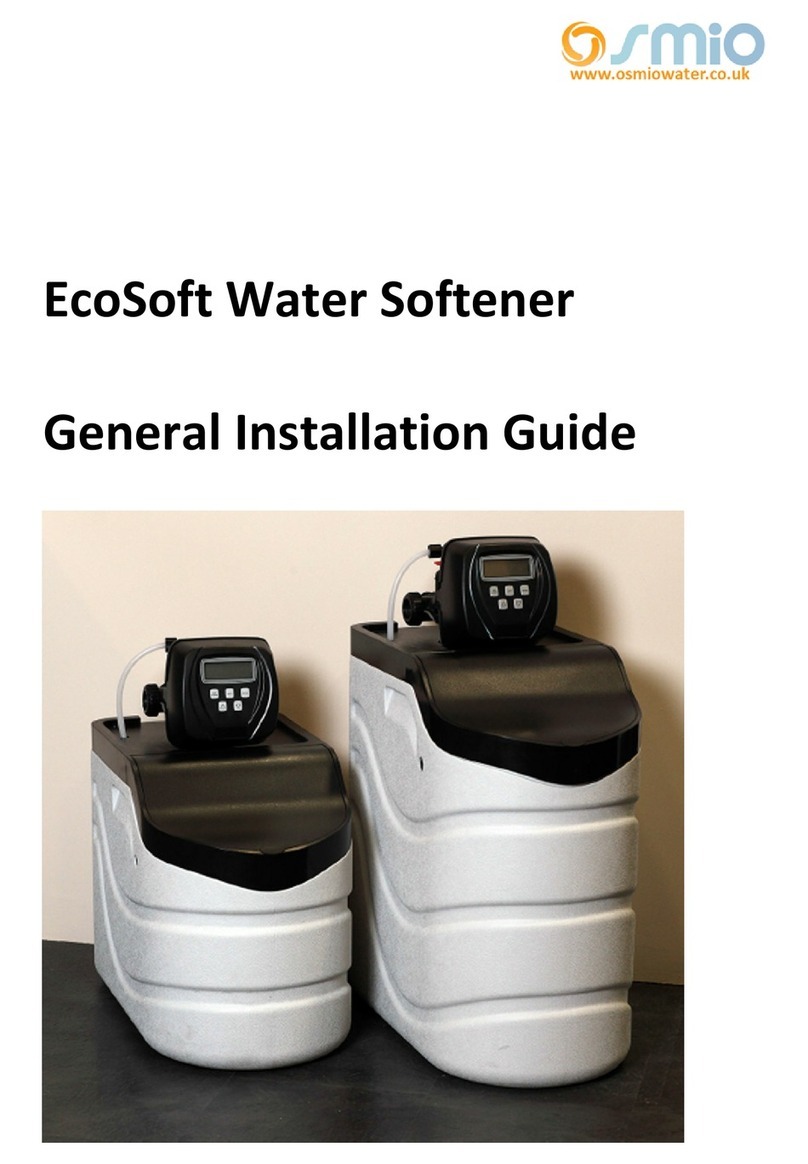
Osmio EcoSoft PRIMO User manual

Osmio

Osmio EcoSoft PRIMO User manual

Osmio Duo Hydrogen User manual

Osmio

Osmio Duo Hydrogen User manual

Popular Water Dispenser manuals by other brands

H2oLabs 300 instruction manual

H2oLabs

H2oLabs 300 instruction manual

Halsey Taylor BFMRQ*A Series owner's manual

Halsey Taylor

Halsey Taylor BFMRQ*A Series owner's manual

Elkay DSBWCB5G Installation, care & use manual

Elkay

Elkay DSBWCB5G Installation, care & use manual

WaterLogic WLH2 Classe quick start guide

WaterLogic

WaterLogic WLH2 Classe quick start guide

H2O International H2O 1000 Operation manual

H2O International

H2O International H2O 1000 Operation manual

Crystal Mountain Mogul user manual

Crystal Mountain

Crystal Mountain Mogul user manual

Haws H1011.8 Installation, operation & maintenance instructions

Haws

Haws H1011.8 Installation, operation & maintenance instructions

Elkay EZ Series Installation, care & use manual

Elkay

Elkay EZ Series Installation, care & use manual

Elkay EZH20 LZWSMD* Installation, care & use manual

Elkay

Elkay EZH20 LZWSMD* Installation, care & use manual

Breville URN6 Instructions for use

Breville

Breville URN6 Instructions for use

Elba ETP-F5082 owner's manual

Elba

Elba ETP-F5082 owner's manual

Philips ADD4952 user manual

Philips

Philips ADD4952 user manual

Water Right IMP-844 Installation instructions & owner's manual

Water Right

Water Right IMP-844 Installation instructions & owner's manual

Murdock A171.8FGVR Series Installation & maintenance instructions

Murdock

Murdock A171.8FGVR Series Installation & maintenance instructions

Elkay EZH2O EZ8WS Series Use and care guide

Elkay

Elkay EZH2O EZ8WS Series Use and care guide

BRIO CLCTPOU320UVF3 Setup manual

BRIO

BRIO CLCTPOU320UVF3 Setup manual

Dennerle OSMOSE COMPACT 130 operating instructions

Dennerle

Dennerle OSMOSE COMPACT 130 operating instructions

GF JRG Infinity A Installation and operating manual

GF

GF JRG Infinity A Installation and operating manual

manuals.online logo
manuals.online logoBrands
  • About & Mission
  • Contact us
  • Privacy Policy
  • Terms and Conditions

Copyright 2025 Manuals.Online. All Rights Reserved.