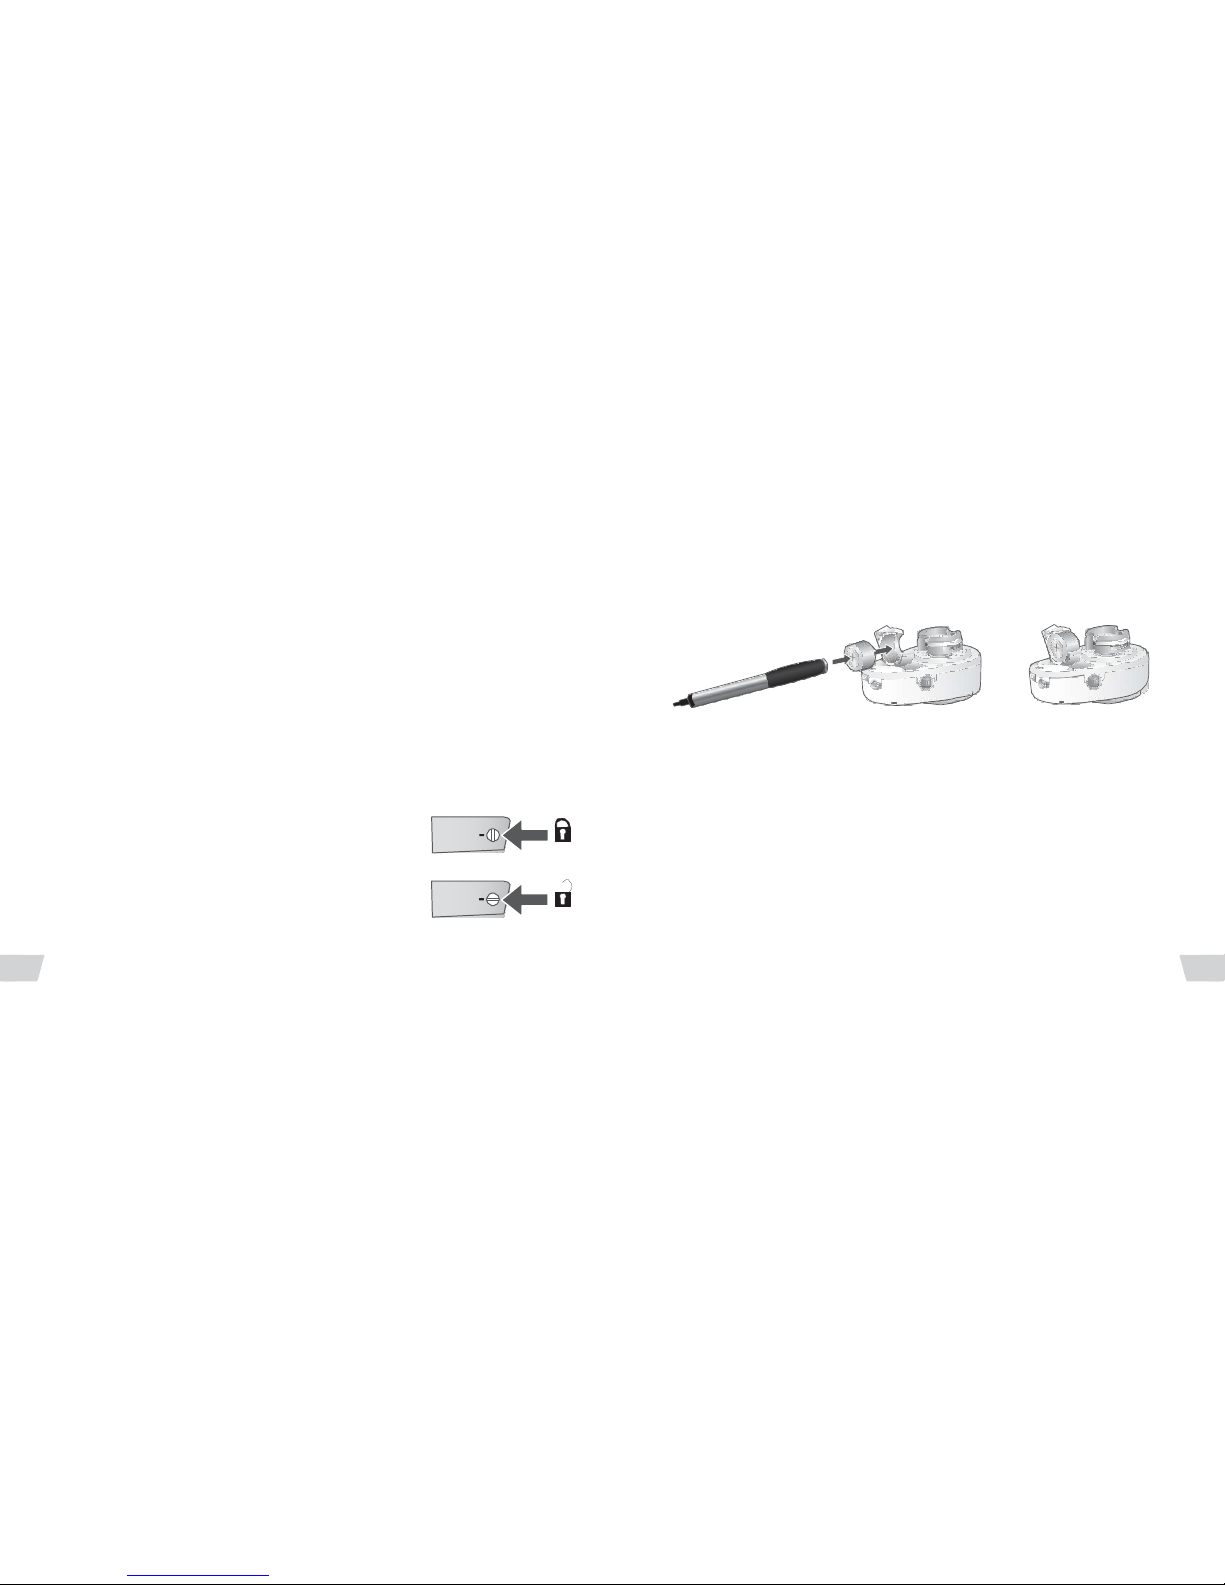
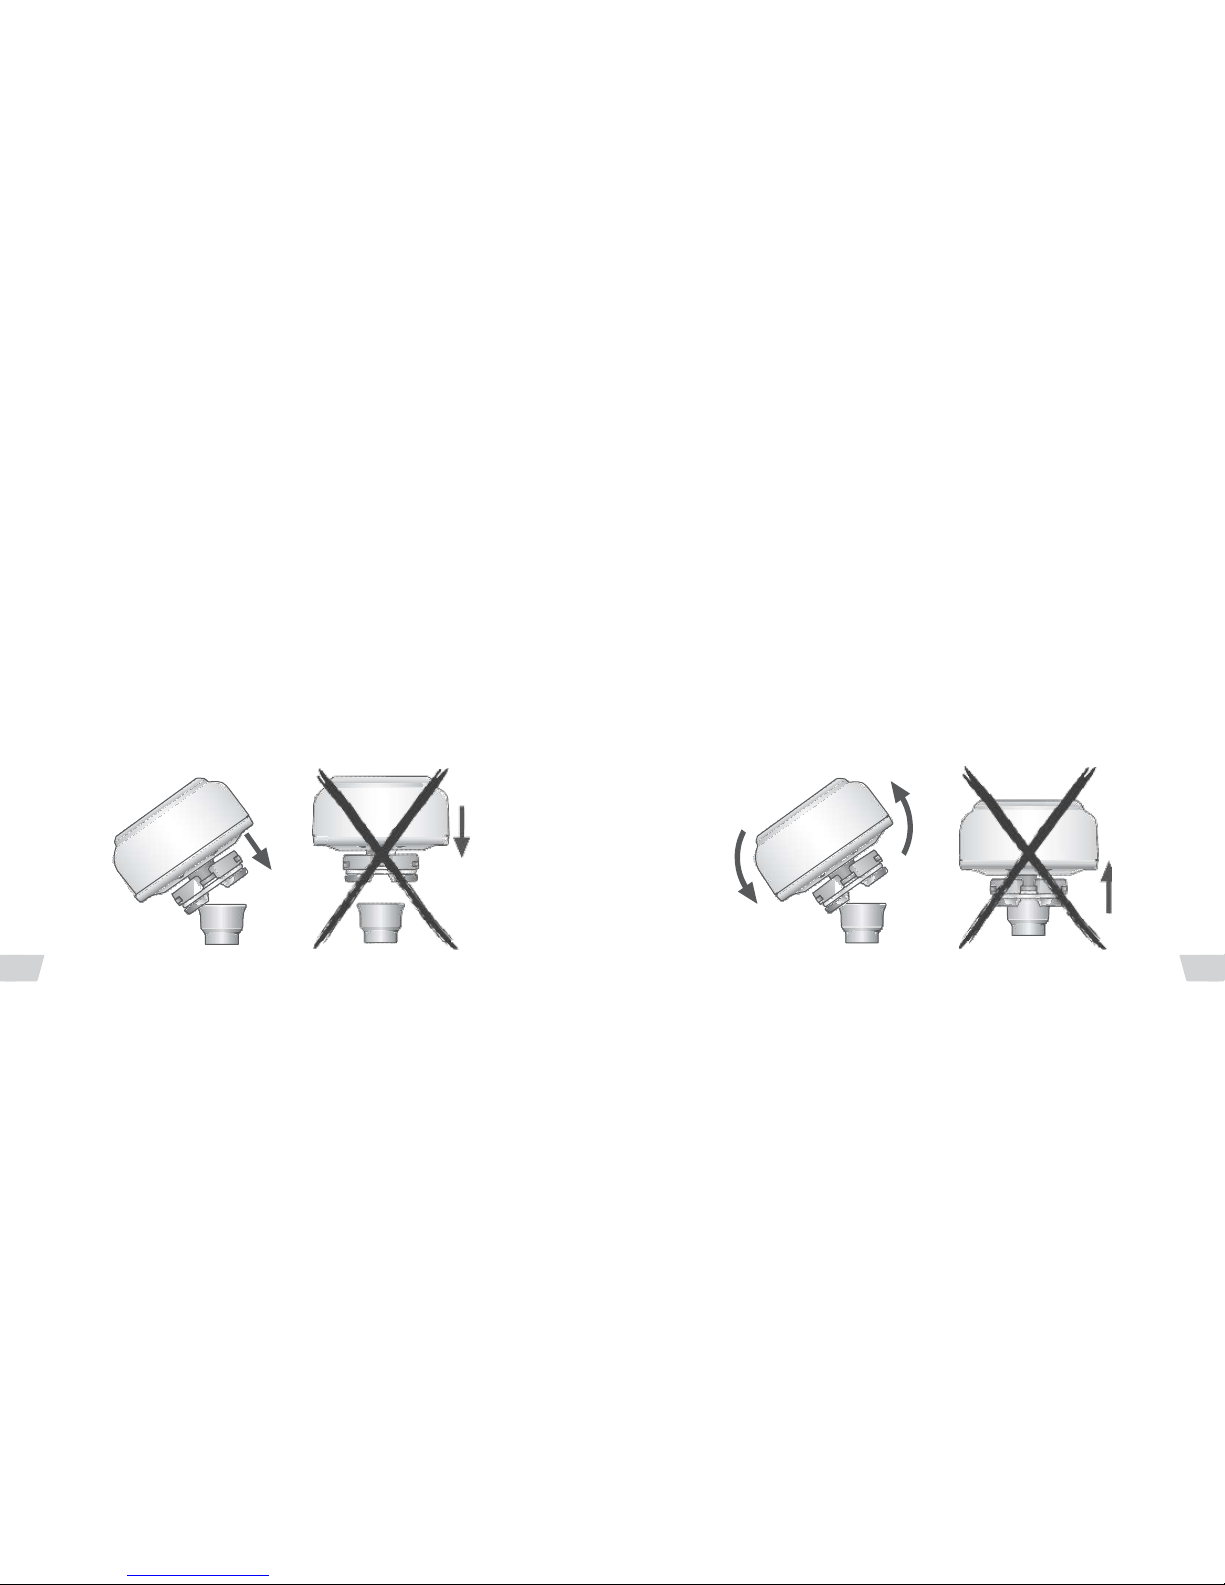
Turning it ON and OFF or stand-by
On
Note:The stand-by feature is optional and may sometimes be disabled during the fitting
procedure.Talktoyourhearingcenterifyou havequestions.
Ponto 3 is turned ON by closing the batterydoor. Aftera start-up jingle,there is a few
seconds’ delaybefore the sound processor isturned on. The delay isdesigned to
avoid a whistling sound while connecting your sound processor to the abutment.
Off
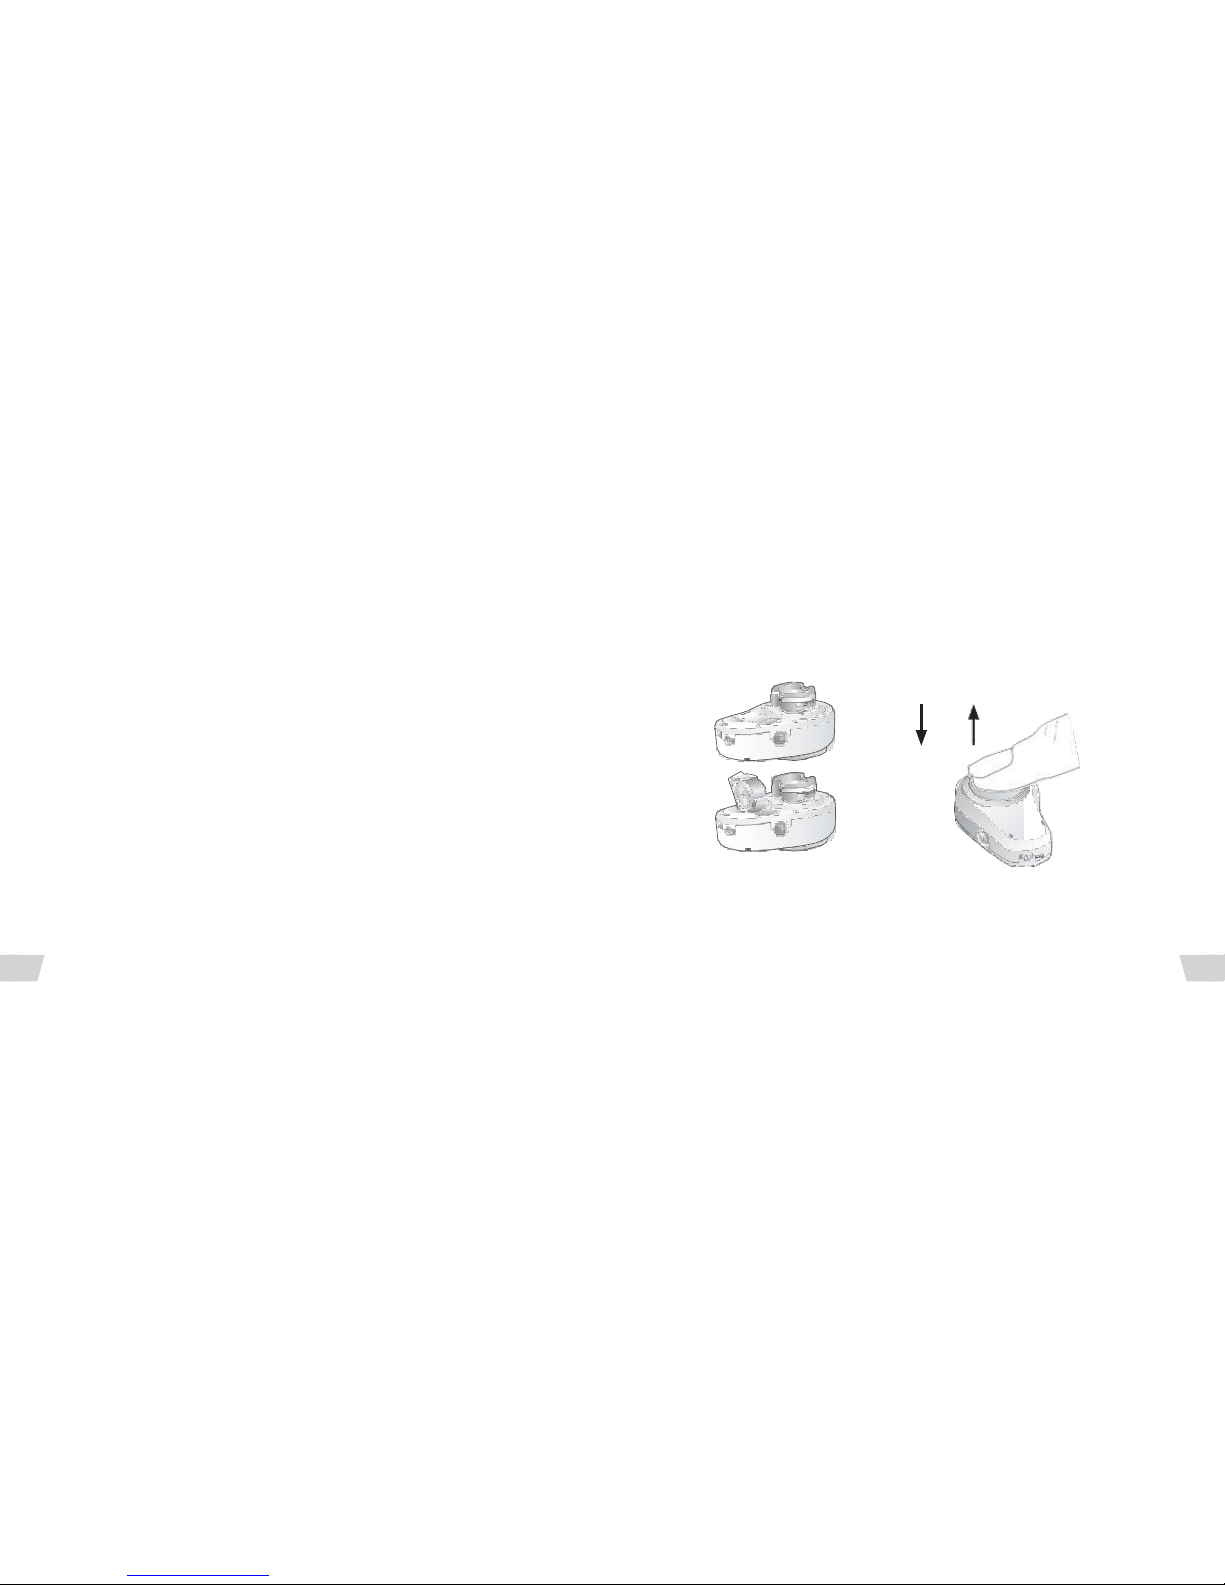
Ponto 3 is turned OFF by opening the batterydoor. It is enough to open the battery
door halfway, which prevents the battery from falling out. During longer storage, it
isrecommendedto remove the batteryfrom thesound processor.
On
Off
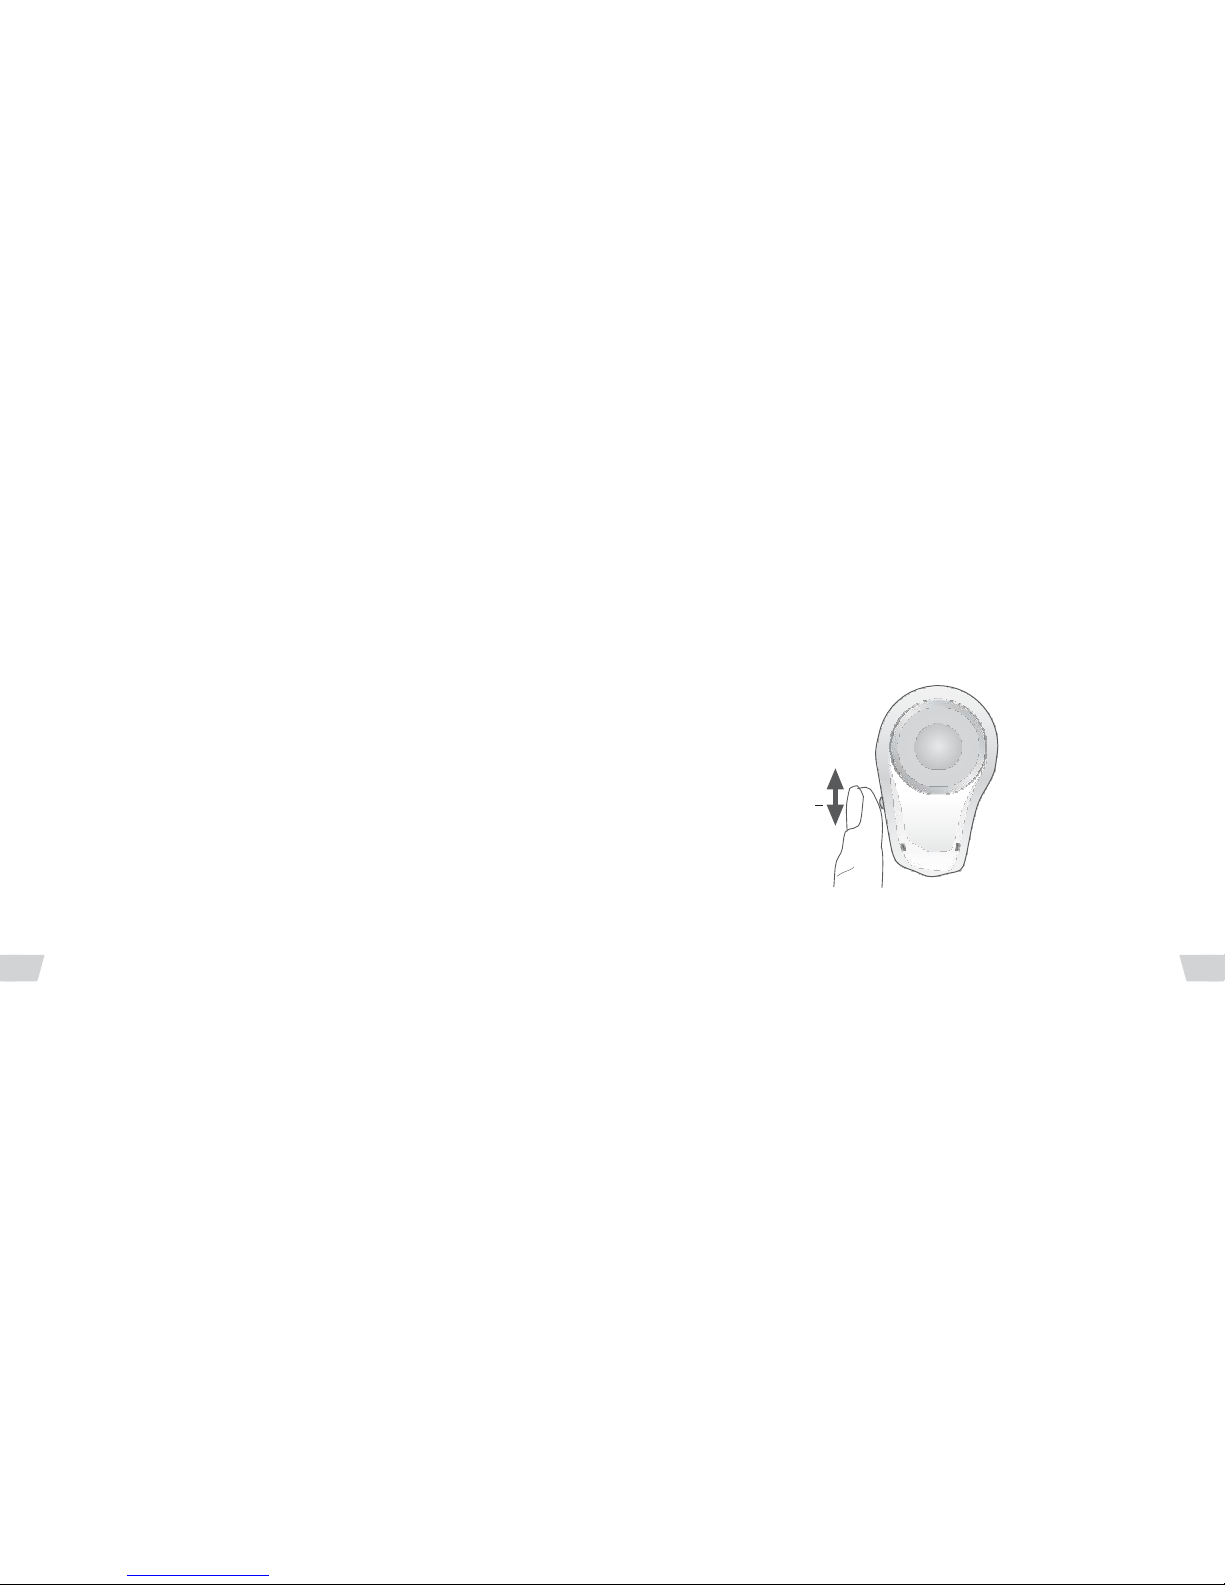
Stand-by/Mute –Press and hold until
2 beeps are heard
Stand-by/Mute
If you want to turn off the sound processor for shorter periods, press the push button
and hold until2 beeps are heard and then release the button. The sound processor
will now be in stand-by/mute mode and the volume will be set to zero.
To hearsound again,shortly pressand release the pushbutton and the sound processor
will resume in its previous setting. It is not recommended to use the stand-by mode for
longer periods, i.e. more than 5 hours, since this will reduce the battery lifetime.
Note:If you have two Ponto 3 sound processorsandbinaural coordination is enabled
(default), when stand-bymode is activated in one sound processor, binauralcoordina-
tion will also activate stand-by mode in the other sound
processor. Binaural coordination can be disabledin Genie Medical.