Otto NoizeBarrier TAC User manual

NoizeBarrier®
TAC
Circumaural Headset
Technical Manual and
Instructions for Use

2
IMPORTANT SAFETY WARNINGS
THIS OTTO NOIZEBARRIER® TAC HEADSET REDUCES EXPOSURE TO NOISE AND LOUD
SOUNDS THAT CAN DAMAGE HEARING. BE SURE TO FOLLOW THE INSTRUCTIONS
IN THIS MANUAL CAREFULLY. FAILURE TO FOLLOW THESE RECOMMENDATIONS
MAY SEVERELY REDUCE THE AMOUNT OF HEARING PROTECTION PROVIDED BY THE
HEADSET.
• Use the NoizeBarrier TAC at all mes in noisy surroundings
• Misuse of or failure to wear hearing protecon when exposed to hazardous noise
may result in hearing loss and/or injury. If you experience symptoms of hearing inju-
ry (ringing in ears, dulled hearing, headaches), contact your supervisor or a medical
professional immediately.
• The headset must be ed, adjusted and maintained in accordance with manufac-
turer’s instrucons to achieve the expected aenuaon and hearing protecon.
Failure to do so may result in hearing loss and/or injury.
• The headset must be worn at all mes in noisy environments to avoid hearing loss/
injury.
• The NoizeBarrier TAC headset provides audio signal sound pressure level limitaon
to limit the radio transmission audio signal to 82 dBA eecve to the ear.
• The headset is provided with level-dependent aenuaon. The wearer should check
correct operaon before use. If distoron or failure is detected, the wearer should
refer to the manufacturer’s advice for maintenance.
• The thermoplasc polyurethane foam ear seals on the NoizeBarrier TAC may dete-
riorate with use and should be examined at frequent intervals for damage, such as
cracking and leakage. Replace as recommended on page 9.
• Using cloth hygiene covers over the foam ear seals may aect the acousc perfor-
mance of the headset.
• The audibility of warning signals at a specic workplace may be impaired while
using the NoizeBarrier TAC headset if the situaonal awareness funconality is not
acvated.
• The NoizeBarrier TAC Headset may be adversely aected by certain chemical sub-
stances. Further informaon should be sought from the manufacturer.
• Warning: performance may deteriorate with baery usage. The typical period of con-
nuous use that can be expected from the headset baery is 72 hours.
• This ear-mu is provided with electrical audio input. The wearer should check cor-
rect operaon before use. If distoron or failure is detected, the wearer should refer
to the manufacturer's advice.
• Warning – The output of the electrical audio circuit of this hearing protector may
exceed the daily limit sound level.
• This headset is provided with level-dependent aenuaon. The wearer should check
correct operaon before use. If distoron or failure is detected, the wearer should
refer to the manufacturer's advice for maintenance and replacement of the baery.
• Warning – The output of the level-dependent circuit of this hearing protector may
exceed the external sound level.

3
OTTO NOIZEBARRIER®TAC
INSTRUCTIONS FOR USE
Introduction
The OTTO NoizeBarrier TAC headset provides clear radio communicaons, industry-lead-
ing hearing protecon and excellent situaonal awareness/talk-through capability for
mission-crical operaons. Advanced talk-through sound suppression circuitry enhances
the ability to hear low-level sounds while protecng hearing.
OTTO’s NoizeBarrier TAC headset features le and/or right integrated audio input down-
lead(s) to connect to external radio(s) or other communicaons device(s). Situaonal
awareness funcons are controlled by buons on the le ear cup and powered by two
AAA baeries that provide approximately 72 hours of use. Selectable signal separaon
allows dual comm users to separate audio into le, right or both ears. An external Push-
To-Talk (PTT) cable is required to control communicaons funcons.
Some models of the OTTO NoizeBarrier TAC headset may also be used with the OTTO
Mul-Port Hub PTT that provides modular control of up to three communicaons plat-
forms. The Hub is compable with major radio plaorms using detachable cables, as well
as vehicular and aircra intercoms (ICS). Situaonal awareness can be controlled either
via buons on the headset or volume controls on the Hub.
An oponal helmet mount kit is available to change the headset from an over-the-head
headband conguraon to a top or rear rail helmet-mounted conguraon while in the
eld without the use of tools. For convenience, a spare baery for the situaonal aware-
ness funconality can be stored in each of the two rail-mount assemblies.
This manual covers the following equipment:
NoizeBarrier®TAC Headset
(Models: V4-10995BK, V4-10995FD, V4-10995OD; V4-11020BK, V4-11020FD, V4-
11020OD; V4-11032BK, V4-11032FD, V4-11032OD; V4-11033BK, V4-11033FD, V4-
11033OD; V4-11042FD; V4-11054BK; V411055BK; V4-11056BK; V4-11058BK; V4-
11059BK; V4-11082BK)
NoizeBarrier®TAC Helmet Mounting Kit
(Models: C102359BK, C102359FD, C102359OD; C102365BK, C102365FD, C102365OD)

4
SUPPLIED EQUIPMENT
c
a
d
k
gf
h
j
e
b
Optional Helmet Mounting
System for Helmets with Rails
(Figure 2)
• Swivel rail ear cup mount
• Helmet rail for accessories
• Rail mount frame
Helmet mounng instrucons begin
on page 10.
a) Headband
b) Adjustment frames
c) Audio cross-over cable
d) Ear cups
e) Comply™ foam ear seals
f) Situaonal awareness (talk-
through) microphones
g) Baery compartment & cover
h) Noise-canceling communicaons micro-
phone with adjustable boom
i) Power/Volume control
j) Push-to-talk connector cable (for models
with disconnectable cable, see pg. 6)
k) Boom microphone connector
i
OTTO NoizeBarrier® TAC Headset (Figure 1)

5
FEATURES OF THE OTTO NOIZEBARRIER®TAC HEADSET
• Circumaural headset compable with major helmet systems
• Talk-through electronics for situaonal awareness (SA)
• Limits volume to safe level and lowers sound oor without clipping
• Passive Aenuaon: 23 dB NRR
• Amplied hearing of external communicaons
• Volume + and - buons on le ear cup control situaonal awareness circuitry
• 5-step volume control adjusts +/- 12dB
• Dynamic, telescopic boom microphone can be mounted on the le or right side and
adjusts to the opmal distance from face
• Wind noise suppression technology
• Talk-through operang me using headset baery power only: Up to 72 hours with
no degradaon of performance over that me
• Talk-through powered by two AAA baeries. When used with the OTTO Mul-Port
Hub PTT, talk-through is powered by the radio baery if AAA baeries are depleted
or not installed in headset
• Automac shut down aer two hours of idle me
• Scalloped front ear cups reduce interference with rie stock
• Low-prole silicone headband can easily be worn under most helmet systems
• Proprietary Comply™ thermoplasc polyurethane foam ear seals allow for secure
comfortable t
• Ear seals snap in for easy eld replacement
• SCBA-compable connector for gas mask interface
• MIL-STD-810G compliant
• Immersion tested and fully sealed to IP68 standards for 1 meter/31 minutes
• USA Country of Origin. TAA, BAA, and Berry Amendment compliant
• Oponal rail mounng system for Ops-Core and Team Wendy® helmets
• Rail mount system includes baery holder for two extra baeries
• Headset weight: 502gm (17.75 oz)
SITUATIONAL AWARENESS TALK-THROUGH OPERATION
The OTTO NoizeBarrier TAC Headset’s talk-through technology allows users to hear
normal sounds around them and maintain complete situaonal awareness (SA). At the
same me, sound suppression circuitry reduces dangerously loud noises over 85dB to
safe levels. The OTTO NoizeBarrier TAC is unique in that it does not shut down situaon-
al awareness when loud noises, including impulse noises such as gunre, are blocked.
The headset will connue to transmit sounds at a safe volume.
Talk-through SA feature is NOT required to be acve to receive and transmit radio com-
municaons. When talk-through is not acvated the headset works simply as a passive
noise-reducing headset.
6
OPERATION
Downlead Cables
Most models of the NoizeBarrier TAC Headset have hard-wired downlead cables ready to
aach to your push-to-talk cable.
However, Models V4-10995FD and V4-11042FD have connectors for the downlead ca-
bles to allow you to remove cables when not in use. To aach a downlead cable to these
models, simply line up the cable with the connector on the headset and push to lock it in
place. To release, pull down on the collar on the cable to easily pull the cable away from
the connector.
Install the Batteries to Power the Talk-Through Functionality
(Figure 3-6)
The OTTO NoizeBarrier TAC headset uses baery or radio power to
operate the situaonal awareness/talk-through funcons. Baer-
ies are not required for radio communicaon.
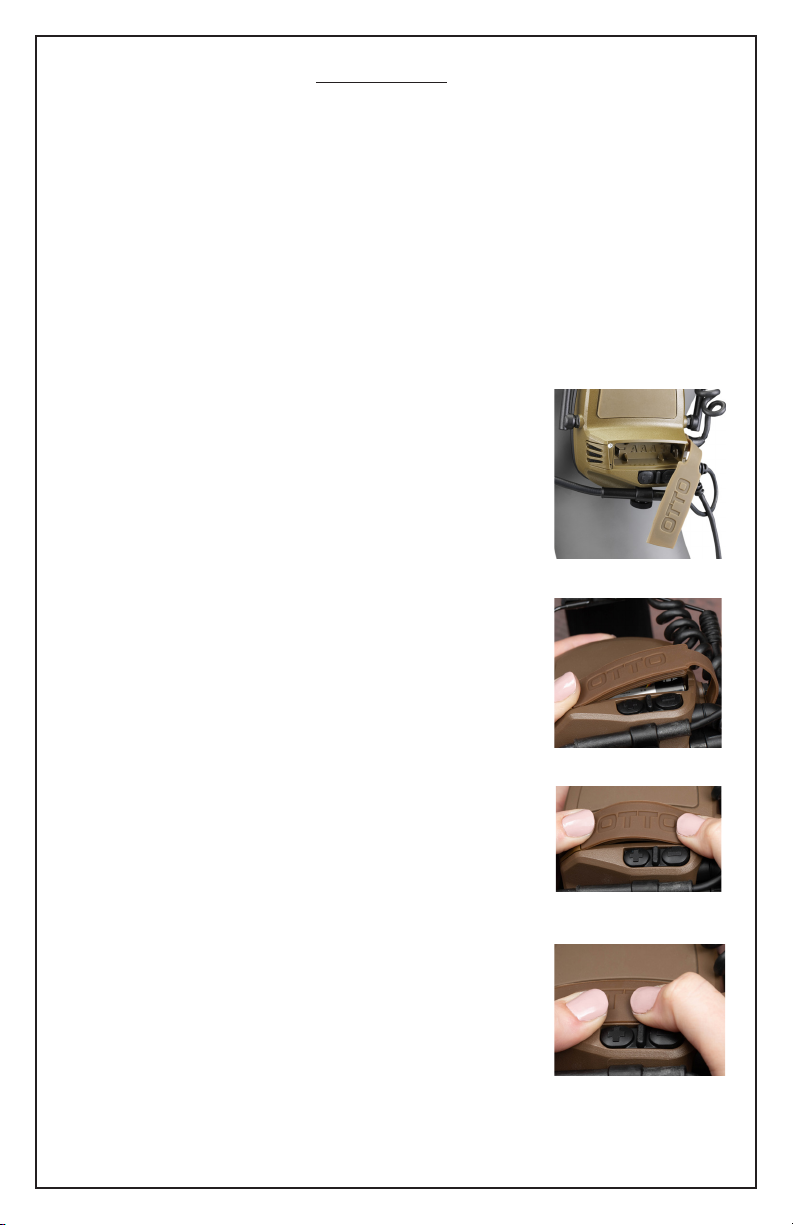
1. Idenfy the rubberized baery covers on the ear cups.
2. With nger pressure, pry o the baery cover on one ear cup
(Figure 3).
3. Install a AAA baery, aligning the ‘+’ and ‘-‘ symbols on the
baery with the markings in the baery compartment.
4. To close the baery cover, start by inserng one end of the
cover into the baery compartment (Figure 4).
5. Slightly bend the cover and insert the other end into the
opposite end of the compartment (Figure 5).
6. Press the baery cover securely into place over the chamber
by applying pressure from the middle and moving outward
to the ends (Figure 6).
7. Repeat the operaon with the other ear cup.
8. When replacing baeries, be sure headset is o before
opening baery compartment.
(See instrucons on page 9).
Figure 3
Figure 4
Figure 6
Figure 5
7
Conguring the Boom Microphone (Figures 7 & 8)
The boom microphone is commonly worn on the le side
but can be installed on either the le or right ear cup. To
move the mic from one side to the other:
1. Idenfy and pull out the two-pin plug that aaches the
boom mic to the ear cup (Figure 7).
2. Unscrew the knurled screw that aaches the boom
assembly to the boom of the ear cup.
3. Remove the knurled screw from the locking clamp and
reverse it so that the clamp will posion the boom at the
outboard posion on the headset.
4. Posion the boom under the opposite ear cup, and thread the screw in to the ear cup.
5. Re-orient the boom so that the mic symbol faces the user’s mouth.
6. Tighten the knurled screw unl boom is secured.
7. Plug the two-pin plug into the jack at the back of the new ear cup. Note that the rubber
insert for the plug has an oset shape so that it will only insert in one direcon.
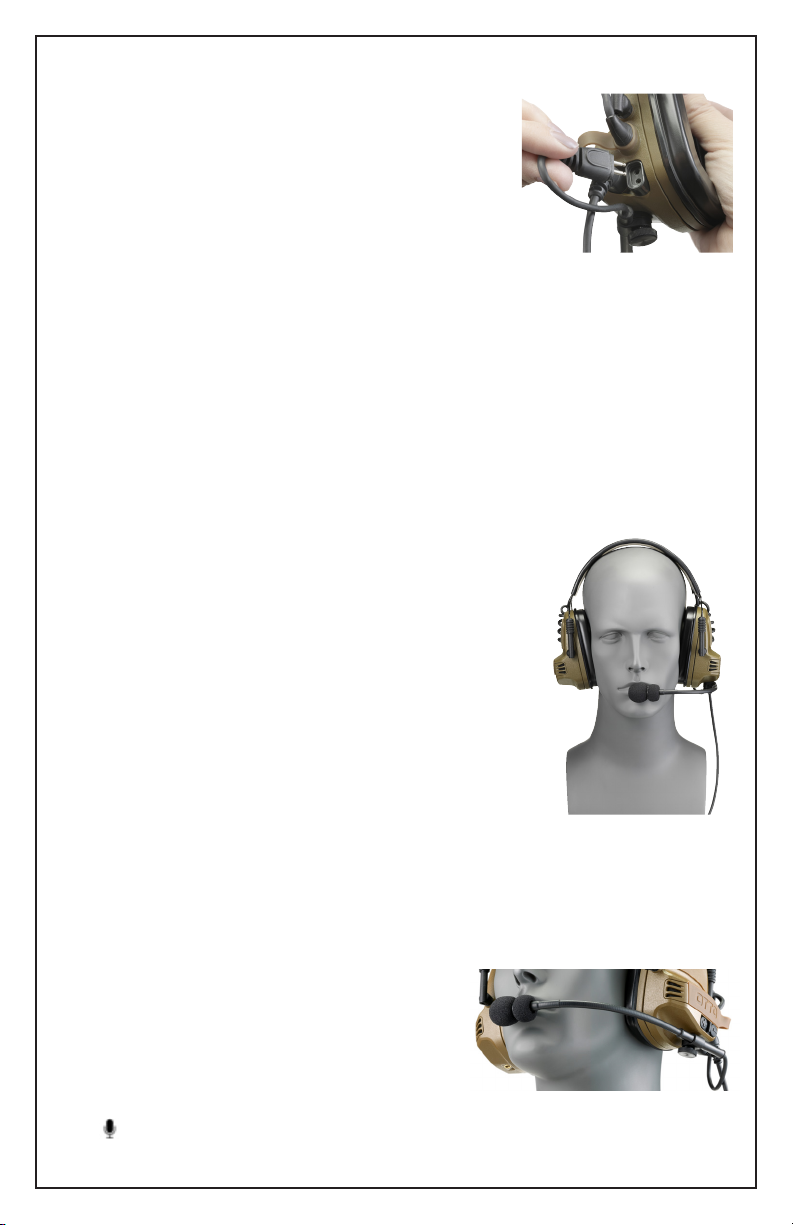
Wearing the Headset (Figure 9)
(Note: If mounng the headset to the helmet with the op-
onal Rail Mounng Kit, please see instrucons beginning on
page 10.)
1. Idenfy the le and right ear cups. The Power/Volume
buons are on the le ear cup.
2. Place the headset over the head.
3. Adjust ear cup height by pulling or pushing on the cups
unl the ear seals are securely posioned over the ears.
Adjustment is accomplished by extending and contract-
ing the ear cup frames on either side of the ear cups
while holding the headband in place.
4. For eecve sound protecon, be sure that the ear seals
are completely sealed around the ear and obstacles such as
hair, jewelry, or clothing are out of the way.
Boom Mic Placement (Figure 10)
The boom is exible and has a length adjustment screw to ensure proper placement for
eecve communicaons.
1. Posion the boom microphone so that the micro-
phone is about ¼ inch from the mouth.
2. To adjust boom length, loosen the screw, posion
the mic at the desired length, and re-ghten.
3. Posion the mic element so that the mic symbol
on the boom faces directly toward the user’s
mouth.
Figure 7
Figure 9
Figure 10

8
Powering Up and Using the Talk-through SA Function (Figure 11)
1. Place the headset on your head.
2. Power up acve talk-through by pressing and holding
either the +or – buon on the le side of the headset
unl a long tone sounds to indicate that talk-through SA
is acve.
3. Volume + and – buons adjust the talk-through SA audio
for ve volume levels. A tone will sound when maximum
or minimum volumes are reached.
4. To power down the unit, press and hold either the +or –
buon on the headset unl a dierent long tone sounds to indicate that talk-through
SA is turned o.
Connecting to a Radio
The OTTO NoizeBarrier TAC headset can be used for radio communicaons regardless of
whether acve talk-through is powered. The headset may be congured to work with
single, dual or mulple radios or other communicaons devices.
Figure 11
Single Radio
1. Plug the connector on the headset cable into the Push-To-Talk (PTT) cable for
your two-way radio.
2. Aach the cable to the connector on the radio.
3. Turn on the radio.
4. Receive volume for radio communicaons is controlled by the volume controls
on the radio. The + and – buons on the headset only control the volume of the
situaonal awareness talk-through funcon.
5. Use the PTT controls for radio communicaons.
Dual Radio
1. Follow the above steps to aach the second cable to the communicaons device.
2. Sound from the radio or other device connected to the le side of the headset
will be heard in the le ear, and sound from the device connected to the right
side will be heard in the right ear.
Multiple Devices
1. Plug the headset into the OTTO Mul-Port Hub.
2. Refer to the OTTO Mul-Port Hub PTT Technical and Instrucon Manual for oper-
ang instrucons when using the Hub.
Note: The listening volume on the headset is controlled by the volume control on the
radio or other communicaons device. The + and – buon on the headset and on the
Hub only control the situaonal awareness talk-through funcon.

9
MAINTENANCE
Low Battery/Replacing Batteries
The OTTO NoizeBarrier TAC headset uses two AAA baeries to control situaonal awareness (talk-
through). Baeries are not required for radio communicaon. A low baery alert is emied when
about 30 minutes of baery power remains. The alert is indicated by a sequence of three short chirps
at two-minute intervals.
Replace the baeries following the Baery Installaon Instrucons on page 6. Be sure the headset is
powered o before replacing the baeries.
NOTE: If the OTTO Mul-Port Hub PTT is used with the OTTO NoizeBarrier TAC headset situaonal
awareness (talk-through) will be powered by the radio if the headset baeries are depleted or not
installed.
Replacing the Ear Seals (Figures 12-16)
The ear seals are mounted in a removable frame for easy replacement.
1. Remove the ear seal by sliding ngers under
the inside of the frame and pulling it straight
out with a rm moon.
2. The foam liner inside the ear seal will fall out.
Replace it with a new one.
3. Posion a new ear seal over the ear cup.
Align the TOP of the ear seal with the TOP
label inside the ear cup.
4. Press rmly to squeeze the ear seal into the
cup unl it snaps into place.
Figure 12 Figure 16Figure 15Figure 14Figure 13
Cleaning the Headset
• Use a so cloth to remove dirt and debris from the headset.
• Use a damp so cloth to wipe down the ear seals.
• DO NOT immerse the OTTO NoizeBarrier TAC headset in liquid for cleaning.
Storage
When not in use, store the headset in temperatures between -40° and +71°C.

10
USING THE HEADSET WITH OPTIONAL OTTO
NOIZEBARRIER TAC HELMET MOUNTING KIT
(Figures 12-16)
(Parts: C102359BK, C102359FD, C102359OD; C102365BK,
C102365FD, C102365OD)
The OTTO NoizeBarrier TAC headset can easily convert from over-the-head use to be
able to mount on helmet rails with the use of the oponal helmet
mounng kit. The helmet mount kit also includes a compartment
for a spare baery on each ear cup. Follow the steps below to con-
vert to rail mounng:
1. Idenfy the ear cup cross-over cable that runs along the rear
of the headband. Pull the cross-over cable out from under the
lip on the headband so that it hangs free (Figure 17).
2. Holding an ear cup with one hand, with the other hand rmly
grasp the plasc adjustment frame where it aaches to the
ear cup. Pull the adjustment frame o the pivot point on the
ear cup, being careful not to pull on the wire form poron of
the adjustment frame. The frame will unsnap from the reten-
on ball on the ear cup (Figure 18).
3. Repeat the operaon on the frame on the other side of the
same ear cup.
4. Repeat steps 2 and 3 on the other ear cup to fully remove
the headband.
5. Posion the rail mount over the ear cup and snap the rail
mount frames onto the pivot points on
the ear cups (Figure 19). NOTE: The spare
baery compartment on the rail mount
frames should be posioned at the top of
the frame.
6. Aach the other rail mount to the other
ear cup.
7. Slide the ear cups on to the rails as shown. They may be posi-
oned either on the top or rear rails. Be
sure that the cross-over cable sits at the
rear of the headset (behind the head)
and that the boom microphone faces
the front of the helmet (Figure 20).
8. To remove spare baery from the com-
partment, remove the helmet mount.
Holding the mount by its wire form, sharply strike the mount
into the palm of the hand with the baery facing the palm. The
baery will eject from the holder into the user’s hand (Figure
21).
Figure 17
Figure 19
Figure 18
Figure 20
Figure 21
Other manuals for NoizeBarrier TAC
1
Table of contents
Other Otto Headset manuals

Otto
Otto NoizeBarrier TAC User manual

Otto
Otto NoizeBarrier Range SA User manual

Otto
Otto NoizeBarrier TAC V4-10995BK User manual

Otto
Otto NoizeBarrier Range SA User manual

Otto
Otto Hurricane II User manual

Otto
Otto NoizeBarrier Range SA User manual

Otto
Otto V4000 Series User manual

Otto
Otto ClearTrak NRX V4-11222-S User manual


