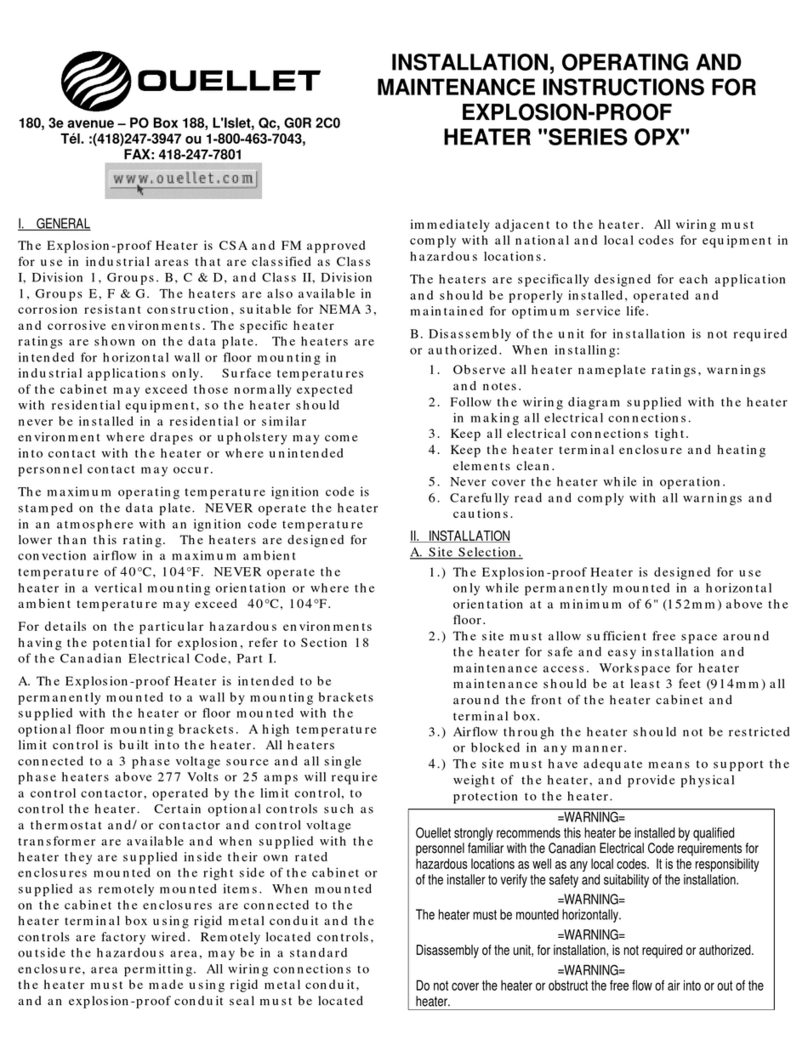
INSTALLATION
INSTRUCTIONS
- Theinstallationmustbeexecutedbyaqualiedtechnician.
- Mustbeinstalledsolidly.Thisheatercouldweightupto31lb
(14kg).
- Werecommendinstallingthisproductonanoutsideceilingto
avoidvibrationsspreadingtoanadjacentroom.
- Themotoristhermallyprotected.
- AllwiringmustbeinaccordancewithNationalandlocal
ElectricalCodes.
- Heatermustbegroundedasaprecautionagainstpossibleshock.
- Toavoidpossibleelectricalshock,disconnectallpoweratthe
mainpanelpriortowiring.
- Verifythepowersupplyvoltagecomingtotheheatermatchesthe
heaternameplateratingbeforeenergizingheater.
- Wheninstalled,heatermustbeelectricallygroundedin
accordancewiththeNationalElectricalCode.
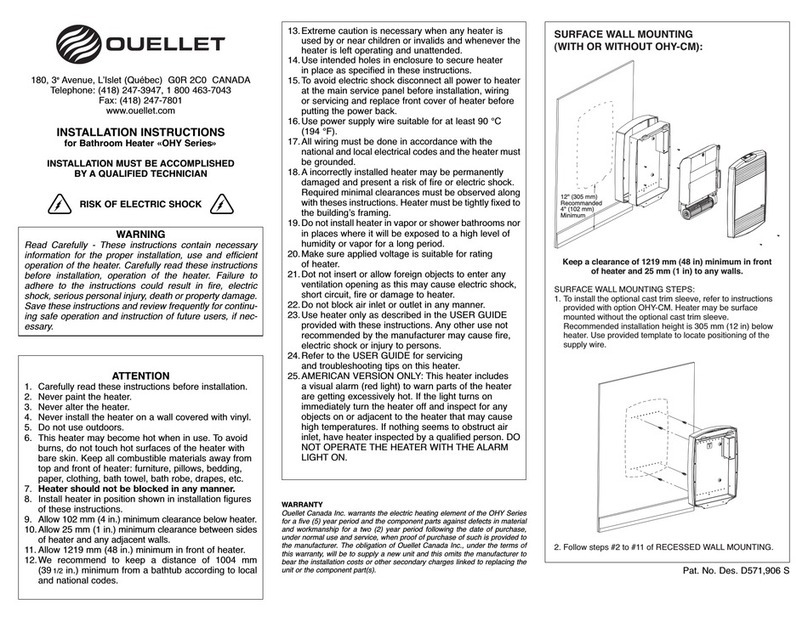
CAUTION
- Hightemperature,riskofre,keepelectricalcords,drapery,
furnishings,andothercombustiblesatleast36in.(915mm)from
thefrontoftheheater.Toreducetheriskofre,donotstoreor
usegasolineorotherammablevaporsandliquidsinthevicinity
oftheheater.
- Ceilinginstallationonly.
- Usecopperwireonly.
STANDARD CEILING MOUNTING (Fig. 1)
1. Neverinstalltheair-forceddiuseratlessthan8ft.(250cm)
fromtheoorand12in.(30cm)fromadjacentwalls.
2. Provideanopeningintheceilingof
23X23X63/16in.(580X580X160mm).
3. Conveythewiresofpowersupplytotheopeningprovided.
4. Removetheappropriateknock-outfromtherecessbox
fortheelectricalsupply.
5. Attachrmlytheheaterusingprovidedscrews.
6. Connecttheheaterleadstothesupplyleadsaccording
tothenationalandlocalcodes.Seewiringdiagram.
7. Installthefrontcoverusingprovidedscrews(4).
SUSPENDED CEILING MOUNTING (Fig. 2)
1. Neverinstalltheair-forceddiuseratlessthan8ft.(250cm)
fromtheoorand12in.(30cm)fromadjacentwalls.
2. Conveythewiresofpowersupplytotheceilingspace.
3. Suspendtheheaterrmly(withoutthefrontcover)using
chains,steelwires(usethesuppliedhooks)orsteelbar
bytakingcareofleavingenoughspacebetweentheheater
andthedropceilinginanticipationofstep#5.
4. Connecttheheaterleadstothesupplyleadsaccording
tothenationalandlocalcodes.Seewiringdiagram.
5. Gentlysitthefrontcoveronthedropceilingstructure.
6. Lowertheheaterandadjustitsheightsothatitrestson
thefrontcoveralreadyinplace.
7. Mountthefrontcovertotheheaterusingprovidedscrews(4).
OPTIONS
Seeinstallationpamphletprovidedwiththevariousoptionsforthe
installationofthoseoptions.
180,3rd Avenue,L’Islet,Quebec,G0R2C0,CANADA
Tel.:(418)247-3947,1-800-463-7043Fax:(418)247-7801
www.ouellet.com
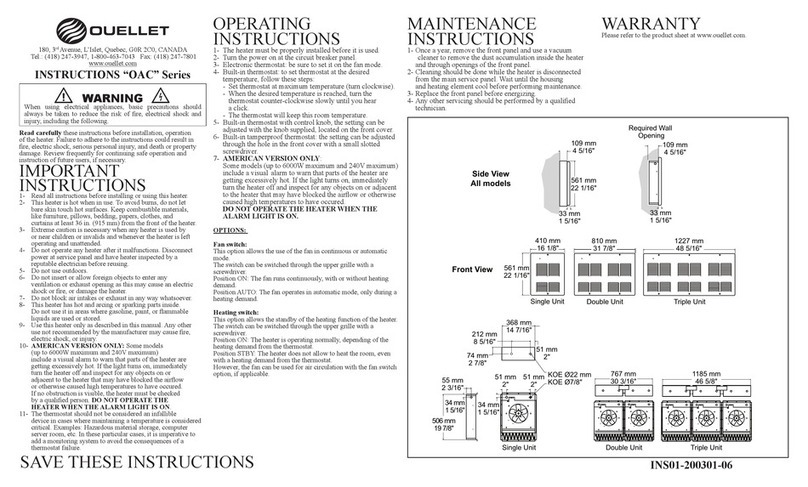
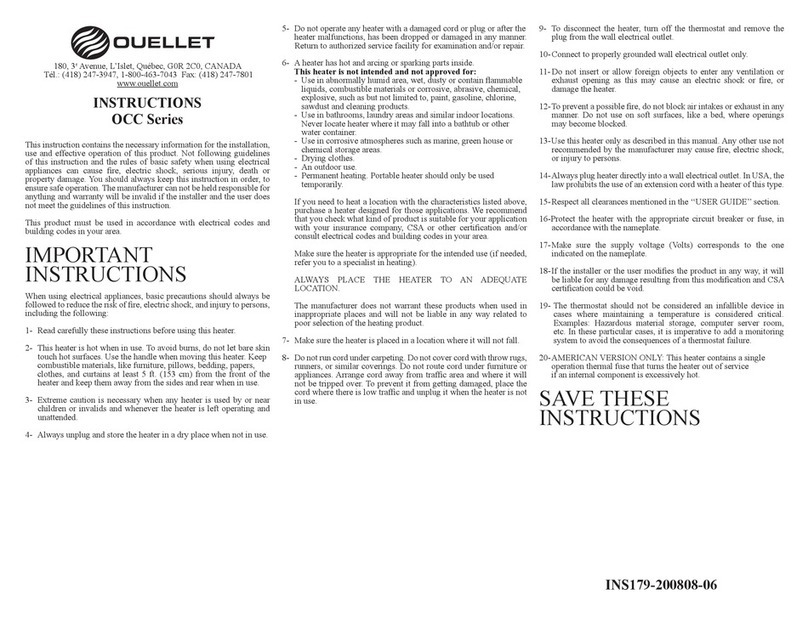
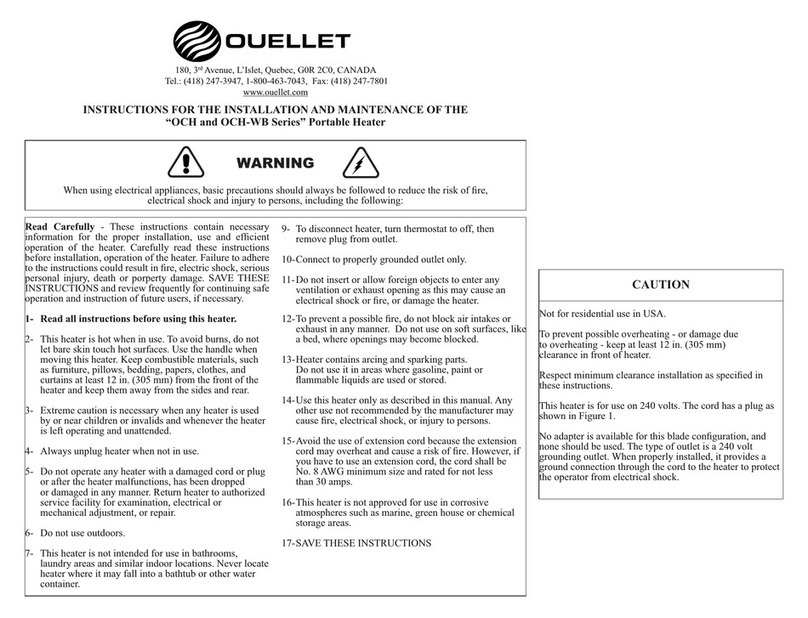
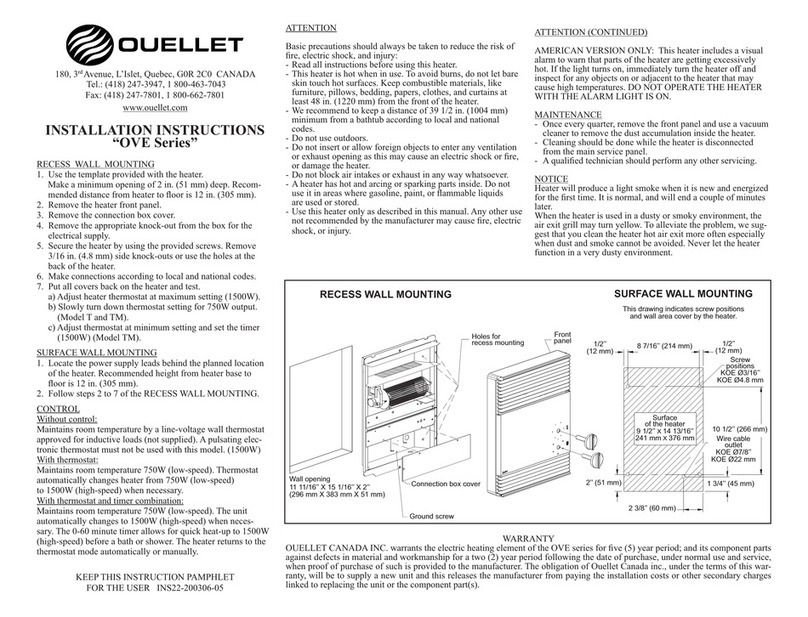
INSTRUCTIONS ODS Series
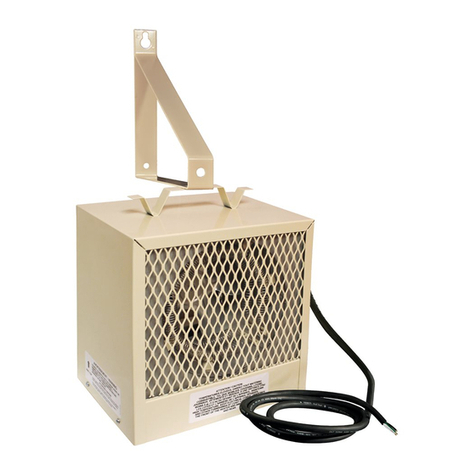
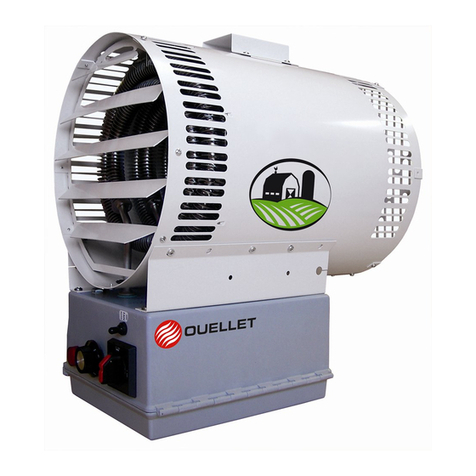
ODSR Model (2 kW to 5 kW)
Read carefullytheseinstructionsbeforeinstallation,operationof
theheater.Failuretoadheretotheinstructionscouldresultinre,
electricshock,seriouspersonalinjury,anddeathorpropertydamage.
Reviewfrequentlyforcontinuingsafeoperationandinstructionof
futureusers,ifnecessary.
IMPORTANT
INSTRUCTIONS
1- Readallinstructionsbeforeinstallingorusingthisheater.
2- Thisheaterishotwheninuse.Toavoidburns,donotletbareskin
touchhotsurfaces.Keepcombustiblematerials,likefurniture,pil-
lows,bedding,papers,clothes,andcurtainsatleast36in.(915mm)
fromthefrontoftheheater.
3- Extremecautionisnecessarywhenanyheaterisusedbyornear
childrenorinvalidsandwhenevertheheaterisleftoperatingand
unattended.
4- Donotoperateanyheaterafteritmalfunctions.Disconnectpower
atservicepanelandhaveheaterinspectedbyareputableelectrician
beforereusing.
5- Donotuseoutdoors.
6- Donotinsertorallowforeignobjectstoenteranyventilationor
exhaustopeningasthismaycauseanelectricshockorre,or
damagetheheater.
7- Donotblockairintakesorexhaustinanywaywhatsoever.
8- Thisheaterhashotandarcingorsparkingpartsinside.Donotuse
itinareaswheregasoline,paint,orammableliquidsareusedor
stored.
9- Usethisheateronlyasdescribedinthismanual.Anyotherusenot
recommendedbythemanufacturermaycausere,electricshock,or
injury.
10-AMERICAN VERSION ONLY:Thisheaterincludesavisual
alarmtowarnthatpartsoftheheateraregettingexcessivelyhot.If
thelightturnson,immediatelyturntheheateroandinspectfor
anyobjectsonoradjacenttotheheaterthatmayhaveblockedthe
airoworotherwisecausedhightemperaturestohaveoccured.If
noobstructionisvisible,theheatermustbecheckedbyaqualied
person.DO NOT OPERATE THE HEATER
WHEN THE ALARM
LIGHT IS ON.
11-
Thethermostatshouldnotbeconsideredaninfallibledeviceincaseswhere
maintainingatemperatureisconsideredcritical.Examples:Hazardous
materialstorage,computerserverroom,etc.Intheseparticularcases,it
isimperativetoaddamonitoringsystemtoavoidtheconsequencesofa
thermostatfailure.
SAVE THESE
INSTRUCTIONS
OPERATING
INSTRUCTIONS
Theheatermustbeproperlyinstalledbeforeitisused.
START UP
- Turnthepoweronatthecircuitbreakerpanel.
- Electronicthermostat:besuretosetitonthefanmode.
- Built-intamperproofthermostat:thesettingcanbedonewitha
smallslottedscrewdriver.
- Onacallforheatfromeitherremotethermostatorunitmounted
thermostat,theelementsandfanwillbeenergized.
- Whenthethermostatissatised,elementswillbedeenergized.
- Thefanwillcontinuetorununtiltheresidualheatisremoved
fromtheheater.Thenthefanwillstop.
Automatic Reset Thermal High Limit
Theheaterhasanautomaticresetthermalhighlimitthatwill
deenergizetheheatingelementsiftheinteriortemperaturesof
heaterexceeditssetting.Thelimitwillautomaticallyresetwhen
theheaterinteriortemperaturesfallbelowitssetting.
AMERICAN VERSION ONLY
Thisheaterincludesavisualalarmtowarnthatpartsoftheheater
aregettingexcessivelyhot.Ifthelightturnson,immediately
turntheheateroandinspectforanyobjectsonoradjacentto
theheaterthatmayhaveblockedtheairoworotherwisecaused
hightemperaturestohaveoccured.DO NOT OPERATE THE
HEATER WHEN THE ALARM LIGHT IS ON.
MAINTENANCE
INSTRUCTIONS
- Theheatermotorispermanentlylubricated.
- Waituntilthehousingandheatingelementscoolbefore
performingmaintenance.
- Onceayear,removethefrontcoveranduseavacuumcleaneror
compressedairtoremovethedustaccumulationinsidetheheater.
- Cleaningshouldbedonewhiletheheaterisdisconnectedfrom
thepowersupplycircuit.
- Aqualiedtechnicianshouldperformanyotherservicing.
WARRANTY
Pleaserefertotheproductsheetatwww.ouellet.com.
KEEP THIS INSTRUCTION PAMPHLET
FOR THE USER
WARNING
Whenusingelectricalappliances,basicprecautionsshould
alwaysbetakentoreducetheriskofre,electricalshock
andinjury,includingthefollowing:
IMPORTANT
Connectthecontrol(thermostatorrelay)
totheT1-T2positionontheterminalblock.
Donotinterruptpowersupplytocontrolthisheater.
Fig. 1 Fig. 2
Model (2 kW to 5 kW)
Standard Ceiling Mounting
Model (2 kW to 5 kW)
Drop Ceiling Mounting
INS84-200404-05


