ASSEMBLY INSTRUCTIONS
Step 1 Site selection
Select a sheltered camp site protected from the wind that will not allow water to pond under the tent oor.
Clear a level area of all stones, twigs, etc.
Step 2 Unpack your tent
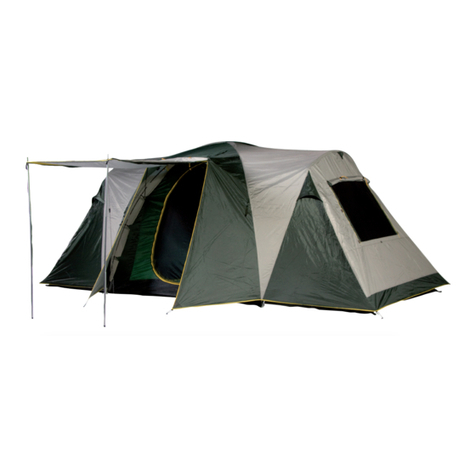
Unpack the contents of your tent. Lay out your tent in the direcon you wish it to face. This is a good me to
double check that you are facing the doors in the direcon you want them to. Open as many windows and
doors as possible. This reduces the force of sucon when raising your tent in the later stages of set up. If you
do not follow this vital step you may cause damage to your tents stching, this damage is not a warrantable
fault.
Step 3 Peg out your tent
Once your tent is placed in the direcon you want you can now peg it out. There are a number major peg
points on the tent body. Ensure that all of these points are securely pegged down before proceeding.
Note: Do not stretch your too ghtly. It is far beer to peg the loosely. Your tent should not be overly taught,
this places undue stress on the stching and material of the tent.
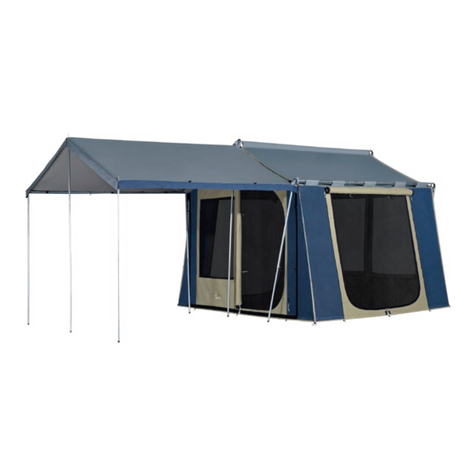
Step 4 Pole Assembly
Assemble your poles and place them side by side for easy idencaon. Ensure that your poles are all properly
inserted into each secon. This reduces the chance of pole failure.
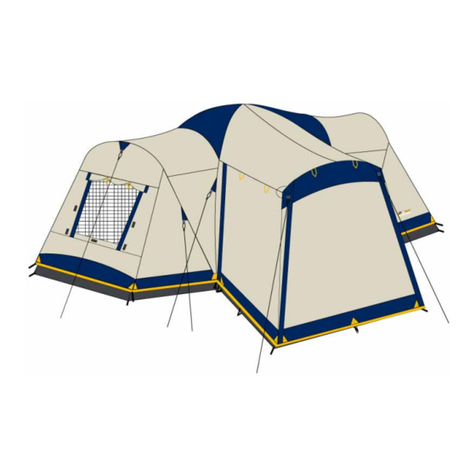
i.Insert the four curved ridge poles (040) into the four side ridge bar pole sleeves as indicated in gure 1.
ii.Insert the central straight ridge bar (304) into the centre most ridge bar pole sleeve as indicated in gure 1.
iii.Select the eight adjustable roof supports with 90° bend (014) and two longer adjustable roof supports with
90 ° bend (011). Aach these poles to their respecve ridge bars. 014 poles suit the 040 curved ridge bars.
011 poles suit the 304 straight ridge bar.
Note: The three bars ( 2 x 014 and 1 x 011 ) that aach to the ridge poles which meet the their ridge poles at
the front awning have a canvas ‘sock’ that they must pass through. Pass the 90° bend carefully through the
‘sock’ from underneath the awning before aaching to their respecve ridge bar.
Aach these poles to the ridge bars and raise the tent. This is most easily done from the edges inward. Once
all are aached, extend the poles to the required length. Ensure that the side poles are angled slightly. See
gure 2 on page 9. Your tent should now stand by itself. It is not standing upright ensure that you have
extended all of the adjustable roof supports unl the canvas is taught. Be sure to not over stress your canvas.
Do not extend the poles with undue exeron this will put stress on your tents stching.
IMPORTANT
1. Aer unpacking the tent, use the check list on page 4 to make sure you have all
the parts.
2. You need to condion your Canvas tent/shelter before use.
See page 12 - CONDITIONING YOUR NEW CANVAS TENT/SHELTER
