2
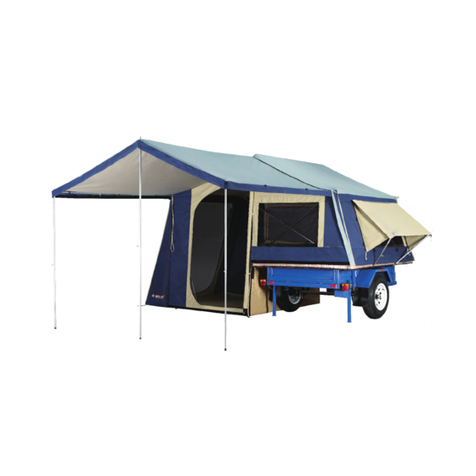
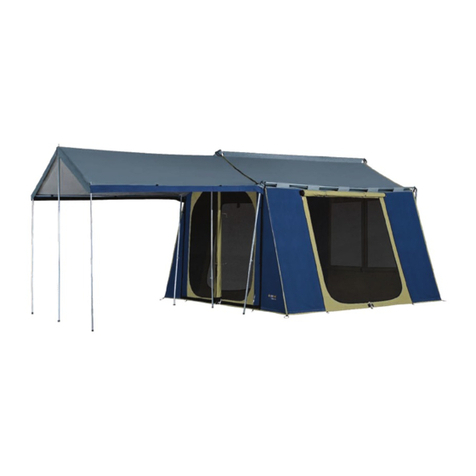
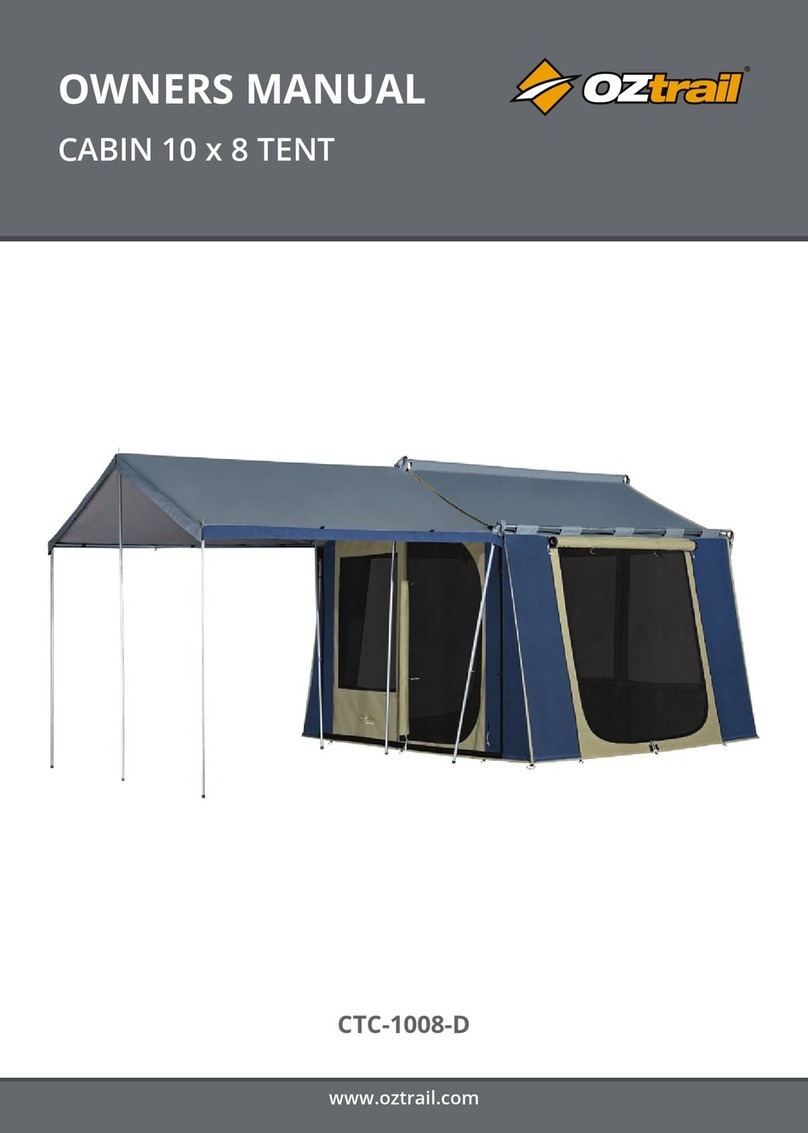
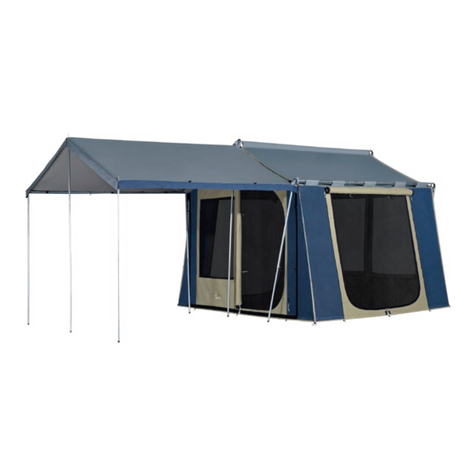
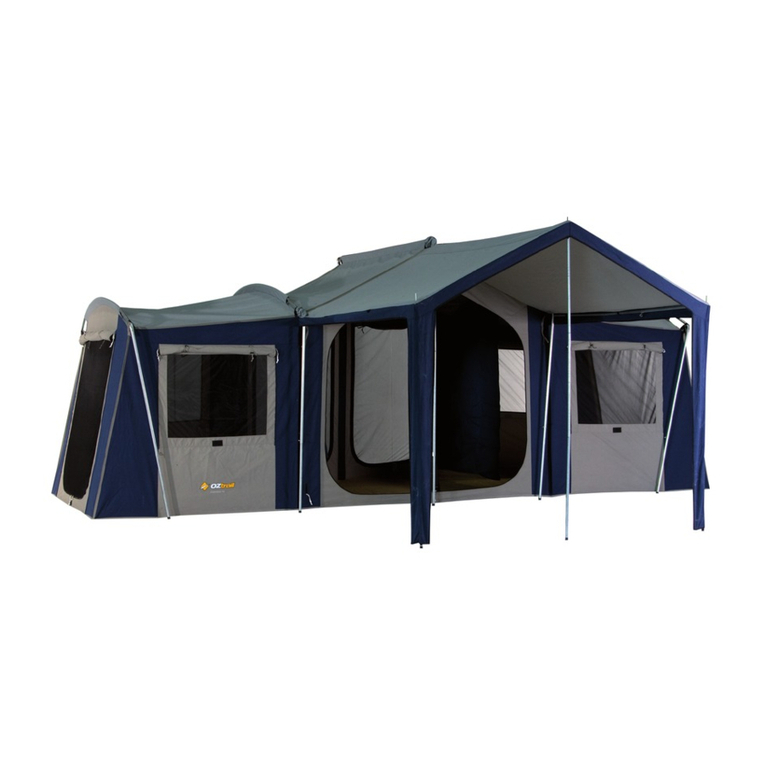
The ultimate home away from home, OZtrail
Camper Trailer Tents fit straight onto your own
trailer and sets up in no time at all. At your
favourite beach or in the middle of the outback,
the Camper Trailer Tent delivers comfort
and style. The following is the list of OZtrail
Camper Trailer Tent features. Please note,
not all features are available on all models.
Please consult your local OZtrail Dealer or
www.oztrail.com.au for latest specification
details.
SatProof™ 600+ Canvas Walls are a heavy
weight 340gsm blended Ripstop cotton
canvas. The anti-mildew water proofing agent
is saturated throughout the canvas before
manufacture so even after wear and tear it
will still provide a waterproof barrier. SatProof
600+ Canvas ™ offers a minimum of 600 mm
hydrostatic water head creating a waterproof
canvas that still minimises condensation
build up. The structure of cotton allows water
vapour molecules to pass through and at the
same time provide a barrier to water droplets.
Silver coated SatProof 800+
Canvas :trademark: Roofs are a 340gsm
blended cotton canvas. In a similar process to
SatProof 600+ Canvas :trademark: this fabric is
treated further to provide 800mm hydrostatic
water head and maintains the same level
of breathability. After weaving the fabric is
rolled under pressure to accept the silver
coating that blocks out more than 98% of UV
radiation and heat. The technology used in
this protective coating has been developed to
provide a level of finish never seen before in a
canvas product.
Puncture resistant PVC vinyl flooring is
standard on Camper 6, 7 and Outer Ridge
models. Both Ridgeline models include the
added feature of an invisible bucket floor to
raise floor-wall junction above the ground.
Camper Trailer Tent
Features:
HELPFUL HINTS
OZtrail advises to read the owner’s manual
fully before assembling and setting up
your Camper Trailer Tent. Before your first
camping trip ensure all parts are present
and become familiar with the set up and
fold away of your Camper Trailer Tent.
Contents
Products and Parts .................................... 5
Attaching to Trailer Instructions ................. 8
Set Up and Assembly Instructions ........... 13
Disassembly and Folding Instructions..... 23
Warranty................................................... 25
Prolonging the life of your Camper
Trailer Tent................................................. 26
Important Safety and Care
Information ............................................... 28
Understanding Waterproofness and
seasoning your canvas.............................. 30
Zips Care and Maintenance...................... 31
