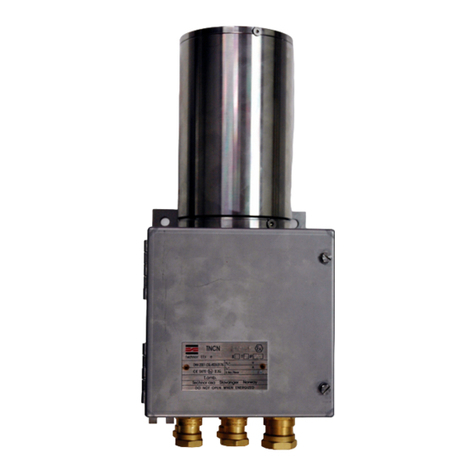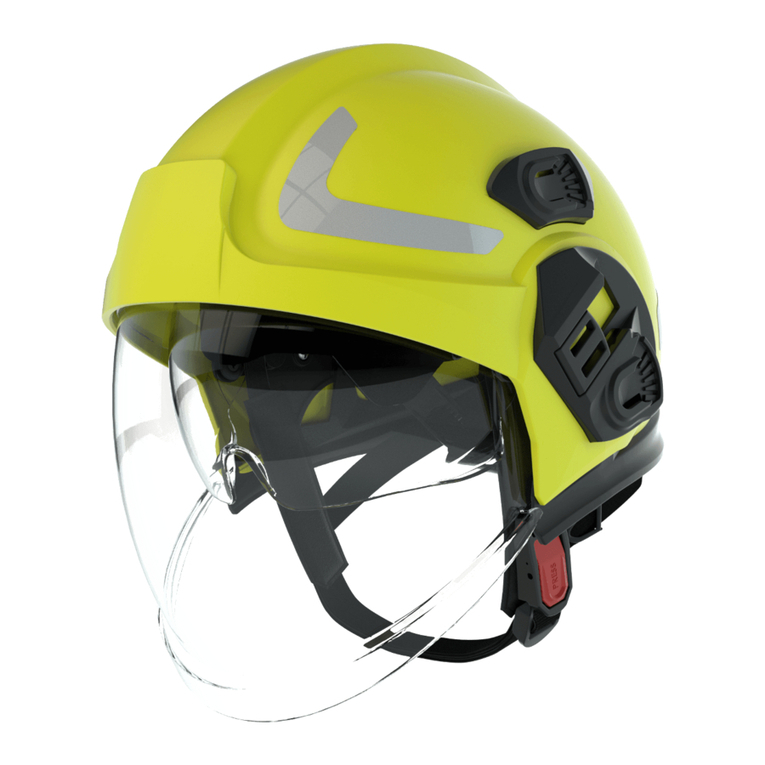
The LED FIRE 05 torch serves as an integrated
head torch for the PAB Akrapović fire fighter’s
helmet PAB FIRE 05.
Never remove the housing cover of torch LED
FIRE 05 in areas subject to explosion hazards!
Before use, make sure the helmet torch is
working, properly and is undamaged as
described in this User’s Guide and as required
by all applicable regulations.
1SAFETY NOTICE: READ
THESE INSTRUCTIONS
CAREFULLY BEFORE
USING THE TORCH!
For adequate use, this torch must fit or be
adjusted on the helmet. Never open the torch
housing in areas subject to explosion hazards
Inappropriate use, maintenance or servicing can
affect the function of the torch and can seriously
endanger the user’s life. The torch’s operability
must be checked and verified before
each use.
The torch shall not to be used, if the operability
test is unsuccessful, if the torch is damaged, if
proper servicing or maintenance has not been
made, or if PAB Akrapović original spare parts
have not been used.
The length of the useable life of this torch will
be affected by the types of materials used
in its construction and the environments in
which the torch is used and stored.
Replace any damaged parts only with original
PAB Akrapović spare parts, as only these are
authorised for use and ensure the performance
of the torch.
The user’s attention is also drawn to the danger
of modifying or removing any of the original
component parts of the torch, other than as
recommended by PAB Akrapović. The torch
should not be adapted for fitting attachments in
a way not recommended by PAB Akrapović.
Explosion protection class: Ex
II 2G Ex ib IIC T4 Gb Ex II 2D
Ex ib IIIC T135°C Db
7OPERATING THE HELMET
TORCH
8SERVICING AND
MAINTENANCE
Manufactured by:
PAB Akrapović d.o.o.
Most 26, HR-52420,
Buzet, Croatia Fone +385
www.pab.hr
USER MANUAL
LED FIRE 05
OPTIONAL INTEGRATED HEAD
TORCH FOR PAB FIRE 05
HELMET
•Explosion protection class: Ex II 2G Ex ib
IIC T4 Gb, Ex II 2D Ex ib IIIC T135°C Db
•Light source: 3W LED
•Angle of reflected beam: 13°
•Rated voltage: 4.5 V
•Period of operation: 4 hours at the
strongest intensity, 12 hours at medium
intensity
•Max. permissible ambient temperature:
from -20°C to +54°C
•Protection degree according to EN 60529:
IP67
•Weight with batteries: approx. 120 g
•Battery: 3 x LR 03 AAA, according to IEC
60086
•Batteries tested for permissible ambient
temperature: DURACELL AAA (LR03)
MN2400 / VARTA LONGLIFE AAA (LR03)
3INSTRUCTION FOR USE AND
CARE
By pressing the red button on the top of the
torch, the torch lights up, illuminating with the
strongest intensity. When the button is pressed
for the 2nd time, the torch illuminates with
medium intensity (so that the batteries last
longer). When the button is pressed for the 3rd
time, the torch illuminates with dimmed intensity
(for the longest battery life). With a longer press
on the red button the torch shuts off. The torch
has a function to blink three times when it turns
on if the batteries power fall under 70%. In that
case the torch can be operated for eight more
hours at medium intensity. During operation, a
red LED light constantly flashes on the tail of the
torch for a better visibility of the user from the
back.
After using the torch, you should perform a
detailed inspection of the torch and check that all
its components are in place and properly fixed.
Replace any damaged parts only with original PAB
spare parts. Only original PAB spare parts are
permitted for replacement, and only these ensure
the expected performance of the torch. If
significant damage (broken parts, missing
components, cracks on the housing etc.) is
identified during a regular check, the torch should
be replaced. The torch should not be used if it is
evidently damaged, if proper servicing or
maintenance has not been performed, or if PAB
original spare parts have not been used.
Inappropriate use, maintenance, or servicing can
affect the function of the torch and can seriously
endanger the user’s life. The torch operability
must be checked and verified before each use.
9STORAGE AND TRANSPORT
Store the torch in a closed cabinet to prevent
extended exposure to cold, heat, humidity,
light, fumes…To extend the lifetime of the
torch to the maximum clean it after each use
and before storing.
The LED FIRE 05 is very resistant to ageing, with
a long service life, but only if provided that it is
used, stored, maintained and serviced properly.
Exposure to extreme temperatures, strong
impacts, corrosive chemicals, flames or
aggressive environments have a significant
impact on the life of the product. Inspect and
clean carefully the torch after each use and
replace any damaged parts. To ensure a lifetime
as long as possible please follow the
instructions, information and recommendations
stated in this user manual. When the torch or its
parts become obsolete or irreparably damaged,
the torch and its parts shall be treated as
ordinary non-hazardous industrial waste
according to local regulations.
The product warranty period for the LED FIRE 05
produced by PAB Akrapović is two (2) years. PAB
Akrapović guarantees that the PAB products
delivered will conform to their technical
specifications and will be free from defects in
materials and workmanship. This warranty does not
apply to products that are misused, abused or
damaged from installation of accessories not
produced by PAB Akrapović, or not used in
accordance with the user manual. This warranty does
not apply to batteries.
The PAB Akrapović product warranty does not cover
and does not make any warranty for any defect,
failure, deficiency, or error that is:
• Not reported to the producer in a timely manner
• Due to misapplication or modification
• Due to dirt or exposure to extreme conditions
• Due to use, either intentional or otherwise, in an
improper manner.
For more information, please contact PAB Akrapović
10SERVICE LIFE AND
DISCARD
11WARRANTY
2TECHNICAL
DATA
