panana MWJG-7 User manual

Please read this manual carefully before any operation
and keep it properly for future use.
01/24 02/24
MWJG-7 Assembly Manual Home&Garden
WARNING
Keep all parts out of the children’s reach.
NOTE
crosshead screwdriver
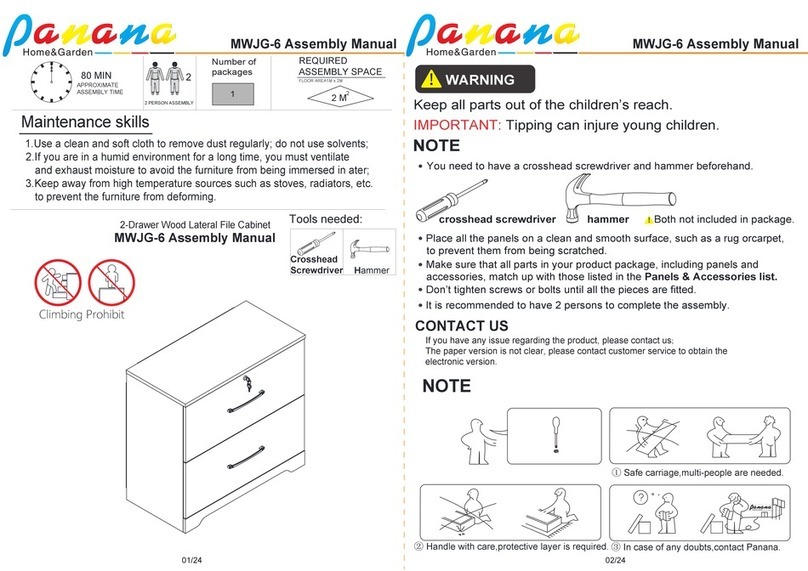
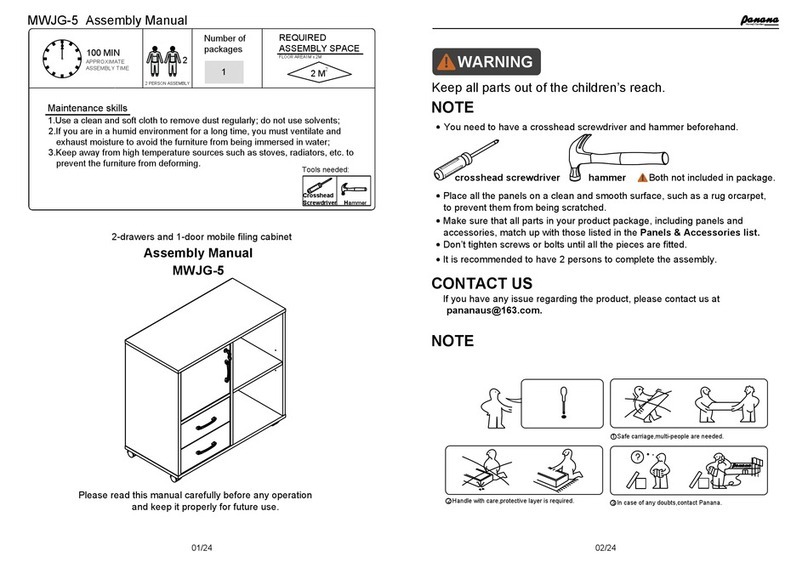
Place all the panels on a clean and smooth surface, such as a rug orcarpet,
to prevent them from being scratched.
Make sure that all parts in your product package, including panels and
accessories, match up with those listed in the Panels & Accessories list.
Don’t tighten screws or bolts until all the pieces are fitted.
It is recommended to have 2 persons to complete the assembly.
CONTACT US
If you have any issue regarding the product, please contact us at
NOTE
1 Safe carriage,multi-people are needed.
2 Handle with care,protective layer is required. 3 In case of any doubts,contact Panana.
Home&Garden
You need to have a crosshead screwdriver and hammer beforehand.
Both not included in package.hammer
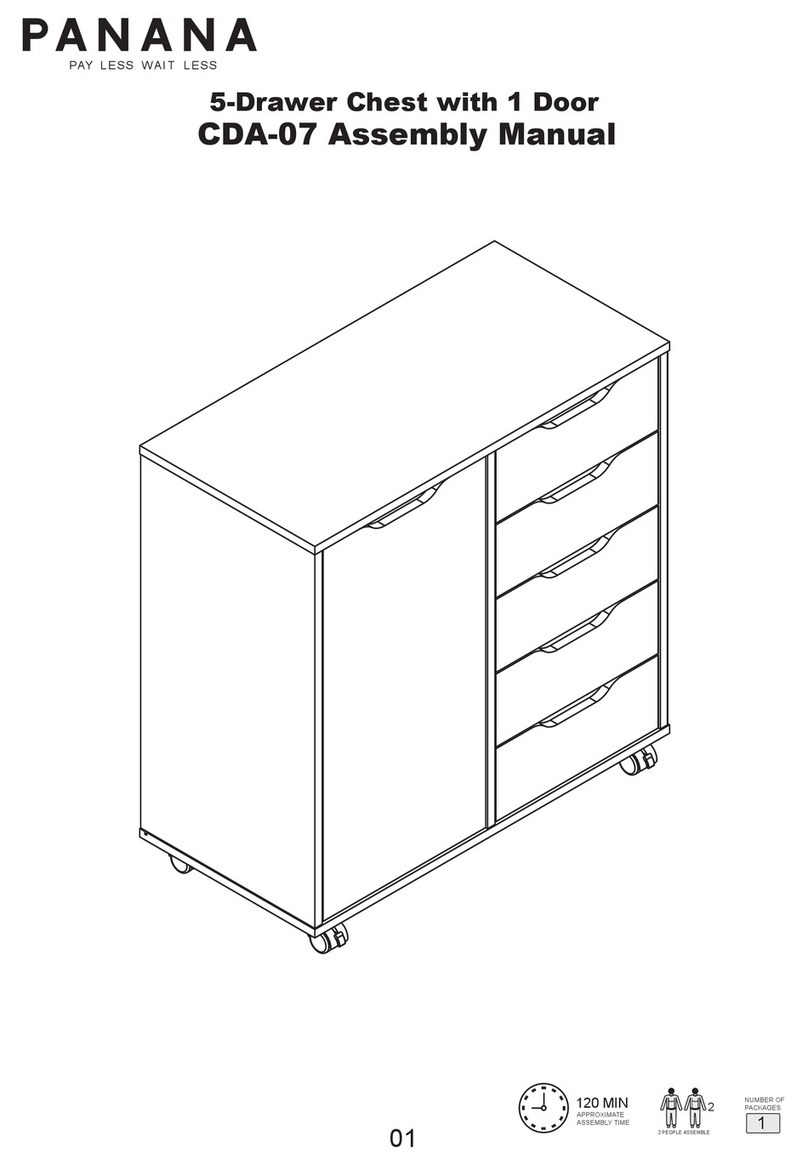
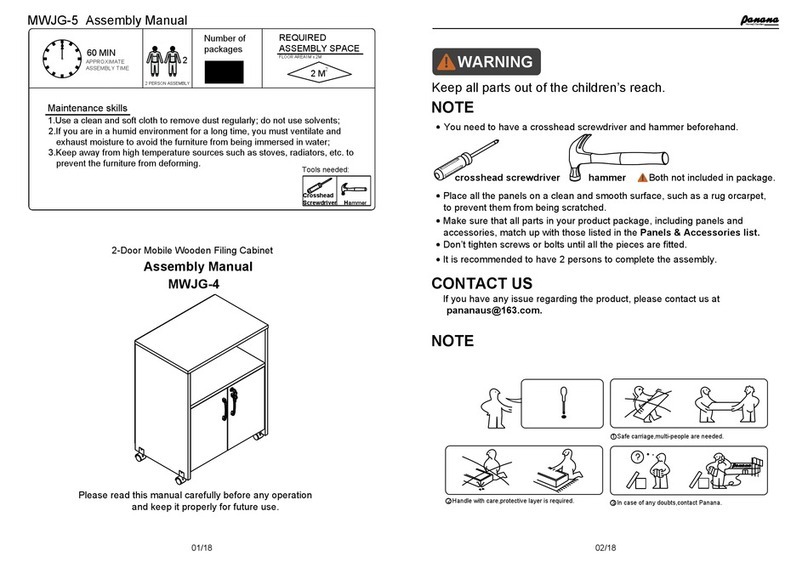
1 Large Drawer Wood Filing Cabinet
Assembly Manual
MWJG-7
Number of
packages
120 MIN
Maintenance skills
Tools needed:
2
12 M2
REQUIRED
ASSEMBLY SPACE
1.Use a clean and soft cloth to remove dust regularly; do not use solvents;
2.If you are in a humid environment for a long time, you must ventilate and
exhaust moisture to avoid the furniture from being immersed in water;
3.Keep away from high temperature sources such as stoves, radiators, etc. to
prevent the furniture from deforming.
Crosshead
Screwdriver Hammer
APPROXIMATE
ASSEMBLY TIME
2 PERSON ASSEMBLY
FLOOR AREA1M x 2M

Panel &
Panel Number
Panel List
Accessories List
Cam Screws
Cam Lock Nuts
Mini Cam Lock Nuts
Wood Dowel Pins
3-Section Ball Bearing Drawer Slide Rail Kit
Installation Guide
Please check the Panel List first
Installation Guide
Please check the Accessories List first
Note:
The accessories list is classified by the smallest packaging unit, and the kit
accessories represent the matching accessories and are packed in a separate
package.
In order to facilitate installation, the panel has pre-drilled positioning holes for
the accessories. When installing, only need to match the mounting holes of the
accessories with the pre-drilled holes on the panel and lock them with the
matching screws. For details, see the relevant installation instructions.
M:Handle Kit
M1 M2
MWJG-7 Assembly Manual Home&Garden
03/24 04/24
①
1
② ③ ④ ⑤ ⑥ ⑦ ⑧ ⑨
1
1 1 1 1 1 2 1 1 1
1
⑩
⑬
⑫
⑪
1
1
⑭
Quantity
Quantity
Number
Number
①
②
③
④
⑤
⑥
⑦⑦⑧
⑨
⑩
⑪
⑫
⑬
⑮
⑮
⑭
1
⑮
A
B18
NO. QTYHardware List
C5
QTYHardware List QTYHardware List
4
H
G
Small Screw H
I14
Back plate nail
D
E
10
F
Small Screw E
1
NO. NO.
23
12
File Lever
5
M
QTYHardware List QTYHardware List
J23
K2
L4
QTYHardware List
2
Handle Kit
Shelf Support Nails
NO. NO. NO.
Three-in-one Connector Cover
Anti rollover parts
14''
F(A)L
F(A)R
F(B)L F(B)R

12.7mm/0.5in 12.7mm/0.5in
Use Accessory "F"
Side
panel
Side
panel
Drawer
Drawer side panel Drawer side panel
IMPORTANT PRECAUTIONS
Match the pre-drilled lead holes, and then fix
them with screws; (all accessory of our products
can use this method)
IMPORTANT PRECAUTIONS
PULL
PRESS
F(A)L/R
F(B)L/R
F(A)L/R
F(B)L/R
Press the plastic part and pull out
F(B) to separate the drawer slides.
The same method is used for the left and
right slide rails.
Fixed to the bottom of
the drawer side panel
F(A) F(B)
A
A
Section(A-A)
12.7mm/0.5in
Fixed on the side
panel of the cabinet
Step1
Step2
Before installing the drawer slide rail, F must be split into two parts, F (A) and F (B).
F(A)Fixed on the side panel of the cabinet,F(B)Fixed to the bottom of the drawer
side panel.
Normal
Status
3-Section Ball Bearing Drawer Slide Rail Kit
Please grip the F(A)
part while sliding the
F(B) part
Screw accessories "A" vertically into the
pre-drilled hole in the panel by hand as
shown in the figure.
Open
Lock
RIGHT TURN
UNTIL TIGHT
ENSURE THERE IS NO GAP
BETWEEN THE PANELS
A
AA
B or C
B for cabinet body,C(mini) for drawer
D
D
Cam Lock Nuts
Cam Screws
Wood Dowel Pins
A A
Assembly Instructions
IMPORTANT PRECAUTIONS
Use Accessory "A"、"B"/"C"、"D"
Crosshead Screwdriver
D
or
RIGHT
TURN
UNTIL
TIGHT
B or C
RIGHT TURN
UNTIL TIGHT
Crosshead
Screwdriver
ENSURE THERE IS NO GAP
BETWEEN THE PANELS
D
Horizontal
panel
Vertical
panel
B or C
A
Horizontal
panel
Vertical
panel
The relationship of "A", "B" or "C", "D" during installation
B for cabinet body,
C(mini) for drawer
B
Step1
Step2
Step2
MWJG-7 Assembly Manual Home&Garden
05/24 06/24
B for cabinet body,C(mini) for drawer Cam Lock Nuts

Dimensions unit: mm
(1in=1mm/25.4)
Pre-drilled holes match F(A) mounting holes
MWJG-7 Assembly Manual Home&Garden
07/24 08/24
Pull out this part
until it stops. At
this time, can see
all the mounting
holes.
STEP 1 Panel ②、③Installation(a)
Assembly Instructions
②
E
F(A)R
E
6x
F(A)L
E
E
E
Front
TOP
Behind
Bottom
Pre-drilled
Pre-drilled
Pre-drilled
Pre-drilled
F(A)
1x(Kit)
Pull out this part until it stops.
At this time, can see all the
mounting holes.
Pull out this part
until it stops. At this
time, can see all
the mounting holes. E
③
F(A)R
E
E
E
Front
TOP
Behind
Bottom
Pre-drilled
Pre-drilled
Pre-drilled
STEP 1 Panel ②、③Installation(b)
5596160
FrontBehind TOP
Bottom
160
12
7
13
54
48
54
48
5248

Note: The direction is relative to the installed state.
MWJG-7 Assembly Manual
9/24
STEP 1 Panel ②、③Installation(c)
A
A
A
A
A
A
A
A
Front
Behind
TOP
Bottom
Front
Behind
TOP
Bottom
A
10x
②
③
A
A
A
A
A
A
Home&Garden
10/24
STEP 2 Panel ①、⑤ Installation
A
Step 1
A (8x)
Step 2 A
After
A
A
A
A
8x
Note: The direction is relative to
the installed state. Front
Behind
Left
Right
⑤
54
①
A
A
A
A
A
A
Front
Behind
Left
Right
51
48
48
48
48
54
54
19 19
4x
D
D
D
D
D
D

Note: The direction is relative to the installed state.
STEP 4 Panel ④、⑤ Assembly
11/24 12/24
B
B
RIGHT TURN
UNTIL TIGHT
Crosshead
Screwdriver
ENSURE THERE IS NO GAP
BETWEEN THE PANELS
B
⑤
④
B
2x
Left
Right Front
Behind
B
50 48
Front
Behind
Bottom
TOP
151133
STEP 3 Panel⑦、⑧Installation
⑧
⑦
6x
D
2X
D
D
D
D
D
D
MWJG-7 Assembly Manual Home&Garden
51
48

STEP 5 Cabinet-body Assembly(a) STEP 5 Cabinet-body Assembly(b)
B
10x B
6x
Note: The direction is relative to the installed state. Note: The direction is relative to the installed state.
②
③
⑦
⑦
⑧
B
B
B
B
B
B
B
B
B
B
B
RIGHT TURN
UNTIL TIGHT
B
RIGHT TURN
UNTIL TIGHT
Front
Behind
Left
Bottom
Top
Right
Left
Right
Left
Front
Behind
Bottom
Top
Note: In order to explain clearly, this
step is divided into 2 steps. In fact,
these 2 steps can be carried out at
the same time.
B
RIGHT TURN
UNTIL TIGHT
B
B
B
B
B
B
①
②
③
⑤
④②
③
⑤
④
⑦
⑦
13/24 14/24
step1
step1
step1
step1
step2
step2
step2
step2
step2
step2
step1
step1
Front
Behind
Left
Right
Top
Behind

MWJG-7 Assembly Manual Home&Garden
15/24 16/24
The panel ⑮ plays a great role in the
stability of the whole cabinet.
If panel ⑮ is not in the state indicated
by "Picture 1" after ordering, please
remove the back panel and adjust it
before ordering panel ⑮, otherwise it
will affect the alignment of the panel
and the smoothness of the drawer
opening.
STEP 6 Check whether the cabinet is installed normally
90°
90°
90°
90°
90°
90°
90°
90°
90°
90°
90°
90°
Top
Bottom
Left Right
Front side I
14x
⑮⑮
STEP 7 The panel ⑮ installation
⑮⑮
I
I
I
I
I
II
I
I
I
I
I
I
I

MWJG-7 Assembly Manual Home&Garden
17/24 18/24
⑨
⑩
⑪
⑫
⑬
⑭
C
5x 6x
A
5x
EM
2x1x
F
5x
H
STEP 8 Lower drawer installation
C
C
C
CC
HH
HH
H
H
A
AA
A
AA
M1
M1
M1
M2
M2
RIGHT TURN
UNTIL TIGHT
F(B)R
E
E
Pre-drilled
(For accessory
positioning)
Pre-drilled
Pre-drilled
Pre-drilled
E
E
E
Step 1
Step 2
Step 3
STEP 9 Lower drawer assembly
Effect after installation
J
32x
J
H
M1 M2
Kit

MWJG-7 Assembly Manual Home&Garden
19/24 20/24
Step 1
Step 2
First open the drawer,
then insert the o in
order and put it down
STEP 11 Panel "G" assembly
G
4x
STEP 10 Remove the lower drawer

STEP 13 Active shelf assembly (a)
MWJG-7 Assembly Manual Home&Garden
21/24 22/24
STEP 12 Panel "K" assembly
Step 1
Set the hole position near
the wall
Step 2
Put the embedded part into
the hole
Step 3
Fix the accessories on the
wall and side panel
respectively
After
Confirm the cabinet and
lock the tie
K
2x
Step 1
Select the desired height
and put it in L
Step 2
Aim the board gaps down L
L
4x
⑥

WARNING
NOTE
IMPORTANT: Tipping can injure young children.
MWJG-7 Assembly Manual Home&Garden
23/24 24/24
STEP 14 Active shelf assembly (b)
You can adjust the position of parts according to your choice.
or
Right
Left
Other panana Indoor Furnishing manuals
Popular Indoor Furnishing manuals by other brands

SPIELTEK
SPIELTEK GC-100L-BP manual

Bob's Discount Furniture
Bob's Discount Furniture Chadwick Desk 20032326037 quick start guide

modway
modway Awaken EEI-6162 Assembly instructions

House Beautiful
House Beautiful 609868 Assembly instructions

GFW
GFW NARROW HALLWAY Assembly instructions

Ameriwood
Ameriwood 7224328PCOM Assembly instructions

Dawn
Dawn AAPS-4201 installation guide

Liberty Furniture
Liberty Furniture 824-C9000B Assembly instruction

Rauch
Rauch Flexx 22349.5530 Assembly instructions

DREAMS
DREAMS WESTCOTT BEDSTEAD quick start guide

Broyhill
Broyhill Magazzino HV-1201 Assembly instructions

Stern
Stern CLASSIC 101202 Assembly instruction