manuals.online logo
Brands
  1. Home
  2. •
  3. Brands
  4. •
  5. Panasonic
  6. •
  7. Air Conditioner
  8. •
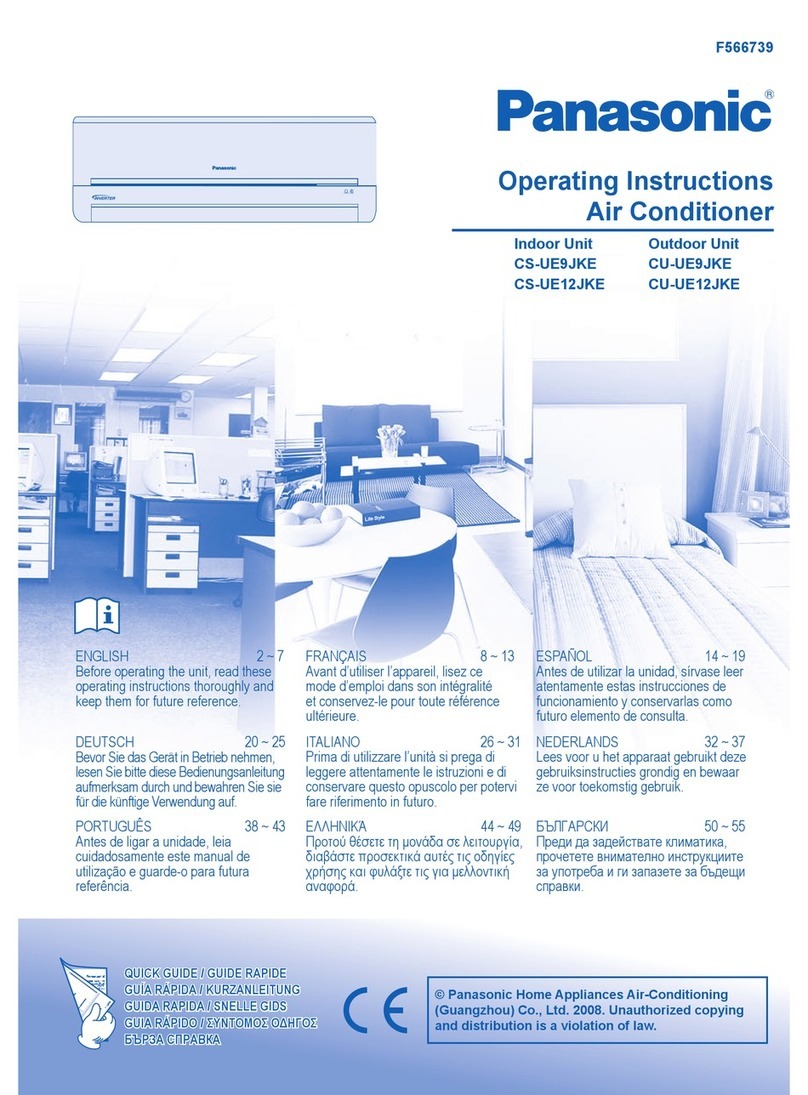
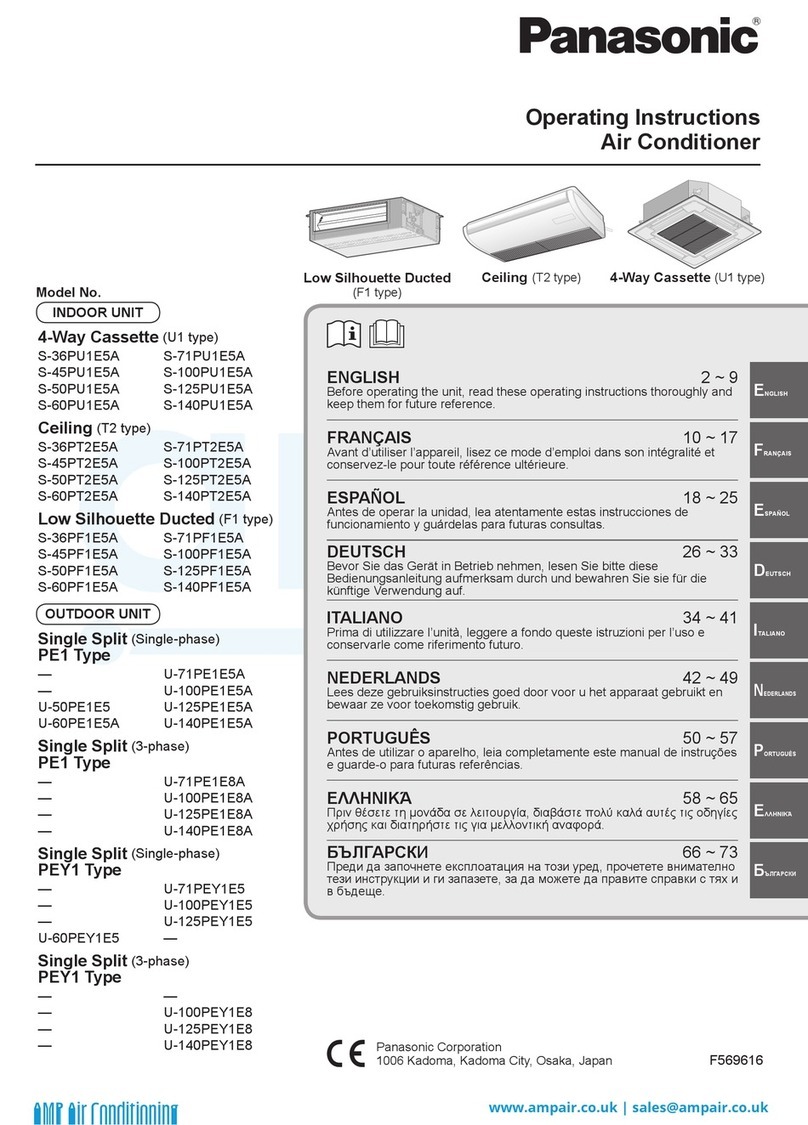
  9. Panasonic CW-C200NU User manual

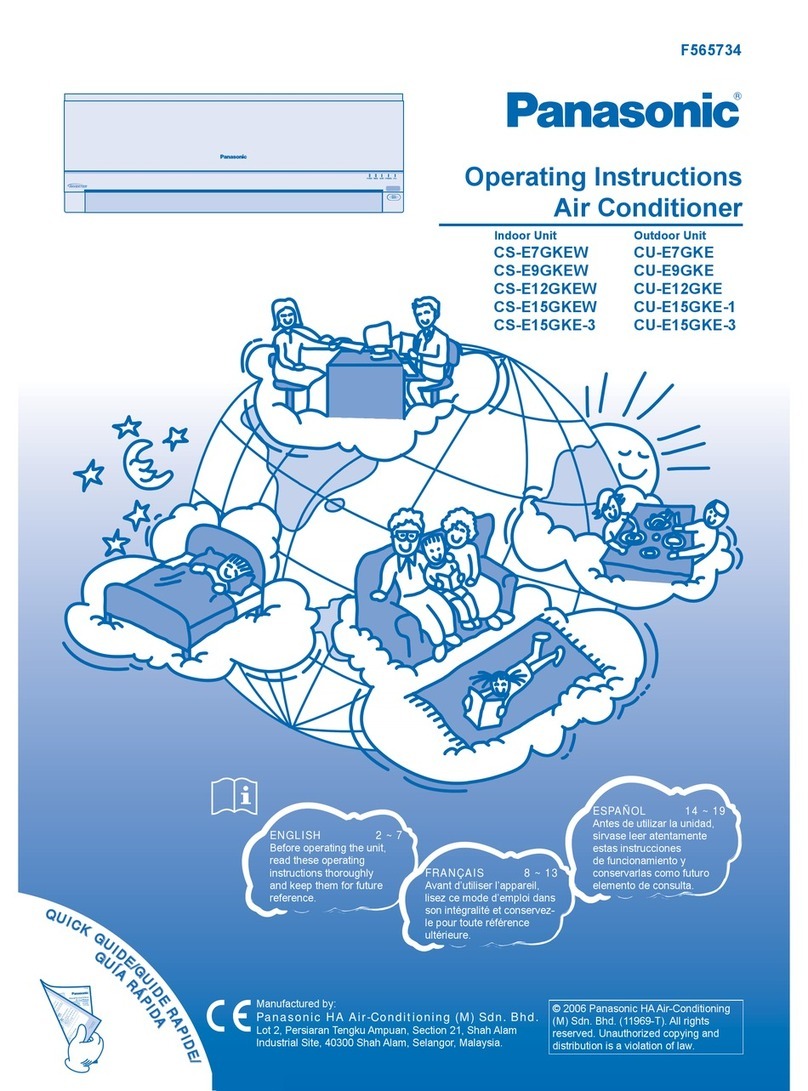
Panasonic CW-C200NU User manual

Other manuals for CW-C200NU

3

Other Panasonic Air Conditioner manuals

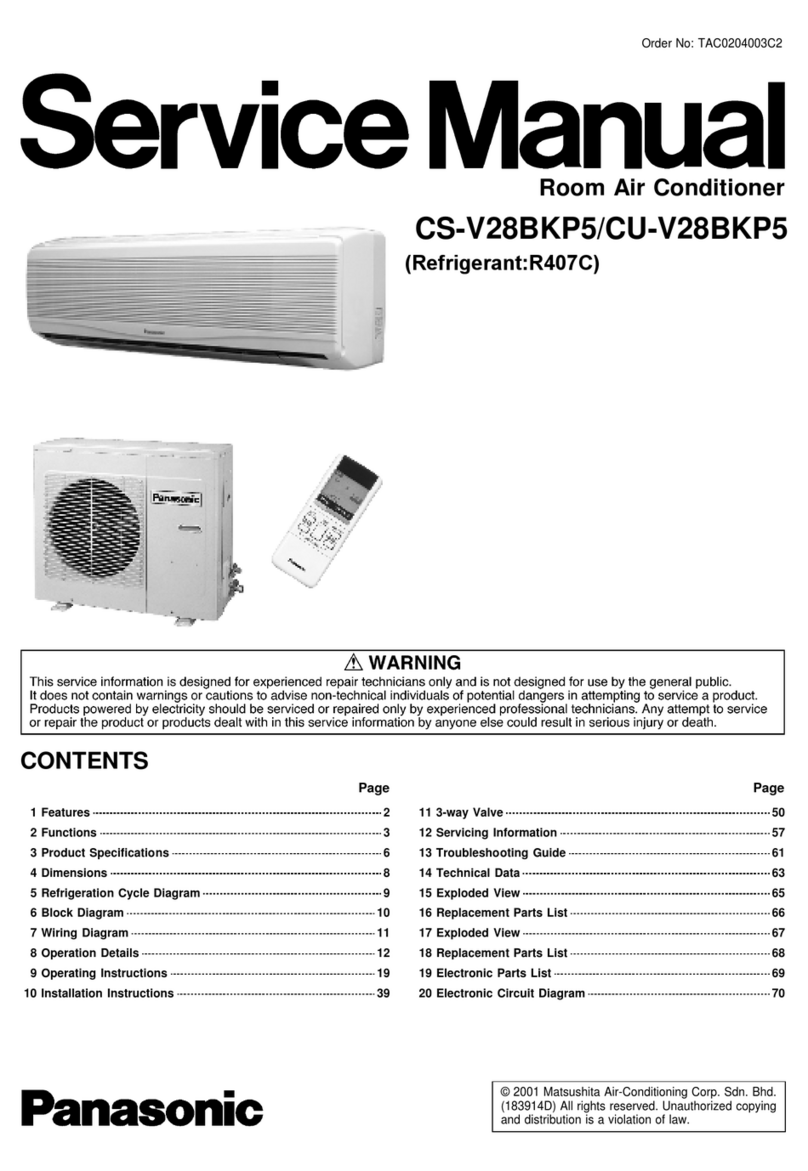
Panasonic CS-PN18ZKA User manual

Panasonic

Panasonic CS-PN18ZKA User manual

Panasonic CW-V1215VA User manual

Panasonic

Panasonic CW-V1215VA User manual

Panasonic CS-PW18GKE User manual

Panasonic

Panasonic CS-PW18GKE User manual

Panasonic CS-KS12NB41 User manual

Panasonic

Panasonic CS-KS12NB41 User manual

Panasonic CS-YS9UKA User manual

Panasonic

Panasonic CS-YS9UKA User manual

Panasonic CS-G93KE User manual

Panasonic

Panasonic CS-G93KE User manual

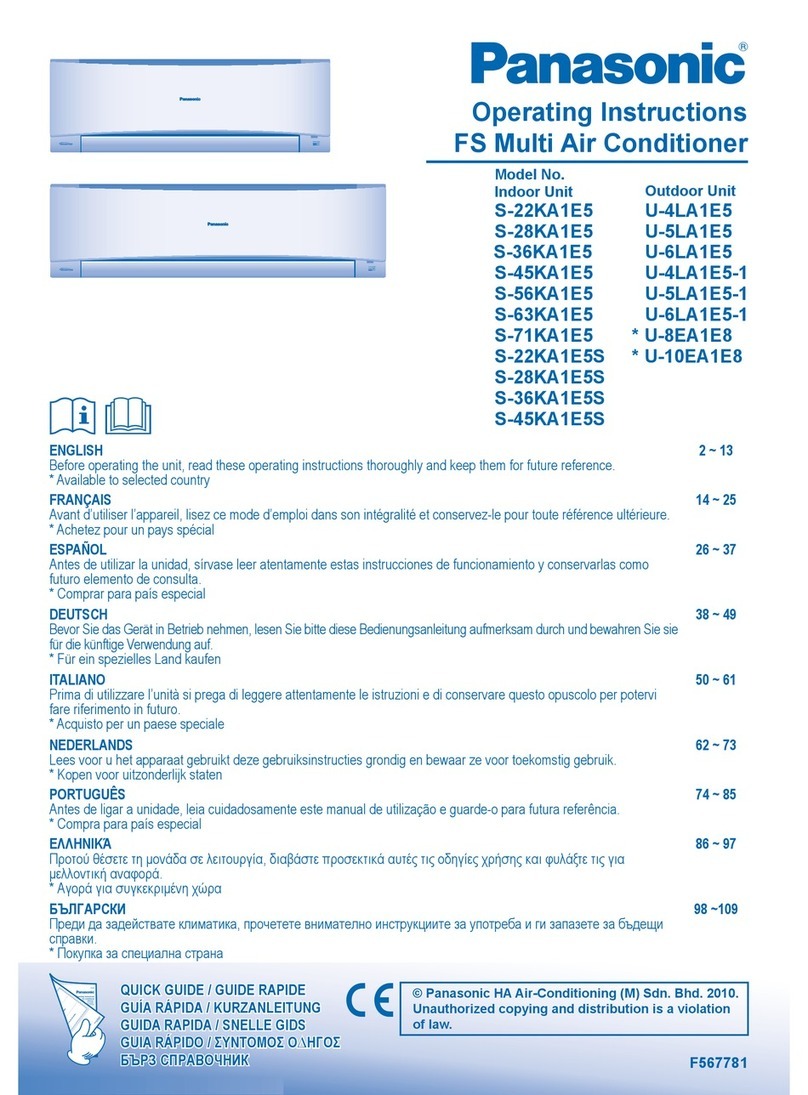
Panasonic Inverter R32 Series Manual

Panasonic

Panasonic Inverter R32 Series Manual

Panasonic CS-E9NKUAW User manual

Panasonic

Panasonic CS-E9NKUAW User manual

Panasonic CS-XU9ZKH-8 User manual

Panasonic

Panasonic CS-XU9ZKH-8 User manual

Panasonic CS-TZ20WKEW User manual

Panasonic

Panasonic CS-TZ20WKEW User manual

Panasonic CS-PU24XKH-8M User manual

Panasonic

Panasonic CS-PU24XKH-8M User manual

Panasonic DMR-EH58EC User manual

Panasonic

Panasonic DMR-EH58EC User manual

Panasonic CS-RE9MKD-2 User manual

Panasonic

Panasonic CS-RE9MKD-2 User manual

Panasonic WH-ADC0309H3E User manual

Panasonic

Panasonic WH-ADC0309H3E User manual

Panasonic CS-E7PKEW User manual

Panasonic

Panasonic CS-E7PKEW User manual

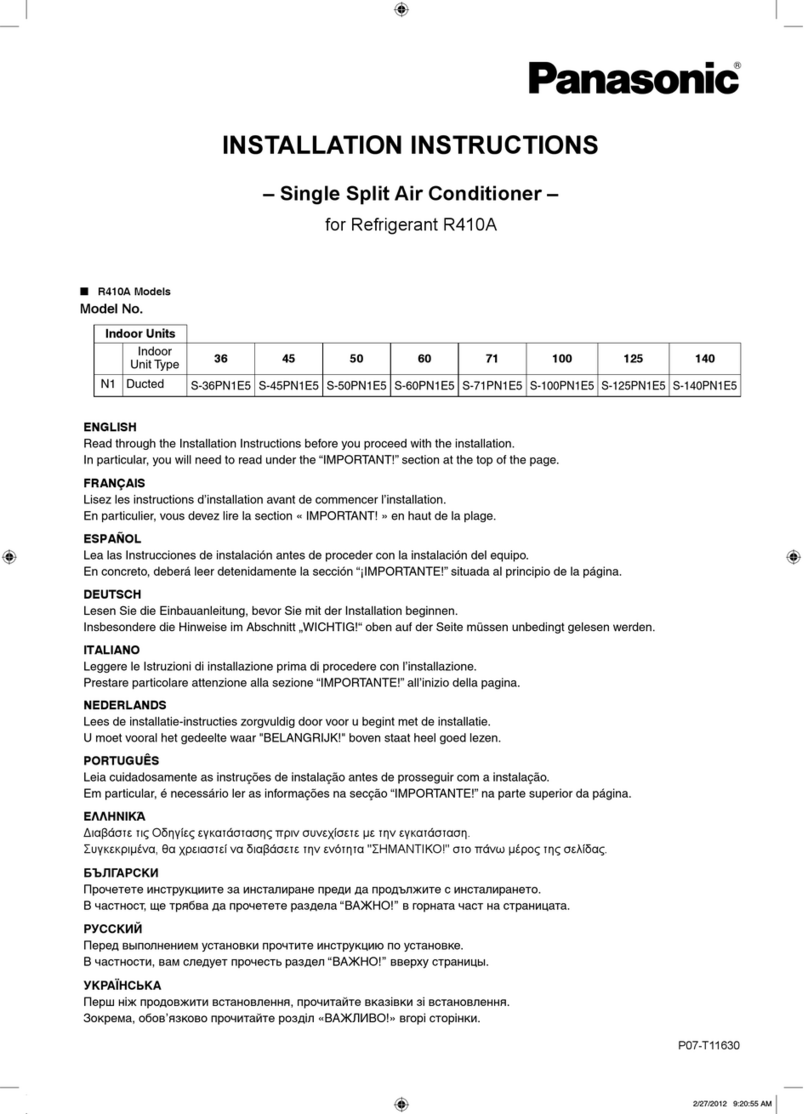
Panasonic S-36PU2E5B User manual

Panasonic

Panasonic S-36PU2E5B User manual

Panasonic CW-C501RU User manual

Panasonic

Panasonic CW-C501RU User manual

Panasonic CS-E9RKUAW User manual

Panasonic

Panasonic CS-E9RKUAW User manual

Panasonic CS-A7BKP User manual

Panasonic

Panasonic CS-A7BKP User manual

Panasonic CS-U12UKY User manual

Panasonic

Panasonic CS-U12UKY User manual

Panasonic CW-1805SU User manual

Panasonic

Panasonic CW-1805SU User manual

Panasonic CS-TU12VKYF Series CS-TU18VKYF Series User manual

Panasonic

Panasonic CS-TU12VKYF Series CS-TU18VKYF Series User manual

Panasonic CS-V9BKPG User manual

Panasonic

Panasonic CS-V9BKPG User manual

Panasonic CS-PS9UKA User manual

Panasonic

Panasonic CS-PS9UKA User manual

Popular Air Conditioner manuals by other brands

Fujitsu ASYG 09 LLCA installation manual

Fujitsu

Fujitsu ASYG 09 LLCA installation manual

York HVHC 07-12DS Installation & owner's manual

York

York HVHC 07-12DS Installation & owner's manual

Carrier Fan Coil 42B Installation, operation and maintenance manual

Carrier

Carrier Fan Coil 42B Installation, operation and maintenance manual

intensity IDUFCI60KC-3 installation manual

intensity

intensity IDUFCI60KC-3 installation manual

Frigidaire FAC064K7A2 Factory parts catalog

Frigidaire

Frigidaire FAC064K7A2 Factory parts catalog

Sanyo KS2432 instruction manual

Sanyo

Sanyo KS2432 instruction manual

LG MultiV Series installation manual

LG

LG MultiV Series installation manual

CLIMAVENETA a-CHD U-2T 606+2209 OPERATING AND INSTALLATION Manual

CLIMAVENETA

CLIMAVENETA a-CHD U-2T 606+2209 OPERATING AND INSTALLATION Manual

Midea EWK06CW5 user manual

Midea

Midea EWK06CW5 user manual

Pioneer FAB Series installation manual

Pioneer

Pioneer FAB Series installation manual

SPT WA-1511S user manual

SPT

SPT WA-1511S user manual

Mitsubishi Electric Mr.Slim MSZ-A24NA operating instructions

Mitsubishi Electric

Mitsubishi Electric Mr.Slim MSZ-A24NA operating instructions

Mitsubishi Electric PUHZ-RP50VHA4 Service manual

Mitsubishi Electric

Mitsubishi Electric PUHZ-RP50VHA4 Service manual

Gree GWH18TC-K3DNA1B/I Service manual

Gree

Gree GWH18TC-K3DNA1B/I Service manual

Friedrich ZoneAire Compact P08SA owner's manual

Friedrich

Friedrich ZoneAire Compact P08SA owner's manual

Daikin R32 Split Series installation manual

Daikin

Daikin R32 Split Series installation manual

Daikin FFQ09Q2VJU Operation manual

Daikin

Daikin FFQ09Q2VJU Operation manual

Taurus Alpatec R750 manual

Taurus Alpatec

Taurus Alpatec R750 manual

manuals.online logo
manuals.online logoBrands
  • About & Mission
  • Contact us
  • Privacy Policy
  • Terms and Conditions

Copyright 2025 Manuals.Online. All Rights Reserved.

Installationand
OperatingInstructions
A
_ • ._i T _ _, ,7
RoomAir Conditioner
....... -- _ 4_ @b!t
Model : CW-C200NU
/
Panasonic_
I
I1|11
F563045
Thank you for purchasing a Panasonic product
This Panasonic Room Air Conditioner has been designed to keep your room
comfortably cool with maximum energy efficiency and minimal noise.
...... "......... L
REFERENCE
Model Number :
f
Serial Number :
(Located on theside af unit)
T
Dealer's Name :.................................................................
Dealer's Address : ..............................................
[ ! {{ ]i i F L!
Dealer's Tel :
L
Dateof Purchase :
?
Pleasestaple your receipt of purchase here for future records.
e-l-filter
Table of Contents
Contenido Pages
P6ginas
Before Use
Antes de Usar ProductSpecifications........................... 4
Especificacionesdel Producto
ImportantSafely Precautions................. 5 - 7
Precaucionesde Seguridad Importantes
How to Install
Coma Instalarlo Air Conditioner Installation ................... 8 -15
Instalaci6ndel Acondicionador de Aire
How to Operate
Como Utilizar Air Conditioner Operation .................... 16-1 7
Operaci6n del Acondicionador de Aire
Helpful Reminder
Advertencia Util EnergySaving Hints............................. 18-19
Consejosde Ahorramiento de Energia
If Necessary
Si es Necesario Care and Maintenance ......................... 20-21
Cuidadosy Mantenimiento
BeforeCalling for Service..................... 22-23
Antesde LlamarPara Mantenimiento
3
Product Specifications
Especificaciones del Producto
Model
Modelo CW-C200NU
Cooling Capacily (Btu/h) 20000 20300
Capacidad de
Enfriamiento (Btu/h) 20000 20300
lo
Electrical Rating
Clasificaci6n de la
Electricidad
Phase
Fase
Frequency (Hz)
Frecuencia (Hz)
Voltage (V)
Voltoje (V}
Current (amps)
Corriente (amps)
Input (watts)
Entrada (watts)
60
60
(inches)
(pulgadas)
208 230
208 230
10.3 9.5
10,3 9,5
2100 2130
2100 2130
FER (Blu/watt-h) 9.5
EER (Btu/watt-h) 9,5
Moisture Removal (pints/h) 5.9
Deshumidificaci6n (pintas/h) 5,9
Air Circulation (Cf/min) 510
Circulaci6n del Aire (CF/min) 510
Dimension Height
Dirnensiones Alto
Width (inches)
Ancho (pulgadas)
16-7/8
16 7/8
26
26
Depth (inches) 28-25/32
Profuncfidad (pulgadas) 28-25/32
Net Weight (Ibs) 138
PesoNeto (libras) 138
Gross Weight (Ibs) 162
PesoBruta (libras) 162
Toaccommodate further improvement of the product, the above specifications are subject to change without notice.
Lasespecificaciones estan sujetas a cambios por mejoras sin previo aviso.
4
Important Safety Precautions
Precauciones de Seguridad Importantes
Ill Pleaseobservethefollowingsafetyprecautionswhenusingyourairconditioner.
Parfavorobservelassigulentesprecaucionesdeseguridaclcuandousesuacondicionadordeaire.
Ifyou fail toobservetheprecautions,it couldresultin fires,electricalshocksor personalinjury.
Siustedno observalasprecauciones,puederesuharen incendia,choqueel_ctricoo heridaspersanales.
aT hissymbol(witha blackbackground)denotean actionthat isCOMPULSORY.
Estesimbalo(conunfando negro}denata una acci6nqueesOBUGATORIA.
_) Thissymbol(witha white background) denotean actionthat isPROHIBITED.
Esteslmbalo(conunfondoblanca)denotouna acci6nqueesPROHIBIDA.
InstallationPrecautions
PrecaucionesdeInstalaci6n
0•Becauseof theheavyweight of this product, we
recommendthat you havea helper to assistin the
installation.Toavoid in ury, useproper method
for ifling. Avoid any sharpedges.
• Debidoa que esteproductoesmuy pesado,le
recomendc:mosque tengaun asistenteLoara
ayudarlo en la instalaci6n. Para evitar lesiones,
useun modo propio para levantarlo. A[_,jesede
losfllosafllados.
O• Makesurethewindowframetobe usedcan
properlysupportthisproduct.
• Aseg0reseque el marco de la ventana que se
usar6puedesoportar apropiadamente este
producto.
(_• Do notinstalltheunit in placeswhere inflammable
gas, fumesor sootmay begenerated.
• No instaleel aparato cerca de un fugar dande
gasesinflamables,emanacionesde humo u
hollln, puedan set producidos.
• Thisproduct mustbe installedin accordancewith
all local codesand ordinances.
•F:steproductodebe seriestolodode acuerdocon
losleyesy regulacioneslocales.
Operation Precautions
PrecaucionesdeOperaci6n
O• O rate our air conditioner from a stable230-
po Y
208 VoltsAC supply.
•Hagafuncionar suacondicionadorde aire desde
una fuentede alimentaci6nde CAde 230-208
vo_tios.
• Plugintoa separate15 ampsgroundedoutletonly.
• EnchOfelos61oen untomacorrienteseparadode
15 amp conconexi6na tierra.
•Useofextensioncords
Avoidusingextensioncord. If thereareno
alternatives,ensurethat thecord isa ULlisted
3-wire grounding type, rated 250 voltswith a
minimumcurrent-carrying rating of 15amps-
number 14 or heavierwire.
•Utilizaci6nde cablesdeextensi6n
No usecablesde extensi6n.Si no existieraotro
posibilidad, deberia seruncablede 3 alambres
con conexi6na tierrade tipo UL,de 250 voltios
con un amperaieminimade 15 amp, de
alambre nOmero14 o mayor.
•Usea 15ampstimedelayfuseora circuitbreaker.
• Useun fusiblede retardode 15 ampo un
cortacircuitos.
• Do notunplugtheunitwhile it isoperating.Turn
theMain Switchto 'OFF'before unplugging.
• No desenchufeel aparato mientrasestc_
funcionando.Gire la perilla de controlprincipal
a la posici6n "OFF"antesde desenchutarlo.
LineCord Plug
Cable de Alimentaci6n
de Corriente
PlugType
Tipode Enchufe
Power Supply
Suministrode
Electricidad
Time Delay Fuse : 15 Amp
Fusiblede Retardo
CircuitRating Breaker : 250V
Nivel del Cortacircuitos
e-b
5
_an_. Tbis_nwarnsyouoflhepossibilityofdealhorseriousin_iftheinsm_onsarenotfoHo_
Advertcnc_Estasefialleadviertedelaposibilidaddemuerteoseriaslesionessi]asinstruccionesno
sonseguidas.
®
\
\
Do not pull the power cord as this will damage
the cord and may lead to serious electrical shocks.
Tounplug the power cord, hold the plug and pull.
No tire del cable de alimentaci6n ya que esto da_ar6
el cable y puede conducir a choques el6ctricos serios.
Para desconectar el cable de alimentoci6n, coja y tire
del enchufe.
®6
Do not touch or pull the power cord with wet hands.
No toque o ale el cable de alimentaci6n de
electricidad con las manos mojadas.
®Do not modify any parts of this product. Use only
the specified replacement parts.
No modifique ninguna parte de este aparato. Use
solamente los repuestos especificados.
6
Do not attempt to repair the unit by yourself.
Call your nearest servicenter.
No trate de reparar la unidad por si mismo.
Llame al centro de servicio mos cercano.
®
®
®
®
Camion:3_is_nw_of_pos_ofpmdnctorpropertydamageifhmmcfi_notfonow_L
C_dado:Estaserialadviertesobrelaposibilidaddedafioalproductooalapropiedadsihs
instrucdonesnosonseguidas. Do not obstruct the air intake of the evaporator as this
will result in reduced cooling power and abnormal
operation. Make sure there are no furnitures,curtains
and window blinds blocking the front of the unit.
No bloquee la entrada del aire del evaporador ya
que esto puede resultar en poder reducido de
enfriamiento y un funcionamiento abnormal.
Aseggrese de que no haya muebles, cortinas y
persianas que bloqueen la parte delantera deJaparata.
not put sticks, rods or any other foreign objects
into any parts of the unit.
No ponga palos, ca_as u otros obietos en ninguna
parte de la unidad.
Do not operate the unit with the front grille removed.
No haga funcionar ta unidad sin la rejilla frontal.
Do not operate the unit without the air filter.
No haga funcionar la unidad sin el filtro de aire.
Save These Instructions
Guorde Estas Instrucciones 7
Air Conditioner Installation
Instalaci6n del Acondicionador de Aire
fINSTALI_TION BOX CONTENTS "_
CONTENIDO DE LA CAJA DE INSTALACION
Type C screw
Tornillo tipo C
Top mountin 9
Type A screw roll
Torniflo tiF_ ARiel angular
_ superior
/
Type E screwy /
Tornillo llpo E
Left window Filter panel /"
Panel _;Itro !odo izquierdo Type D
Tornillo tlpo D
Type Fscrew
Tornillo tipo F
90 ° bracket
Sopor te on
Sealing ribbon
Precinto sellador
Sellodor 5% [18 oz)[Masil]a)
__Sash gasket
Cinto selladofo
Ascrew
Type A screwy Support
Tomillo tipo Abrac_:el
SCREWSFURNISHED Es_.od,
(seesamples) I_q_iordol
Adjusting bolt
TORNILLOSSUMINISTRADOS P..... ius*ador
(vea las muestras)
Type A Type B Type CType DType IE Type F
T=poA T_poH TipoC Tip0D TipoE TipoF
Tornillo
¢ipoF Type ASupport
Tornil]o 90 _ bracket bracket
tipo A Soporte (right)
ongular 90 _ EscuQdra
soporte
Iderocha}
Type E screw
Tornillo tipo E
it window filler panel
Ifihro [ado dcrecha
Tyl_ pad No Fllmmrk Coment_no Qty I
I
B 45g0345 Tapping_ew Torni_i_De Pun_ura 3
CCWXYE6÷FIO TappJngScrew To_nilioDe Pun_ura 3
04S802_1 Machine Scre,w Tomiliepa_s_u_ _
Machln_Screw To_o p_:_ _u_r_a I'
SUGGESTED TOOLS LIST
LISTA DE HERRAMIENTAS SUGERIDAS
Medium size screwdriver (#2 Phillips)
Destornillador mediono (Phillips No 2} Pencil
Lc_piz
TapeMeasure
Cinta metrico
Knife or Scissors Level
Cuchilta o tijeras Nivel
WINDOW REQUIREMENTS
REQUISITOS DE LA VENTANA
\
÷ Hot sun rays hitting the outside surface of the cabinet will create considerable heat load. Ifthe outside of the
cabinet is in direct sunlight, consider building an awning to shade the cabinet while provi'ding ample area for
the hooted air to be exhausted from the condenser (both sides)and the top.
This unit is designed for installation in standard double hung windows.
NOTE: Theunit mayalsobeinstalled"throughthewall". Youshould,however,observe
standardcarpentrypracticesand frametheopeningwithoutviolatinglocalordinances.
÷ Losrayos solares que tocan la superficie exterior de la caia crear6n uno
considerable cargo de calor. Si la parte que da al exterior de Jacaja est6 bojo
la luz directa del sol, coasidereel construir un toldo para dar sombra pero dejando
espacio suficiente pare que el aire caliente pueda ser expulsado del condensador
(en ambos lados) y porte superior.
Esteaparato est_dise_ado para serinstalado en ventanas levadizas dobles.
NOTA: Esteaporato tambi_nsepuedeinstalar"o trav_sde la pared". Enestecaso,sedeber6n
realizer trabajosde carpinterioy construirunaestructuraen la aberturade acuerdocon losreglamentoslocales. J
SELECT THE BEST LOCATION (Single or Double hung window)
ELIJA LA MEJOR UBICACI()N (Ventana de guiUotina simple o doble)
Indoorside
Lado interior
Window Outdoorside
Ventana Ladoexterior
23 inches
23 pulgadas
STEP 1
STEP2
STEP3
STEP4
Paso 1
Paso 2
Paso 3
Frontgrille _ _ []
ReiilJafrontal i _ [] (minimum)
12pulgadas
(mmimo)
Morethan4 inches
Masde 4 pulgadas
HOW TO REMOVE THE FRONT GRILLE
COMa REMOVER LA REJiLLA FRONTAL
J
__ Removethe2 screwsfromthefrontgrille.
__ At bottomrightsideoffrontgrille,pressinwardon cabinetnearthepowercord, andpullthegrilleoutwardtotherightuntil
righttabreleases. TopTo61
Cintas Coblr_t
__ At bottomleftside,pushinwardoncabinetand pullthegrille outwardtotheleftto releasethelefttab. SuflerioresCaia
DOnotpull thebottomedgetowardsyoumorethan3inchesastopreventtop two tabs
__ Slidethefrontgrilleupwardtofreethetwotoptabsfrom Fr_tGril_e
slotsatthetopoFthecabinet.
-- Aemuevalosdostornil!osdela rejillafrontal.
__ Enla porteinferiorderechade lo rejillafrontal,presione
haciadentroenelmuebleolledodelcord6nde alimentaci6ny
tiredela rejillohacioFuera,hacio6 derecha,hastadesengancharla lengLietoderecha. P_,_co_d
Cablede
__ Enel ladoinferiorizquierdo,presionehaciadentroen e!muebley tirede la rejillohaciafuera, rob olimento¢ior_
haciala izquierdo,poradesengancharla leng_ietaizquierda. Lo_
No tiredel bordein_erior,haciausted,m6sde3 pulpodos_araimpedirquelosdoslengOetassuperioresseda_en.
__ Desliceta reiillafrontalhaciaarribapara liberorlasdoslengLietassuperioresdelosranurasen la portesuperiordelmueble_.
O
Paso 4 9
rPREPARATION OF AIR CONDITIONER CHASSIS
PREPARACION DEL CHASIS DEL
ACONDICIONADOR DE AIRE
It is much easier and also safer to install an empty cabinet in a window and we suggest you to
do so.
NOTE: Do not remove any internal styrofoam from the unit, it is part of air guider.
Do not pull on 'STYROFOAM AIR GUIDER as damage may occur.
1. Remove the air conditioner from carton.
2. Remove 2 screws from rear side of cabinet.
3. Remove the chassis locking bracket and save for later use.
4. Remove the chassis grounding screw ancl save for later use.
5. Slide out the chassis from the cabinet by pulling on the chassis grip.
Es mucho mas f_cit y tambi6n seguro instalar la caja vacia en la ventana y le sugerimos que
asl Io haga.
NOTA: No remueva ninguna espuma poliestirenica del interior de la unidad, esta forma parte
de la guia de aire.
No tire de la GUJA DE AIRE DE ESTIROESPUMA pues puede da_orla.
1. Retire el acondicionador de aire de su envoLtura.
2. Retire los dos tornillos del lade posterior de la caja.
3. Retire las m6nsulas de retenci6n del chasis y gu6rdetas pora uso posterior.
4. Retire el tornil_o de puesta a tierra del chasis y gu_rdelo para uso posterior.
5. Desfice hacia afuera el chasis de la caja tirando del asidero del chasis.
Evaporatorcoil
Serpentin
evaporador \iabinet
Caja
Condenser coil
Serpenfin condensador
base
Base del ¢hasis
(Separates indoorfrom outdoor side)
Re_erzo (SeparQel interior del exterior)
Grounding Power cord
Grip wire location Cable de aLimentaci6n
Cable de
alimentaci6n
10 1