manuals.online logo
Brands
  1. Home
  2. •
  3. Brands
  4. •
  5. Panasonic
  6. •
  7. Camera Accessories
  8. •
  9. Panasonic WV-Q160C User manual

Panasonic WV-Q160C User manual

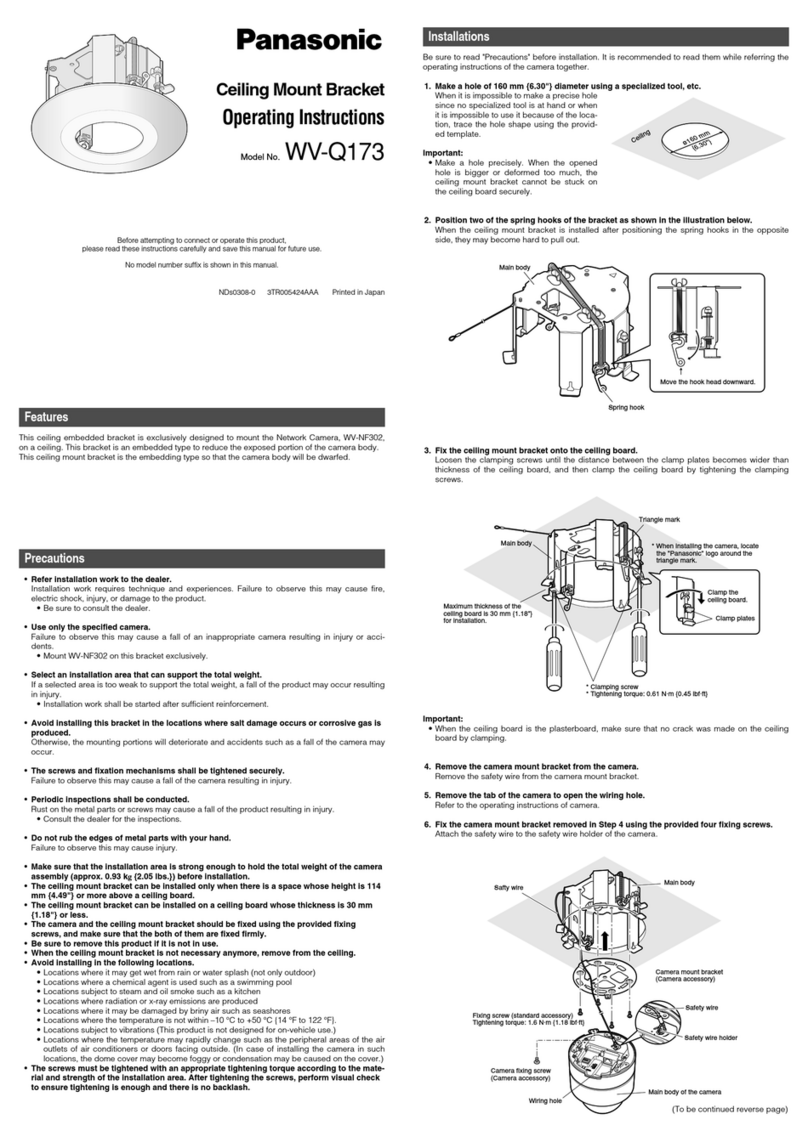
Preface
This ceiling mount bracket is exclusively designed to mount the network camera. Refer to the catalog or
the installation guide of the camera for supported cameras.
• WV-Q160C: Clear dome cover
• WV-Q160S: Smoked dome cover (approx. 50 % of transmittance)
Precautions
• Use only the specified camera.
Failure to observe this may cause a fall of an inappropriate camera resulting in injury or accidents.
Refer to the catalog or the installation guide of the camera for supported cameras
• Avoid installing this bracket in the locations where salt damage occurs or corrosive gas is
produced.
Otherwise, the mounting portions will deteriorate and accidents such as a fall of the camera may
occur.
• Refer installation work to the dealer.
Installation work requires technique and experience. Failure to observe this may cause fire, electric
shock, injury, or damage to the product. Be sure to consult the dealer.
• Do not install this product in locations subject to vibration.
Loosening of mounting screws or bolts may cause'a fall of the product resulting in injury or acci-
dents.
• Install this product in a location high enough to avoid people and objects from bumping
the product.
Failure to observe this may cause injury.
• The measures of protection against a fall of the camera shall be taken.
Failure to observe this may cause a drop resulting in injury. Be sure to install this bracket-specific
safety wire.
• Periodic inspections shall be conducted.
Rust on the metal parts or screws may cause a fall of the product resulting in injury. Consult the
dealer for the inspections.
Parts and functions
Note:
• Remove the notch with a nipper.
• If a tiepin type microphone is used, mount the microphone on the rubber-made microphone stand.
Unless the microphone is used, cut the rubber with a nipper or conduct another treatment.
Important: In order to avoid injury and to protect the cable, file the edge of the notch.
LOCK
OPEN
Notch for network cable,
monitor output cable, etc.
Dome cover
Ceiling mount bracket
Hole for microphone cable
Microphone stand*
Installations
Be sure to read "Precautions" before installation. The
Installation Guide of the network camera shall be read
as well.
1. Install the inner cover.
Slide the covers located on the both lateral sides
of the camera and put the inner cover on the
camera until the hooks inside the inner cover are
held in the holes of the camera (until a click is
heard).
Important: Put the inner cover down on the cam-
era until the outside cover of the camera can-
not be seen from the opening (from which the
camera lens is visible) of the inner cover. If this
integration is not successfully performed, the
inner cover may be removed or the hidden part
at the top of the screen may become larger in
the WIDE mode.
Cover
Hook
Put on until a click is
heard
Inner cover
How to remove the inner cover
Press the inner cover from the front and rear
sides inward (at the same vertical position as
the hooks) to bend the cover and remove the
cover from the camera.
Press from the front and rear
sides inward to bend
(To be continued reverse page)
Before attempting to connect or operate this product,
please read these instructions carefully and save this manual for future use.
The model number is abbreviated in some descriptions in this manual.
Operating Instructions
Ceiling Mount Bracket
Model No. WV-Q160C
WV-Q160S
Ns0817-0 PGQX2212ZA Printed in China
Precaution for installation
This product is designed to be used indoors. This product is not operable outdoors.
In order to prevent injury, the product must be securely mounted to a ceiling according to
Installation Guide.
• Make sure that the installation area is strong enough to hold the total weight of the camera assem-
bly (approx. 1.4 kg{3.1 lbs.}) before installation.
• The screws that secure the ceiling mount bracket (provided with the camera) in the ceiling are not
supplied. Prepare them according to the material and strength of the area where the product is to
be installed. In this case, wood screws and nails should not be used.
• Do not place this product in the following places.
• Locations where a chemical agent is used such as a swimming pool
• Locations subject to moisture or oil smoke such as a kitchen
• Locations that have a specific environment that is subject to an inflammable atmosphere or sol-
vents
• Locations where a radiation, an X-ray, a strong radio wave or a strong magnetic field is generated
• Locations near coasts directly subjected to sea breezes, or locations subject to corrosive gases
such as from hot springs, volcanic regions, etc.
• Locations where the temperature is not within –10 °C - +50 °C {14 °F - 122 °F}.
• Locations subject to vibrations, such as on vehicles, marine vessels, or above product lines (This
product is not designed for on-vehicle use.)
• Locations where it may get wet from rain or water splash (including under the eaves, etc.)
• Locations subject to moisture or dust
• Locations subject to condensation as the result of severe changes in temperature (In case of
installing the product in such locations, the front cover may become foggy or condensation may
be caused on the cover.)
• The screws and bolts must be tightened with an appropriate tightening torque according to the
material and strength of the installation area. After tightening the screws or bolts, perform visual
check to ensure tightening is enough and there is no backlash.
• The pull-out strength of the installation area shall be 196 N {44 lbf} or more per 1 screw.
2. Mount the camera.
The camera shall be mounted on the camera mounting bracket (supplied with the camera) after
mounting this bracket on a ceiling.
For further information, refer to the Installation Guide of the network camera.
eTurn this bracket clockwise until the projection of the camera mounting bracket aligns with
"LOCK" of this bracket.
Specifications
Ambient temperature: –10 °C to +50 °C {14 °F to 122 °F}
Dimensions: ø185 mm × 163 mm (H)
{ø7-5/16 inches × 6-7/16 inches (H)}
Mass: Approx. 230 g{0.51 lbs.}
Finish: Main body : ABS resin with silver metallic coating
Dome cover :
PMMA resin Clear WV-Q160C
Smoke WV-Q160S
LOCK
OPEN
Safety wire
Safety wire hook
LOCK
OPEN
LOCK
OPEN
Projection of camera mounting bracket
LOCK
OPEN
LOCK OPEN
LOCK OPEN
w Mount this bracket on the camera with
aligning the projection of the camera
mounting bracket with "OPEN" of this
bracket.
Note: Make sure to face the bracket in a
direction its Panasonic logo aligns with the
one on the camera.
Important: Use caution not to catch the
cables.
Standard Accessories
Operating Instructions (this book) ......................... 1 pc.
The following are for installation.
Inner cover ........................................................... 1 pc.
Installations (continued)
3. Install this bracket.
qConnect the safety wire locked on this
bracket to the safety wire hook.
Make sure that the apical ring of the
safety wire is engaged with the safety wire
hook of the camera by pulling the safety
wire after connection.
4. Remove the protection sheet from the dome cover.
Remove the cover film from the dome cover after the installation is completed.
Note: When the tilt angle of the camera is almost level, the upper side of images will be hidden by
the bracket reflecting on the screen. In such a case, adjust the tilt angle. Refer to the Operating
Instructions of network camera for further information.
Projection of the camera
mount bracket
For U.S. and Canada:
Panasonic System Communications
Company of North America,
Unit of Panasonic Corporation
of North America
www.panasonic.com/business/
For customer support, call 1.800.528.6747
Two Riverfront Plaza, Newark, NJ 07102-5490
Panasonic Canada Inc.
5770 Ambler Drive, Mississauga, Ontario, L4W 2T3 Canada
(905)624-5010
www.panasonic.ca
© Panasonic Corporation 2017
For Europe and other countries:
Panasonic Corporation
http://www.panasonic.com
Panasonic Corporation
Osaka, Japan
Authorised Representative in EU:
Panasonic Testing Centre
Panasonic Marketing Europe GmbH
Winsbergring 15, 22525 Hamburg, Germany

This manual suits for next models

1

Other Panasonic Camera Accessories manuals

Panasonic AWPH300 - INDOOR PAN/TILT HEAD User manual

Panasonic

Panasonic AWPH300 - INDOOR PAN/TILT HEAD User manual

Panasonic WV-Q152C User manual

Panasonic

Panasonic WV-Q152C User manual

Panasonic DMW-DCC5 User manual

Panasonic

Panasonic DMW-DCC5 User manual

Panasonic Lumix TZ7 User manual

Panasonic

Panasonic Lumix TZ7 User manual

Panasonic DMW-DCC10 User manual

Panasonic

Panasonic DMW-DCC10 User manual

Panasonic HHR370AH User manual

Panasonic

Panasonic HHR370AH User manual

Panasonic DMW-DCC13 User manual

Panasonic

Panasonic DMW-DCC13 User manual

Panasonic WV7220D - CCTV ACCESSORIES User manual

Panasonic

Panasonic WV7220D - CCTV ACCESSORIES User manual

Panasonic DMW-VF1PP User manual

Panasonic

Panasonic DMW-VF1PP User manual

Panasonic KX-HNP100C User manual

Panasonic

Panasonic KX-HNP100C User manual

Panasonic PPDW12 Operation manual

Panasonic

Panasonic PPDW12 Operation manual

Panasonic VARICAM AU-VCVF2G User manual

Panasonic

Panasonic VARICAM AU-VCVF2G User manual

Panasonic Micro-Imagechecker AX30 User manual

Panasonic

Panasonic Micro-Imagechecker AX30 User manual

Panasonic DMW-LVF2PP User manual

Panasonic

Panasonic DMW-LVF2PP User manual

Panasonic ER-CBL1 User manual

Panasonic

Panasonic ER-CBL1 User manual

Panasonic CF-VZSU53AW User manual

Panasonic

Panasonic CF-VZSU53AW User manual

Panasonic BB-HGW700A - Network Camera Router User manual

Panasonic

Panasonic BB-HGW700A - Network Camera Router User manual

Panasonic AW-CH600 User manual

Panasonic

Panasonic AW-CH600 User manual

Panasonic WG-PT100 User manual

Panasonic

Panasonic WG-PT100 User manual

Panasonic WV-7150D User manual

Panasonic

Panasonic WV-7150D User manual

Panasonic WV7230D - PAN/TILT RMTE CNTRLR User manual

Panasonic

Panasonic WV7230D - PAN/TILT RMTE CNTRLR User manual

Panasonic AK-UHD12G User manual

Panasonic

Panasonic AK-UHD12G User manual

Panasonic AJ-VF20WBPE User manual

Panasonic

Panasonic AJ-VF20WBPE User manual

Panasonic AW-PB504N User manual

Panasonic

Panasonic AW-PB504N User manual

Popular Camera Accessories manuals by other brands

Ozito POWER XCHANGE PXBP-520 instruction manual

Ozito

Ozito POWER XCHANGE PXBP-520 instruction manual

GLG Creator Basic Battery DLX user manual

GLG

GLG Creator Basic Battery DLX user manual

Sachtler S2051-0001 user guide

Sachtler

Sachtler S2051-0001 user guide

Quantum FastStor 2 operating instructions

Quantum

Quantum FastStor 2 operating instructions

CENTRAK ITAK-356 Technical bulletin

CENTRAK

CENTRAK ITAK-356 Technical bulletin

Sailor BP4680 Technical manual

Sailor

Sailor BP4680 Technical manual

oConnor 1040 user guide

oConnor

oConnor 1040 user guide

Ikelite 9304.53 instruction manual

Ikelite

Ikelite 9304.53 instruction manual

SWELLPRO GC2-S user guide

SWELLPRO

SWELLPRO GC2-S user guide

Carbest LifePO4-Akku Li100BT User instruction

Carbest

Carbest LifePO4-Akku Li100BT User instruction

Sony MPK-DVF7 O-ring Maintenance manual

Sony

Sony MPK-DVF7 O-ring Maintenance manual

EnerSys Oerlikon Perfect Plus Instructions for use

EnerSys

EnerSys Oerlikon Perfect Plus Instructions for use

BPE PowerDepot BPE-LFP-5.12-WM user manual

BPE

BPE PowerDepot BPE-LFP-5.12-WM user manual

American Technologies Network TICO series Operator's manual

American Technologies Network

American Technologies Network TICO series Operator's manual

Vello BG-N7-2 user manual

Vello

Vello BG-N7-2 user manual

COHU 7140 Installation and operation manual

COHU

COHU 7140 Installation and operation manual

pellenc OLIVION + operating instructions

pellenc

pellenc OLIVION + operating instructions

Iron Edison REVOLT4 IE51100RV4 user guide

Iron Edison

Iron Edison REVOLT4 IE51100RV4 user guide

manuals.online logo
manuals.online logoBrands
  • About & Mission
  • Contact us
  • Privacy Policy
  • Terms and Conditions

Copyright 2025 Manuals.Online. All Rights Reserved.