Panasonic RS-808 User manual

SPECIFICATIONS
‘Track
System:
|
Tape
Speed:
-
Pea
Wow
and
Flutter:
Signal-to-Noise
Ratio:
Fast
Forward
Time:
Inputs:
Outputs:
|
Motor:
~Head:.
Power
Consumption:
Weight:
Frequency
Response:
_
|
1-DC
motor
1-3
in
1
head
Power
Requirements:
AC
110/125/220/240V,
50/60
Hz
preset
Dimensions
(HxWxD):
speculeationss:
are
subject
to
change
without
notice.
~~
8-track
2-
channel.
stereo
,
recording
and
play-
back
9.5
cm/s,
(3-3/4
ips)
_
0.12%
(WRMS).
50-13,000
Hz
45dB:0
3
approx.
480
sec.
with
300
feet
tape
MIC;
sensitivity
0.2
mv
applicable
microphone
impedance.
6000-20
ka
LINE;
sensitivity
60
mV,
input
impedance
150
ka
LINE;
output
level
0.5
V,
| -
load
impedance
50
ka
over
HEADPHONE;
output
level
60
mV,
impedance
80
~
power
voltage;
220V
for
Eirepe.
125V
for
Asia
24
WwW
13.6
cm
x
36
cm
x
25.1
cm
(5-3/8”
x
14-1/4"
x
9-7/8”)
3.9
kg
(8
Ibs
10
02)
|
Matsushita
Electric
Industrial
Co,
Ltd.
:
|
Panasonic
Tokyo.
1-2,
1-
chome,
Shiba-
koen,
Minato-
ku,
Tokyo
105,
Japan
|
Matsushita
Electric
Sales
(Europe)
G.m.
b.
H.
.
2000
Hamburg
36,
Jungfernstieg
40,
F.R.
Germany
QQT2287
F0378h0
Printed
in
Japan.
8
Track
Stereo
Record
Deck
MODEL
NO.
RS-808
|
Panasonic’
Before
operating
this
set,
please
read
these
instructions
completely.
Thank
you
for
selecting
this
Panasonic
8
track
Stereo
Record
Deck.
|
For
correct
use
of
this
unit,
please
read
eee
operating
instructions
carefully.
TYPICAL
FEATURES
OF
MODEL
RS-808-
Auto/Manual
Peoaiark
Selection
with
LED
indicator
Auto-
-Stop
Mechanism
with
LED
indicator.
Convenient
Mode
Selector
:
Separate
Left
and
Right
Level
Controls
Two
VU
Meters
:
Time
Counter
7
Voltage
Adjustment
SETTING
OF
VOLTAGE
_
SELECTOR
LOCAL
VOLTAGE
1.
2.
3.
4.
Lockable
Pause
Control
5.
6.
7
This
Record
Deck
can
be
operated
directly
from
household
eutvent
(AC)
as
indicated
on
the
CAUTION
card
attached
to
this
unit.
If
you
use
the
Record
Deck
on
different
voltage,
set
the
Record
Deck
to
the
local
voltage.
ee
setting,
turn
the
evollade
selector
with
a
Sere
GIVE
TE
AC:
100,
|AC:
110,
|
AC:
200,
AC:
220,
115, 117,
|
210V
120,
125V
|
90/60
Hz}
50/60
Hz}
50/60
Hz|
50/60
Hz
VOLTAGE
SELECTOR
SH

PRECAUTIONS
1.
Avoid
using
or
placing
this
unit
near
any
source
of
high
temperature.
To
do
so,
could
affect
transistor
characteristics
and
cause
a
deterioration
in
performance.
The
excessive
heat
could
cause
deformation
of
the
cabinet.
©
|
.
Do
not
bring
articles
of
metal
or
Magneuc
material,
suchasa
screwdriver
_
or
magnet,
near
the
tape
head.
Pew!
.
Do
not
clean
the
cabinet
with
benzine
or
thinner,
‘clean
it
with
a
cloth
:
dampened
with
soapy
water.
|
Magnet
Screwdriver
Thinner
or
Benzine
CIrAe.
MAINTENANCE
ro
|
Clean
the
Head,
the
Sensing
Switch
and
Capstan
occasionally
(about
¢
every
i
|
10
hours).
Use
a
votes
Swab
or
a
Soft
Cloth.
:
:
7
if
nee
ae
of.
the.
‘Head,
a
are
extremely.
dirty,
apply.
a
small
amount
of
alcohol
to
he
-
Cloth
or
to
the
Cotton
Swab.
:
+
During.
the
cleaning
process,
Fe
“the
Leat
Switen,.
Leaf
Switch
Capstan
—
-
Sensing
Switch
Cotton
Swab
or
Soft
Cloth
—
Store
cartridges,
new
and
recorded,
in
a
place
which
is
free
from
excessive-
ly
high
temperature
and
humidity,
and
away
from
direct
sunlight.
Don’t
place
recorded
cartridges
near
any
magnetic
appliance
such
as
a
TV
set,
etc.
Sensing
Switch
and.
Capstan_
>
be
very
atid
to
bend
|
“OPERATION
NOTES
1.
Do
not
use
the
Pause
Button
for
stopping
tape
‘movement
fora
long
time
_
because
the
power
will
not
be
cut
off.
Be
sure
to
turn
off
the
Epewel,
and
~
remove
the
cartridge
from
the
Cartridge
Slot.
~
2
:
2.
After
playback
or
recording
is
finished,
be
sure
to
completely
remove
the
-
cartridge
to
prevent
tape
damage.
| |
~
3.
Do
not
pull
the
tape
out
of
the
opening
of
the
cartridge.
ie
do.
so,
mold
ae
”
cause
‘irregular
tape
movement
or
tape
damage.
|
7
4.
The
Cartridge
used
with
this
unit
should
meet
IEC
(International
Electro-
_
technical
.
Commission)
specifications.
Be
especially
sure
that
the
i
Sensing
Foil
on
the
tape
is
no
longer
than
1
inch
(2.5
cm)..
5.
Ifthe
motor
will
not
start
when
the
cartridge
is
inserted,
note
the
position
of
the
Sensing
Foil
on
the
tape.
If
the
tape
has
stopped
with
the
Sens-
|
ing
Foil
shown
in
the
figure
below,
move
the
tape
with
the
Pinch
Roller
.
using
your
finger
in
the
direction
of
the
arrow
until
the
Sensing
Foil
is
at
:
the
PIneN
Roller.
:
Sensing
Foil

Cartridge
Slot
CONTROLS
|
Time
Counter
&
Reset
Button
(TIME
COUNTER
MIN/SEC)
Program
Indicators
(1/2/3/4)
|
Program
Selector
(PROGRAM).
Headphones
Jack
(HEADPHONES)
Microphone
Jacks
(MIC
LEFT/RIGHT)
Record
Button
-
(RECORD)
_
Connection
Cords
(LINE
OUT/LINE
IN)
PREPARATIONS
FOR
PLAYBACK
OR
RECORDING
.
oa
ae
stor
CONTIN.
-
Bs
al
2
|
With
the
edge
of
the
cartridge
ene?
eee
‘
=
where
the
tape
is
exposed
and
| |
the
pinch
roller
on
the
right
hand,
insert
the
cartridge.
Ceererted
oo
4
CONNECTIONS
-
Record
Indicator
_
(RECORD).
-
Auto-Stop
Indicator
_
(AUTO
STOP)
—~-
Level
Meters.
-
(L/LEVEL/R)
-Level
Adjustment
Controls
(LEFT/LEVEL/RIGHT
MIN/MAX)
LINE
OUT.
-~Mode
Selector
.
|
-
((REC]1p
4
STOP-EACH
STOP)
([PLAY]
CONTIN-EACH
Srey:
Fast
Forward
Button.
LINE
IN”
(TAPE
PLAYBACK)
(REC
OUT)
(FF-—ON
MOFF)
Pause
Button
(PAUSE)
|
5
¢
When
2
microphones
are
used
in
order
to
record
in
stereo-—
.
phonic
sound,
be
sure
both
of
them
have
the
same
perfor-
mance
and
specification
standards.
Speaker
(L)
«
When
a
connection
is
made
to
either
the
left
(L’’)
or
right
(“R”)
Microphone
Jack,
the
sound
from
the
connected
channel
(left
or
right,
ony)
will
be
recorded.
: : :
‘FM
Tuner
~
OUTPUT
Record
Player
PLAYBACK
Ge
e666
(ormA
ott)
sneered
Antes
meses
sme
ny
Ds
ay
66
Panssonic
00060
Gi
AUTO
STOP
The
Auto-
-Stop
LED
Indicator
will
illuminate
(and
tape
will
stop)
only
-when
the
Mode
Selector
is
set
to
“EACH
STOP”.
|
Steews
secon
eenee
cer
To
stop
after.
.
| ,
MODE
SELECTOR
:
REC
|
PLAY
|
playing
back
a
ed)
[PLay]
desired
pro-
:
“(er
gram
:
:
With
the
edge
of
the
cartridge
Pinch
Roller
where
the
tape
is
exposed
and
Bs
as
—
eee
ee
em
ee
ee
re
eee
ee
eee
ee
eB
em
KK
ee
we
For
continuous
-
MODE
SELECTOR
the
pinch
roller
on
the
right
a
hand,
insert
the
cartridge.
Play-
playback
ee,
back
begins.
~When
the
Mode
Selector
is
Set
to
“CONTIN”,
the
CONTIN
-
>
Adjust
the
playback
output
level
by
using
the
Volume
Control
of
the
amplifier.
STOP
Remove
the
cartridge
at
any
desired
time
to
stop
Auto-Stop
LED
Indicator.
will
not
illuminate.

ec)
a
stor
CONTIN
he
a
25
With
the
edge
of
the
cartridge
—
go
Cone
7
—
where
the
tape
is
exposed
and
|
PN
the
pinch
roller
on
the
right
hand,
insert
the
cartridge.
iz
Oo
ra)
6
el
|
(rm
fe]
fe]
+
©
lo]
=
=
:
.
=
aaah
em
The
Auto-Stop
LED
Indicator
illuminates
to
indicate
that.
the
tape
has
stopped.
‘PROGRAM
INDICATOR
000
The
Program
LED
Indi-
dicate
the
program.
cator
illuminates
to
in-
|
ag)
erry.
teers
eee
oa
—
<
eas
|
FRG
Ci
ooee
Ocoee
|
fesume
|
Fe
:
AUTO
STOP
The
Auto-Stop
LED
Indicator
will
my
[LE
:
:
illuminate
(and
tape
will
stop)
only
when
the
Mode
Selector
is
set
to
“EACH:
STOP”.
G
©
©
Panssonic
(ec)
SELECTOR
,
To.
stop
after
|
-
playing
back
a
|
ea
desired
pro-
stoP
18
CONTIN
|
oe
ae
—_
ial
With
the
edge
of
the
cartridge
one.
ope
he
Oe
ee
a
eat
ea
oe
ae
Sa
Oo
on
a
KN
A
Bg
where
the
tape
is
exposed
and.
For
continuous
|
:
_MobE
SELECTOR
7
the
pinch
roller
on
the
right
[Re]
[PLay]
playback
:
a
Pas
- %
;
eg
STOP
CONTIN
-
aed
orks
ae
hand,
insert
the
cartridge.
Play-
4
back
begins.
When
the
Mode
Selector
is
set
to
“CONTIN”,
the
Auto-Stop
LED
Indicator
will
not
illuminate.
Remove
the
cartridge
at
any
egeiied
time
to
stop
ae
lavas
oS
*X
Adjust
the
playback
output
level
by
using
the
Volume
Control
of
the
amplifier.
EACH
STO
RECORDING
€
c0e6
fra)
deheet
cosene
meen
sane
To
stop
after
|
—
ee
:
‘The
Auto-Stop
LED
In-
recording
2
he
|
a=
dicator
illuminates
to
desired
pro-
=...
“@
CONT
indicate
that
the
tape
Peles,
8
Sees
has
stopped.
|
Depressing
the
Record
Button,
insert
the
cartridge
with
its:
.
pinch
roller
on
the
right
hand.
MIN
MAX
©
|
3
_
Refer
to
“RECORDING
LEVEL
CHECK.”
|
es
z
Terra
ota
tests
ae
ene
eee
eee
eee
lle
To
stop
after
nae
.
‘MODE
SELECTOR
~
Pinch
Roller
After
feeording’
bull
out
the
cartridge
from
the
ane
Slot.
.
ise
recording
14
fe
PLAY]
Note:
When
the
cartridge
is
in-
-
|
ea
ae
program
STOP
a
-serted
into
the
Cartridge
Slot,
:
|
“you
cannot
depress
fhe
Record
one
If
the
Recon
Button
i
is
depressed
when
the
eared:
is
inserted
into
the
Cartridge
Slot,
the
unit
will
record
on
the
tape,
and
existing
recordings,
if
any,
will
be
erased.
Be
careful
therefore
not
to
press
/
the
Record
Button
except
when
recordings
are
erased.
:
~
Button.
i
|
RECORDING
LEVEL
CHECK
pe
a
=
Siar
eee
MO
EAA
ee
ee
|
PAUSE
BUTTON.
i
persons:
being
recorded
are
advised
beforehand
CE
oo06
Denees
sence
merce
sent
Pause
Button
:
-
To
stop
tape
movement
temporarily
PAUSE
PAUSE
aN
LJ
LOCK
-
To
start
tape
movement
again.
PAUSE
PAUSE
Ysa
oo
ERASING
|
-
1)
MONITORING
When
new
recordings
are
made,
all
existing
recordings
are
automatically
erased
and
only
the
new
“Monitoring”
is
the
Seon
to
designate
listening
to
material
being
recorded
while
it
is
actually
being
recording
remains.
To
erase
recordings
completely,
without
making
a
new
recording,
set
the
Level
recorded.
Adjustment
Controls
to
the
minimum
Posittey
and
operate
the
unit
in
‘the
same
manner
as
>
for
This
permits
checking
that
the
recording
is
being
made
exactly
as
it
should
be.
To
listen,
connect
recording.-
|
a
Headphones
to
the
Headphones
Jack:
Stereo
Headphones
one
can
be
used
for
this
purpose.
Note
that
if
previous
recordings
are
Pant
completely
erased,
peulons
may
remain
between
parts
of
the
next
EECOraing,
Other Panasonic Tape Deck manuals

Panasonic
Panasonic SG-65 User manual
Panasonic
Panasonic RS-619 User manual

Panasonic
Panasonic RS-856 User manual

Panasonic
Panasonic SV-3500 Quick start guide

Panasonic
Panasonic RS-736US User manual
Panasonic
Panasonic DVC PRO Studio AJ-D950P User manual
Panasonic
Panasonic sv-3200 User manual

Panasonic
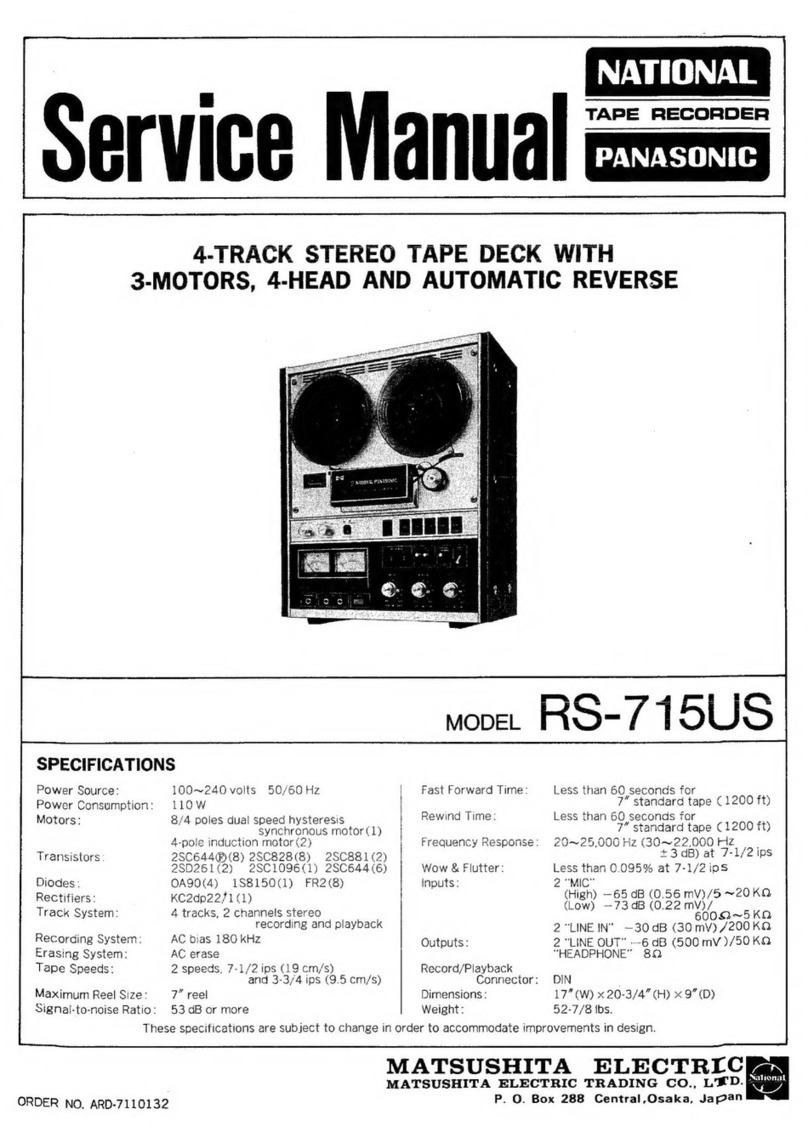
Panasonic RS-715US User manual