manuals.online logo
Brands
  1. Home
  2. •
  3. Brands
  4. •
  5. Panduit
  6. •
  7. Industrial Equipment
  8. •
  9. Panduit CVED40VEN Series User manual

Panduit CVED40VEN Series User manual

INSTRUCTIONS CM453
© Panduit Corp. 2010
FOR TECHNICAL SUPPORT www.panduit.com/resources/install_maintain.asp
Vertical Exhaust Duct for 40” Wide
N
ET
-A
CCESS
Extended Cabinet (CVED40VEN**)
**additional characters denote Vertical Exhaust Duct color other than textured black
(1) Telescoping Duct Assembly
Page 1 of 4
Component Guide
TOOL LIST
#2 Phillips Screwdriver
1/2” Socket Wrench
5/16” Socket Wrench
7/16” End Wrench
1/4” Socket Driver
(1) Hardware Kit
(not shown;
includes
foam seals)
(1) Top Collar Assembly
(shipped inside of duct assembly)
CVED40VEN**
CVED40VEN**
(fully extended)
Top Collar Assembly allows for
10” additional height adjustment
INSTRUCTIONS CM453
For Technical Support: www.panduit.com/resources/install_maintain.asp
Page 2 of 4
Mount Exhaust Duct to Cabinet
NOTE: For ease of installation, a minimum of (2) persons are suggested for this assembly step.
Lift exhaust duct assembly and position on top of cabinet and slide in place from rear of cabinet so that (4) clamping features engage with
top cap of cabinet. Base plate of exhaust duct has (4) locator tabs to assist with positioning of duct on top cap. Secure duct to cabinet wit h
(4) 5/16”-18 hex head bolts using 1/2” socket wrench as shown. Fasten (4) #12-24 hex nuts to (4) #12-24 hex head screws through
(4) clamping features using 7/16” end wrench for hex nuts and 5/16” socket wrench for hex head screws.
NOTE: INSTALL ADHESIVE FOAM SEALS ON TOP COLLAR PRIOR TO INSTALLATION OF EXHAUST DUCT TO CABINET.
Excess seal material to be trimmed after duct adjustments are made (See Page 4).
Mounting Plate
Top Cap
Clamping Features
(detail view)
(4) #12-24 Hex Head Screws
(use 5/16” socket wrench)
(4) #12-24 Hex Nuts
(use 7/16” end wrench)
SOME COMPONENTS REMOVED FROM VIEW TO ADD CLARITY
(4) 5/16”-18 Hex
Head Bolts
(use 1/2” socket wrench)
Position Duct Assembly
on Cabinet Top Cap
Locator
Tabs
Lift Duct
Assembly
(4) #12-24 Hex Head Screws
(use 5/16” socket wrench)
Clamping Features
(see detail view)
Clamping Features
(see detail view)
(4) #12-24 Hex Nuts
(use 7/16” end wrench)
INSTRUCTIONS CM453
For Technical Support: www.panduit.com/resources/install_maintain.asp
Page 3 of 4
Extend Telescoping Duct Assembly
Extend upper tier of duct assembly to desired height and install (4) #10-32 Phillips screws and lockwashers to support upper tier. Tighten all
#10-32 Phillips screws to 26 in-lbs. 2” spacing of threaded holes in upper tier of exhaust duct allows for variable height adjustment of
exhaust duct. 2” long slot in lower tier allows for additional fine adjustment of upper tier height.
TOP COLLAR NOT SHOWN IN VIEW FOR CLARITY
Install Screws
(4) #10-32 Phillips Screws
and Lockwashers
(4) #10-32 Phillips Screws
and Lockwashers
NOTE: Top collar is not shown
in view to add clarity.
2” Threaded Hole Spacing
(Upper Tier)
allows for variable adjustment
of exhaust duct height
2” Long Slot (Lower Tier)
allows for fine adjustment of
upper tier height
Extend Top Collar
Position top collar to desired height and install (4) #10-32 Phillips screws and lockwashers to support top collar as shown. Loosen #10-32
Phillips screws to make fine adjustments of top collar and tighten screws to secure top collar in postion. Tighten all #10-32 Phillips screws
to 26 in-lbs. Screws and lockwashers must be removed and re-installed to a different set of threaded holes to allow for an adjustment
greater than 2”.
Tighten ALL #10-32 Phillips
Screws to 26 in-lbs
INSTRUCTIONS CM453
For Instructions in Local Languages
and Technical Support:
www.panduit.com/resources/install_maintain.asp
E-mail:
[email protected]
Fax:
(708)444-6448
www.panduit.com
Page 4 of 4
Top Collar Preparation and Ganging of CVED40VEN
NOTE: Some adjustment to the leveling of the base of cabinet may be required for exhaust duct to align with exhaust ducts of adjacent
cabinets. (See CM443* for leveling instructions)
End seal brackets are adjustable to accomodate conditions between cabinets or at the end of a row. Adjust the end seal bracket as needed
by loosening (2) #10-32 nuts using a 7/16” socket wrench or end wrench. Extend the end seal bracket and retighten (2) #10-32 nuts. Trim
excess material from adhesive foam seals installed on top collar if necessary.
Install (2) ganging brackets to adjacent CVED40VEN ducts with (2) #10-32 Phillips screws and lockwashers per bracket as shown.
Ganging brackets attach to threaded holes on upper tier of exhaust duct.
Ganging Bracket
(2) #10-32 Phillips Screws
and Lockwashers
Ganging Bracket
(installed)
(2) #10-32 Phillips Screws
and Lockwashers
Ganging Bracket
End Seal Bracket
Loosen and retighten #10-32
nuts to adjust end seal bracket
(use 7/16” socket wrench or end wrench)
VIEW SHOWS
UNDERSIDE OF END
SEAL BRACKET

Other Panduit Industrial Equipment manuals

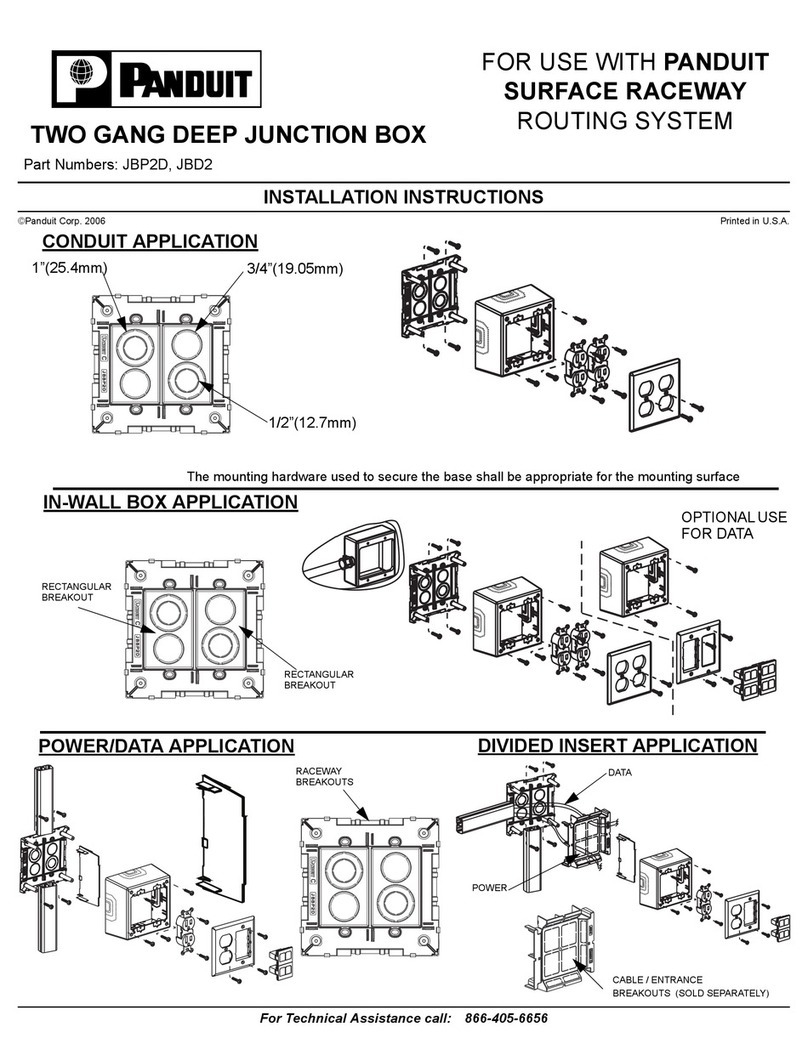
Panduit JBP2D User manual

Panduit

Panduit JBP2D User manual

Panduit R4PFP User manual

Panduit

Panduit R4PFP User manual

Panduit PES197 User manual

Panduit

Panduit PES197 User manual

Panduit FiberRunner QuikLock FR12X4 User manual

Panduit

Panduit FiberRunner QuikLock FR12X4 User manual

Panduit Smartzone PViQ Connectivity System User manual

Panduit

Panduit Smartzone PViQ Connectivity System User manual

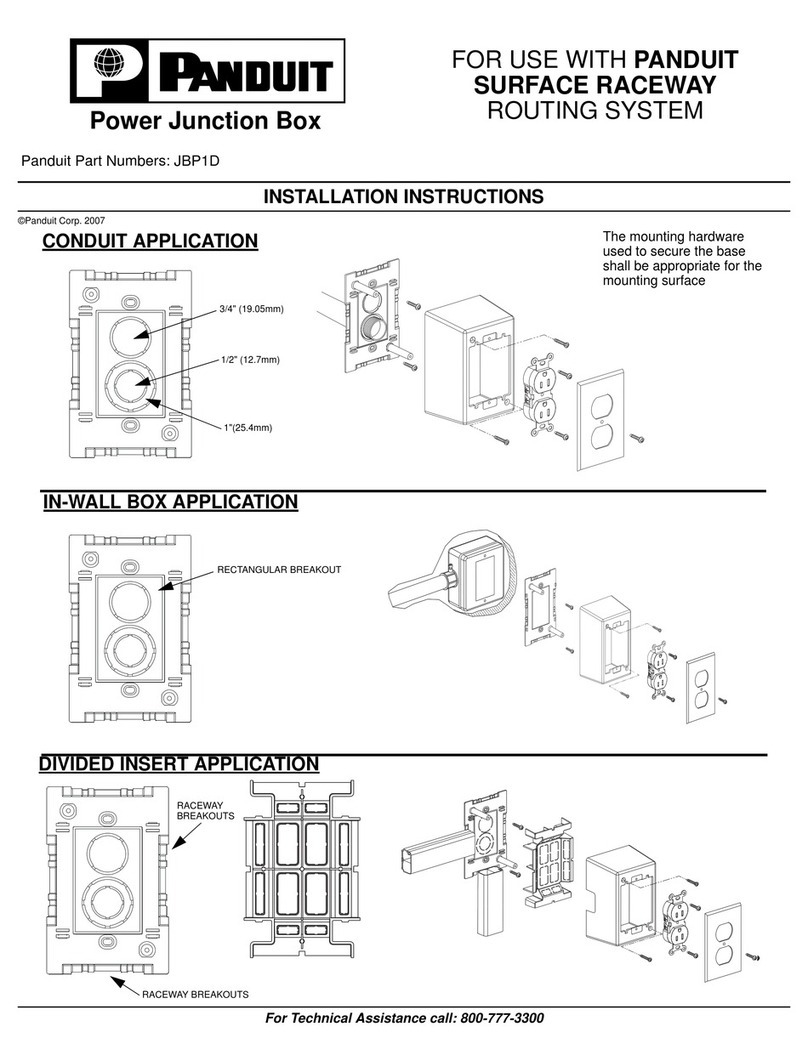
Panduit JBP1D User manual

Panduit

Panduit JBP1D User manual

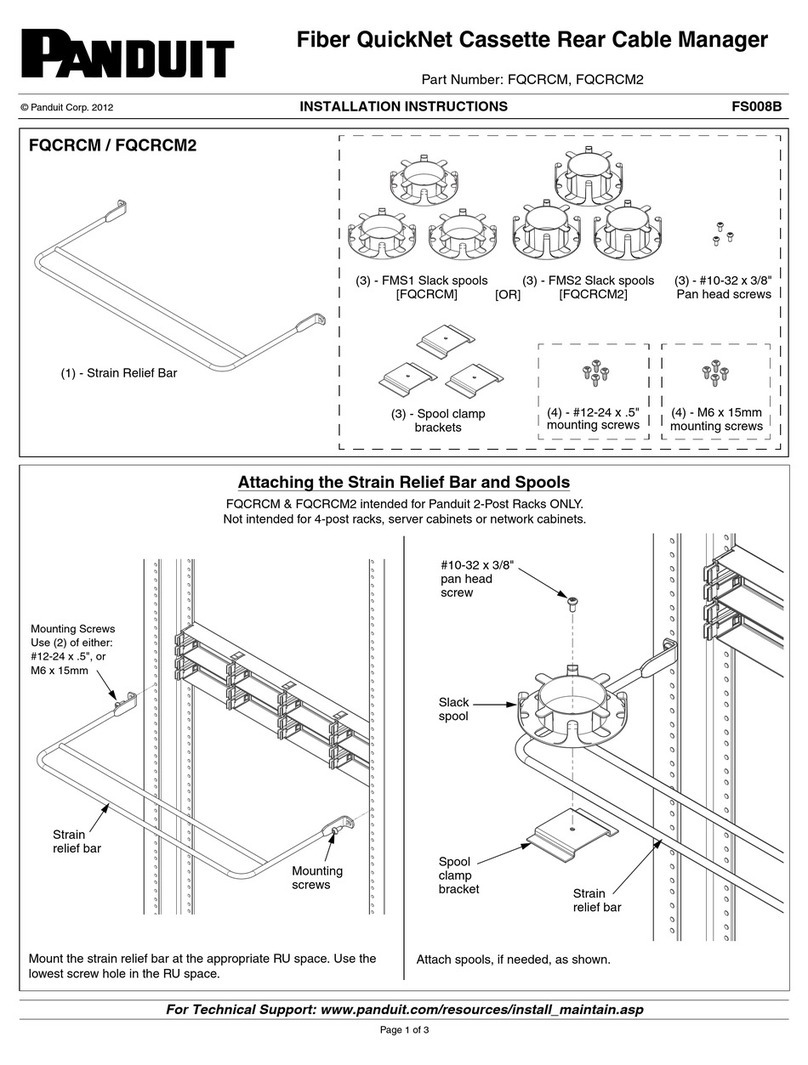
Panduit FQCRCM2 User manual

Panduit

Panduit FQCRCM2 User manual

Panduit FIBERRUNNER FZBLP User manual

Panduit

Panduit FIBERRUNNER FZBLP User manual

Popular Industrial Equipment manuals by other brands

ABB HT842985 Operation manual

ABB

ABB HT842985 Operation manual

Nexen AIR CHAMP TSE-450 user manual

Nexen

Nexen AIR CHAMP TSE-450 user manual

flamco FlexBalance EcoPlus C 1 Installation and operating instructions

flamco

flamco FlexBalance EcoPlus C 1 Installation and operating instructions

SCHUNK RH 901 K operating manual

SCHUNK

SCHUNK RH 901 K operating manual

Vixen Horns VXT3000AB installation guide

Vixen Horns

Vixen Horns VXT3000AB installation guide

SAMCHULLY MUT-600 instruction manual

SAMCHULLY

SAMCHULLY MUT-600 instruction manual

dymax 39380 Operation manual

dymax

dymax 39380 Operation manual

Au3Tech C4 Abridged user manual

Au3Tech

Au3Tech C4 Abridged user manual

ABB HT843301 Operation manual

ABB

ABB HT843301 Operation manual

DNS AS-410 Operation manual

DNS

DNS AS-410 Operation manual

ABB HT613265 Operation manual

ABB

ABB HT613265 Operation manual

GF COOL-FIT 2.0 Assembly instructions

GF

GF COOL-FIT 2.0 Assembly instructions

Siemens SIMATIC MV320 operating instructions

Siemens

Siemens SIMATIC MV320 operating instructions

THORLABS ELL6 operating manual

THORLABS

THORLABS ELL6 operating manual

Mankenberg FI 6.06 Original operating manual

Mankenberg

Mankenberg FI 6.06 Original operating manual

ABB HT601349 Operation manual

ABB

ABB HT601349 Operation manual

TERASAKI TemBreak instruction manual

TERASAKI

TERASAKI TemBreak instruction manual

Tiger TYAA211 User instruction manual

Tiger

Tiger TYAA211 User instruction manual

manuals.online logo
manuals.online logoBrands
  • About & Mission
  • Contact us
  • Privacy Policy
  • Terms and Conditions

Copyright 2025 Manuals.Online. All Rights Reserved.