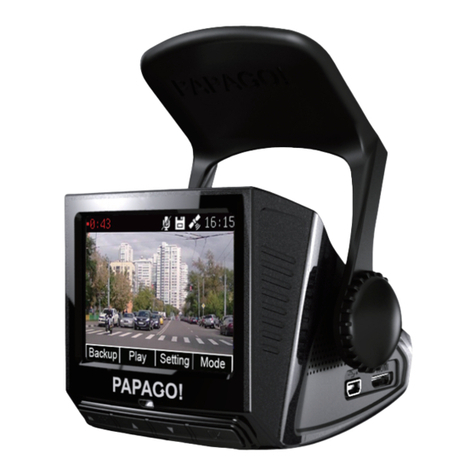
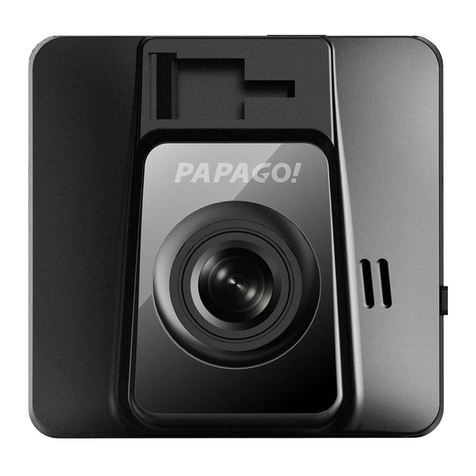
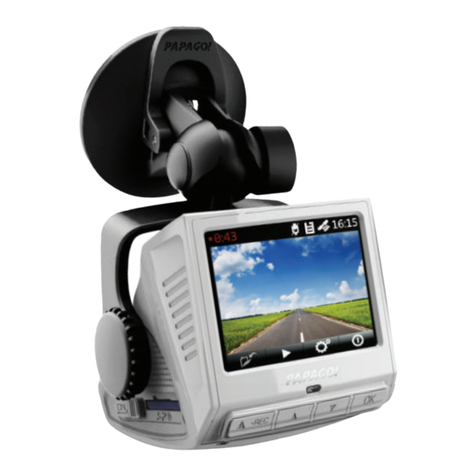
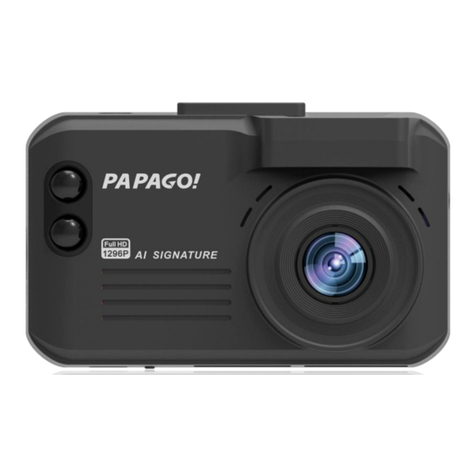
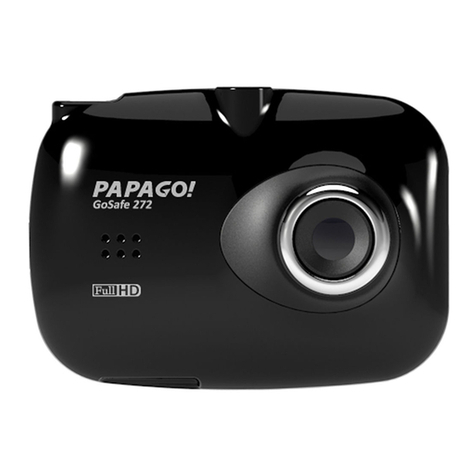
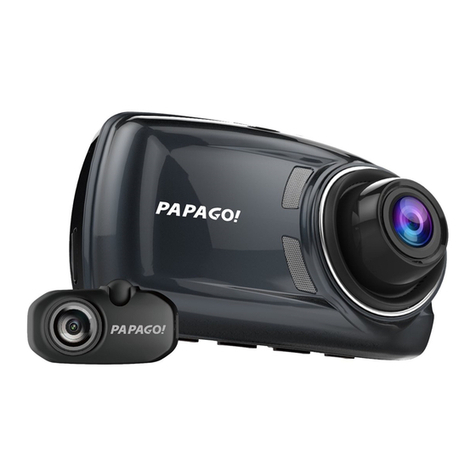
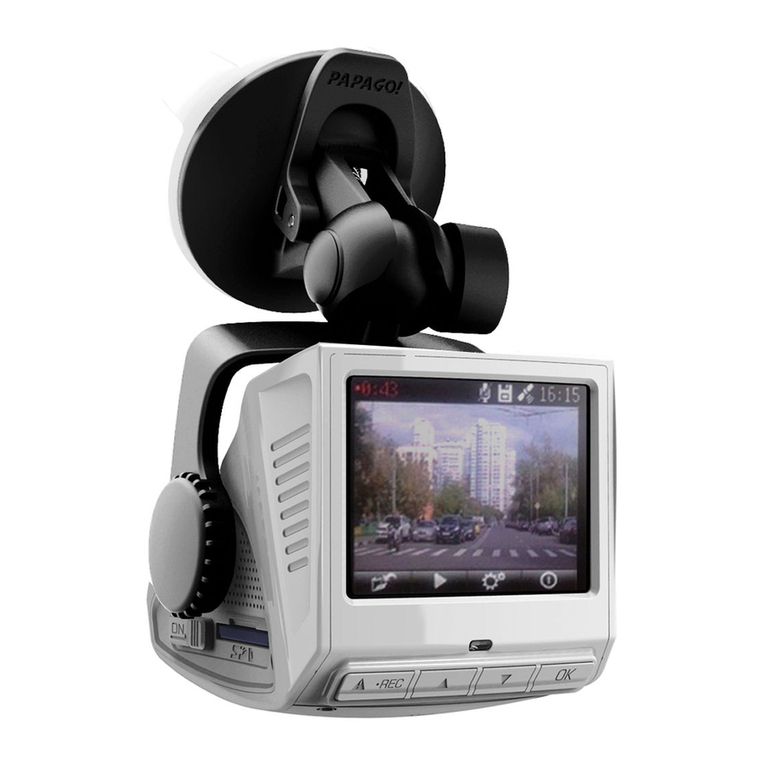
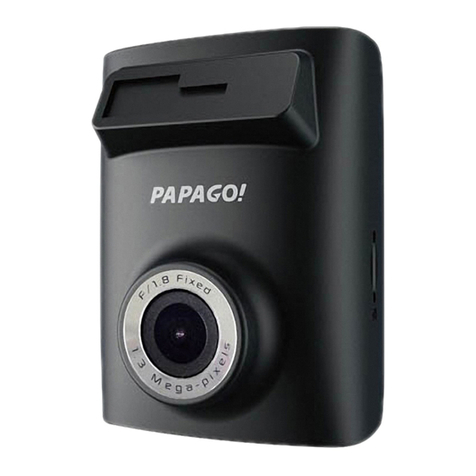
Papago GoSafe 220 User manual

PAPAG
O!®
Quick
Slarl
Guide

Disclaimer
1.Piease follow the set-up and usage instructions in the print material that
came with this Dashboard Camera (dash cam) product.
2.You should not seUinstall this dash cam at a place thatwould obstruct
or
reduce a driver's view; make sure yourusage comply with pertinent vehicle
codes
of
your state, province, territory
or
country.
3.You should post the required notices
of
recordation to occupants inside the
vehicle, ifvoices
or
other information/signal pertaining to in-vehicle
activities will be recorded.
4.You should not change the dash cam's setting
or
mode
of
operation when
the vehicle is in motion.
5.The optional driving warning signals, including any visual
or
audible
reminder signals, should not replace your decision-making and judgment
that are needed for the properoperation
of
the vehicle.
6.You should not leave the dash cam
in
a visible spot when no one is inside
the vehicle, to avoid attracting break-ins to steal the unit,
or
other property.
7.You should avoid extended exposure
of
the dash cam to direct sunlight
or
extreme temperatures (either high
or
lowtemperature) which tend to
degrade
or
damage the unit and its normal functionality.
8.You should examine, check and/or verify the dash cam at least every six
(6) months, including the associated memory cards, to ensure the video
reception and recording are working properly. Foreach use, you should
verify that the dash cam unit, the visible lights and the audible sounds are
working normally.
If
there are signs
of
non-operation
or
mal-function, you
should immediately seek to replace the product and check to see
if
the
product is covered underany applicable warranty.
9.The dash cam unit may have additional functionality, such as transmission
and recordation
of
audible
or
GPS signal
or
other identification information.
If
you have privacy concerns about these functions, make sure you follow
the instruction to disable these functions.
1
O.You
should use the dash cam unit
in
the way it is intended.
You
should
not use the dash cam unit in a way that would be illegal
or
that tends to
hysically damage the unit,
or
tends to cause dangerto the safe operation
of
the vehicle
or
the occupants.
English 1

Attention please
-----------------------'
[About
Usage]
CD
If
your
cigarette lighterstill provides powerwhen the vehicle is off,unplug
the device when you plan to have
your
vehicle parked
for
a long period
of
time to avoid draining
your
vehicle's battery.
@ The embedded Supercapacitors can help to save
your
recorded file even
if
the power is off.
®To
avoid file corruption,
do
not eject the Micro
SD
Card immediately after
powering off.
@ It is recommended to use the adapter provided.
@To
enable detecting and monitoring function, the powersupplier must be
enabled.
[About
Micro SD
Card]
CD
Use only Class
10
Micro SD cards with
at
least 8GB memory (up to
32GB).
@ Be sure to format Micro SD card before using.
®The
following information is the card capacity and recording time.
(reference only)
Resolution
BG
16G
32G
1080P
58
min
116min
233m
in
720P
60min
120min
250m
in
480P
86min
172min
344m
in
*Product features may change without notice accor-
ding to region
in
which it is purchased.
English 2

1.
Product Introduction
1.1
Package Contents
Checkthe items in your package with the list below. Ifany
of
the items in the
list are damaged
or
missing, contact your retailer.
G)
Device
DU
®Quick
Start Guide
® Suction Cup
Mount
® Warranty Card
0
®
Car
Charger
® 8GB MicroSD
English 3

1.2 Driving Recorder Overview
,,----------------
GD
®>
c,
------
@)
B,
------
~
@)A,------
~
English 4
PAPA
GO!
,
''
, ,
,
,
,
\
_________
@)
® ---------
...
,
' '' ,
,..------ ®
------
(j)
........
___________
®
(!)Mount
Bracket
@Lens
@LED
@Speaker
®Microphone
®Display
(!)Buttons
® Power Switch
®Reset
@)
A,
Mini USB Slot
B,
Micro SD Slot
C,
HD Out

2.
Installation and removal
2.1
Location
~---------------
~~
~~~
~
~
~
w
~
~
~
~
=
~
~
\·
~~
~---------r.~
Best
mounting
location
~==::::==~
: Windshield
I I
"'·----------'
Caution:
We
are
not
responsible
for
anydamagecaused to,
£
or
caused by,
the
air bag due
to
incorrectplacing
of
the
device
within
range
of
air bag areas.
(!)For
betterview, try to install in the center
of
the windshield.
@To
ensure view is clear, make sure the lens is located in a place where the
windshield wiperwipes the window.
®Make
sure the device is not installed where itwill interfere with air bags.
@Make
sure the device will not be obstructed
by
windshield's window tint.
® Clean the area you wish to place your dash cam before sticking the
device. DO NOT move the device for a period
of
24-hours.
English 5

3. Start and
Go
3.1
Power On
Insertthe carcharger cable into the car's cigarette lighterand insert the
other end into the Micro-USB port on the device. Make sure to install the
Micro SD Card into the Micro SD Card slot on device. After turning on, the
system will start recording automatically. The LED lightwill flash when
recording mode has started.
*Reminder: Please format Micro SD card before you start recording. Please
refer to page 2 for instructions.
3.2 Switching Modes
To
switch between recording, motion detection, and replay modes, you must
first stop recording.
To
stop recording, press
OK
button. The red dot on the
screen should stop flashing, meaning the recording has stopped. Press
mode until you reach the mode you're looking for. Ifyou go all the
way
around back to recording mode, you muststop the recording again to
proceed the search for the mode you're looking for.
3.3 Power Off
Hold down the power button
at
least 5 seconds to turn off device.
To
avoid
file corruption, do not eject the SD Card immediately after powering off.
If
you need to turn it back on, simply hold the power button for at least 3
seconds.
English 6

3.4 Buttons
Buttons
Behavior
Recording
mode:
None
[MENU]
Snapshot
Mode
:Camera
menu
Playlist:
None
Setting:
Back
to
camera
mode
Recording
mode:
Click
to
turn
on/off
audio
recording
[!]
Snapshot
Mode:
EV
setting
Playlist:
Up
Setting:
Up
Recording
mode:
Lock
image
[!]
Snapshot
Mode:
None
Playlist:
Down
Setting:
Down
Recording
mode:
Stop/start
recording
I~KI
Snapshot
Mode:
Click
to
take
a
snapshot
PlaylisUSetting:
Selected
image/photo
Setting
:Confirm
Recording
mode:Ciick
to
turn
display
off/on
[MODE]
Snapshot
Mode:
Switch
video/camera/playback
mode
PlaylisUSetting:
Switch
video/camera/playback
Setting:
Switch
video/camera/playback
@J
Power
button:
Turn
device
on/off
English 7

3.5 Recording
Video Recording-------
..
,
,,.-------------
Parking Guard
~~----------~,'-------.
Video Recording
----
-- P 01:19:20.-- ----Video Recording
,'
Time
Mode
~
/ 720P- ----Resolution
I I
Image Length
----
./
/
'
I
Audio Record /
Indicator----
--------"'
Lj- ----Memory Card Status
1----------------------~~
--
----
Battery
Current
Date----
------2016/04/20
00:50:32
/Time
English 8

4.
Settings
----------------------'
e
Record
Mode Settings
~
Resolution
~
Loop Recording
~
Exposure Value
~
Motion Detection
~
Record
Audio
~
Video Stamp
C)-.r G-Sensor
e
System
Setting
(CdiD))
*Parking Guard
~
Date/Time
~
Beep
Sound
~
Language
IHzI Frequency D Format
~
Default Setting
~
Screen
Saver
~
Version
* The internal battery can
power
your
device
to
automatic-
ally
begin recording while parked
if
it
senses
any
sort
of
impact.
It
will
record a 10 second video and then power
down
to
reserve the battery life.
English 9

e
Camera
mode Setting
0 Capture Mode
Ma
Resolution
~
Sequence
~
Quality
Bl Sharpness
lAwai
White
Balance
[A]
Color
~
ISO
~
Exposure
•u
Anti-Shaking
~
Quick
Review
~~~!I
Date Stamp
English 10

V6.07.19

Product
registration
card
I
Warranty
Card
Produit
carte
redistration
I
Carte
de
garantie
Limited
Warranty
Statement
• This limited warranty is given only to the original purchaser
of
the product.
• The limited warranty shall be restricted to the country/region
of
product purchase.
V6.03.10
• The limited warranty is onlyvalid and enforceable in countries where the productis sold.
• The limited warranty shall last for 12 months from the date
of
original purchase. The invoice will
be
required
as
the proof
of
purchase.
• The limited warranty covers the expenses
for
inspecting and repairing the productduring the
warranty period.
• The defective product shall
be
delivered
by
the
purchaser to the reseller store orour authorized
dealertogetherwith the warranty card and
the
invoice (proof
of
purchase).
•
We
will return the repaired product with a swap unit in good
wor1<ing
condition. All replaced faulty
products
or
components will not return to
the
purchaser.
• The repaired
or
replaced product, shall
cont
~
nue
to be warranted for the remaining time
of
the
original warranty period.
• The limited warranty shall not apply for the defectwhich is resulting from
the
use
of
the product
in
a manner
other
than the nonnal and customary manner.
• The limited warranty shall not apply for the defectwhich is resulting from
the
operating with
components oraccessories that is
not
come with the original package.
• We reserve the right to add, delete oramend the tenns and conditions
at
any
time without prior
notice.
Declaration
de
garantie
limitee
• Cette garantie limitee couvre l'acheteuroriginal
du
produit
ou
un
consommateur
qui
re<;oit
le
produit
neuf
et
inutilise
de
l'acheteuroriginal.
• Cette GarantieUmiteeest
regie
et
interpret
ee
selon les loisdu pays
dans
lequelle
produita ete
achete. le garant
de
cette GarantieUmitee,
est
identifie aIa fin
de
ce
document
se1on
1e
pays ou
Ia
region
dans
lequelle produita ete achete.
• Cette garantie limitee a uneduree
de
12
mois
apartir
de
Ia
dated'achatoriginale.
La
facture
OR
I
GINALE
du
produitsera requise comme preuve d'
achat
• Cette garantie l
im
iteecouvre
les
trais
de
rinspection
et
Ia
reparation
du
produitpendant
Ia
periode
de
garantie.
• Les produits defectueuxdoivent
etre
ptis
en
charge
sur
Ia
ca
rt
e
de
garantie
et
Ia facture (preuve
d'achat)detivreparl'acheteurou
de
nos
revendeurs agrees ensemble.
• N
ous
allons retoumerle produit repare dans
une
unite d'echange en
tx>n
etat
de
marche.
• Tous
les
remplacementd'un Produitdefectueux ou
de
piecesdefectueux
ne
reviendra pas a
racheteur.
•
La
reparation
ou
le remplacementsootgarantisjusqu'a
Ia
fin
de
Ia
periode
de
,garantie originale.
•
La
garantielimitee
ne
s'applique pas pourledefautqui estindique
de
rutilisation
du
produitd'une
maniere autre
que
Ia
manierenormale
et
habituelle
•
Ce
tte garantielimitee
ne
s'applique pas auxpieces ou accessoires nonoriginaux,
et
n'ont pas
remballage d'origine
de
pieces
et
accessoires.
Nous
nous
reservons
ledroitatout moment
sans
preavis
de
mettrefin ou
de
restreindre,
de
supprimer
ou
de
modifier
et
add
les
terrnes
et
les
conditions.
PAPA
GO!.
us.papagoinc.com
Please
contact
our
authorized
dealer
for
local
s
ervice
Te
l:844.
972
.
72
46
Email:service@papagousa.
com
Table of contents
Other Papago Dashcam manuals

Papago
Papago GoSafe 200 User manual

Papago
Papago VP668 User manual

Papago
Papago GoSafe 30G User manual

Papago
Papago GoSafe S780 User manual

Papago
Papago GoSafe 110 User manual

Papago
Papago P2 Pro User manual

Papago
Papago GoSafe 110 User manual

Papago
Papago GoSafe 118 User manual

Papago
Papago GoSafe 272 User manual

Papago
Papago GoSafe 388 User manual

Papago
Papago P1 PRO User manual

Papago
Papago GoSafe S30 User manual

Papago
Papago Dashcam GoSafe 330 User manual

Papago
Papago P1 PRO User manual

Papago
Papago D108016G User manual

Papago
Papago GoSafe S810 User manual

Papago
Papago P2 Pro User manual

Papago
Papago GoSafe 318 User manual

Papago
Papago GoSafe S30 User manual

Papago
Papago GoSafe 260 User manual