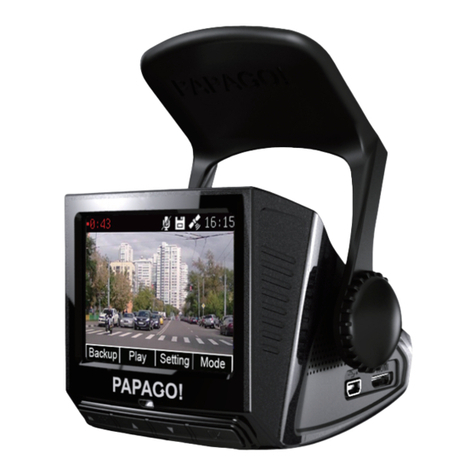
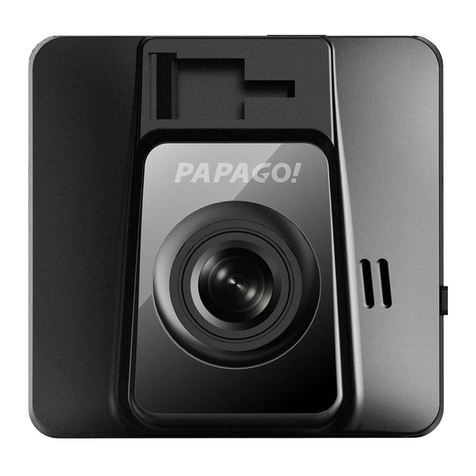
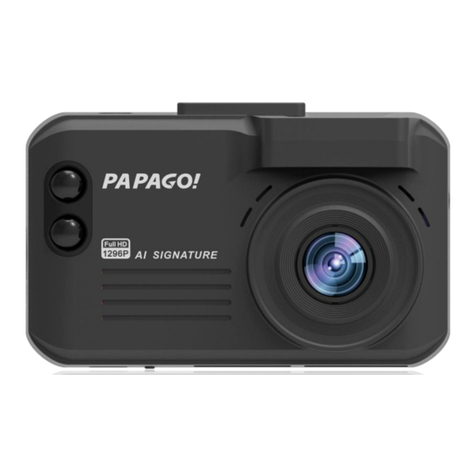
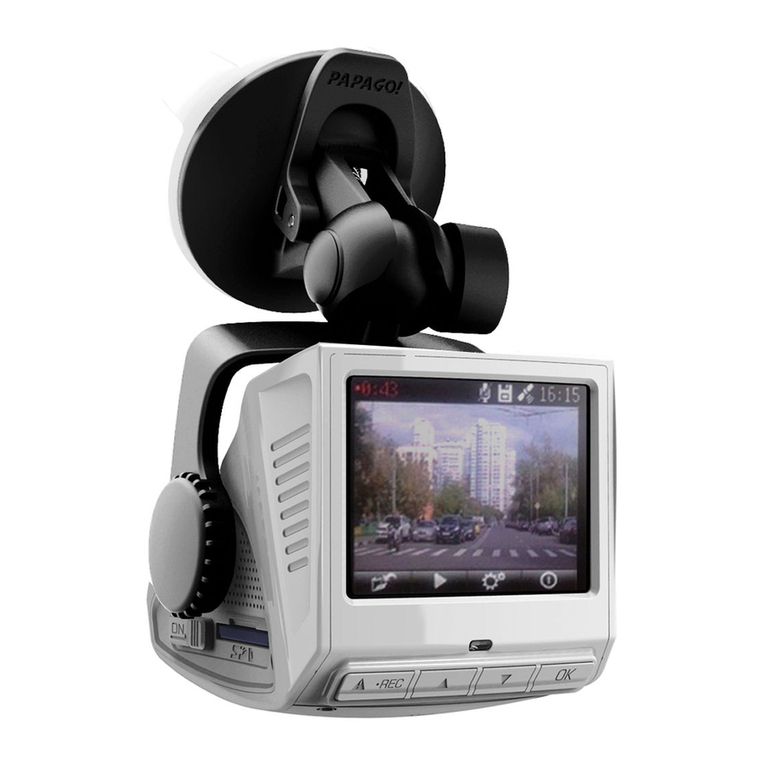
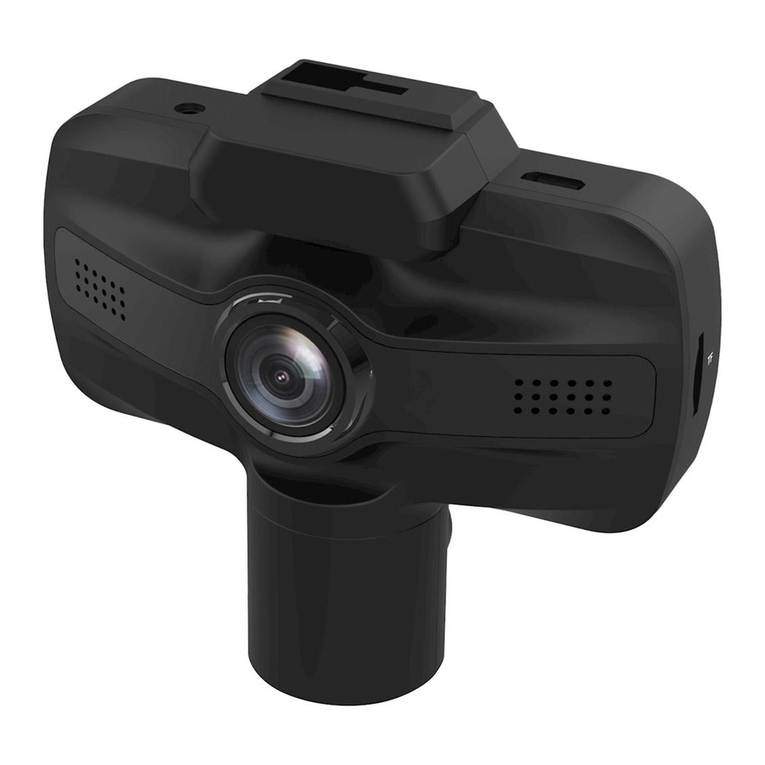
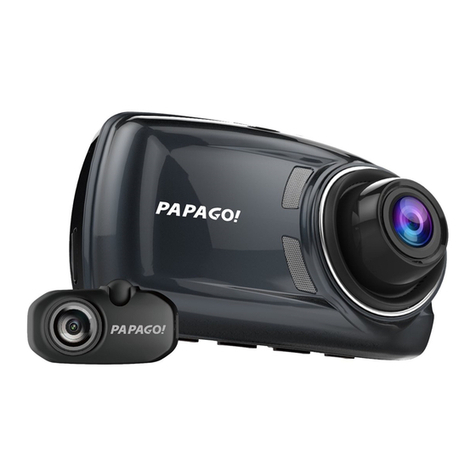
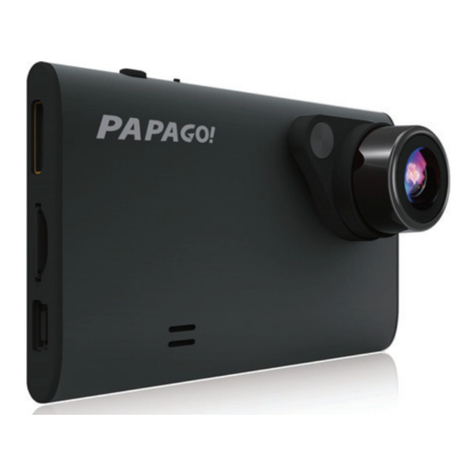
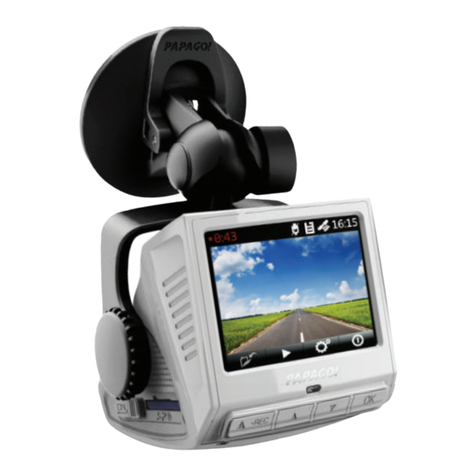
Papago GoSafe S780 User manual

PAPAGot
·
Quick
Start
Guide
~m~~
Manual
Usuano
Manual
Do
Usuano
Gulde
d'uNllsaNon
dash
cam
Camera
de
tableau
de
bord
--
·----
-
--

Dlsclalmer
1.
Please
follow the set-up
and
usage instructions
in
the print material that
came
with this Dashboard
Camera
(dash
cam) product.
2.You
should
not
set/install this dash
cam
at a place that
would
obstruct or
reduce
adriver's
view;
make
sure your
use
complies
with
pertinent vehicle
codes
ofyourstate, province, territory or
country.
3.You
should
post the required notices ofrecordation
to
occupants inside the
vehicle,
if
voices orother information/signal pertaining to in-vehicle
activities will
be
recorded.
4.You
should
not change
the
dash cam's setting or
mode
ofoperation
when
the vehicle
is
in
motion.
5.
The optional driving warning signals, including any visual or audible
reminder signals, should not replace your decision-making
and
judgment
that
are
needed
for the proper operation
of
the vehicle.
6.You
shoufd
not leave
the
dash
cam
in
a visible spot
when
no
one
is
inside
the vehicle, to
avoid
attracting break-ins to steal the unit, or other
property.
7.You
should
avoid extended exposure
of
the dash
cam
to direct sunlight or
extreme temperatures (either high or low temperature)
which
tend
to
degrade or damage the unit
and
its
normal functionality.
8.
You
should
examine, check and/or verify
the
dash
cam
at least every six
(6) months, including the associated memory cards, to ensure the video
reception and recording
are
working
properly.
For
each
use,
you
should
verify that the
dash
cam
unit, the visible lights
and
the audible sounds
are
working
normally.
Ifthere are signs ofnon-operation or mal-function,
you
should immediately seek
to
replace the product
and
check
to
see
if
the
product
is
covered
underany applicable
warranty.
9.The
dash
cam
unit may have additional functionality,
such
as
transmission
and
recording ofaudio or
GPS
signal orother identification information. If
you
have
privacy concerns about these functions,
make
sure
you
foUow
the
instruction to disable these functions.
10.You
should
use
the
dash
cam
unit
in
the way it
was
intended.
You
should
not
use
the
dash
cam
unit
in
a way that
would
be
illegal, physically
damages
the unit, ortends
to
cause
danger to the
safe
operation ofthe
vehicle and/or occupants.
English
1

Attention
please
--
(About Usage]
1.
Ifyour vehicle still provides power when the vehicle
is
off,
unplug
the
device
when
you
plan
to have yourvehicle parked for a long period of
time
to
avoid
draining your vehicle's
battery.
2.
The
embedded
supercapacitors
can
help
to
save
your
recorded
file
even
if
the
power
is
off.
3.
To
avoid
file corruption, don't eject the Micro
SD
Card
immediately
after powering
off.
4. It
is
recommended to
use
provided adapter.
5.
To
enable motion detection
and
monitorfunction,
the
unit must receive
constant
power.
[About Micro SD Card]
1.
Please
use
Micro
SD
card
with
the size / memory ofat
least 16GB,Class
10
(up
to
128GB).
2.
Format Micro
SD
card before using.
To
format
card
press
(!J
When
you
get to settings
--
Format
English 2

1.
Product Introduction
1.1 Package Contents
Checkthe items in
your
package with the list below.
If
any
of
the items
are damaged
or
missing, contact your retailer.
• Device
• Sticker MountI Suction Cup Mount
•
Car
Charger
• Cable (Long cable to be mounted in the backwindow/
Short cable
to
be mounted in the front window)
• Warranty Card
• Quick Start Guide
• 16GB MicroSD
English 3

1.2 Driving Recorder Overview
®
·--------------
...
·-
@
·--
-
@
-- --
English
4
PAPAGOI
@ ·-· -------·
®
~-
----·@
. -------.
(Z)
@ Mount Bracket
@Lens
@Speaker
@ MicroSD Slot
® Reset
@ Mini
USB
Slot
(!)
GPS
Slot
® Display
® Buttons
®>
Rear Camera
Cable Slot
,ffi
-----·
~

2.
Location lnstallatlon
2.1
Two Way Installation
-
Front & RearInstallation
REAR
WINDSHIELD
(1)
----
---
\.
I
•
r••
'........• .
Second Camera
For mountingon
the
rear
window
of
the
car.
(Mount
Pre-screwed
out
of
box).
Front & Cabin Installation
WINDSHIELD
B~st(
,
mounting
■
,
location~--
___
.}
-
Connectt
._car
charger
(
2)
For mounting on
license
plate7front
windshield, you
need
to
reverse
the
mount 180degree
and re-screwea
back.
A Caution:
We
are notresponsible
for
anydamagecaused to,
..
or
caused
by,
the
air
bag
due
to incorrectly placing the
devicewithin
the
range
of
the
safety bag area.
1
For
better view,
try
to
install in the center
of
the
windshield.
in
the packge contents,we have
the
two
kind
of
cable
for
mount,you can
mounted in the front window forshort cable.or choice
for
the long cable
to
mounted in the backwindow.
2 To ensure view is clear, make sure the lens is located in a place where the
windshield wiperwipes the window.
3 Make sure device is not installed where
it
will interfere with the
air
bag.
4 Make sure the devicewill not be obstructed
by
windshield's
window tint.
5 Clean the area you wish to place the dash cam before mounting the
device. DO NOTmove the devicefor a 24-hour period.
English 5

3.
Start
and
Go
3.1
Power
On
Insert the car chargercable into the car's cigarette lighterand the other end
into the mini USB porton the device. Make sure to install the Micro SD Card
intothe Micro SD Card slot on device. Afterturning on, the system will start
recording automatically. The LED light will tum green when recording mode
has started.
*Reminder: Please format Micro SD card before you start recording. Please
refer
to
page 2 forinstructions.
3.2 Power Off
Hold down the power button
at
least 5 seconds to tum
off
device.
To
avoid
corrupting the lastfile recorded,
do
noteject SD Card immediately after
powering off.
Ifyou need
to
tum
it back on simply hold the power button
for
at
least 3
seconds.
3.3
LED
LED
Color Behavior I
Green ON PowerON, Recording
Green OFF PowerOFF, not Recording
English
6

3.4 Buttons
Buttons
Behavior
Recording
mode:
Enter
Emergency
mode
Playlist:
Back
to
previous
menu
Replay/Setting
Menus:
Back
to
camera
mode
Recording
mode:
Enter
Playback
Menu
Playlist/Setting:
Up
Replay
mode:
Delete
Recording
mode:
One
short
click
leads
to
setting
menu
Playlist/Setting
:
One
long
press
and
device
will
take
a
snapshot
Down
Replay
mode:
Lock
/
Unlock
Recording
mode:
One
long
press
to
tum
audio
recording
on/off
IoK »
Playlist/Setting
:
Select
Replay
mode:
Play/Pause/Resume
English 7

3.5 Recording
e 02:48,f
*@
2019/01/01
•
02:48
: Video recording time
f' : Audio record indicator
fi
Motion Detection
@ : Monitor Mode
• : Stop
Sign
Recognition
(IJ
: Stop &
Go
.& : Emergency Recording
11:31
" :
GPS
(Option:GPS connection needed)
11111
: Battery
2019/01/01: Current Date
11:31: Time
English 8

--
4.
Settings
Press
the
I T Ibutton to enter "Settings•.
•
Record
Mode
a.
Automatic Recording
b.
Monitor Mode:
When
this mode
is
selected, your device will take
snapshots every second while recording.
c.
Motion
Detectton:
When
this mode
is
selected, recording starts
when
dash
cam
detects movement.
If
there
is
no
movement for
more
than
60
seconds, recording will stop
and
be
switched to
detection
mode.
A This function only works when the device has a continual
(.!.)power
source after the vehicle's engine is turned off.
• Driving Safety
a.Stop Sign Recognition:The device will recognize any Stop Sign and
warn
you
with a
beep.
b.Stop &
Go:
After
you
stop for atleast
10
seconds (as for
red
lights),
the device will detect
when
the car
in
front
has
proceeded
and
itwill
give
an
audio alert to
remind
you
to proceed driving
as
well.
c.Driver Fatigue
Alarm:
When
activated, the user
can
setup
an
alarm
clock,
periodically reminding
you
to rest. Options available are : 30
minutes/1
hour/2 hours/4 hours/off.
d.Light Reminder :
When
activated, ifdriving
in
a dark environment
(such
as
tunnel or parking structure), itwill have
an
audio alert
and
display the light alert
icon
on
the screen.
The
alert
can
be
turned on/off.
e.Speeding Alert
f
.TPMS
:GoSafe
780
supports the TireSafe
D10E
(sold
separately). The
TlreSafe D1
OE
is
aTire Pressure Monitoring System that allows
you
to
view each
of
your tire's pressure
and
temperature on yourdevice's
display.
English
9

Front Left Front Right
F.L
F.R.
18
psi
18
psi
25
·c
:s:
25
·c
R.L.
R.R.
18
psi
18
psi
24
·c
24
·c
.
Rear Left Rear Right
Tire Pressure & Temperature display
Startthe
car
White engine,no signal. Blue
Green Pressure is Red
normal.
Tire Pressure
Tire Temperature
Temperature is
nonnal.
Warning, please
checkTire.
Note:
This
device
does
not
support both
the
GPS
antenna
and TPMS simultaneously. Please
use
only
one
of
the
optional
accessories
at
a
time
• Volume : SetVolume.
• Microphone : Enable
or
disable voice recording.
•
EV
(Exposure Value)
Adjust EVfor better effect in different lighting condition.
• Resolution ·
Set
recording resolution.
• Back Camera Setup
• Display Mode
• Bump Recording : Setthe impact sensitivity
of
the G-sensor.
English 10

•
Datemme:
Setdate, time, and date format.
• Time Zone : SetTime Zone.
• Daylight Saving Time : Enable
or
disable daylight saving time.
• Screen Saver :
Set
screen saverforstand-by .
• Poweron/offSound :
Set
powersound on
or
off.
• Video Stamp
a. Date Stamp
Enable
or
disable date stamp on recordings.
b.
GPS Stamp
Enable
or
disable coordinate stamp
on
recordings.
• Language : Set display language. Options include
fflj{;ijcp::Q:,
•llcp::Q:,
English,
Fran~is,
Espanol, Deutsch, Italiano,
B~.
Portugu6s, and
PyccKHH.
• Format memory Card
A.
All data on the MicroSD will
be
deleted.
Lll
Data is irrecoverable afterformatting.
A.
Please backup videos and photos before
Lll
formatting the MicroSD.
• Format Warning : Setformat prompt interval. Options include
15
days, 30 days,
60
days,
or
OFF.
• Default : Reset all values
to
factory default.
• Version : Check the current firmware version.
English
11

,,,___
5.
Ra~/Dalete
record Snapshotfunction
5.1
Video Recording Circulation
1
Video
recording will
start
looping
after
powering
on
with the Micro
SO
card
plugged
in.
2
Each
recorded
file
is 5 minutes
long,
with
old
footage
being
replaced
when
the
MicroSO
Card
is
full.
5.2 Emergency Recording
@
Manual
File Backup
Hold
down
the
button_\::__,.•...._..)
•to
backup
file
so
that
it
will
not
be overwritten.
You
will
see
an
icon
atthe top left ofthe
LCD
screen
that
looks
like
this
A This
occurs
when
an
emergency
file
is
being
recorded.
@Auto Backup
Once
the
G-Sensor
is
activated
by
sudden
impact,
the
device
will
automatically
lock
the
file
so
that it
is
notoverwritten.
English
12

5.3 Snapshot
(!)
Hold
I
,..
I for 3seconds to
take
asnapshot while
in
recording
mode.
@
The
snapshot images are
located
on
the Micro SD Card
in
the
PHO-TOS
folder.
This
is
also
where
you
can
find
the
video files that are
recorded.
@
The
6 icon will be shown after
you
take a snapshot. This will
not
disturb video
recording
mode.
5.4 Copying Files with USB Connection
(!)Connect device to your computer using a
USB
tomini-USB
cable.
It
should
be
recognized
as a
removable
device orshow up as
an
icon
titled
"No
Name"
on
your
desktop.
@
There
are video
recording
files
located
in
folder
\PAPAGO
(looping
video
recording
files)
and
(emergency
video recording files)
on
the
"removable
device".
@ Copy the files to your computer.
Please
follow
the
copy
and
paste
or
drag
and
drop
procedure
for
your
computer
model
.
5.5 Copying Files from Micro SD Card
(!)Shut
down
the device
and
eject
the
Micro
SD
Card.
(To
avoid
corrupting
the last
file
recorded,
do noteject SD Card
immedia-
tely afterpowering off.)
@
Insert
the
Micro
SD
Card
onto adapter.Insertadapterinto the
MicroSD
Card
reader
and
yourcomputer
will
automatically detectthe
SD
Card
.
@
There
are video
recording
files
located
in
folder
\PAPAGO
(looping
video
recording
files)
and
(emergency video recording files)
on
the
"removable
device".
@
Copy
the files to yourcomputer.
Please
follow the copy
and
paste
ordrag
and
drop procedure for your computer
model.
English 13

5.6 Play/Delete Video or Photo
(!)
Hold
down
I • I to enter playback
menu
and
to
preview
the
recorded
files.
@ChooseType:
Videos
(regular
recorded
videos),
Emergency
(videos
recorded
in
emergency mode) or
Photos
(snapshots
taken).
@
Press
"up/down
buttons" to browse
the
files.
Click
OK
to
choose
which
file
you
want to
preview.
© Clickto OKto play
file,
or I • I
delete
the
file.
English 14

V8.04.10

Limited
Warranty Statement
• This limited warranty is given only
to
the
or
iginal purchaser
of
the product.
• The limited warranty shall
be
restricted
to
the country/region
of
productpurchase.
• The limited warranty is onlyvalid and enforceable in countries where the product is sold.
• The limited warranty shall lastfor 12 months from the date
of
original purchase.
The
invoice will be
required as the
proof
of
purchase.
• The limited warranty covers the expenses
for
inspecting and repairing the product during the
warranty period.
• The defective product shall be delivered
by
the purchaser
to
the reseller store
or
our
authorized
dealertogetherwith thewarranty card and the invoice (proof
of
purchase).
• We will return the repaired productwith a swap unit in good working condition. All replaced faulty
products
or
components will
not
return to the purchaser.
• The repaired
or
repl
aced
product, shall continue
to
be
warranted
for
the remaining time
of
the
original warranty period.
• The limited warranty shall not apply
for
the defectwhich is resulting from the use
of
the productin
a manner other than the normal and customary manner.
• The limited warranty shall not apply
for
the defect
wh
ich is resulting from the operating with
components
or
accessories that is
not
come with the original package.
• We reserve the right to add, delete
or
amend the terms and conditions
at
any
timewithout prior
notice.
Declaration de garantie limitee
•
Cette
garantie
limitee
couvre
l'acheteur
original
du
prodult
ou
un
c:onsommateur
qui
rec;oit
le
produit
neuf
et
inutilise
de
l'acheteur
original.
•
Cette
Garantie
Limitee
est
regie
et
interpretee
selon
les
lois
du
pays
dans
lequel
le
produit
a
ete
achete.
e
garant
de
cette
Garantie
Limitee
,estidentifiea
la
fin
de
ce
document
selon
le
pays
ou
la
region
dans
lequei le
produit
a
ete
achete
.
•
Cette
garantie
limitee
a
une
duree
de
12
mois
apartirde
la
date
d'achat
originale
.
La
facture
ORIGINALE
du
produit
sera
requise
comme
preuve
d'achat.
•
Cette
garantie
limitee
couvre
les
frais
de
11nspection
et
la
reparation
du
produitpendantla
periode
de
garantie
.
•
Les
produits
defectueux
doivent
etre
pris
en
charge
sur
la
carte
de
garantie
et
la
facture
(preuve
d'achat)
delivre
par
racheteur
ou
de
nos
revendeurs
agrees
ensemble
.
•
Nous
allons
retoumer
le
produit
repare
dans
une
unite
d'echange
en
bon
etatde mardle.
•
Tous
les
remplacement
d'un
Produitdefectueux
au
de pieces
defectueux
ne
reviendra
pas
a
l'acheteur
.
•
La
reparation
ou
le
remplacement
sont
garantis
jusqu'a
la
fin
de
la
periode
de
garantie
originate
.
• La
garantie
limitee
ne
s'applique
paspourledefaut
qui
est
indique
de
!'utilisation
du
produit
d'une
maniere
autre
que
la
maniere
normale
ethabitueUe
•
Cette
garantie
limltee
ne
s'applique
pas
aux
pieces
ou
accessoires
non
originaux,
et
n'ont
pas
l'emballage
d'origine
de
pieces
et
accessoires
.
Nous
nous
reservons
le
droit
atout
moment
sans
preavis
de
mettre
fin
ou
de
restreindre,de
supprimer
ou
de
modifier
et
addlestennes
et
les conditions.
PAPAGot·
us
.
papago
1nc.com
Please contact
our
authorized dealerfor local service
Tel:844.972.
72
46
Email:[email protected]
Table of contents
Other Papago Dashcam manuals

Papago
Papago D108016G User manual

Papago
Papago GoSafe 220 User manual

Papago
Papago GoSafe 30G User manual

Papago
Papago GoSafe 118 User manual

Papago
Papago GoSafe 200 User manual

Papago
Papago GoSafe 272 User manual

Papago
Papago GoSafe S30 User manual

Papago
Papago Dashcam GoSafe 330 User manual

Papago
Papago P3 User manual

Papago
Papago GoSafe 200 User manual

Papago
Papago P2 Pro User manual

Papago
Papago P1 PRO User manual

Papago
Papago P2 Pro User manual

Papago
Papago GoSafe 550 User manual

Papago
Papago GoSafe S810 User manual

Papago
Papago GoSafe 318 User manual

Papago
Papago GoSafe S30 User manual

Papago
Papago P3 User manual

Papago
Papago GoSafe 388 User manual

Papago
Papago GoSafe 520 User manual