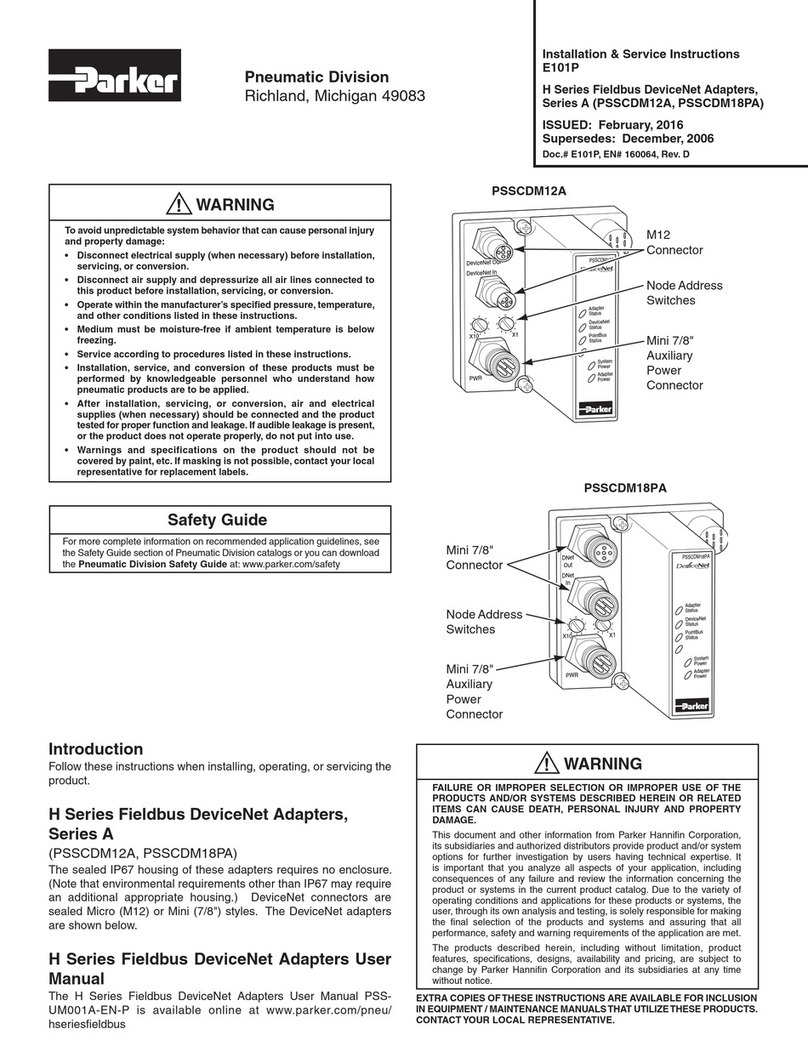
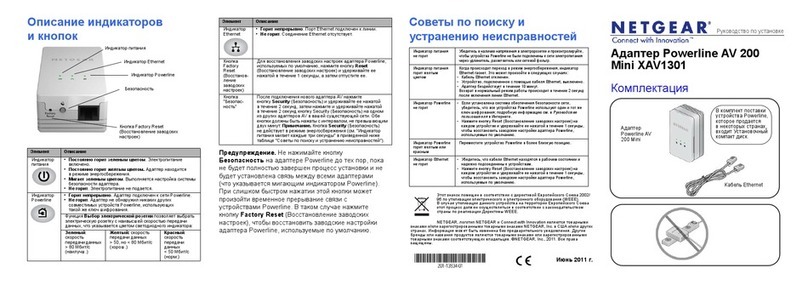
Parker IQAN-G12 User manual

IQAN-G12
Instruction book
Publ no MSG33-8418-IB/UK
Edition 2022-06-14

ii
Contents
Instruction book, IQAN-G12
Publication history . . . . . . . . . . . . . . . . . . . . . . . . . . . . . . . . . . . . . . . . . . . . .iv
1 Introduction . . . . . . . . . . . . . . . . . . . . . . . . . . . . . . . . . . . . . . . . . . . . . . . . . . . . 1
Safety symbols . . . . . . . . . . . . . . . . . . . . . . . . . . . . . . . . . . . . . . . . . . . . . . . . 1
Compliance with FCC/ISED . . . . . . . . . . . . . . . . . . . . . . . . . . . . . . . . . . . . . . 1
2 Precautions . . . . . . . . . . . . . . . . . . . . . . . . . . . . . . . . . . . . . . . . . . . . . . . . . . . . 2
Operation . . . . . . . . . . . . . . . . . . . . . . . . . . . . . . . . . . . . . . . . . . . . . . . . . . . . 2
Disposal . . . . . . . . . . . . . . . . . . . . . . . . . . . . . . . . . . . . . . . . . . . . . . . . . 2
Start-up, maintenance, and diagnostics . . . . . . . . . . . . . . . . . . . . . . . . . . . . . 2
3 Quick start guide . . . . . . . . . . . . . . . . . . . . . . . . . . . . . . . . . . . . . . . . . . . . . . . . 4
Getting started with remote diagnostics . . . . . . . . . . . . . . . . . . . . . . . . . . . . . 4
Tools . . . . . . . . . . . . . . . . . . . . . . . . . . . . . . . . . . . . . . . . . . . . . . . . . . . . 4
Pairing IQAN-G12 . . . . . . . . . . . . . . . . . . . . . . . . . . . . . . . . . . . . . . . . . . 4
IQANdesign set up for IQAN-G12 support. . . . . . . . . . . . . . . . . . . . . . . . 4
4 Product description . . . . . . . . . . . . . . . . . . . . . . . . . . . . . . . . . . . . . . . . . . . . . 6
General . . . . . . . . . . . . . . . . . . . . . . . . . . . . . . . . . . . . . . . . . . . . . . . . . . . . . 6
System overview . . . . . . . . . . . . . . . . . . . . . . . . . . . . . . . . . . . . . . . . . . . . . . 6
Communication . . . . . . . . . . . . . . . . . . . . . . . . . . . . . . . . . . . . . . . . . . . . . . . 6
CAN . . . . . . . . . . . . . . . . . . . . . . . . . . . . . . . . . . . . . . . . . . . . . . . . . . . . 6
CAN FD . . . . . . . . . . . . . . . . . . . . . . . . . . . . . . . . . . . . . . . . . . . . . . . . . . 7
Bluetooth . . . . . . . . . . . . . . . . . . . . . . . . . . . . . . . . . . . . . . . . . . . . . . . . . 7
System Diagnostics . . . . . . . . . . . . . . . . . . . . . . . . . . . . . . . . . . . . . . . . . 7
5 Markings and approvals . . . . . . . . . . . . . . . . . . . . . . . . . . . . . . . . . . . . . . . . . . 8
6 Mounting . . . . . . . . . . . . . . . . . . . . . . . . . . . . . . . . . . . . . . . . . . . . . . . . . . . . . 10
Mounting the IQAN-G12 . . . . . . . . . . . . . . . . . . . . . . . . . . . . . . . . . . . . . . . . 10
7 Installation . . . . . . . . . . . . . . . . . . . . . . . . . . . . . . . . . . . . . . . . . . . . . . . . . . . . 12
Connector . . . . . . . . . . . . . . . . . . . . . . . . . . . . . . . . . . . . . . . . . . . . . . . . . . . 12
Connector pin assignments . . . . . . . . . . . . . . . . . . . . . . . . . . . . . . . . . . . . . 12
Supply voltage . . . . . . . . . . . . . . . . . . . . . . . . . . . . . . . . . . . . . . . . . . . . . . . 13
Connecting of Supply Voltage . . . . . . . . . . . . . . . . . . . . . . . . . . . . . . . . 13
Polarity reversal . . . . . . . . . . . . . . . . . . . . . . . . . . . . . . . . . . . . . . . . . . 13
Communication . . . . . . . . . . . . . . . . . . . . . . . . . . . . . . . . . . . . . . . . . . . . . . 14
CAN connection . . . . . . . . . . . . . . . . . . . . . . . . . . . . . . . . . . . . . . . . . . 14
8 Start-up . . . . . . . . . . . . . . . . . . . . . . . . . . . . . . . . . . . . . . . . . . . . . . . . . . . . . . . 15
Start-up procedures . . . . . . . . . . . . . . . . . . . . . . . . . . . . . . . . . . . . . . . . . . . 15
Starting the control system . . . . . . . . . . . . . . . . . . . . . . . . . . . . . . . . . . 15
Prepare for system start . . . . . . . . . . . . . . . . . . . . . . . . . . . . . . . . . . . . 15
Start the system . . . . . . . . . . . . . . . . . . . . . . . . . . . . . . . . . . . . . . . . . . 15
Appendix A . . . . . . . . . . . . . . . . . . . . . . . . . . . . . . . . . . . . . . . . . . . . . . . . . . . 16
System . . . . . . . . . . . . . . . . . . . . . . . . . . . . . . . . . . . . . . . . . . . . . . . . . 16
Environmental ratings . . . . . . . . . . . . . . . . . . . . . . . . . . . . . . . . . . . . . . 16
Bluetooth . . . . . . . . . . . . . . . . . . . . . . . . . . . . . . . . . . . . . . . . . . . . . . . . 17
CAN . . . . . . . . . . . . . . . . . . . . . . . . . . . . . . . . . . . . . . . . . . . . . . . . . . . 17
Appendix B . . . . . . . . . . . . . . . . . . . . . . . . . . . . . . . . . . . . . . . . . . . . . . . . . . . 18
LED messages and actions . . . . . . . . . . . . . . . . . . . . . . . . . . . . . . . . . . . . . 18
LED indicators showing different IQAN-G12 modes . . . . . . . . . . . . . . . 18
Appendix C . . . . . . . . . . . . . . . . . . . . . . . . . . . . . . . . . . . . . . . . . . . . . . . . . . . 19
IQANgo modes together with the IQAN-G11 /-G12 . . . . . . . . . . . . . . . . . . . 20
On site mode . . . . . . . . . . . . . . . . . . . . . . . . . . . . . . . . . . . . . . . . . . . . . . . . 21
Connect via Bluetooth . . . . . . . . . . . . . . . . . . . . . . . . . . . . . . . . . . . . . . 21
Pairing . . . . . . . . . . . . . . . . . . . . . . . . . . . . . . . . . . . . . . . . . . . . . . . . . . 21

iii
Contents
Instruction book, IQAN-G12
Login . . . . . . . . . . . . . . . . . . . . . . . . . . . . . . . . . . . . . . . . . . . . . . . . . . . 22
View system info . . . . . . . . . . . . . . . . . . . . . . . . . . . . . . . . . . . . . . . . . . 23
View logs . . . . . . . . . . . . . . . . . . . . . . . . . . . . . . . . . . . . . . . . . . . . . . . . 23
Measure . . . . . . . . . . . . . . . . . . . . . . . . . . . . . . . . . . . . . . . . . . . . . . . . 24
Adjust . . . . . . . . . . . . . . . . . . . . . . . . . . . . . . . . . . . . . . . . . . . . . . . . . . 25
Send to machine . . . . . . . . . . . . . . . . . . . . . . . . . . . . . . . . . . . . . . . . . . 26
Get from machine . . . . . . . . . . . . . . . . . . . . . . . . . . . . . . . . . . . . . . . . . 27
Manage files . . . . . . . . . . . . . . . . . . . . . . . . . . . . . . . . . . . . . . . . . . . . . 28
Remote assistance . . . . . . . . . . . . . . . . . . . . . . . . . . . . . . . . . . . . . . . . . . . . 29
IQANgo user at the machine . . . . . . . . . . . . . . . . . . . . . . . . . . . . . . . . . 29
. . . . . . . . . . . . . . . . . . . . . . . . . . . . . . . . . . . . . . . . . . . . . . . . . . . . . . . . . . . 29
Appendix D . . . . . . . . . . . . . . . . . . . . . . . . . . . . . . . . . . . . . . . . . . . . . . . . . . . 30
Dimensioning of the IQAN-G12 module . . . . . . . . . . . . . . . . . . . . . . . . . . . . 30

iv
Publication history
Instruction book, IQAN-G12
Publication history
The following table provides an overview of the changes made to this document over
the course of its publication history.
Copyright 2022 © Parker-Hannifin Corporation. All rights reserved.
No part of this work may be copied, reproduced, replaced, distributed, published,
displayed, modified, or transferred in any form or by any means except with the prior
permission of Parker-Hannifin Corporation.
Revision / date Description of change
Rev. 001 / 2022-02-24 First edition.
Rev. 002 / 2022-03-21 Appendix A restructured and temperature range changed.
Rev. 003 / 2022-05-24 E-mark and declaration of conformity added, updated mounting
recommendations and connector cover drawing added.
Rev. 004 / 2022-06-14 Appendix A system info changed.
Warning
FAILURE OR IMPROPER SELECTION OR IMPROPER USE OF THE PRODUCTS AND/OR
SYSTEMS DESCRIBED HEREIN OR RELATED ITEMS CAN CAUSE DEATH, PERSONAL
INJURY AND PROPERTY DAMAGE.
• This document and other information from Parker Hannifin Corporation, its subsidiaries and autho-
rized distributors provide product and/or system options for further investigation by users having
technical expertise.
• The user, through its own analysis and testing, is solely responsible for making the final selection of
the system and components and assuring that all performance, endurance, maintenance, safety and
warning requirements of the application are met. The user must analyze all aspects of the applica-
tion, follow applicable industry standards, and follow the information concerning the product in the
current product catalog and in any other materials provided from Parker or its subsidiaries or autho-
rized distributors.
• To the extent that Parker or its subsidiaries or authorized distributors provide component or system
options based upon data or specifications provided by the user, the user is responsible for determin-
ing that such data and specifications are suitable and sufficient for all applications and reasonably
foreseeable uses of the components or systems.

1
Safety symbols
1 Introduction
Instruction book, IQAN- G12
1 Introduction
These instructions are to be used as a reference tool for the vehicle manufacturer’s
design, production, and service personnel.
The user of these instructions should have basic knowledge in the handling of
electronic equipment.
Safety symbols
Sections regarding safety, marked with a symbol in the left margin, must be read and
understood by everyone using the system, carrying out service work or making changes
to hardware and software.
The different safety levels used in this manual are defined below.
WARNING
Sections labeled WARNING with a caution symbol in the left margin, indicate that a
hazardous situation exists. If precautions are not taken, this could result in death, injury,
or property damage.
NOTICE
Sections labeled NOTICE with a notice symbol in the left margin, indicate there is
important information about the product. Ignoring this could result in less than optimal
performance, or damage to the product.
Compliance with FCC/ISED
This equipment complies with FCC radiation exposure limits set forth for an
uncontrolled environment and meets the FCC radio frequency (RF) Exposure
Guidelines. This equipment has very low levels of RF energy that it deemed to comply
without maximum permissive exposure evaluation (MPE).
Contains transmitter FCC ID: QOQ-BGM220S2
IQAN-G12 complies with IC radiation exposure limits set forth for an uncontrolled
environment and meets RSS-102 of the IC radio frequency (RF) Exposure rules. This
equipment has very low levels of RF energy that it deemed to comply without
maximum permissive exposure evaluation (MPE).
Cet équipement est conforme aux limites d’exposition aux rayonnements énoncées pour
un environnement non contrôlé et respecte les règles d’exposition aux fréquences
radioélectriques (RF) CNR-102 de l’IC. Cet équipement émet une énergie RF très
faible qui est considérée conforme sans évaluation de l’exposition maximale autorisée.
Contains ISED: 5123A-BGM220S2
Contact the manufacturer if there is anything you are not sure about or if you have any
questions regarding the product and its handling or maintenance.
The term "manufacturer" refers to Parker Hannifin Corporation.

2
Operation
2 Precautions
Instruction book, IQAN- G12
2 Precautions
Work on the hydraulics control electronics may only be carried out by trained
personnel who are well-acquainted with the control system, the machine and its safety
regulations.
WARNING
Make sure that you have sufficient knowledge before designing, modifiying or
servicing the control system.
Read the relevant sections of this document before conducting any work on the control
system.
WARNING
This product is not field repairable.
NOTICE
As much as possible of the welding work on the chassis should be done before the
installation of the system. If welding has to be done afterwards, the electrical
connections on the system must be disconnected from other equipment. The negative
cable must always be disconnected from the battery before disconnecting the positive
cable. The ground wire of the welder shall be positioned as close as possible to the
place of the welding. The cables on the welding unit shall never be placed near the
electrical wires of the control system.
Operation
IQAN-G12 receives and transmits radio frequency energy while switched on.
Follow any special regulations and always switch off the IQAN-G12 wherever
forbidden, or when you suspect that it may cause interference or danger.
Disposal
Observe your local/national regulations when disposing the device and its package.
Start-up, maintenance, and diagnostics
For all personnel carrying out installation, commissioning, maintenance or
troubleshooting.
WARNING
Work on the hydraulics control electronics may only be carried out by trained
personnel who are well-acquainted with the control system, the machine and its safety
regulations.
Before you start,
Read section "Start-up", on page 15.
Additional information for service
Mounting and maintenance instruction book.

3
Start-up, maintenance, and diagnostics
2 Precautions
Instruction book, IQAN- G12
Additional information for diagnosing the system
For information, see Appendix B, on page 18, in this document.
NOTICE
It is required to download the operating system 6.08 or later to enable the full
functionality of the IQAN-G12 in IQANdesign platform systems.

4
Getting started with remote diagnostics
3 Quick start guide
Instruction book, IQAN- G12
3 Quick start guide
Getting started with remote diagnostics
To use the IQAN-G12 you will also need the smartphone app, IQANgo.
The IQAN-G12 can be used in either on-site or remote modes.
Tools
• IQAN-G12 Bluetooth® adapter hardware from Parker.
• Smart phone or tablet with internet connectivity.
• IQANgo app, available to download from AppStore and Google Play.
• IQANconnect service subscription (for remote diagnostics mode)
Before starting your on-site short range operations, be sure your IQAN-G12 is installed
in the IQAN system and powered.
NOTICE
Refer to the User Manual, Appendic C for detailed information on using the IQAN-
G12 with your mobile device, the IQANgo app and IQANconnect.
Pairing IQAN-G12
The first time that a PC or App connects to the G12 Bluetooth gateway, pairing is
required. For the pairing to succeed the pairing also needs to be enabled in the
Bluetooth gateway module. The method for enabling pairing is configured in
IQANdesign.
If pairing is required the pairing dialog will be shown, requesting a 6 digit
passkey. This passkey is depending on the configuration set in IQANdesign.
In systems that include an IQAN display, the passkey is shown in the master
display menu system.
NOTICE
If for some reason the passkey cannot be shown in the system (e.g. a broken
master display) a fall-back is to start the system without address tag for the
headmaster (bypass application). This causes the Bluetooth gateway to use a
passkey of 000000.
Note however that this pairing is not stored and a new pairing is required on
each connection.
NOTICE
When connecting to a master with firmware older than 6.08 the passkey will need to
entered every time and is set to 000000.
IQANdesign set up for IQAN-G12 support.
To use full functionality on the IQAN-G12, it should be added as a G1x module, in
IQANdesign 6.08 or newer.
IQAN-G12 will work in system that support IQAN-G11 (Software from IQANdesign
4.01 and newer), with the limitation that pairing passkey is fixed at 000000 and device
pairing is not stored.

5
Getting started with remote diagnostics
3 Quick start guide
Instruction book, IQAN- G12
Add IQAN-G1x to diagnostics bus in IQANdesign.
Security settings for Master display units should be set up to:
• "ask user" for remote connection and remote stop
Operators can acknowledge the request for a remote diagnostics connection when it is
safe and convenient.
Set security property to "ask user" to use IQAN-G12 and IQANconnect.Security settings for Master units
without a display need to be set up to:
• always allow remote connection and remote stop, or
• to have a digital channel that detemines when it is safe to allow a remote connec-
tion.
Without a display operators cannot acknowledge the ”ask user” alternative.
Set security property to always allow use of IQAN-G1x and IQANconnect in IQANdesign.
NOTICE
The "always" option is not the most secure example, for better security it is
recommended to use an input to allow a remote stop.
NOTICE
If the connected master is started in the "Bypass application" mode, it is considered to
be in a safe state and is set to the "always" option until restarted.

6
General
4 Product description
Instruction book, IQAN- G12
4 Product description
General
IQAN-G12 is a Bluetooth dongle that works with the MD4 and MC4 master modules
in IQANdesign (6.08 or later) platform control systems. The IQAN-G12 can also be
used instead of a G11 in older systems.
In IQANdesign 6.08 and later the G1x module represents either IQAN-G11 or IQAN-
G12.
The IQAN-G1x is designed to transmit wireless diagnostic data from the IQAN system
to a smartphone or tablet with IQANgo or a PC with IQANrun.
The IQAN-G12 module.
System overview
The IQAN-G12 in a typical system.
The gateway module, IQAN-G12, is the wireless diagnostic unit in an IQAN system.
All IQAN-G12 devices are equipped with Bluetooth.
Communication
The communication interfaces are used for uploading/downloading applications or
diagnostics and typically communicate with an IQAN master module.
CAN
The IQAN-G12 has 1 CAN interface. It is located in the Deutsch DT 4 pin connector
and is used to interface with IQAN master modules (e.g. IQAN-MD4).

7
Communication
4 Product description
Instruction book, IQAN- G12
CAN FD
The IQAN-G12 have the capability to use CAN FD (flexible data-rate) with speeds up
to 500/2000 kbps.
Bluetooth
The IQAN-G12 has an embedded Bluetooth 5.2 low energy, and is suitable for use with
a smartphone or tablet with IQANgo or PC with IQANrun.
System Diagnostics
The IQAN-G12 has 1 bi-color LED light on front surface indicating system status and
dongle status.
Location of status LED.
For more information about the status and error messages, see Appendix B, on page 18.
status led

8
Communication
5 Markings and approvals
Instruction book, IQAN- G12
5 Markings and approvals
Declaration of Conformity

9
Communication
5 Markings and approvals
Instruction book, IQAN- G12

10
Mounting the IQAN-G12
6 Mounting
Instruction book, IQAN- G12
6 Mounting
Mounting the IQAN-G12
The IQAN-G12 should be mounted with the connector facing down. Fastening method
is flange mounting with 2 M4 bolts.
NOTICE
The IQAN-G12 module should be mounted according to the following instructions:
• Locate the module eliminating the risk for the cabling to be folded, crushed or dam-
aged in any way. Ensure the cabling cannot pull, twist or induce sideload on the con-
nector.
• Locate the module so that physical impact is avoided.
• Locate the module so that air can circulate to eliminate excess heat. Ensure that no
external heat, e.g. from the engine or heater, is transferred to the module.
• Locate the module to protect it from pressure washing and water directly spraying
on the connector or similar.
• Locate the module so the LED is visible.
• Locate the module in a position with good signal connection while the user is in a
safe position e.g. inside the cabin if available.
• Use the supplied connector cover if mounted outdoor for added protection e.g.UV
radiation.
Mounting orientation of the IQAN-G12.
NOTICE
The IQAN-G12 module must not be placed in any marine related or similar
continuously damp environment without external protection.

11
Mounting the IQAN-G12
6 Mounting
Instruction book, IQAN- G12
IQAN-G12 connector cover.

12
Connector
7 Installation
Instruction book, IQAN- G12
7 Installation
Connector
Connector pin assignments
Connector kit Parker no. 5031113
Housing DT06-4S
Wedge W4S
Sockets 1062-16-0122
Logical
Symbol
Pin
No.
(I)nput or
(O)utput
Function description
and/or Signal name(s)
-BAT 1 - Power supply, negative ground
+BAT 2 - Power supply, positive
CAN-L 3 - CAN low
CAN-H 4 - CAN high
4
3
1
2

13
Supply voltage
7 Installation
Instruction book, IQAN- G12
Supply voltage
WARNING
Before any installation of the IQAN system can take place, make sure the ignition lock
is turned off and the battery is disconnected.
Connecting of Supply Voltage
The supply voltage, should be within the operating range, see Appendix A, on page 16.
Connect the supply voltage to +BAT, position 2 and -BAT, position 1. Protect the
module by using a fuse. Requisite fuse level should be 1 A, fast (F).
Connecting the voltage supply.
NOTICE
Connect the dongle to the same power and ground as the IQAN master.
The power supply must be common to both the dongle and the master unit to ensure
trouble free communication. Most importantly, the ground connection (-BAT), must be
the same.
NOTICE
Do not use the chassis as the negative terminal.
NOTICE
Unplug the connector or remove the fuse to make the IQAN-G12 powerless.
Polarity reversal
The IQAN-G12 module is protected against power supply polarity reversal, provided
an external fuse, max 1 A (Fast) is being used.
If this fuse is not used, polarity reversal can damage the unit.
NOTICE
IQAN-G12 does not have load-dump protection and must be mounted within approx 2
meters from a unit with load-dump protection.
+ -
-BAT, pos.1
+BAT, pos. 2
1 A *
+BAT
-BAT
IQAN-G12
IQAN master
E-stop
* Symbol for disconecting switch for battery,
ignition lock and other fuses.

14
Communication
7 Installation
Instruction book, IQAN- G12
Communication
CAN connection
The IQAN-G12 has a CAN interface in its connector to communicate with IQAN
master modules to provide them with remote diagnostic capabilities.
The signals on the CAN connection terminals CAN-Low and CAN-High must match
the signals on the CAN terminals of the connected devices.
Connecting IQAN master to IQAN-G12.
NOTICE
A connection will be charged against your IQANconnect subscription whenever you
initiate communication with a system.
CAN termination
If the IQAN-G12 is located at the end of the CAN bus, it must have a termination
resistor installed to terminate the bus.
Terminating IQAN master to IQAN-G12.
NOTICE
A terminating resistor of 120 ohms must be installed between the CAN-H and CAN-L
pins at the IQAN-G12 if it is located at the end of the CAN bus.
CAN-H
CAN-L
IQAN master
IQAN-G12
pos. 4
pos. 3
CAN-H
CAN-L
IQAN-G12
pos. 4
pos. 3 120 ohm

15
Start-up procedures
8 Start-up
Instruction book, IQAN- G12
8 Start-up
Start-up procedures
This chapter contains instructions for action to be taken in connection with the initial
start.
WARNING
Risk of injury!
If the control system is not fitted properly, the machine could move uncontrollably. The
machine’s engine shall not be started before the control system is completely fitted and
its signals are verified.
Starting the control system
Start the control system as follows:
• Prior to start, all modules and cables are to be fitted correctly.
• Check fuses, i.e. make sure that the supply voltage to the modules is equipped with
the correct fuse.
• Make sure that connections for supply voltage and return lines are correct in the
cable’s conductor joint.
• Make sure an emergency stop is installed.
The emergency stop should disconnect the supply voltage to all modules. Alterna-
tively, the emergency stop may also shut off the diesel engine or a dump valve, and
with that, depressurize the hydraulic system.
Prepare for system start
WARNING
Make sure no one is in dangerous proximity to the vehicle to avoid
injuries when it starts.
Prepare for the initial system start as follows:
• The engine for the hydraulic system’s pump shall be in off position.
• Make sure that all connectors are properly connected.
• Turn on the control system.
• Make sure that voltage is being supplied to all modules; the power/status diode shall
be illuminated on all modules. Also, make sure that the master is in contact with all
modules by reading the master’s display.
• Make sure the emergency stop is functioning properly.
Start the system
Start the system as follows:
• Start the engine for the hydraulic system’s pump, assuming that the above men-
tioned inspections have been carried out and shown correct values.
• Calibrate and adjust input and output signals according to the instructions related to
the master menu system and check each and every output function carefully.

16
Appendix A
Instruction book, IQAN-G12
Appendix A
IQAN-G12 Technical Overview
System
Operating temperature -30 to 70 °C
Absolute maximum temperature -40 to 85 °C
Storage temperature -40 to 85 °C
Voltage supply 12 or 24 VDC nominal voltage
Voltage range 9 to 32 V
Power-on threshold typ 6.5 V
Over voltage on any pin 36 V (with respect to -BAT)
Reverse polarity protection on +BAT yes
Weight 60g
Current supply
VBAT = 12V
VBAT = 24V
60 mA
30 mA
Start-up time <3 sec
Environmental ratings
Climate environment
Enclosure, water & dust protection
Damp heat cyclic
Damp heat steady state
Heat, operation
Heat, storage
Cold
Change of temperature
IEC 60529:2001, IP67; ISO 20653-2013, IP6K9K
IEC 60068-2-30:2005 Db, +55°C, 95% RH, 6 cycles
IEC 60068-2-78:2001, +40°C, 93% RH, 21 days
IEC 60068-2-2:2007 Bb, +70°C, 72 hours
IEC 60068-2-2:2007 Bb, +85°C, 240 hours
IEC 60068-2-1:1993 Ab, -40°C, 16 hours
IEC 60068-2-14:1984 Nb, - 30°C to +70°C, 100 x 4 hours
Mechanical environment
Random vibration
Bumb
IEC 60068-2-64: 2008 Fh, 15 - 1000 Hz, 11.6 Grms, 3 x 10 h
IEC 60068-2-27:2008 Ea, 40 g, 6 ms, 1000 * 6 dir
EMC
Radiated emission
Conducted emission
Conducted susceptibility
Radiated susceptibility
Conducted transients susceptibility
signal lines
starting profile
load dump clamped
ESD, Operation
ESD, Handling
EN ISO 13766-1:2018 / ISO 14982:2009
EN 55025:2017
ISO 11452-4:2011, 1 - 200 MHz, 1 kHz, 80% AM, 150 mA
ISO 11452-2:2004, 200-2000 MHz, 1kHz, 80% AM, 150 V/m
ISO 11452-2:2004, 800-2000 MHz, PM 577 us / 4.6 ms, 150 V/m
ISO 11452-2:2004, 2000-2700 MHz, PM 577 us / 4.6 ms, 10 V/m
ISO 11452-9:2012, 824 – 1910 MHz, AM, PM, 2s+2s dwell time
ISO 7637-2:2011, Pulse 1, 2a, 2b, 3a, 3b, 4, Level 3
ISO 7637-3:2016, Level 3
ISO 16750-2:2012, level 4
ISO 16750-2:2012, Us=160V
ISO 10605:2008, 8 kV (contact), 15 kV (air)
ISO 10605:2008, 8 kV (contact)
Table of contents
Other Parker Adapter manuals

Parker
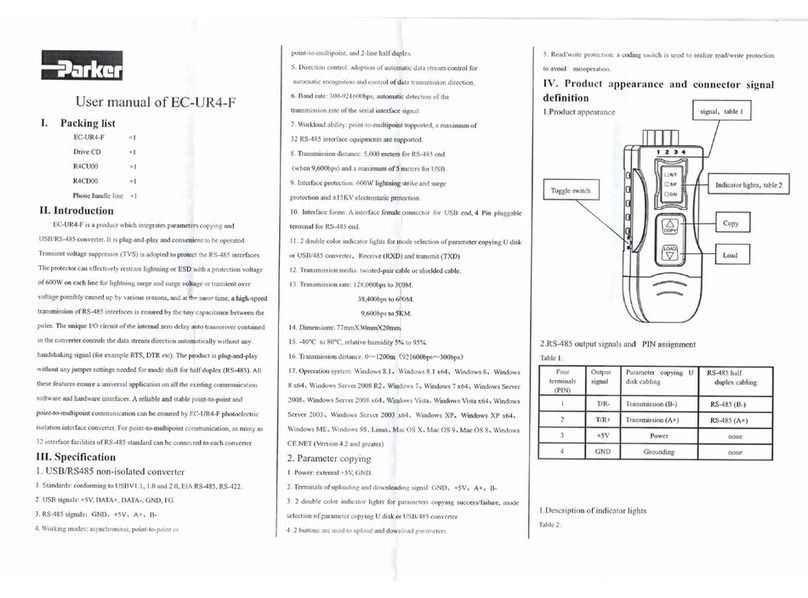
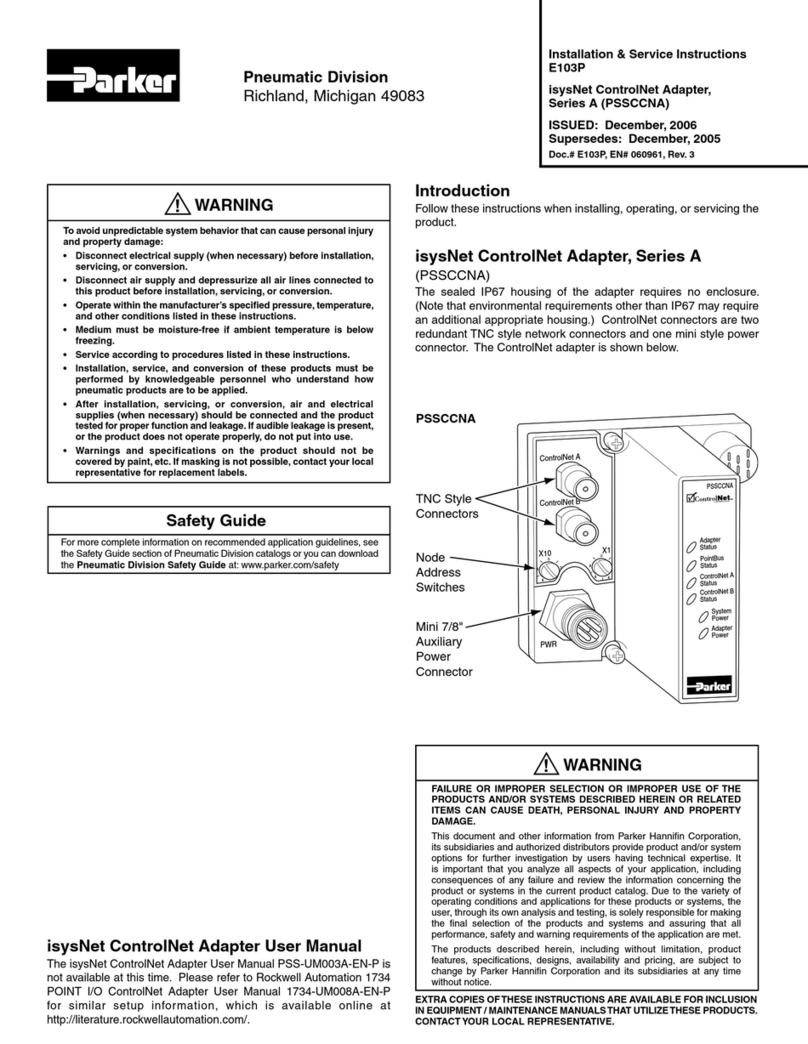
Parker PSSCCNA Installation and maintenance instructions

Parker
Parker EC-UR4-F User manual

Parker
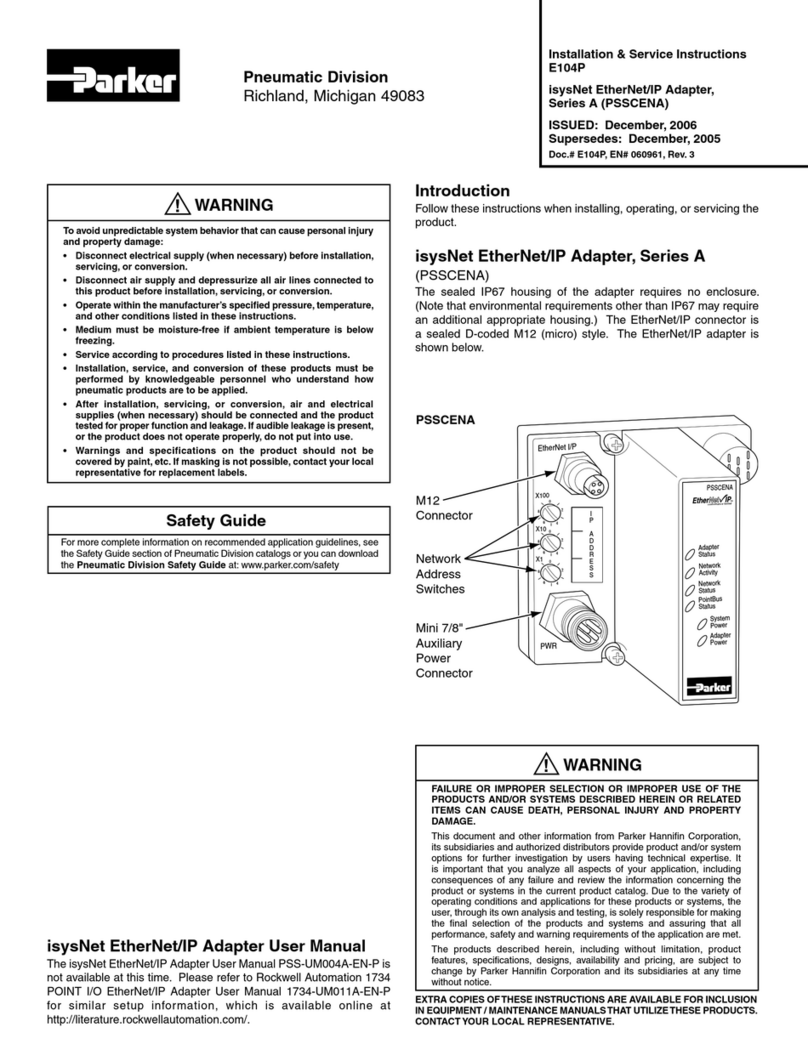
Parker isysNet E104P A Series Installation and maintenance instructions

Parker
Parker H Series Installation and maintenance instructions

Parker
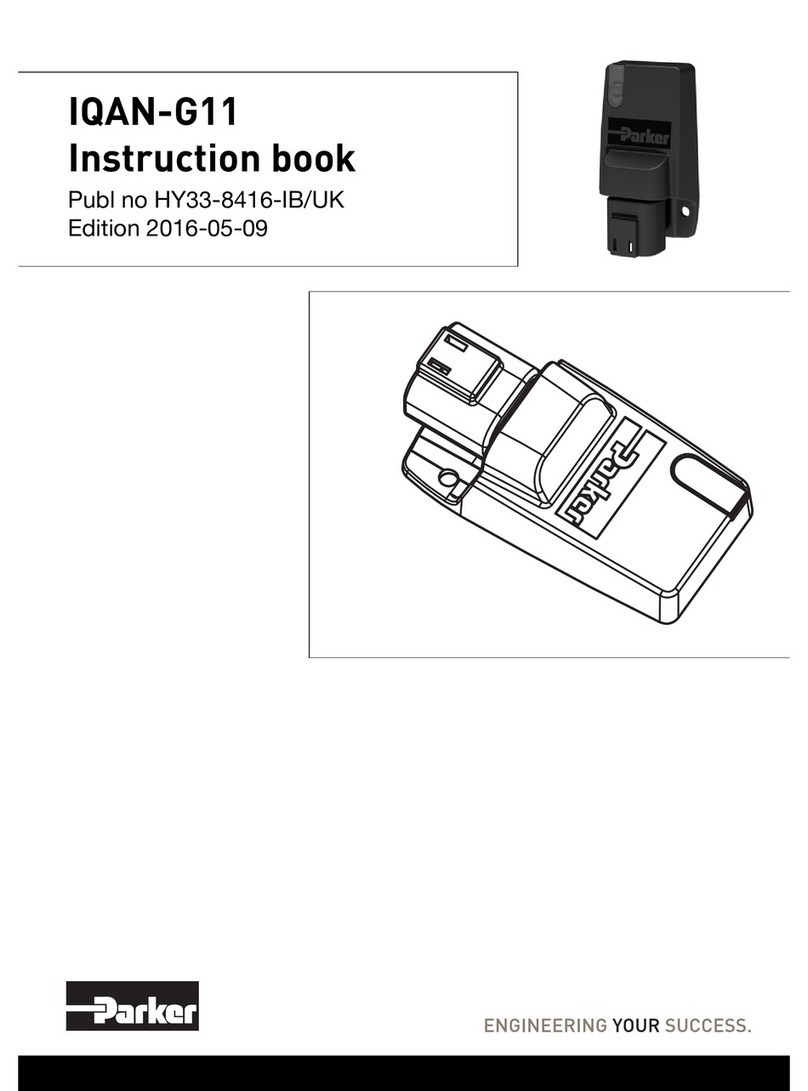
Parker IQAN-G11 User manual

Parker
Parker PSSCDM12A User manual

Parker
Parker USB-DLA User manual