9GB/IE/NI
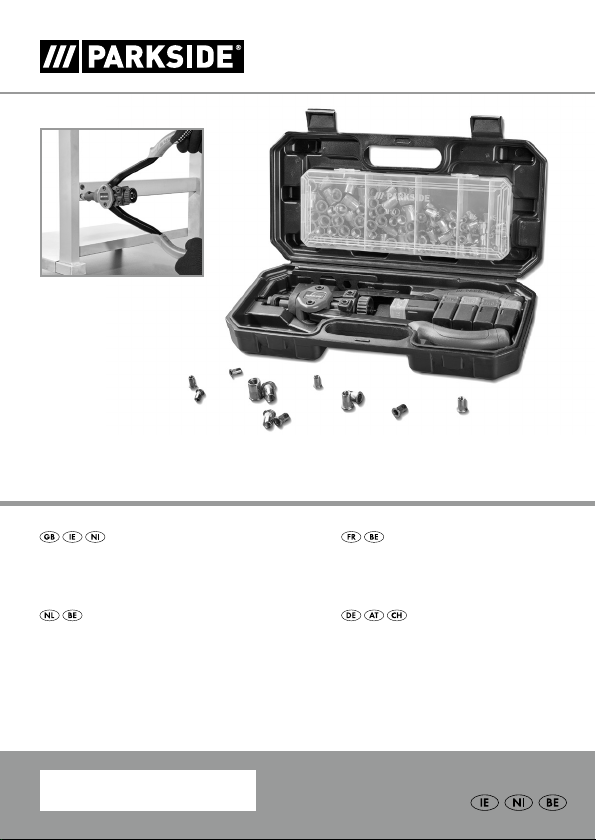
Always hold the product with only one hand,
and only by the handles when installing and
changing the inserts (see Fig. B). Keep the other
hand away from the product. Crushing injuries
may occur around the pliers mechanism.
Preparation
Explain how to use the wrench 6(see Fig. A).
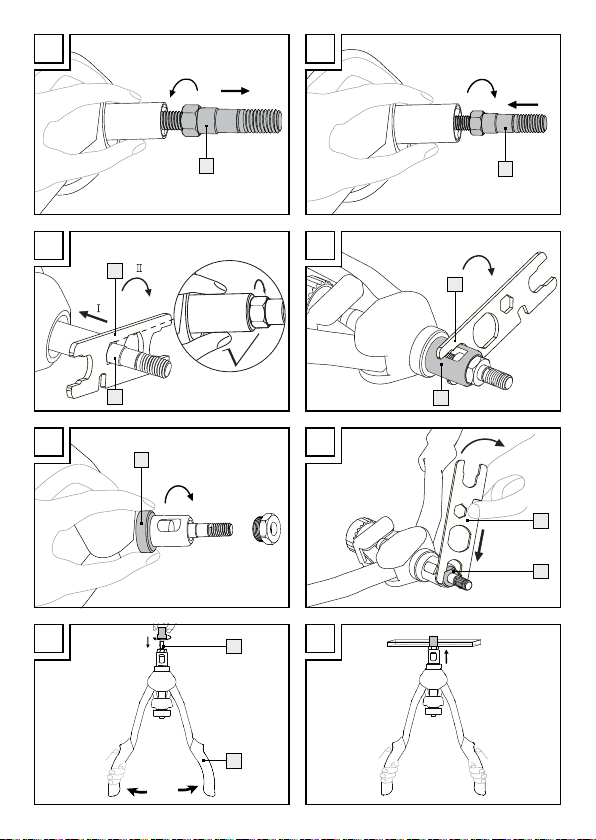
Changing the mandrel
Choose the correct size of mandrel 1.
Loosen the nose piece 2using the wrench 6. To do this, turn
the wrench 6anticlockwise (see Fig. B).
Loosen the adjusting nut 5by turning it anticlockwise (see Fig. C).
Loosen the socket 3using the wrench 6. To do this, turn the
wrench 6anticlockwise (see Fig. D).
Pull the slide sleeve 4back and hold it in place (see Fig. E).
Loosen the original mandrel 1using the wrench 6. To do this,
turn the wrench 6anticlockwise (see Fig. F).
Loosen the mandrel 1by turning it anticlockwise (see Fig. G).
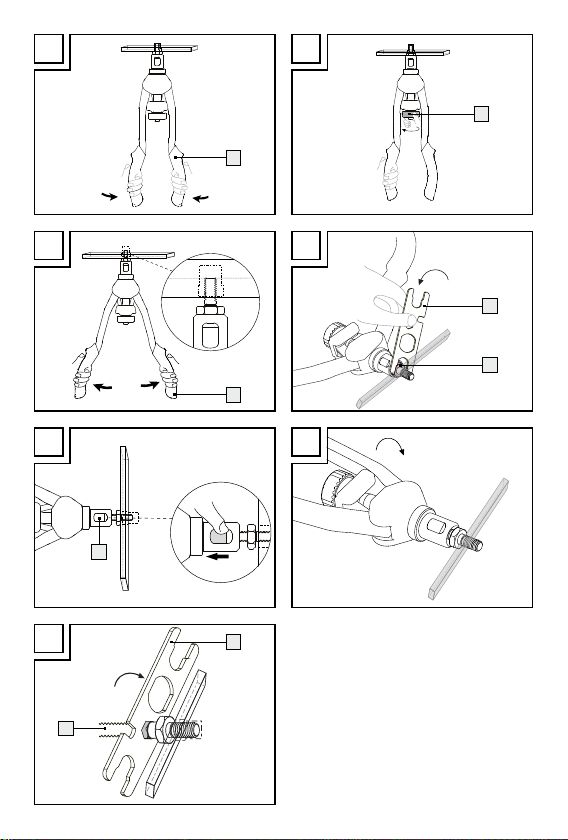
Choose the correct size of mandrel 1.
Screw in a different mandrel 1in a size of your choice by turning
it clockwise (see Fig. H).
Pull the slide sleeve 4back and hold it in place. Secure the
mandrel 1using the wrench 6. To do this, turn the wrench 6
clockwise (see Fig. I).
Turn the socket 3clockwise using the wrench 6(see Fig. J).
Tighten the adjusting nut 5by turning it clockwise (see Fig. K).
Lock the nose piece 2using the wrench 6. To do this, turn the
wrench 6clockwise (see Fig. L).