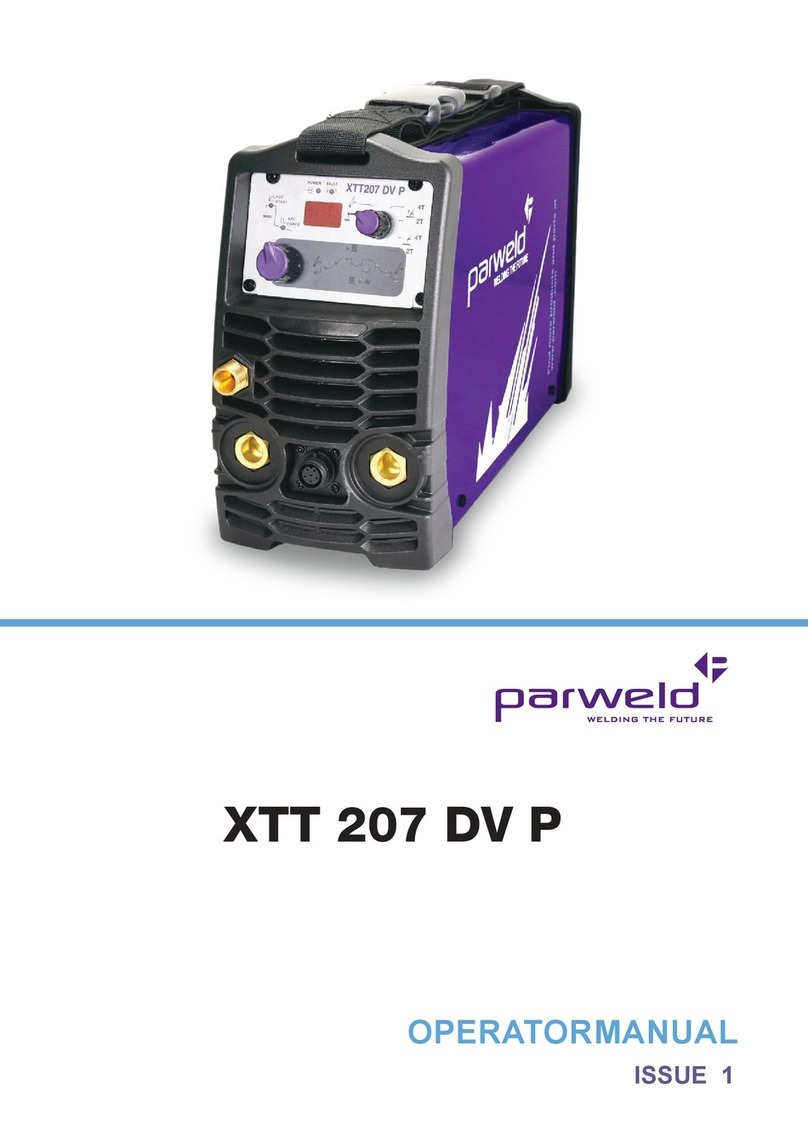
USER AND MAIINTENANCE MANUAL
Parweld would like to thank you for choosing this machine; if used according to the instructions reported in this user and
maintenance manual, it will accompany you in your work for many years without any problems. This manual is an integral
part of the machine and must accompany it whenever moved or resold. The user is responsible for making sure the machine
is complete and in good working order. The manufacturer has the right to make changes at any time, without notice. No
part of this manual may be translated into another language, adapted or reproduced with any means (including scanned
documents, photocopies, film and microfilm) without the prior written consent of the manufacturer
INDEX
• CAUTION ......................................................................................... page. 2, 3, 4
NOMINAL DATA ..................................................................................................... page 5
1. GENERAL SPECIFICATIONS AND NOTES FOR CONSULTING
THIS MANUAL ............................................................................................... page 6
2. DESCRIPTION OF THE EQUIPMENT .......................................................... page. 6
3. LOADING THE WELDING WIRE................................................................... page. 9
4. MIG/MAG WELDING...................................................................................... page. 10
4. 1 Manual Short Arc MIG Welding ................................................................... page. 10
4. 2 Synergic Short Arc MIG WELDING ............................................................ page. 11
4. 3 Pulse synergic MIG WELDING ................................................................... page. 13
5. MIG WELDING CONECTOR.......................................................................... page. 14
5. 2 CONNECTOR FOR MIG WELDING with a traditional torch....................... page. 15
5. 3 CONNECTOR FOR MIG WELDING with a Spool or Push-Pull torch ...... page. 15
6. STRIKING AN ARC IN MIG WELDING.......................................................... page. 15
7. ADJUSTING THE WELDER........................................................................... page. 15
8. HOW TO ACHIEVE THE BEST WELDING RESULTS.................................. page. 15
9. MMA WELDING.............................................................................................. page. 16
9. 1 MMA WELDING Manual ............................................................................... page. 16
10 WELDING TABLE.......................................................................................... page. 17
11 CONNECTION FOR MMA WELDING............................................................ page. 17
12. IGNITING THE MMA ARC ............................................................................. page. 17
13. TIG WELDING................................................................................................ page. 18
13. 1 TIG WELDING (Lift-Arc) ............................................................................... page. 18
14. CONNECTOR FOR TIG WELDING ............................................................. page. 19
15. IGNITION OF THE TIG ARC.......................................................................... page. 19
16. POWER CONNECTOR.................................................................................. page. 20
17. REMOTE CONNECTION ............................................................................... page. 20
17.1 REMOTE CONTROL OF THE WELDING CURRENT ................................... page. 20
18. CONNECTING THE OUTPUTS .................................................................... page. 20
19. CONNECTING THE GAS CYLINDER AND THE GAS REGULATOR page. 20
20. ORDINARY MACHINE MAINTENANCE........................................................ page. 21
22. MEMORISING THE WORK POINT................................................................ page. 21
23. LOCKING A WORK POINT............................................................................ page. 21
24. TROUBLESHOOTING ................................................................................... page. 24
25. BLOCK DIAGRAM WIRE FEEDER............................................................... page. 25
26. BLOCK DIAGRAM GENERATOR.................................................................. page. 25
27. SPARE PARTS DP403SW........................ .................................................... page. 26
28. SPARE PARTS DP503SW............. ............................................................... page. 27
29. SPARE PARTS WIRE FEEDER .................................................................... page. 28
