manuals.online logo
Brands
  1. Home
  2. •
  3. Brands
  4. •
  5. PASCO
  6. •
  7. Measuring Instrument
  8. •
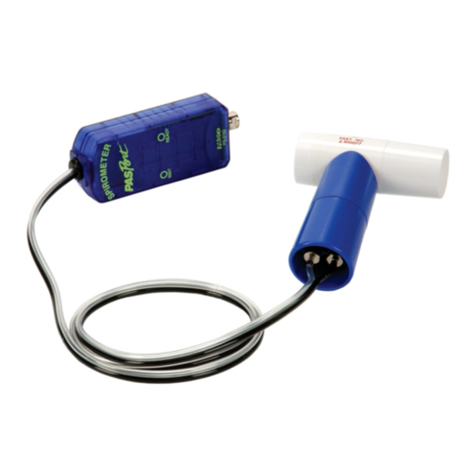
  9. PASCO Pasport PS-2136 User manual

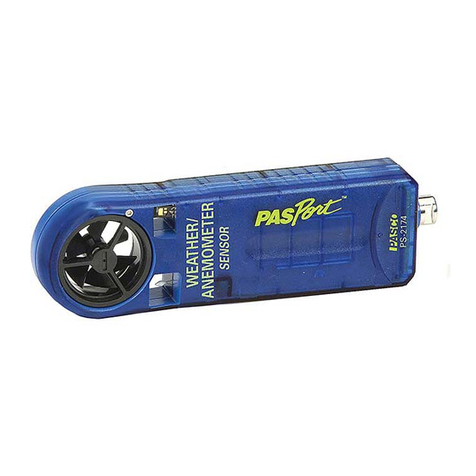
PASCO Pasport PS-2136 User manual

Other PASCO Measuring Instrument manuals

PASCO WA-7428 User manual

PASCO

PASCO WA-7428 User manual

PASCO PS-3215 User manual

PASCO

PASCO PS-3215 User manual

PASCO PS-3521 User manual

PASCO

PASCO PS-3521 User manual

PASCO PS-3214 Guide

PASCO

PASCO PS-3214 Guide

PASCO OS-8458B User manual

PASCO

PASCO OS-8458B User manual

PASCO PS-3216 User manual

PASCO

PASCO PS-3216 User manual

PASCO SF-9568A User manual

PASCO

PASCO SF-9568A User manual

PASCO ES-9078 User manual

PASCO

PASCO ES-9078 User manual

PASCO PS-3321 User manual

PASCO

PASCO PS-3321 User manual

PASCO EM-3556 User manual

PASCO

PASCO EM-3556 User manual

PASCO OS-9171 User manual

PASCO

PASCO OS-9171 User manual

PASCO ES-9078A User manual

PASCO

PASCO ES-9078A User manual

PASCO PS-3234 User manual

PASCO

PASCO PS-3234 User manual

PASCO PASPort Xplorer PS-2000 User manual

PASCO

PASCO PASPort Xplorer PS-2000 User manual

PASCO SE-7611 User manual

PASCO

PASCO SE-7611 User manual

PASCO OS-7053 User manual

PASCO

PASCO OS-7053 User manual

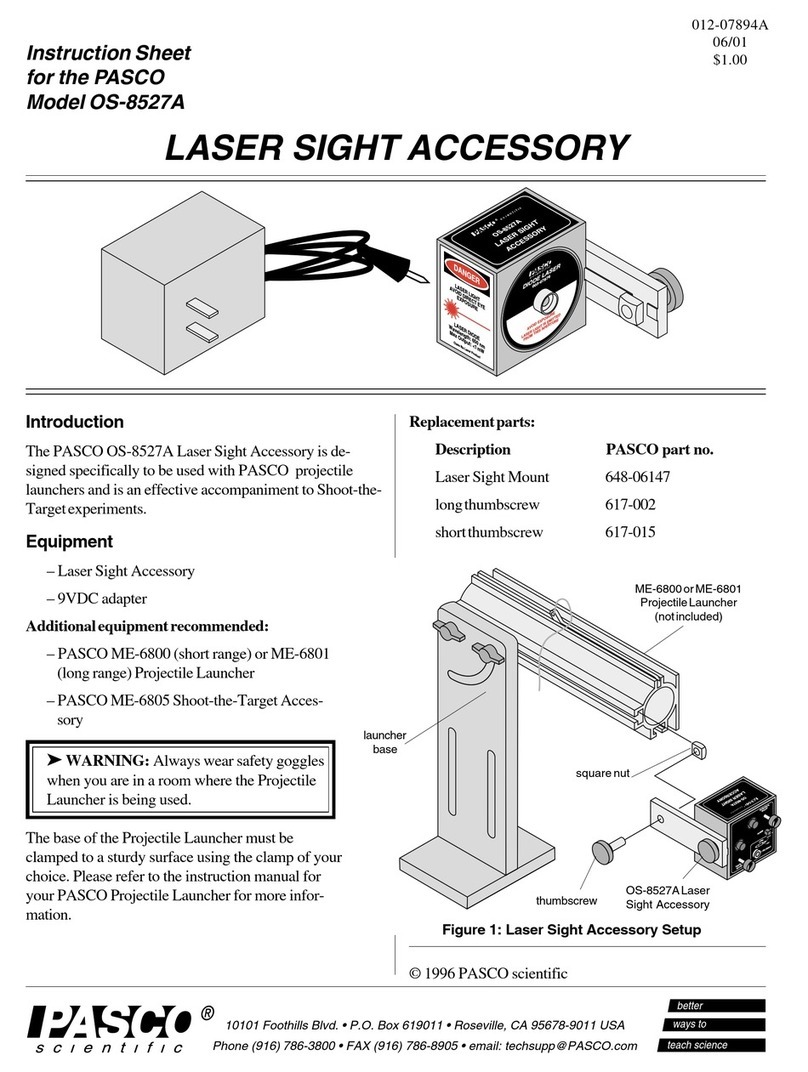
PASCO OS-8527A User manual

PASCO

PASCO OS-8527A User manual

PASCO PS-3238 User manual

PASCO

PASCO PS-3238 User manual

PASCO PASPORT PS-2230 User manual

PASCO

PASCO PASPORT PS-2230 User manual

PASCO PS-3515 User manual

PASCO

PASCO PS-3515 User manual

PASCO PASPORT PS-2148 User manual

PASCO

PASCO PASPORT PS-2148 User manual

PASCO SF-9500A User manual

PASCO

PASCO SF-9500A User manual

PASCO PS-3217 User manual

PASCO

PASCO PS-3217 User manual

PASCO Pasport PS-2132 User manual

PASCO

PASCO Pasport PS-2132 User manual

Popular Measuring Instrument manuals by other brands

Powerfix Profi 278296 Operation and safety notes

Powerfix Profi

Powerfix Profi 278296 Operation and safety notes

Test Equipment Depot GVT-427B user manual

Test Equipment Depot

Test Equipment Depot GVT-427B user manual

Fieldpiece ACH Operator's manual

Fieldpiece

Fieldpiece ACH Operator's manual

FLYSURFER VIRON3 user manual

FLYSURFER

FLYSURFER VIRON3 user manual

GMW TG uni 1 operating manual

GMW

GMW TG uni 1 operating manual

Downeaster Wind & Weather Medallion Series instruction manual

Downeaster

Downeaster Wind & Weather Medallion Series instruction manual

Hanna Instruments HI96725C instruction manual

Hanna Instruments

Hanna Instruments HI96725C instruction manual

Nokeval KMR260 quick guide

Nokeval

Nokeval KMR260 quick guide

HOKUYO AUTOMATIC UBG-05LN instruction manual

HOKUYO AUTOMATIC

HOKUYO AUTOMATIC UBG-05LN instruction manual

Fluke 96000 Series Operator's manual

Fluke

Fluke 96000 Series Operator's manual

Test Products International SP565 user manual

Test Products International

Test Products International SP565 user manual

General Sleep Zmachine Insight+ DT-200 Service manual

General Sleep

General Sleep Zmachine Insight+ DT-200 Service manual

Sensa Core Lacto Spark user manual

Sensa Core

Sensa Core Lacto Spark user manual

VOLTCRAFT UTS-1980 operating instructions

VOLTCRAFT

VOLTCRAFT UTS-1980 operating instructions

EBCHQ 94915 Operation manual

EBCHQ

EBCHQ 94915 Operation manual

Balluff BIP LD2-T017-01-EP-S4 Series user guide

Balluff

Balluff BIP LD2-T017-01-EP-S4 Series user guide

Pulsar IMP Lite Series instruction manual

Pulsar

Pulsar IMP Lite Series instruction manual

ETCR 6800 user manual

ETCR

ETCR 6800 user manual

manuals.online logo
manuals.online logoBrands
  • About & Mission
  • Contact us
  • Privacy Policy
  • Terms and Conditions

Copyright 2025 Manuals.Online. All Rights Reserved.

!
PS-2136
The PS-2136 3-Axis Acceleration Altimeter measures acceleration (in m/s/s or g)
along three axes (x,y, and z) and altitude (in feet or meters).
Acceleration Quick Start
Additional Equipment Needed
•PASPORT
™interface (USB Link, PowerLink, etc.) with USB-compatible computer
or a PS-2000 Xplorer
• EZscreen or DataStudio®software (version 1.8.5 or later)
Equipment Setup
1. Connect the PASPORT interface to a USB port on your computer or to a USB hub.
2. Connect the sensor to a PASPORT interface. (If using an Xplorer in the classroom,
connect the Xplorer cable to your computer.)
3. The software launches when it detects a PASPORT sensor. Select a point of entry.
Sensor Specifications: Procedure:
Sensor ranges: Acceleration: -10 to +10 g
Altitude*: 0 to 7000 meters
Accuracy: Acceleration: 1%
Altitude*: 1 meter for changes not
exceeding 100 meters
Default sample rate: 20 samples/per second
Maximum sample rate: 20 samples/per second
800-772-8700 • 916-786-3800 • techsupp@pasco.com • www.pasco.com 012-08511A
12
3
3-Axis Acceleration-Altimeter
*The altitude is the
height relative
to sea level
(in meters). Altitude
readings will vary with local variations in barometric pressure. The
sensor will resolve better than 0.3 meters.
CARD 1A
012-08511A
1. Plug the 3-Axis Acceleration Altimeter into a PASPORT interface.
2. Connect the PASPORT interface to a USB port (or USB hub) connected
to a USB-compatible computer.
3. Orient the sensor for the experiment.
4. In DataStudio, click the Start button to begin recording data. To end
data collection, click the Stop button.
DataStudio Task Procedure
Automatically zero
the sensor
In DataStudio, click the Start button. The zero feature
affects all axes (x, y, and z)*and the altitude.
Disable automatic
zeroing
In the PASPORT Setup window, scroll to the Acceleration
box and deselect the box next to “Zero Automatically on
Start.”
Manually zero the
sensor
Place the sensor in a stationary and proper orientation for
the experiment. In the PASPORT Setup window, click the
Zero button.
Reverse the effect of
zeroing the sensor
Exit the current experiment and start a new experiment
(i.e. From the File menu, select “New Experiment.”)
*The resultant acceleration is the magnitude of the vector sum for the x, y, and z
accelerations.
CARD 1B
Collecting Data with the 3-Axis Accel-
Zeroing the Acceleration/Altimeter
Figure 1: PASPORT Setup window
Classroom Activity with the 3-Axis
Acceleration Altimeter
1. Using the PASPORT extension cable, plug the 3-Axis Acceleration
Altimeter into a PASPORT interface (USB Link, Xplorer, etc.).
2. Mount the 3-Axis Acceleration Altimeter to a Dynamics Cart, PAScar, or
GOcar, using the included bracket.
3. Place the car on a Dynamics Track that has been inclined at some height
and angle.
4. In EZscreen or DataStudio, click the Start button and allow the car to roll
down the track.
5. When the car approaches the end of the track, click the Stop button. Have a
lab partner at the end of the track ready to catch the car.
6. Repeat steps 3-5 two more times.
7. Looking at the acceleration-time graph, describe the acceleration of the car
as it rolls down the track.
8. Average the acceleration values from the data runs and compare to the
theoretical value for the height/angle you chose.
9. (Optional): Change the height/angle of the track and repeat the experiment
to determine the effect of height/angle on the acceleration of the car.
in the Classroom
Altimetereration
The 3-Axis Acceleration Altimeter automatically zeroes when students click the
Start button in DataStudio (version 1.8.5 or later). The DataStudio PASPORT
Setup window provides additional zeroing options, as outlined in the table below.
Procedure:
1. Plug the Acceleration Altimeter into an Xplorer.
2. Open the pocket on the Xplorer Vest and slide in the
Xplorer and sensor. Be sure the display of the
Xplorer is facing the clear window.
3. Stretch the elastic over the sensor to hold the sensor
in place.
4. Close the pocket. Slip the vest over the head and
onto the chest.
5. Connect the four buckles and adjust the straps until the vest fits snugly.
6. Press the Power button on the Xplorer. (Note: If more than two minutes
passes before beginning data collection, the Xplorer will automatically power
off.)
7. Enter the ride or get ready to start the desired activity.
8. To begin data collection, press and hold the Start/Stop button on the Xplorer
for three seconds.*
9. Experience the ride or activity.
10.To stop data collection, press and hold the Start/Stop button for three
seconds.*
11.Plug the Xplorer datalogger into the USB port of your computer. Data from
the Xplorer will automatically download into DataStudio. (Note: You do not
need to remove the Xplorer from the vest, as the pocket has a button hole for
plugging in a USB cable.)
CARD 2A
Collecting Data with the 3-Axis
Acceleration Altimeter in the Field
*Holding the Start/Stop button on the Xplorer prevents accidental starting and
stopping of data collection during the ride or activity.
Measurements with the 3-Axis
Acceleration Altimeter
PA S C O ’s 3 - A x i s A c c e l er a ti o n A l ti m e t er fe a t u r e s f i v e s i m ul t a n e o us
measurements, as follows, for use in a wide variety of exciting activities:
• Acceleration (x-axis)
• Acceleration (y-axis)
• Acceleration (z-axis)
• Acceleration (magnitude of the resultant)
• Altitude (calculated from pressure measurements)
To u s e t h e PS - 21 3 6 3 - A xi s A c c el e ra ti o n
Altimeter in the field, you will also need an
Xplorer datalogger (PS-2000) and an Xplorer
Vest (PS-2520).
When used in the field, approximately four
minutes of data can be stored in Xplorer’s
memory at the default sampling rate (20 Hz).
Yo u c a n c h a n ge t h e s am p l in g r a t e t o i n c re a s e o r
decrease the recording time.
Figure 2
Using the 3-Axis Acceleration Altimeter
in the Field
Suggested Activities Sample Data
Acceleration measurements can be used to help students better understand
velocity changes that occur with and without changes in altitude.
• Amusement park rides: Use the 3-Axis Acceleration Altimeter to help
students see clear, visual clues about where they experience various
acceleration changes on a ride, such as a roller coaster.
• Skydiving: Use the 3-Axis Acceleration Altimeter to measure changes in
altitude during the acceleration and terminal velocity portions of the jump.
• Snow skiing: Measure accelerations experienced from turning snow skiis
and the changes in altitude experienced throughout a ski run.
• Ball toss: Place the sensor inside a foam ball and toss through the air. The
resultant acceleration and altitude data can be used to determine that
acceleration is constant throughout the flight, even at the highest point.
The data below was collected from an amusement park ride.
Note: The resultant acceleration and altitude data can be placed in the same
graph window. This allows students to determine at which point on the ride
they experienced a particular acceleration. Acceleration data in the x, y, and z
axes is also available and can be displayed separately for further analysis.
CARD 2B
Height (meters)
Acceleration
(resultant) (m/s/s)
Note: Altitude data is based on measurements from a pressure sensor. The
calculation for altitude assumes standard pressure at sea level as a
reference. If your ambient pressure conditions differ from reference, the
absolute altitude reading may be incorrect or even negative. However, the
changes in altitude will be accurate within one meter.