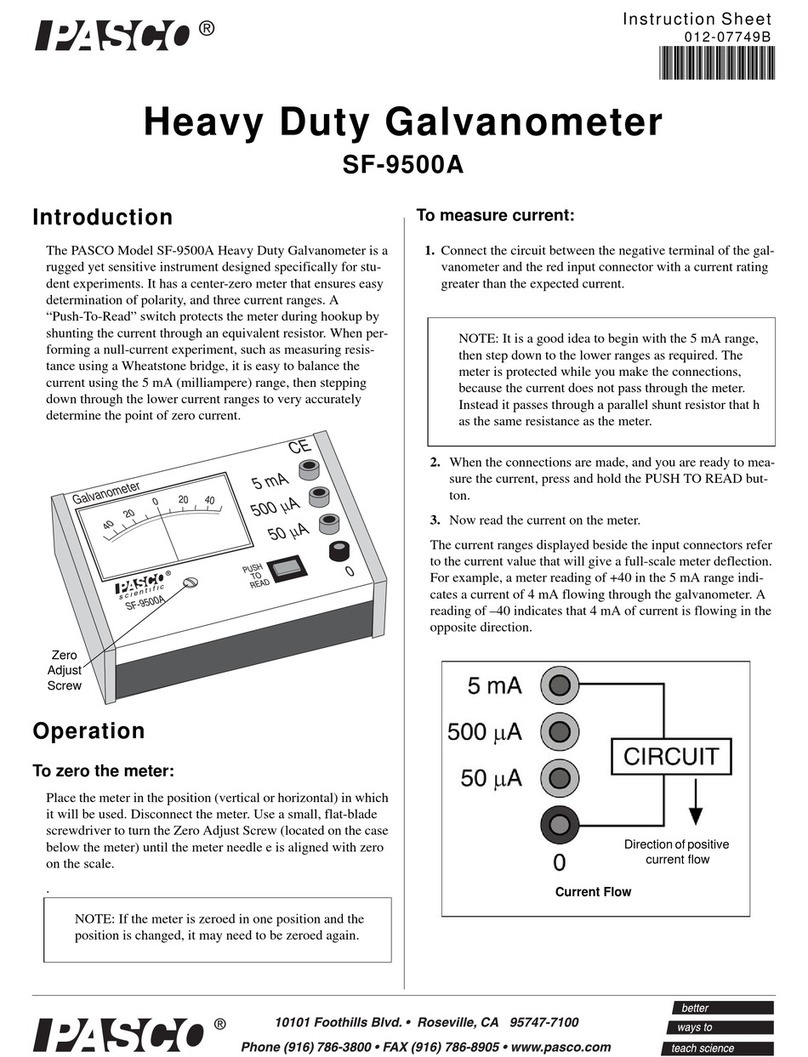
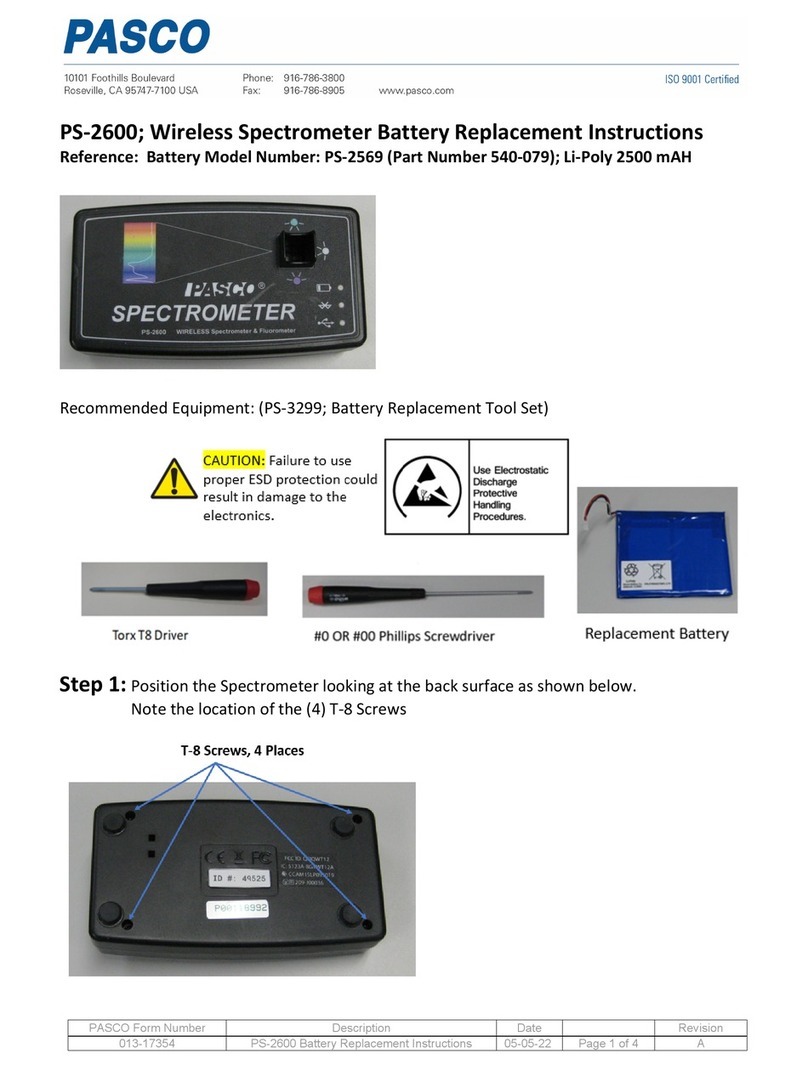
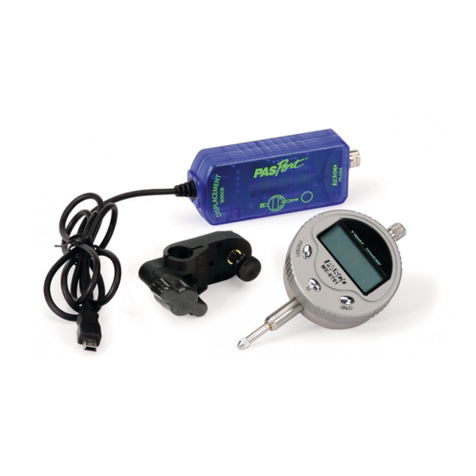
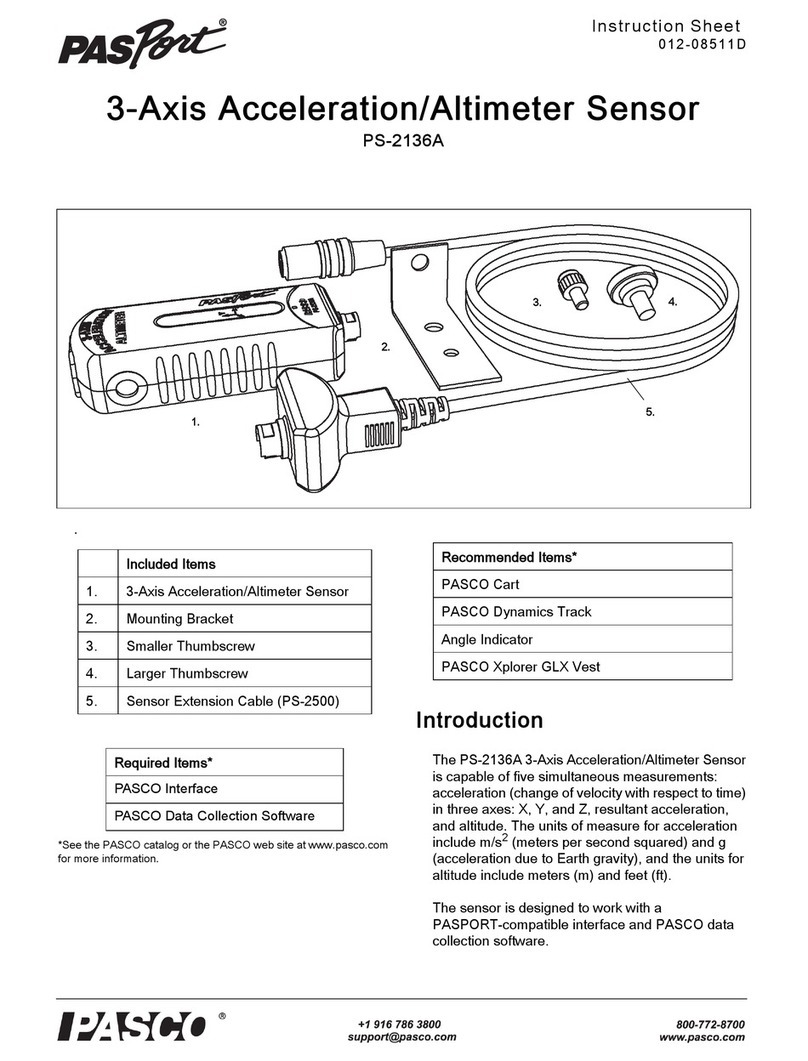
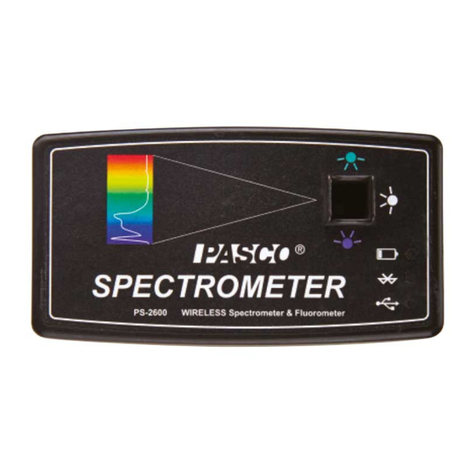
PASCO PASPort Xplorer PS-2000 User manual

PS-2000
FRONT_cover.fm Page 1 Tuesday, August 20, 2002 11:33 AM

Minus button
Plus button
QUICK REFERENCE
Check button
Start/Stop button
Power button
Display button
LED (Light
Emitting
Diode) light
LCD (Liquid
Crystal Display)
screen
LED light (above the Start button) flashes to
indicate Xplorer is storing data.
Cursors select the field for editing.
Xplorer is automatically taking regular,
timed measurements (sample rate method).
Xplorer is waiting for you to tell it when to
take a measurement (manual sampling).
Xplorer is taking a condition-dependent
measurement (“smart” sampling method).
Tab button
Function
Indicator *
(See also -- back inside cover)
1.
2.
3.
4.
5.
*Indicators 3-5 above flash in upper right corner of LCD.
FRONT_cover.fm Page 2 Tuesday, August 20, 2002 11:33 AM

QUICK REFERENCE (See also -- front inside cover)
4. Sampling Method - provides 3
sampling options (sample rate,
manual sampling, smart sampling)
5. Data Memory - indicates used
and available memory
6. Data Review - for reviewing
stored data sets
Main Display Modes (vary with settings and sensor)
Press to change the display mode to the next display in
the sequence or exit out of any submenu. Repeatedly press-
ing cycles through the main display modes.
Temperature
23.7°C
10/5/2000
01:14:25 PM
Battery
E********--F
Sample Rate
10 samples/s
Data Memory
3 sets 73% Full
Review Set #1
Temperature
Calibrate
Temperature °C
1. Sensor Value - shows a
measurement; name and units
change with specific sensor
2. Date/Time - for clocking and
tracking measurements
3. Battery Life - shows life
remaining for alkaline batteries
7. Calibration - for calibrating an
attached sensor; display is unique
for each sensor
([DPSOH'LVSOD\VIRUD7HPSHUDWXUH6HQVRUFRQQHFWHGWR;SORUHU
FRONT_cover.fm Page 3 Tuesday, August 20, 2002 11:33 AM

012-07784C
Printed in U.S.A.
©copyright 2001
PASCO scientific
All rights reserved.
FRONT_cover.fm Page 4 Tuesday, August 20, 2002 11:33 AM

1
012-07784C Xplorer User’s Guide
®
TABLE OF CONTENTS
EQUIPMENT ................................................................... 3
SETUP
Inserting Batteries ..........................................................4
Installing DataStudioTM .................................................5
Connecting Xplorer to a Computer ................................6
Connecting Xplorer(s) to a USB hub .............................7
BASIC FUNCTIONS
Xplorer Buttons..............................................................8
Turning Xplorer On/Off.................................................9
Setting the Date and Time............................................10
Measuring with Xplorer...............................................11
Plugging in a Sensor ....................................................12
Retrieving Stored Data with DataStudio......................12
DISPLAYS
Main Display Modes............................................... 13-14
Changing the Display Mode .........................................15
MEASUREMENT OPTIONS AND SAMPLING
Changing the Sensor Measurement..............................16
Changing the Sensor Units...........................................17
Sampling Measurement Options..................................18
Changing the Sampling Method ..................................18
Sample Rate Measurement Method .............................19
-Measuring with the Sample Rate Method ................20
-Reasons for Changing the Sampling Rate.......... 20-21
-Changing the Sampling Rate/Unit............................22
Manual Sampling Measurement Method ....................23

Xplorer User’s Guide 012-07784C
2
®
TABLE OF CONTENTS (Continued)
MEASUREMENT/SAMPLING OPTIONS (CONT.)
-Measuring with Manual Sampling....................23-24
-Switching Sensors during Manual Sampling.........25
Smart Sampling Method ...........................................25
-Measuring with Smart Sampling ............................26
-Smart Sampling Level............................................26
-Changing the Smart Sampling Level .....................27
-Smart Sampled Data in DataStudio........................27
DATA SET REVIEW/DELETION
Reviewing Data Sets...............................................28
Changing Units in Data Set Review .......................29
Data Set Numbering ...............................................30
Deleting Data Sets ..................................................30
Calibration.................. ............................................31
Resetting/Clearing Sensor Memory .......................32
DATA RETRIEVAL AND DATASTUDIO
Using Xplorer with DataStudio ................................33
Retrieving Stored Data into DataStudio....................34
Merging Data Sets from Multiple Xplorers .........35-36
BATTERY LIFE AND MEMORY
Maximizing Battery Life .................................... 37-38
Maximizing Data Memory ................................. 38-39
TECHNICAL ISSUES AND SUPPORT
Troubleshooting.........................................................40
Technical Support..................................................... 41
WARRANTY ..................................................................42

3
012-07784C Xplorer User’s Guide
®
Equipment
The PS-2000 Xplorer comes with the following:
a) USB A-B cable (1)
b) AA batteries (2)
c) DataStudio Lite CD (1)
d) Zip-sealed vinyl bag for protecting Xplorer from harsh
chemicals and water. (Save the bag for storing Xplorer
when not in use.) (1)
e) Lanyard (1)
fi
fi
fi
fi
fi

Xplorer User’s Guide 012-07784C
4
®
Inserting Batteries
Away from the computer, Xplorer requires two AA batter-
ies for power. When connected to a computer, Xplorer is
powered by the USB connection.
1. Turn Xplorer face down and open the battery door on
the back.
2. Push the tab on the battery door to the left and lift the
door free from the rest of the case. [Note: Insert the
batteries in the correct orientation in the back com-
partment (See Figure 1)].
3. To replace the battery door, place the two small tabs
on the door into the two holes in the case. Gently
press down on the right side of the door until the latch
tab clicks into place.
Figure 1

5
012-07784C Xplorer User’s Guide
®
Installing DataStudio
With its data memory and a built-in LCD display, Xplorer
can measure, display, and store data in the field. For dis-
playing and analyzing data sets in a graphical display, a
computer is essential. For display and analysis, Xplorer
works with DataStudioTM software on your PC or Macin-
tosh.
Xplorer comes with a copy of DataStudio Lite, a special
configuration of DataStudio with the essential features for
retrieving and displaying data from Xplorer. If you pur-
chased the full DataStudio (with more extensive display
and analysis capabilities), you will enter the license key
that came with the purchase. You must use version 1.6 or
later of DataStudio software with Xplorer.
To install DataStudio software:
1. Place the disk into your CD drive. If the installer does
not launch automatically, choose “Run” from the
“Start” menu and enter “D:\SETUP.EXE,” where “D”
is the letter of your CD drive.
YOU MUST INSTALL DATASTUDIO SOFTWARE
BEFORE CONNECTING XPLORER TO THE COM-
PUTER FOR THE FIRST TIME. (If you plug the Xplorer
in first, the computer does not recognize it and asks you for
driver information. Cancel all dialogs that appear, unplug
Xplorer, and install DataStudio software before reconnect-
ing.)

Xplorer User’s Guide 012-07784C
6
®
Connecting Xplorer to a Computer
Xplorer connects to your PC or Macintosh with a standard
USB A-B cable. Xplorer automatically turns on when
connected to a computer’s USB port. When you connect
Xplorer to the computer, DataStudio launches if Xplorer
has stored data or a sensor connected.
To connect Xplorer to a computer:
1. Plug the “square” end of the USB cable to Xplorer.
2. Plug the “flat” end of the USB cable into the USB port
on your computer. (You can also use Xplorer with a
USB hub.)
If you installed additional software, such as Workbook
software, a dialog appears and asks you how you want to
use Xplorer.
USB symbol
Figure 2

7
012-07784C Xplorer User’s Guide
®
Connecting Xplorer(s) to a USB Hub
Xplorer also may be connected to a computer through a
USB hub. If you plan to simultaneously connect multiple
Xplorers to your computer, and have only 1 USB port avail-
able, you will need a USB hub.
NOTE: A SELF-POWERED USB HUB (WITH ITS OWN
POWER SUPPLY) IS REQUIRED FOR XPLORER.
To obtain the best possible time synchronization between
two or more Xplorers, plug them into the same computer
together through a USB hub. All connected Xplorer’s
clocks will synchronize to within a millisecond. This extra
accuracy is necessary when using Xplorers together away
from the computer with sample rates of 100 Hz or above.
(Also see “Merging Data Sets from Multiple Xplorers”on
page 35.)
To order a USB 4-port hub from PASCO, use part no.
PS-2501.

Xplorer User’s Guide 012-07784C
8
®
Xplorer Buttons
1. Tab button
•Moves the edit cursors to
the next field
3/4. Minus/Plus buttons
•Changes the value in the
edit field (1 pt. for each
button press)
•Chooses an alternate
sensor measurement
•Changes the sampling
mode
8. Check button
•Begins editing (shows the
edit cursors)
•Ends editing - accepts
changes
•Keeps a single value when
manual sampling
5. Display button
•Changes the display
mode
•Ends editing - discards
changes
•Wakes up Xplorer if
sleeping
7. Start/Stop button
•Starts measuring and
creates a new data set
•Stops measuring and
ends a data set
2. Power button
•Turns Xplorer on and off
1
5
2
6
8
3
4
6. LED light
•Flashes when Xplorer
is storing data
7

9
012-07784C Xplorer User’s Guide
®
Turning Xplorer On/Off
Xplorer automatically turns on when connected to a com-
puter. Xplorer automatically turns itself off after a few
minutes if:
•Xplorer is not connected to a computer.
AND
•Xplorer is not taking measurements.
AND
•No buttons were pressed.
To turn Xplorer on (manually):
•Press and hold until Xplorer beeps once (about one
second).
To turn Xplorer off (manually):
•Press and hold until Xplorer beeps twice (about one
second.)

Xplorer User’s Guide 012-07784C
10
®
Setting the Date and Time
Xplorer contains a clock and calendar to keep track of
time and date measurements. [Set the date and time the
first time you turn on the Xplorer, or if you leave Xplorer
without good batteries for more than two days.] If you
connect Xplorer to the computer with DataStudio soft-
ware, Xplorer’s date and time are automatically set.
To manually set the date and
time:
1. Turn on Xplorer.
2. From the Date display,
press . (The cursors
show the date/time
field selected for editing.
3. Press or but-
tons to change the value
in the selected field.
4. Press to move the
edit cursor to the next
date/time field.
5. To accept the changes
and start the clock, press . To cancel the editing,
press .
11 19 2000
11-20 2000
Press Tab to move
through each field.
01:14:25 PM
01:14:25 PM
10 19-2000
01:14:25 PM

11
012-07784C Xplorer User’s Guide
®
Measuring with Xplorer
1. Turn Xplorer on.
2. Plug in any sensor.
(Xplorer displays a name
and unit of measure spe-
cific to that sensor.)
Note: If monitoring mode is on,
Xplorer automatically begins
measuring and displaying data
from the sensor, but does not
store the data until you press the
Start button and the LED light flashes. Press the Tab button
to turn monitoring mode on or off.
3. Press . (Xplorer begins storing measurements.
The LED light, above the Start button, flashes when-
ever Xplorer is storing data.)
4. Press . (Xplorer stops storing.) You have now
collected a set of measurements, also called a logged
data set. This process of taking and storing measure-
ments is called data logging.
Note: To “lock”in storing mode (prevent any accidental
button press from stopping data collection), press and hold
for 3 seconds or until you hear 3 beeps. To stop, press
and hold for 3 seconds (or until you hear 3 beeps.)
Heart Beat
72
Heart Beat
72
Data Memory
1 set 3% full

Xplorer User’s Guide 012-07784C
12
®
Plugging in a Sensor
1. Orient the pins on the
mini DIN connector of the
PASPORTTM sensor to the
holes on the Xplorer.
2. Plug the sensor into the
mini DIN receptacle on the top of Xplorer.
Retrieving Stored Data with DataStudio
Note: To transfer Xplorer data to your computer, you must
use DataStudio software.
1. Connect Xplorer to the computer. (DataStudio auto-
matically launches and asks you to retrieve data from
Xplorer.)
2. Click Retrieve Now when DataStudio asks. (DataStu-
dio retrieves all stored data, removes the data from
Xplorer, and opens a display window showing the
data.)
For information on displaying and saving data, see Data-
Studio’s online help.
Figure 3: mini DIN Connec
t
Figure 4: Plugging in a Sensor

13
012-07784C Xplorer User’s Guide
®
Main Display Modes
Xplorer displays up to seven main modes (depending on the
sensor used and if data is stored). Each mode displays up to
two 16-character lines. (Note: The displays will vary
according to settings and the type of sensor you have con-
nected. This example shows the displays for a Temperature
Sensor.)
Battery
10 samples/s
Sample Rate
3 sets 73% Full
Data Memory
Temperature
Review Set 1
E********--F
Calibrate
Temperature 0C
Temperature
10/05/2000
01:14:25
23.7 0C
1. Sensor Value
2. Date/Time
3. Battery Life
5. Data Memory
4. Sampling Method
6. Data Review
7. Calibration

Xplorer User’s Guide 012-07784C
14
®
Sensor Value display - shows the latest measured value
for a connected sensor if Xplorer is taking measurements
or an “Empty”value if Xplorer is not in measurement
mode. (An animated icon in the upper-right corner of the
display indicates that Xplorer is storing measurements,
regardless of the display mode.) The top line of the dis-
play shows the selected measurement name and the bottom
line shows the value and unit of measure.
Date and Time Display - shows the internal clock time
for tracking dates and times of measurements. To set the
date and time, see ”Setting the Date/Time”on page 10 of
this manual.
Battery Life Display - indicates the amount of battery
life remaining for alkaline batteries. Other types of batter-
ies may give a false reading.
Sampling Method Display - provides three options for
controlling how Xplorer takes and stores measurements:
-Sampling Rate (automatic sampling at a fixed rate)
-Manual Sampling (user-commanded)
-“Smart”sampling (condition/change dependent)
Data Memory Display - shows the number of collected
data sets and the available data memory (%). Xplorer can
store up to 100 sets of data or 25,000-50,000 values,
depending on the sensor(s) used.

15
012-07784C Xplorer User’s Guide
®
Data Set Review Display -indicates stored data sets
ready for review.
Calibration Display - allows for calibrating specific sen-
sors.
Changing the Display Mode
Switch between display options like channels on a televi-
sion. Press to change the display mode to the next dis-
play in sequence. Repeatedly pressing cycles through
the main display modes.
Xplorer also automatically changes the display mode in
reponse to the following actions:
•Turning on Xplorer automatically sets the display
mode to the current date and time.
•Plugging in a sensor or pressing the Start button auto-
matically sets the Xplorer display to the current sensor
value.
•Removing a sensor from Xplorer sets the display mode
to the current date and time.
•Stopping measurements sets the display mode to the
Data Memory status.

Xplorer User’s Guide 012-07784C
16
®
If you are using a display sub-mode (like data set review or
setting the date and time), pressing cancels the edit-
ing changes or review mode and advances to the next main
display mode. (See the main display modes on page 13).
Changing the Sensor Measurement
Some sensors can simultaneously take more than one mea-
surement (i.e. The Motion Sensor measures position,
velocity, and acceleration.) When you plug in a sensor,
Xplorer automatically chooses a measurement to display.
To change the default mea-
surement:
1. From the Sensor
Value display, press
or to
cycle through all
available measure-
ments for the con-
nected sensor.
Xplorer remembers the
measurement you last
chose for a particular sen-
sor and displays it agains the next time you use that sensor.
For instructions on resetting the sensor memory, see page
32.
Position
---m
Velocity
---m/s
Acceleration
-----m/s/s
Table of contents
Other PASCO Measuring Instrument manuals

PASCO
PASCO OS-8526A User manual

PASCO
PASCO OS-8458 User manual

PASCO
PASCO ES-9042A User manual

PASCO
PASCO OS-7053 User manual

PASCO
PASCO PS-3521 User manual

PASCO
PASCO TD-8564 User manual

PASCO
PASCO ES-9077 User manual

PASCO
PASCO SE-7611 User manual

PASCO
PASCO PS-3223 User manual

PASCO
PASCO PASPORT PS-2108 User manual

PASCO
PASCO ME-9495A User manual

PASCO
PASCO PS-3234 User manual

PASCO
PASCO PS-3215 Use and care manual

PASCO
PASCO PS-3320 User manual

PASCO
PASCO OS-8516A User manual

PASCO
PASCO OS-8458B User manual

PASCO
PASCO PS-3321 User manual

PASCO
PASCO OS-8525A User manual

PASCO
PASCO Wireless Smart Gate User manual

PASCO
PASCO Pasport PS-2132 User manual