manuals.online logo
Brands
  1. Home
  2. •
  3. Brands
  4. •
  5. PASCO
  6. •
  7. Measuring Instrument
  8. •
  9. PASCO SP-9285 User manual

PASCO SP-9285 User manual

012-02152E
10/94
$1.00
Instruction Sheet
for the PASCO
Model SP-9285
➂Plug the power supply of the Gaussian eyepiece into a
well grounded 115 VAC (60 Hz) or 220/240 VAC (50
Hz) outlet. The light from the eyepiece is reflected
along the optical axis of the telescope by a half-sil-
vered mirror. Looking through the eyepiece, you will
see the cross-hairs of the graticule lighted up as they
scatter some of the light back into the eyepiece.
➃Mount the grating holder to the spectrometer table and
insert the diffraction grating.
➄Looking through the telescope, rotate the table until a
patch of light reflects back through the telescope from
the grating’s glass surfaces. (The spectrometer table
and the telescope must be at least roughly level to ac-
complish this.)
➅Adjust the focus of the telescope until the cross-hairs
and their reflected images are in sharp focus. As the
glass slides of the grating are not efficient reflectors,
the images are not bright and you must look carefully
to see them.
➤ IMPORTANT: The grating is sandwiched
between two glass slides so, depending on how
parallel the slides are, you may see as many as four
reflected images of the cross-hairs. In the follow-
ing steps, you will be instructed to superimpose the
graticule with its reflected image. If there is more
than one image, just center the cross-hairs as
accurately as possible between the images.
➆Use the spectrometer table fine adjust screw to align
the vertical cross-hair of the graticule with its reflected
image.
➇Adjust the spectrometer tables leveling screws until
the graticule cross-hairs are superimposed on the re-
flected image.
GAUSSIAN EYEPIECE
115 VAC, 60 Hz or
220/240 VAC, 50 Hz
(220 V model shown)
Introduction
The PASCO Model SP-9285 Gaussian Eyepiece is used
as an option to simplify the task of aligning and focusing
the spectrometer and aligning the diffraction grating. It is
optically equivalent to the 15X Ramsden eyepiece
included with the spectrometer (Model SP-9268). After
using the Gaussian eyepiece for aligning the spectrometer
it may then be replaced with the standard eyepiece for
normal use. This allows using a single Gaussian eyepiece
in aligning any number of spectrometers.
To align and focus the spectrometer using the
Gaussian eyepiece:
➀Remove the telescope eyepiece and replace it with the
Gaussian eyepiece.
➁While looking through the telescope, slide the eye-
piece in and out until the graticule cross-hairs come
into sharp focus. Rotate the graticule alignment ring
until one line of the graticule is vertical. Refocus if
necessary.
© 1990 PASCO scientific
This instruction sheet written/edited by: Dave Griffith
012-02152E
2
➈Rotate the spectrometer table 180o and, using the table
fine adjust screw, align the vertical cross-hair of the
graticule with the reflected image.
➉Adjust the table leveling screws to remove half the
error between the horizontal cross-hair and the re-
flected image. Adjust the telescope leveling screws to
remove the remaining error, so the graticule and its
reflected image are superimposed.
11
Repeat steps 9 and 10 until the graticule and its re-
flected images are superimposed from both sides of
the diffraction grating.
12
Unplug the Gaussian eyepiece. Adjust the slit of the
collimator so it is open and vertical.
13
Illuminate the slit with an external light source. Ro-
tate the telescope directly opposite the collimator and
focus the collimator only (do not disturb the telescope
focus) until the illuminated slit is in sharp focus.
Align the fixed edge of the slit with the vertical cross-
hair of the graticule.
14
Adjust the collimator leveling screws until the slit ver-
tically enters the field of view of the telescope. The
telescope, collimator, and spectrometer table are now
properly aligned.
15
If you are going to use the grating, plug the Gaussian
eyepiece back in and rotate the spectrometer table un-
til the graticule’s vertical cross-hair is again aligned
with its reflected image. This insures that the grating
is perpendicular to the optical axis of the spectrometer.
16
If you wish, you may replace the Gaussian eyepiece
with the original eyepiece. The focus of the telescope
will be maintained if you slide in the original eyepiece
until the graticule is in sharp focus.
Alignment Error
The multiple reflections from the glass slides of the
grating introduce some error into the alignment proce-
dure. Normally, centering the graticule cross-hairs
between the reflected images will reduce the error below
the 1-minute resolution that is obtainable when reading
the vernier scales.
To verify the alignment, use a light source with discrete
spectral lines such as a sodium or mercury vapor lamp. If
the alignment is correct, equivalent spectral lines on
opposite sides of the optical axis will be diffracted equal
amounts. If necessary, adjust the rotation of the spec-
trometer table until the measurements are the same.
Bulb Replacement
➤NOTE: A spare bulb is included with the eyepiece.
To replace a bulb, carefully unscrew the black plastic
bulb holder from the side of the eyepiece. Unscrew and
replace the bulb. Carefully screw the bulb holder back
into the eyepiece.
Replacement Part: Bulb, VCH #679, PASCO #526-014
Limited Warranty
PASCO scientific warrants this product to be free from
defects in materials and workmanship for a period of one
year from the date of shipment to the customer. PASCO
will repair or replace, at its option, any part of the product
which is deemed to be defective in material or workman-
ship. This warranty does not cover damage to the product
caused by abuse or improper use. Determination of
whether a product failure is the result of a manufacturing
defect or improper use by the customer shall be made
solely by PASCO scientific. Responsibility for the return
of equipment for warranty repair belongs to the customer.
Equipment must be properly packed to prevent damage
and shipped postage or freight prepaid. (Damage caused
by improper packing of the equipment for return ship-
ment will not be covered by the warranty.) Shipping
costs for returning the equipment, after repair, will be
paid by PASCO scientific.
Other PASCO Measuring Instrument manuals

PASCO Pasport PS-2136 User manual

PASCO

PASCO Pasport PS-2136 User manual

PASCO ME-9837 User manual

PASCO

PASCO ME-9837 User manual

PASCO ES-9078A User manual

PASCO

PASCO ES-9078A User manual

PASCO PS-3238 User manual

PASCO

PASCO PS-3238 User manual

PASCO EM-3556 User manual

PASCO

PASCO EM-3556 User manual

PASCO PASPORT PS-2174 User manual

PASCO

PASCO PASPORT PS-2174 User manual

PASCO PS-2600 User manual

PASCO

PASCO PS-2600 User manual

PASCO PS-3234 User manual

PASCO

PASCO PS-3234 User manual

PASCO OS-8516A User manual

PASCO

PASCO OS-8516A User manual

PASCO PS-3515 User manual

PASCO

PASCO PS-3515 User manual

PASCO OS-8525A User manual

PASCO

PASCO OS-8525A User manual

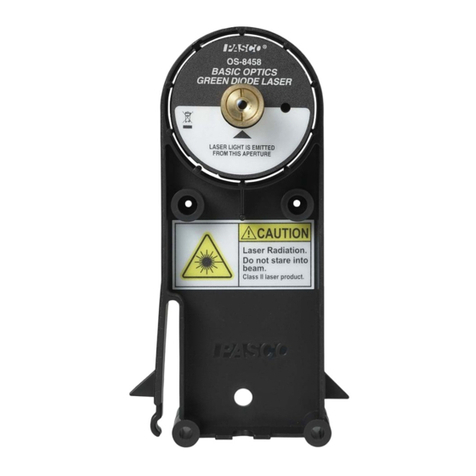
PASCO OS-8458B User manual

PASCO

PASCO OS-8458B User manual

PASCO TD-8564 User manual

PASCO

PASCO TD-8564 User manual

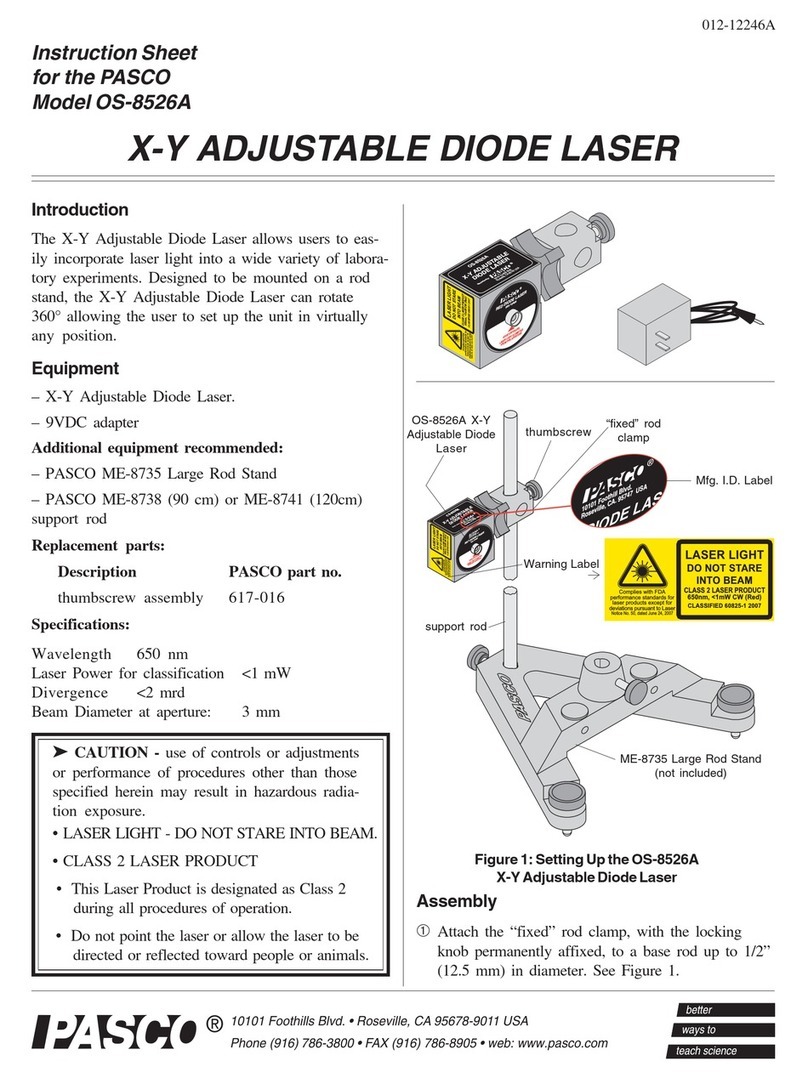
PASCO OS-8526A User manual

PASCO

PASCO OS-8526A User manual

PASCO PASPORT PS-2148 User manual

PASCO

PASCO PASPORT PS-2148 User manual

PASCO PS-3215 Use and care manual

PASCO

PASCO PS-3215 Use and care manual

PASCO PS-3217 User manual

PASCO

PASCO PS-3217 User manual

PASCO OS-8458 User manual

PASCO

PASCO OS-8458 User manual

PASCO PS-3321 User manual

PASCO

PASCO PS-3321 User manual

PASCO Pasport PS-2132 User manual

PASCO

PASCO Pasport PS-2132 User manual

PASCO PASPORT PS-2152 User manual

PASCO

PASCO PASPORT PS-2152 User manual

PASCO PASPort Xplorer PS-2000 User manual

PASCO

PASCO PASPort Xplorer PS-2000 User manual

PASCO ME-8598 User manual

PASCO

PASCO ME-8598 User manual

PASCO PS-3216 User manual

PASCO

PASCO PS-3216 User manual

Popular Measuring Instrument manuals by other brands

VOLTCRAFT DT 2 L / k operating instructions

VOLTCRAFT

VOLTCRAFT DT 2 L / k operating instructions

Konica Minolta CS-2000 brochure

Konica Minolta

Konica Minolta CS-2000 brochure

Micronics Ultraflo 2000 operating manual

Micronics

Micronics Ultraflo 2000 operating manual

Sanmenxia ZX400 Operation manual

Sanmenxia

Sanmenxia ZX400 Operation manual

Fluke ASM-990 Series Operating guidelines

Fluke

Fluke ASM-990 Series Operating guidelines

Endress+Hauser Cerabar S PMC71 operating instructions

Endress+Hauser

Endress+Hauser Cerabar S PMC71 operating instructions

OSELA COMPACT LASER instruction manual

OSELA

OSELA COMPACT LASER instruction manual

ISOMAG CS3820 Operating and maintenance manual

ISOMAG

ISOMAG CS3820 Operating and maintenance manual

TIF 9055 owner's manual

TIF

TIF 9055 owner's manual

Omron EQUO Series user manual

Omron

Omron EQUO Series user manual

AJA Ki Pro GO Installation and operation guide

AJA

AJA Ki Pro GO Installation and operation guide

Stoneridge SE5000 quick guide

Stoneridge

Stoneridge SE5000 quick guide

Energy Asse EDMI Mk 10 user guide

Energy Asse

Energy Asse EDMI Mk 10 user guide

ParTech 8100 instruction manual

ParTech

ParTech 8100 instruction manual

Dwyer Instruments TM2 Series Installation and operating instructions

Dwyer Instruments

Dwyer Instruments TM2 Series Installation and operating instructions

ISCO 674 instruction manual

ISCO

ISCO 674 instruction manual

Chauvin Arnoux B102 user manual

Chauvin Arnoux

Chauvin Arnoux B102 user manual

Metrica 61190 manual

Metrica

Metrica 61190 manual

manuals.online logo
manuals.online logoBrands
  • About & Mission
  • Contact us
  • Privacy Policy
  • Terms and Conditions

Copyright 2025 Manuals.Online. All Rights Reserved.