manuals.online logo
Brands
  1. Home
  2. •
  3. Brands
  4. •
  5. PASCO
  6. •
  7. Measuring Instrument
  8. •
  9. PASCO ES-9042A User manual

PASCO ES-9042A User manual

Instruction Sheet
for the PASCO
Model ES-9042A Faraday Ice Pail
012-04393C
Introduction
The Ice Pail designed by Faraday is an excellent product
for sampling a charge distribution. It operates on the
principle that a charge placed inside a conducting sur-
face will induce an equal charge on the outside of that
surface. For example, if a charged ball were hung inside
a coffee can, the charge on the outside of the can would
equal the charge of the ball. The charge can be measured
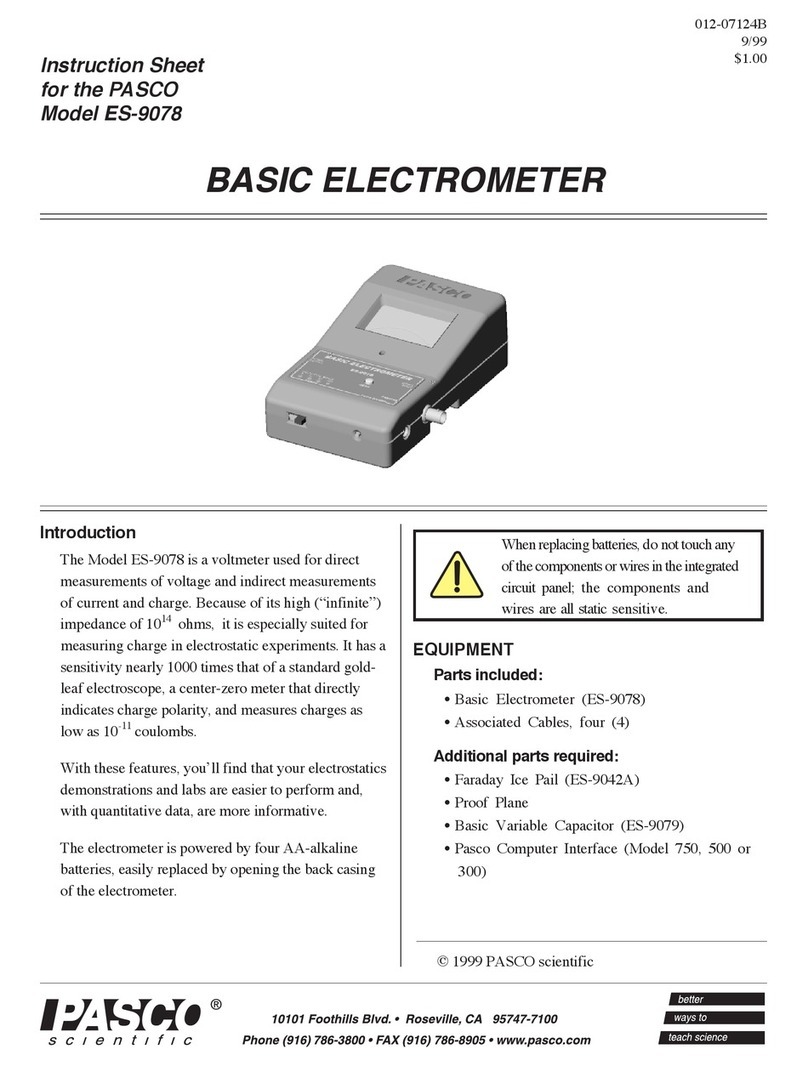
with an electrometer such as the PASCO Model ES-9078
Basic Electrometer.
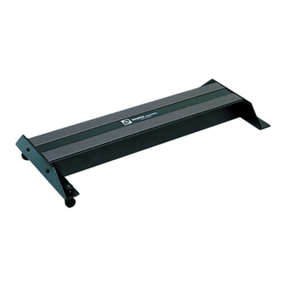
The PASCO Model
ES-9042A Faraday Ice Pail
is a wire mesh cylinder
measuring 10 cm in diam-
eter by 15 cm deep with a
wire mesh bottom. It is
mounted on three insulating
rods along the outer edge of
a wire mesh shield.
The wire mesh shield not
only ensures complete vis-
ibility of the experiment but
also helps eliminate the
problem of stray charges and AC fields.
To prevent stray charges from producing erroneous re-
sults it is extremely important that the person performing
the experiment be continually grounded while perform-
ing the experiment. The Ice-Pail needs to be temporarily
grounded prior to starting the experiment.
A charged object such as the PASCO Model ES-9057A
Charge Producers and Proof Plane is placed in the
grounded ice pail (without touching it), and the elec-
trometer indicates the potential between the ice pail and
ground. The greater the charge the greater the potential.
Thus we can easily measure relative charges by varying
the charges in the ice pail and observing the potential
indicated by the electrometer.
Complete instructions for the operation of PASCO Elec-
trostatic equipment can be found in the ES-9051 Acces-
sory and Demonstration Manual (included with the
Demonstration System) and the ES-9055 Laboratory
Manual (included with the Electrostatic Laboratory Sys-
tem)
Demonstration: Faraday Ice Pail and Charge
Production
Since the Faraday Ice Pail is used so frequently in elec-
trostatic demonstrations, one should examine the rela-
tionship between the charge induced on the ice pail by
an inserted object and the actual charge on that object.
Using the ice pail, one can then investigate the nature of
charging an object by contact as opposed to charging by in-
duction.
Equipment needed: Faraday Ice Pail, charge producing ob-
jects (such as ES-9057A Charge Producers), electrometer
Setup
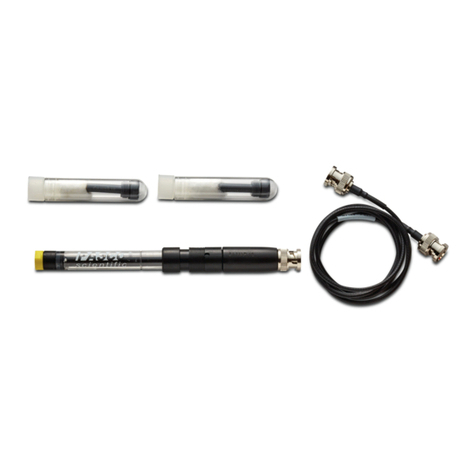
➀Connect the electrometer input lead (red alligator
clip) to the ice pail to create a system for measuring
charge. The electrometer ground lead (black alligator
clip) attaches to the shield. (Setup is shown in Figure
1.) Adjust the sensitivity of the electrometer so that
most readings appear in the upper 2/3 of the scale.
Electrometer Red Clip
Charge Producer
+
+
++
+
+
+
+
++
+
+
-
-
-
-
-
-
-
---- -
-
-
-
-
-
-
-
+
+
+
+
+
+
+
+
+
+
+
+
++
+
+
+
+
--
--
++
Figure 1
Faraday Ice Pail
Black Clip
2
FaradayIcePail 012-04393C
®
Open
Closed
Figure 2
➤➤
➤➤
➤NOTE:
➀The charged object must be inserted at least into the
lower half of the ice pail. Try inserting it, for ex-
ample, approximately one centimeter below the top
of the pail and attempt to explain your results.
➁There may be a small charge retained on the exposed
plastic between the aluminum disk and the aluminum
rod on the charge producers. This residual charge
does not transfer readily when the disk is touched to
the pail. Therefore, (before starting the experiment)
breathe on the exposed plastic of the charge producer
so that the moisture in your breath will tend to re-
move any residual charge.
Procedure B
①Starting with initially uncharged charge producers,
rub the blue and white materials together. Using the
Faraday Ice Pail, measure the magnitude and polarity
of their charges. By using the results from Procedure
A it is not necessary to touch the charge producer to
the pail. What relationship exists between these
charges produced by contact?
➁Ground the charge producers and rub them together
inside the ice pail. What is the reading on the elec-
trometer. Remove one charge producer and note the
electrometer reading. Replace this charge producer
but remove the other and note the electrometer read-
ing.
➂Ground the charge producers again. Rub the white
material against the aluminum proof plane. Measure
the magnitude and polarity of the charges. Now rub
the blue material against the aluminum surface and
record your measurements.
➃Construct a list of materials such that if a material
lower on the list is rubbed against a material higher
on the list, the charge on the higher listed material is
always positive. Such a list is called an electrostatic se-
ries.
To Reach PASCO
For Technical Support call us at 1-800-772-8700 (toll-
free within the U.S.) or (916) 786-3800.
email: [email protected]
Tech support fax: (916) 786-3292
➁Ground the ice pail (i.e., connect the inner pail to the
shield) by touching the inner pail and the outer shield
at the same time with the finger of one hand. (See
Figure 2) While conducting the experiment it may be
convenient to continually rest one hand on the upper
edge of the shield. This also grounds the experi-
menter, providing the electrometer is connected to
both ground and shield and it allows the ice pail to be
easily grounded whenever necessary.
➤NOTE: When removing your finger from the
inner pail after grounding it, make certain that you
are still touching the outer shield. DO NOT re-
move your hand from the shield before releasing
the inner pail, as this sequence will not effectively
ground the inner pail.
➂Make sure the electrometer reads “zero”, indicating
that there is no charge on the ice pail.
Procedure A
➀Rub two charge producers together to create a charge
on them.
➁Insert one of the wands into the ice pail but do not let
it touch the pail. Note the electrometer reading.
➂Remove the object from the pail and again note the
electrometer reading.
➃Insert the wand again, allow it to touch the ice pail
and then remove it. Note the electrometer reading.
➄Momentarily ground the ice pail and then touch the
object to the pail again. Note the electrometer read-
ing. Does any charge remain on the object?
What is the conclusion about the induced charge on the
ice pail, as compared to the charge on the charge pro-
ducer?
Other PASCO Measuring Instrument manuals

PASCO PASPort Xplorer PS-2000 User manual

PASCO

PASCO PASPort Xplorer PS-2000 User manual

PASCO OS-8526A User manual

PASCO

PASCO OS-8526A User manual

PASCO PASPORT PS-2148 User manual

PASCO

PASCO PASPORT PS-2148 User manual

PASCO PASPort PS-2222 User manual

PASCO

PASCO PASPort PS-2222 User manual

PASCO PASPort PS-2128 User manual

PASCO

PASCO PASPort PS-2128 User manual

PASCO ME-9837 User manual

PASCO

PASCO ME-9837 User manual

PASCO PS-3223 User manual

PASCO

PASCO PS-3223 User manual

PASCO ME-8598 User manual

PASCO

PASCO ME-8598 User manual

PASCO PS-3515 User manual

PASCO

PASCO PS-3515 User manual

PASCO Pasport PS-2132 User manual

PASCO

PASCO Pasport PS-2132 User manual

PASCO PASPORT PS-2152 User manual

PASCO

PASCO PASPORT PS-2152 User manual

PASCO PS-3238 User manual

PASCO

PASCO PS-3238 User manual

PASCO PS-3215 User manual

PASCO

PASCO PS-3215 User manual

PASCO Pasport PS-2136 User manual

PASCO

PASCO Pasport PS-2136 User manual

PASCO OS-8525A User manual

PASCO

PASCO OS-8525A User manual

PASCO PS-3229 User manual

PASCO

PASCO PS-3229 User manual

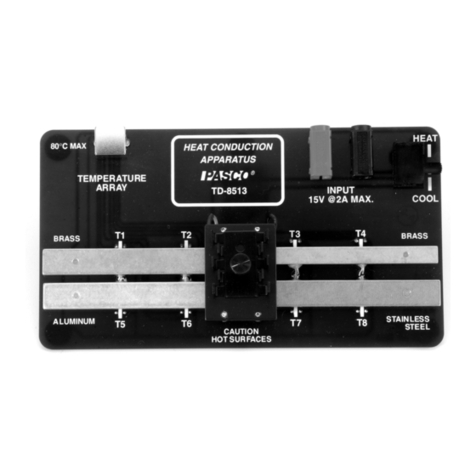
PASCO TD-8513 User manual

PASCO

PASCO TD-8513 User manual

PASCO OS-8516A User manual

PASCO

PASCO OS-8516A User manual

PASCO PS-3214 Guide

PASCO

PASCO PS-3214 Guide

PASCO SF-9069 User manual

PASCO

PASCO SF-9069 User manual

PASCO SP-9285 User manual

PASCO

PASCO SP-9285 User manual

PASCO PS-3217 User manual

PASCO

PASCO PS-3217 User manual

PASCO Xplorer GLX Programming manual

PASCO

PASCO Xplorer GLX Programming manual

PASCO OS-8527A User manual

PASCO

PASCO OS-8527A User manual

Popular Measuring Instrument manuals by other brands

Renegade 702000 instruction manual

Renegade

Renegade 702000 instruction manual

Nikon Callaway iQ instruction manual

Nikon

Nikon Callaway iQ instruction manual

Easy-Laser E530 manual

Easy-Laser

Easy-Laser E530 manual

VOLTCRAFT BS-10 operating instructions

VOLTCRAFT

VOLTCRAFT BS-10 operating instructions

Anritsu VectorStar ME7848A Series Maintenance manual

Anritsu

Anritsu VectorStar ME7848A Series Maintenance manual

Dwyer Instruments AQH-20 Specifications-installation and operating instructions

Dwyer Instruments

Dwyer Instruments AQH-20 Specifications-installation and operating instructions

HP 547A Operating and service manual

HP

HP 547A Operating and service manual

AEMC 6505 user manual

AEMC

AEMC 6505 user manual

Sper scientific 300058 manual

Sper scientific

Sper scientific 300058 manual

Levenhuk Wezzer Air PRO DM40 user manual

Levenhuk

Levenhuk Wezzer Air PRO DM40 user manual

Hansford sensors HS-620 operating manual

Hansford sensors

Hansford sensors HS-620 operating manual

Adash VIBRAMON 1 user manual

Adash

Adash VIBRAMON 1 user manual

AEMC 403 user manual

AEMC

AEMC 403 user manual

Eico 221 instruction manual

Eico

Eico 221 instruction manual

Pico Macom PICO-PRO user manual

Pico Macom

Pico Macom PICO-PRO user manual

Microtec M163 user manual

Microtec

Microtec M163 user manual

PCB Piezotronics IMI SENSORS M627A11 Installation and operating manual

PCB Piezotronics

PCB Piezotronics IMI SENSORS M627A11 Installation and operating manual

Kobold DAG-M1T operating instructions

Kobold

Kobold DAG-M1T operating instructions

manuals.online logo
manuals.online logoBrands
  • About & Mission
  • Contact us
  • Privacy Policy
  • Terms and Conditions

Copyright 2025 Manuals.Online. All Rights Reserved.