PAW FriwaMidi User manual

PAW GmbH & Co. KG
Böcklerstr. 11, 31789 Hameln, Germany
Phone: +49-5151-9856-0, Fax: +49-5151-9856-98
E-mail: [email protected], Web: www.paw.eu
2021/11 9964042xx1-mub-en - V02 1
Installation Instructions
Switch valve set for the
3- and 4-fold cascade
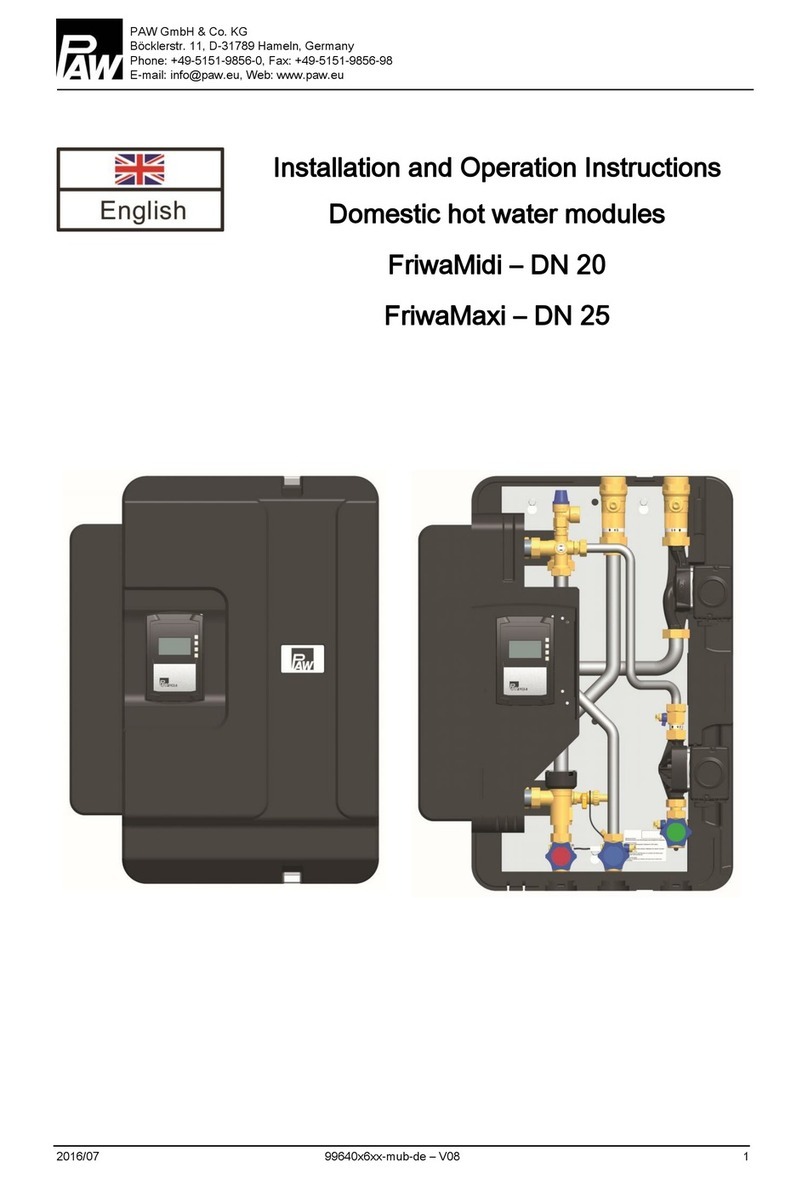
FriwaMidi / FriwaMaxi

1General Information
2 9964042xx1-mub-en - V02 2021/11
Contents
1General Information.........................................................................................................3
1.1 Scope of these instructions ..........................................................................................3
1.2 About this product ........................................................................................................3
1.3 Designated use ............................................................................................................3
2Safety instructions ...........................................................................................................4
3Product description..........................................................................................................5
3.1 Assembly and installation [specialist] ...........................................................................5
3.2 Controller connection FC3.10.......................................................................................7
3.3 Controller connection FC4.13..................................................................................... 11
4Scope of delivery...........................................................................................................14
4.1 Switch valve set FriwaMidi (64042631 + 64042641)................................................... 15
4.2 Switch valve set FriwaMaxi (64042731 + 64042741).................................................. 16
5Technical data 2-way zone valve....................................................................................17
6Disposal........................................................................................................................18
7Commissioning report....................................................................................................19
Item no. 9964042xx1-mub-en - Version V02 – Date 2021/11
Translation of the original instructions
We reserve the right to make technical changes without notice!
Printed in Germany – Copyright by PAW GmbH & Co. KG
PAW GmbH & Co. KG
Böcklerstraße 11
31789 Hameln, Germany

1General Information
2021/11 9964042xx1-mub-en - V02 3
1General Information
1.1 Scope of these instructions
These instructions describe the assembly of the switch valve set for the 3-fold and 4-fold
cascade of the FriwaMidi DN 20 and the FriwaMaxi DN 25.
The chapters called [specialist] are intended for specialists only.
The commissioning of the Friwa modules is described in the respective instructions
of the domestic hot water modules that are enclosed with the individual modules.
For other components of the installation, such as storage tanks, controllers or pumps,
please observe the instructions of the corresponding manufacturer.
1.2 About this product
The switch valve set for the Friwa-Kaskade contains the piping within the individual modules,
the thread connections, the required number of connecting lines and 2-way zone valves.
The motor-driven ball valves are DVGW certified and suitable for DHW modules.
In the manual mode, the ball valves can be opened and closed manually.
1.3 Designated use
The switch valve set is used to cascade three or four identically constructed domestic
hot water modules. The technical data specified in these instructions must be observed.
Improper usage excludes any liability claims.
Carefully read these instructions before installation and commissioning.
Save these instructions in the vicinity of the installation for future reference.

2Safety instructions
4 9964042xx1-mub-en - V02 2021/11
2Safety instructions
The installation and commissioning as well as the connection of electrical components require
technical knowledge commensurate with a recognised vocational qualification as a fitter for
plumbing, heating and air conditioning technology, or a profession requiring a comparable
level of knowledge [specialist].
The following must be observed during installation and commissioning:
•relevant local and national regulations
•accident prevention regulations of the professional association
•instructions and safety instructions of this manual
WARNING
Risk to life and limb due to electric shock!
Prior to commencing electrical work, pull the mains plug!
Only after completing all installation work, the mains plug of the
controller can be plugged into a socket. Thus, an unintentional
start of the motors is avoided.
NOTICE
Material damage due to mineral oils!
Mineral oil products cause lasting damage to seals made of EPDM, whereby the sealant
properties get lost. We do not assume liability nor provide warranty for damage to property
resulting from sealants damaged in this way.
It is imperative to avoid that EPDM gets in contact with substances containing
mineral oils.
Use a lubricant based on silicone or polyalkylene and free of mineral oils, such as
Unisilikon L250L and Syntheso Glep 1 of the Klüber company or a silicone spray.

3Product description
2021/11 9964042xx1-mub-en - V02 5
3Product description
The switch valve set can only be mounted in domestic hot water modules of the type FriwaMidi
or Friwa Maxi from march 2013 on. For other domestic hot water modules, other assembly sets
must be used.
If you have any questions about the required spare parts for your installation, please keep the
serial number ready (it is placed in the lower right corner of the support sheet of the module).
NOTICE
Damage to property!
The location of installation must be dry, load-carrying, frost-proof and protected against
ultraviolet radiation, in order to prevent material damage of the installation.
3.1 Assembly and installation [specialist]
1. Remove the insulating front shell
of each module.
2. Close the piston valves (1) and (6)
of the domestic hot water circuit.
3. Drain the double bent pipe (2) in the cold
water inlet by opening the drain valve (3).
Use a hose for a controlled draining of the
liquid.
4. Actuate the pressure relief valve (4)
several times to vent the pipe.
5. Dismount the pipe (2) in the cold water
inlet of the module between the piston
valve (1) and the connection piece (5)
at the heat exchanger.

3Product description
6 9964042xx1-mub-en - V02 2021/11
Procedure for one module:
NOTICE
Use the new gaskets included! Screw the thread connections at first manually and adjust
the pipes, in order to guarantee a low-tension installation.
1. Mount the short and straight pipe section (A) on the piston valve (1).
2. Screw the zone valve (B) on it in such a way that the actuator is aligned laterally.
The cable of the actuator must point downwards (flow AB, from the bottom to the top).
3. Screw the short end of the long double bent pipe (C) between the zone valve and the
elbow piece (3).
4. Firmly tighten all screw connections afterwards.
5. Connect the valve to the controller of the module (see page 7 ff.) and activate
the automatic operation mode (see the separate instructions of the zone valve).
6. Convert the other Friwa modules in the same way.
7. Connect the controllers of the cascade with the communication cable included
(see page 7 ff.).
Before
Installation of the switch valve set
for cascade operation

3Product description
2021/11 9964042xx1-mub-en - V02 7
3.2 Controller connection FC3.10
The following illustrations show how to connect the 2-way zone valves (switch valves)
electrically to the controller, and how to connect the controllers with each other in order to
establish a communication between them.
WARNING
Risk to life and limb due to electric shock!
Prior to commencing electrical work on the controller, pull the mains plug
and make sure that a restart is not possible.
Only after completing all installation work, plug the mains plug of the
controller into a socket. This avoids an unintentional start of the motors.

3Product description
8 9964042xx1-mub-en - V02 2021/11
1. Remove the white front panel (A) of the controller.
2. Remove the strain reliefs (B).
3. Remove the sensor cables of the VFS/US sensors, of the
PWM signal and of the temperature sensors from the
controller circuit board plug connector (C).
4. Unscrew the two screws to remove the intermediate
level (D).
5. Remove the strain relief on the 230 V level (E).
6. Connect the 2-way zone valve to the relay 1.
Observe the polarity of the connection:
Brown: Lconst
Black: L
Blue: N

3Product description
2021/11 9964042xx1-mub-en - V02 9
7. If, in addition to the 2-way-zone valve, also the 3-way
valve for the stratification is meant to be connected to
the relay 2, connect both wires (Lconst) to "L" by means
of a duo wire end ferrule (twin wire end ferrule).
See controller instructions, chapter "stratification".
8. Mount the strain relief of the 230 V level and the
intermediate level.
9. Connect the controllers with each other via a bus line.
To do this, put the plug of the bus line into the socket
marked with "RS 485".
Recommendation:
Arrange the controllers from left to right in the following
order:
client, server 1, server 2, server 3.
Observe the controller instructions.
You will find a detailed description of the operation of the
controller and its functions in the controller instructions.

3Product description
10 9964042xx1-mub-en - V02 2021/11
Cascade connection of the domestic hot water modules
The following illustration shows how you must connect the three domestic hot water modules via
two bus lines in a cascade connection.
Plug the jumper of the first and the last participant of the modbus communication into the plug
connector which is marked as "Pos. 2".
The jumper of the controller which is connected between the first and the last participant must be
plugged into the marked "Pos. 1" of the plug connector.
After that, mount the two strain reliefs and the front panel of the controller.
Set up the power supply of the installation and put the controller into operation according to the
controller instructions.
The following table shows the required positions of the jumpers, depending on the number of the
domestic hot water modules / cascade modules which are part of the cascade connection.
Number of
cascade module
Client
Server 1
Server 2
Server 3
2 Pos. 2 Pos. 2 - -
3 Pos. 2 Pos. 1 Pos. 2 -
4 Pos. 2 Pos. 1 Pos. 1 Pos. 2

3Product description
2021/11 9964042xx1-mub-en - V02 11
3.3 Controller connection FC4.13
The following figures show how to connect the 2-way zone valves with the controller and how to
connect the controllers with each other.
WARNING
Risk to life and limb due to electric shock!
Prior to commencing electrical work on the controller, pull the mains plug
and make sure that a restart is not possible.
Only after completing all installation work, the mains plug of the controller
can be plugged into a socket. Thus, an unintentional start of the motors is
avoided.
1. Open the front panel of the controller.
2. Connect the 2-way zone valve to the
corresponding controller.
Black: R1
Blue: N
Brown: L‘
3. Connect all the controllers with each other
by using the connecting lines included.
Observe the polarity of the connection:
Brown: VBus-
White: VBus+
4. Mount the strain reliefs.
5. Close the front panel of the controller.
6. Set up the power supply of the installation
and put the controllers into operation
according to the controller instructions.

3Product description
12 9964042xx1-mub-en - V02 2021/11
When installing a 3- or 4-fold cascade, two VBus lines are brought together at at least one
module. To connect the VBus lines of the two adjacent modules to the centre module, it is
necessary to duplicate the VBus terminals in the controller. For this purpose, the WAGO
terminals included in the accessory bag can be used. Put
VBus+
and
VBus-
respectively
on a WAGO terminal by means of the lines included and connect both VBus lines.
Observe the polarity!
Operation of the controller FC4.13
You will find a detailed description of the commissioning
of the controller in the controller instructions
(see page 36 / 37).

3Product description
2021/11 9964042xx1-mub-en - V02 13
If not only the switch valve but also the 3-way valve for stratification shall be connected,
then duplicate L‘ by means of a WAGO terminal (see example).

4Scope of delivery
14 9964042xx1-mub-en - V02 2021/11
4Scope of delivery
NOTICE
Complaints and requests/orders of spare parts will only be processed with information
on the serial number!
The serial number is placed on the short and straight pipe section.

4Scope of delivery
2021/11 9964042xx1-mub-en - V02 15
4.1
Switch valve set FriwaMidi (64042631 + 64042641)
Scope of delivery switch valve set
for 3-fold cascade
(3x 2-way zone valve)
64042631
Scope of delivery
switch valve set
for 4-fold cascade
(4x 2-way zone valve)
64042641
Position
Spare part
Item no
1 Sealing kit, 10 pieces, ½", for thread connection 1" N00024
2 2-way zone valve DN 20, drinking water, 2 x 1" ext. thread,
with actuator 230 V / 50 Hz – 12s/90°
N00022

4Scope of delivery
16 9964042xx1-mub-en - V02 2021/11
4.2
Switch valve set FriwaMaxi (64042731 + 64042741)
Scope of delivery switch valve set
for 3-fold cascade
(3x 2-way zone valve)
64042731
Scope of delivery
switch valve set
for 4-fold cascade
(4x 2-way zone valve)
64042741
Position
Spare part
Item no
1 Sealing kit, 10 pieces, 1", for thread connection 1½" N00036
2 Sealing kit, 10 pieces, ¾", for thread connection 1¼" N00174
3 2-way zone valve DN 25, drinking water, 2 x 1¼" ext. thread,
with actuator 230 V / 50 Hz – 12s/90°
N00028

5Technical data 2-way zone valve
2021/11 9964042xx1-mub-en - V02 17
5Technical data 2-way zone valve
Switch valve set FriwaMidi
Switch valve set FriwaMaxi
Dimensions
Switch valve set FriwaMidi
Switch valve set FriwaMaxi
Total height 507 mm 518 mm
Pipe connections 1" external thread 1¼ " external thread
Operating data
Degree of protection IP44 (standard IEC 529)
Nominal voltage 230 V AC
Nominal pressure PN 10
Maximum temperature
of the medium 110 °C
Setting time 12 sec / 90°
Materials
Valve housing CW617DW
Ball CW617N
Valves and fittings Stainless steel (1.4404)
Gaskets PTFE G 502, EPDM, Perox, FPM, AFM34

6Disposal
18 9964042xx1-mub-en - V02 2021/11
6Disposal
NOTICE
Electrical and electronic devices must not be disposed of in the household
waste.
For your return, there are free collection points for electrical appliances and,
if necessary, additional points of acceptance for the reuse of the devices in
your area. The addresses can be obtained from your city or communal
administration.
If the old electrical or electronic device contains personal data, you are
responsible for deleting it before returning the device.
Batteries and rechargeable batteries must be removed prior to the disposal
of the product. Depending on the product equipment (partly with optional
accessories), single components can also contain batteries and
rechargeable batteries.
Please observe the disposal symbols on the components.

7Commissioning report
2021/11 9964042xx1-mub-en - V02 19
7Commissioning report
Installation operator
Location of installation
Serial numbers
Valve R1:
Valve R2:
Valve R3:
Valve R4:
Functioning during
manual operation mode
Valve R1: OK
Valve R2: OK
Valve R3: OK (optional)
Valve R4: OK (optional)
Pipes
⌀
=
mm l = m
Equipment with circulation line without circulation
line
Have all pipes in the primary and secondary circuit been
checked for tightness? Checked
Are all cables properly connected? Checked
Are the controllers adjusted to cascade operation mode? Checked
Plumbing company Date, signature

9964042xx1-mub-en - V02 2021/11
PAW GmbH & Co. KG
Böcklerstraße 11
31789 Hameln, Germany
www.paw.eu
Phone: +49 (0) 5151 9856 - 0
Fax: +49 (0) 5151 9856 - 98
Other manuals for FriwaMidi
1
This manual suits for next models
5
Table of contents
Other PAW Control Unit manuals
Popular Control Unit manuals by other brands

Land Pride
Land Pride 380-344A installation instructions

Festo
Festo Smart cubic CPA-SC Series manual

Danfoss
Danfoss PVG 32 Service manual

Wilo
Wilo Wilo-Star-Z NOVA Installation and operating instructions

Zehnder Rittling
Zehnder Rittling ComfoSwitch C Series manual

Parker
Parker 930 Series Installation & operation